

Page 1
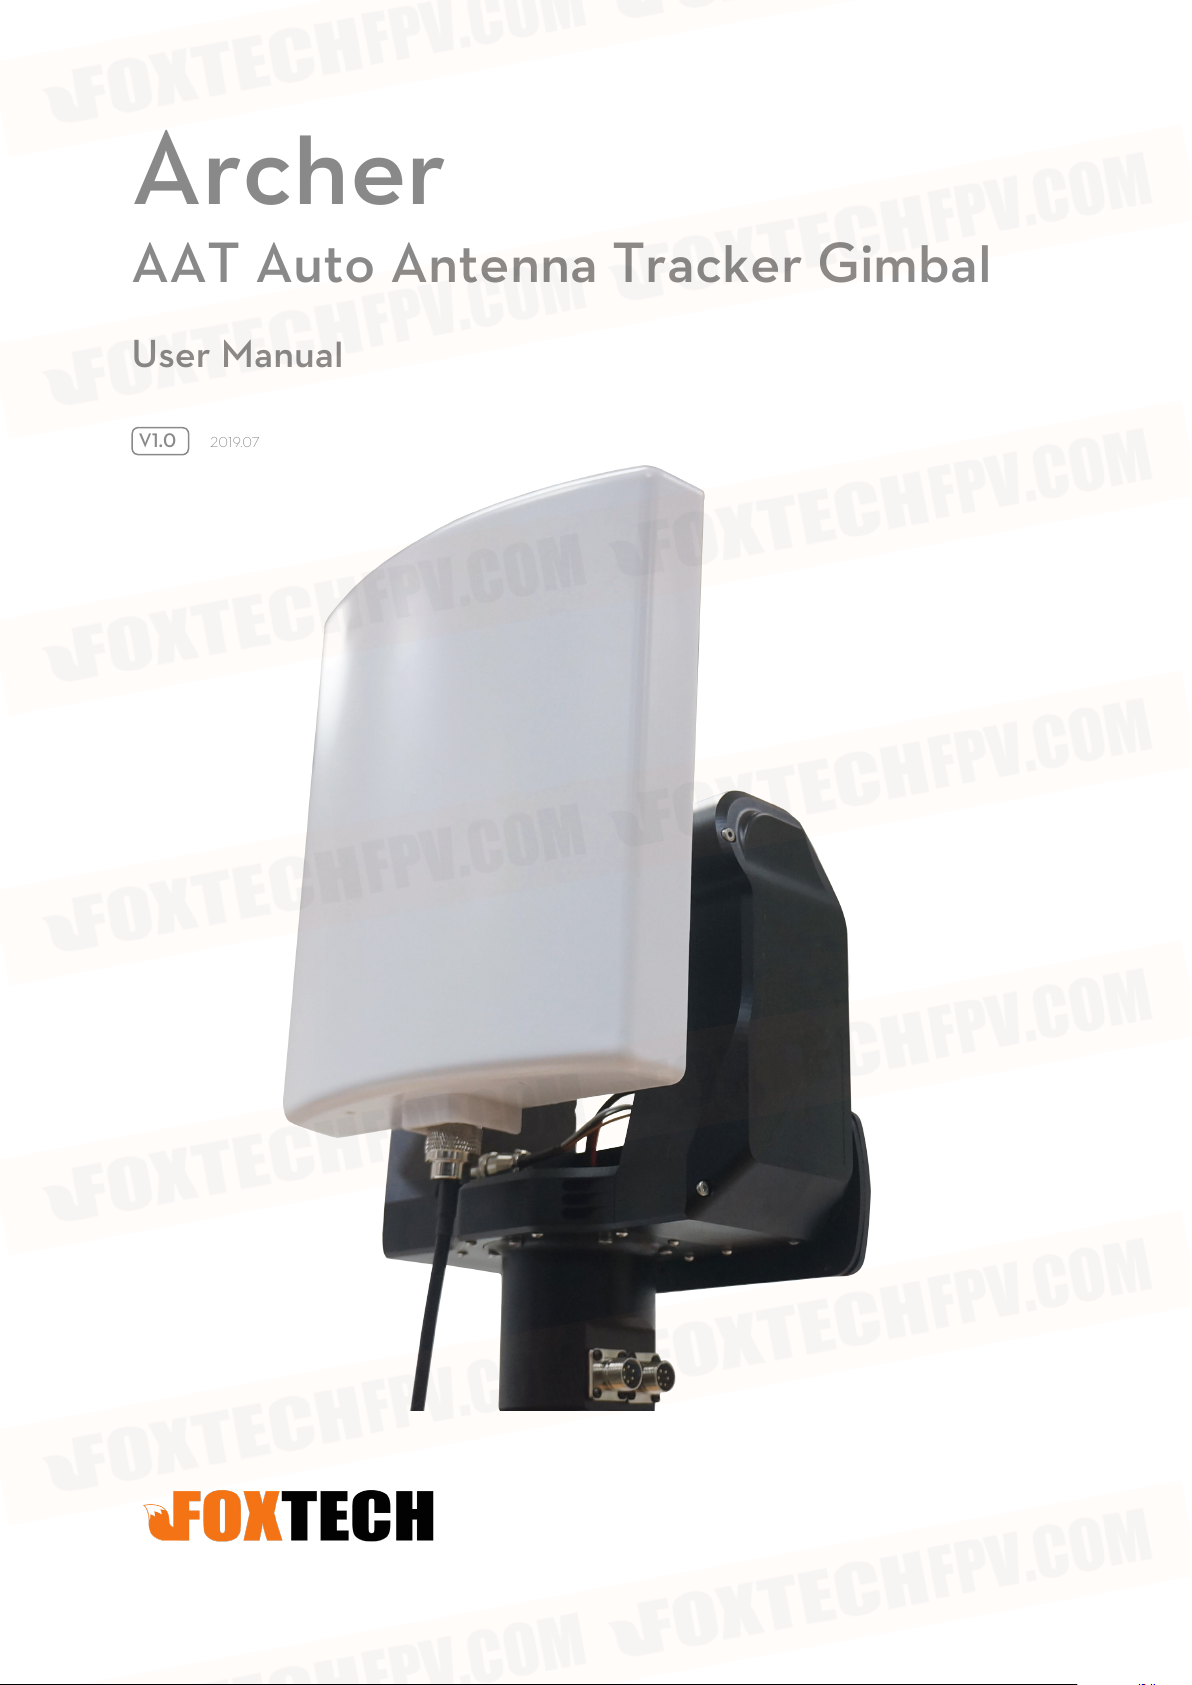
Archer
AAT Auto Antenna Tracker Gimbal
User Manual
V1.0
201 9.07
Page 2

Archer AAT User Manual
Note
1. After the tracking gimbal is power-on, the pitch will automatically reset to zero. Please mind your hand. If
you choose the magnetometer usage mode as “OnlyPwrOn / Never”, the gimbal will rotate to the desired
position after three times alarms when the gimbal is powered on.
When using the OnlyPwrOn / Never mode, please do not rotate the gimbal at random after the gimbal is
powered on.
2. The gimbal magnetometer is susceptible to interference. Please use it away from the magnetic
interference environment.
1. The power supply voltage of the gimbal is 12~15V.
2. The gimbal power supply port.
3. At the bottom of the gimbal there is a 1/4-20 standard tripod holder quick mounting plates connecting
threaded mouth. Please fix it on a solid tripod.
©
2019 FOXTECH All Rights Reserved
2
Page 3
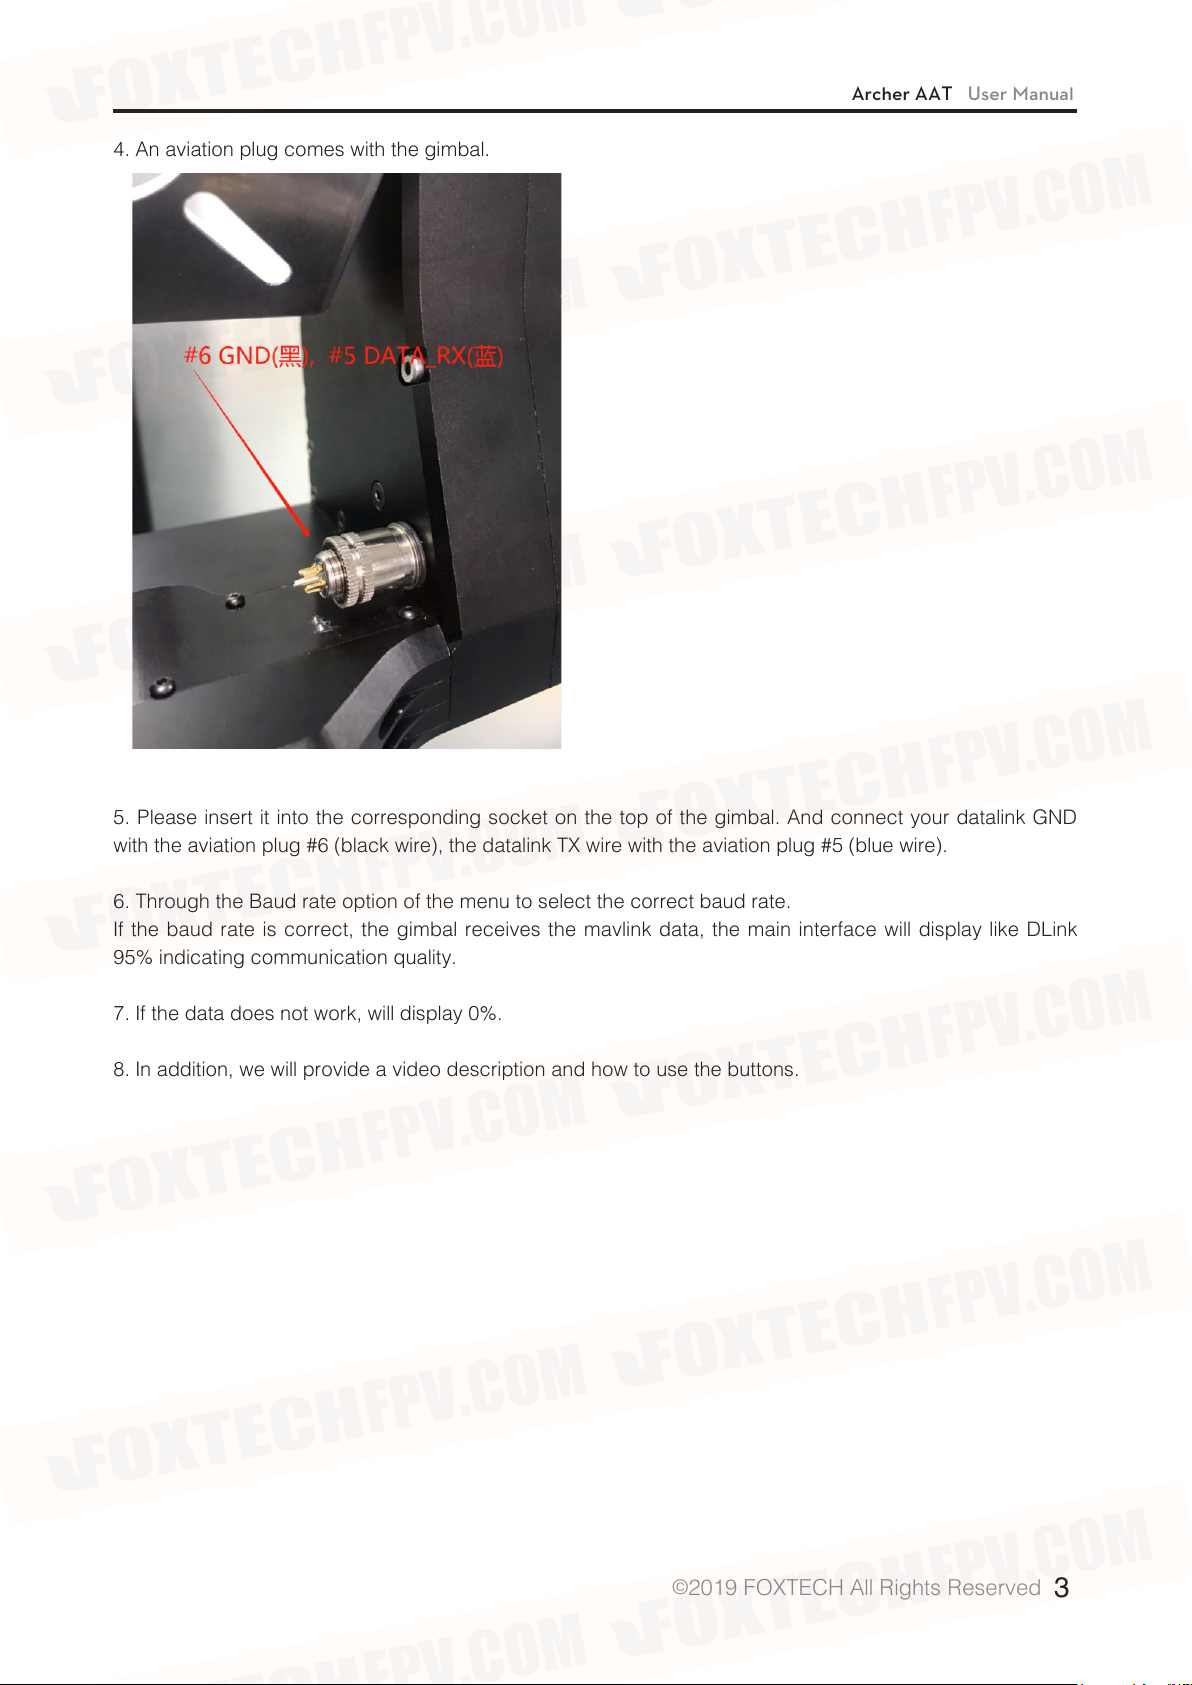
4. An aviation plug comes with the gimbal.
Archer AAT User Manual
5. Please insert it into the corresponding socket on the top of the gimbal. And connect your datalink GND
with the aviation plug #6 (black wire), the datalink TX wire with the aviation plug #5 (blue wire).
6. Through the Baud rate option of the menu to select the correct baud rate.
If the baud rate is correct, the gimbal receives the mavlink data, the main interface will display like DLink
95% indicating communication quality.
7. If the data does not work, will display 0%.
8. In addition, we will provide a video description and how to use the buttons.
©
2019 FOXTECH All Rights Reserved
3
Page 4

Gimbal Operation Guide
Main interface:
The first row: the following three show in turn
Batt: Battery voltage
GPS: GPS satellite number
Second row:
Dist: Distance of the aircraft (unset home is shown as N/A)
The third row:
Alt: the height of the plane
The fourth row:
Dir: the direction angle of the aircraft
Archer AAT User Manual
The fifth row:
Mllink / Vlink: It will be better if the signal quality value is larger. When using data transmission tracking, it will
be displayed as Mlink. When using the image transmission, it will be displayed as Vlink.
Main interface button operation: long press-greater than or equal to 1.5s, short press-less than 1s
Left button: long press (enter menu)
Right button: long press (set the common flight direction), short press (set home)
When the common flight direction mode is used, the gimbal will limit the free rotation angle, and the range of
rotation is the set angle +-225 degrees.
Menu interface button operation:
Left button: long press (return to main menu), short press (switch menu column)
Right button: short press (select the corresponding column)
When the menu interface is opened, the default selected column of the selection box is the current value of
the relevant setting parameter. If the current interface is not parameterized interface, the default selection is
the column selected in the previous exit interface.
MotorCurr - motor drive current
CurrentLev -title bar
4Amp Max.single motor 4A
2Amp -single motor 2A
1Amp -single motor 1A
Exit
©
2019 FOXTECH All Rights Reserved
4
Page 5

Archer AAT User Manual
CalMag
CalMag -title bar
MAX -X-axis Max. value of magnetometer
MIX -X-axis minimum value of magnetometer
MAZ -Z-axis
MIZ -Z-axis
X -The current X-axis value
Z -The current Z-axis value
A - the current magnetometer angle
Finish -Complete the calibration (select this option to save data after the calibration is completed)
Exit
CaliPitchpos -calibrate the pitch angle
CaliPitch -title bar
Drive -Press the key to select this option and drive motor to turn forward, release to stop,
Reserve
AD -The AD value of potentiometer at this time
An -Angle calculated by potentiometer
RecP1 -Select this option to record the first point and consider it to be 0 degrees
RecP2 -Select this option to record the second point
Finish -finish,calculate relevant parameters
Exit
TrimVbiCompV - comparison voltage during Vbi setting(only needed during video tracking)
VbiCompVol -title column
INC -increase
DEC -decrease
CpVol -current voltage
DeCnt -The number of correct decoding, it will be better if the value is larger.
StartAuto -Start automatic setting. OK will pop up after setting
Exit
TrimOffsetAngle - Set the fixed offset angle when tracking, unit-degree
OffsetAngle - title column
Yaw - offset angle of the yaw direction, range +-20 degrees
Pitch - the offset angle of the pitch direction
Exit
Ver -version number
T -software compilation time
Hw -hardware version number
Exit
©
2019 FOXTECH All Rights Reserved
5
Page 6

Archer AAT User Manual
LoadPreHome
LoadPreHome --title column
H1:D:800 - The most recent home position, 800 represents the distance of the aircraft from
this point. Unit:m.
H2:D:111
H3:D:111
H4:D:111
H5:D:111 -the oldest home position
Exit
MagUsageMode -magnetometer usage mode
MagUsageMode -title bar
OnlyPowerOn -uses a magnetometer only when it is powered on. After powering up for 3s, the buzzer
sounds three times and then rotates to the north, the pitch rotates to 0 degree.
Always -always used, wait for 1s after power-on, the buzzer sounds three times, and the pitch direction
returns to the initial position.
Never -Never use, wait for 3s after power-on, the buzzer sounds three times and then rotates to the
position of the photoelectric sensor (needs to manually face north), and the pitch direction returns to the
initial position.
Exit
TrackerID.
TrackerID. -title column
TrackerID. -Machine number, used as number when planning for multiple gimbal communication, range 1-
9
Exit
SystemInfo
Ver -version number
T -software compilation time
Hw -hardware version number
Exit
Exit
©
2019 FOXTECH All Rights Reserved
6
Page 7

Archer AAT User Manual
This content is subject to change.
Download the latest version from
https://www.foxtechfpv.com/Archer-auto-antenna-tracker-gimbal-for-multicopters.html
For everyday updates, please follow
Foxtech Facebook page: https://www.facebook.com/foxtechhobby
YouTube Channel: https://www.youtube.com/user/foxtechonline/featured?view_as=subscriber
©
2019 FOXTECH All Rights Reserved
7
 Loading...