

Foundations 100SSE-SM, 100SSE-R User Manual
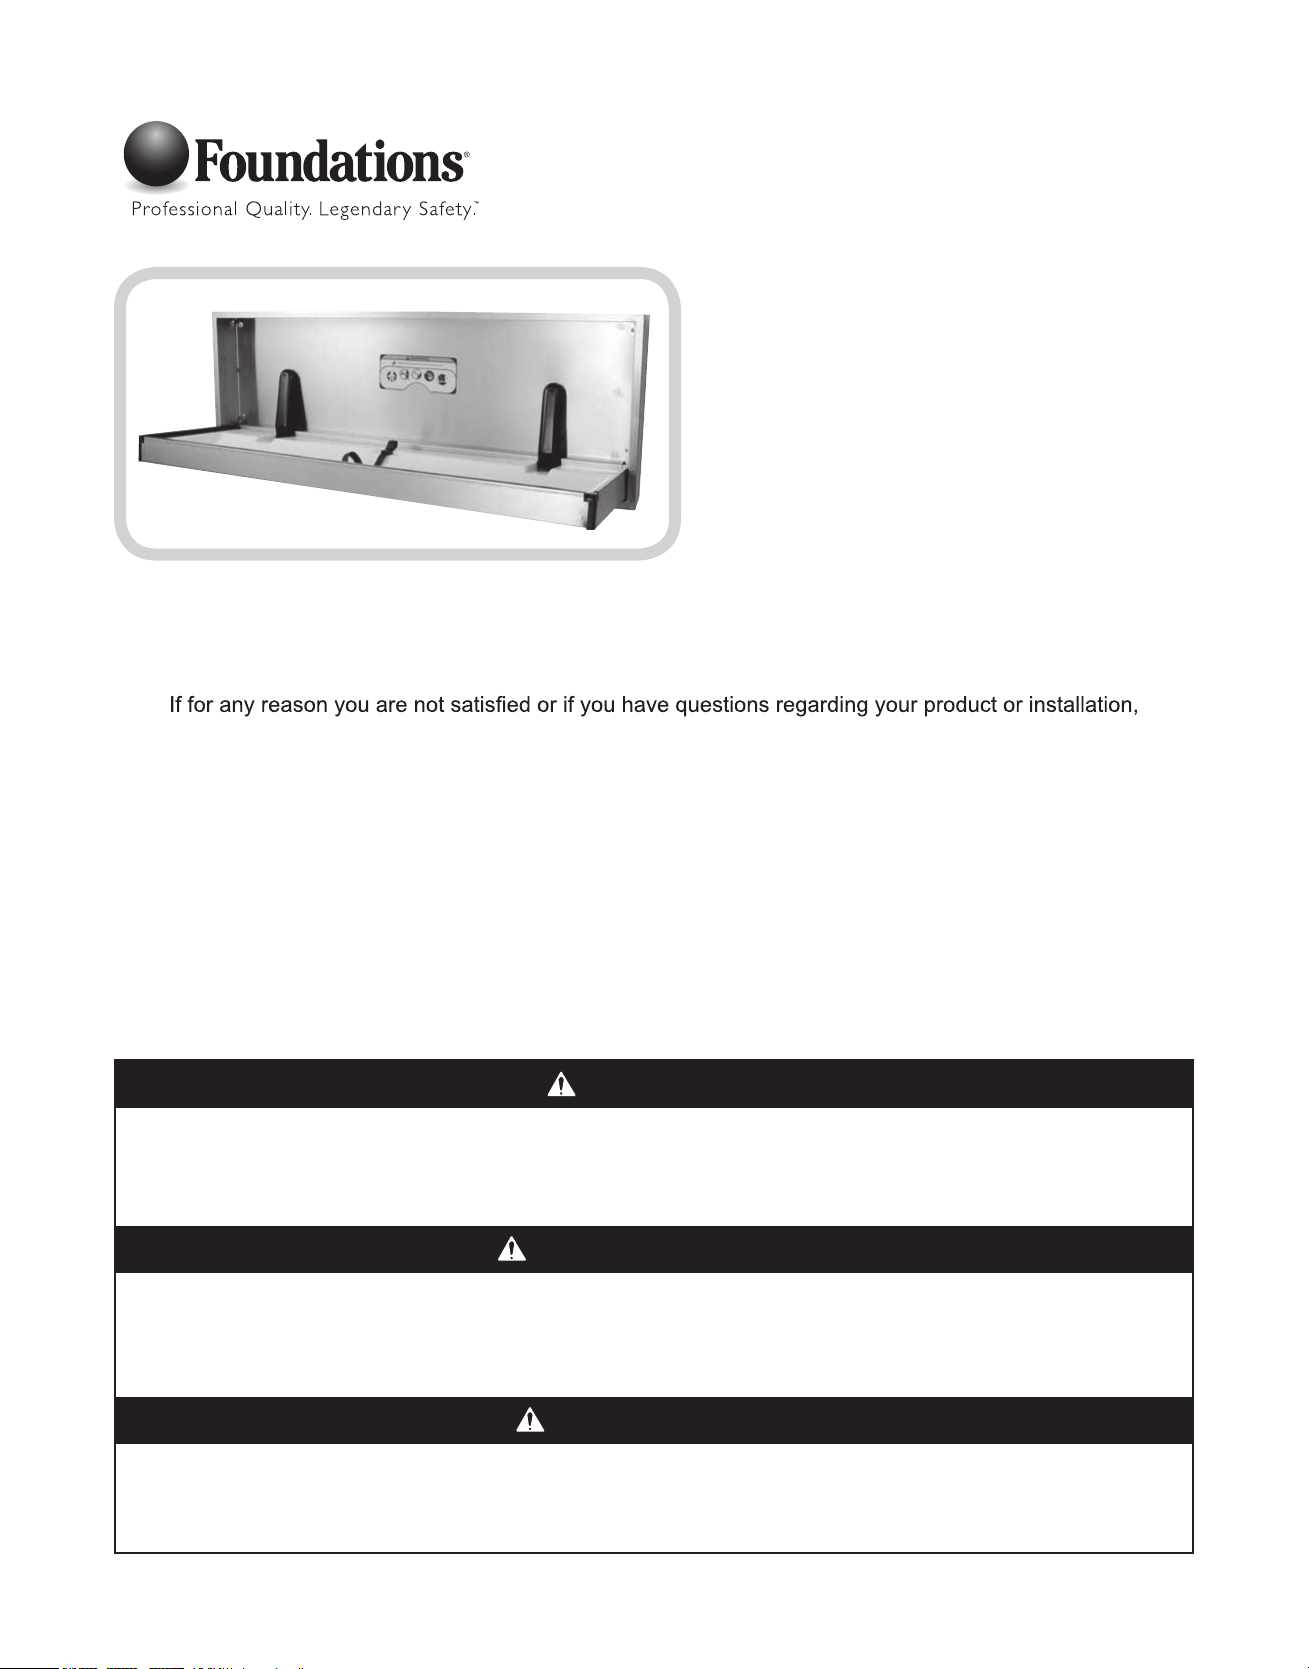
Special Needs Extended
Length Changing Station
Installation Instructions
Station à langer allongée
et adaptée instructions
d’installation
Estación para cambiar
pañales de longitud
adicional para necesidades
especiales instrucciones
para la instalación
Thank you for purchasing a quality Foundations® product. Our goal is 100% consumer satisfaction!
please contact our customer service team at 330-722-5033 or www.foundations.com.
Please DO NOT contact your distributor or reseller as we are better prepared to assist you.
Nous vous remercions d’avoir acheté un produit de qualité Foundations
d’offrir entière satisfaction à nos clients! Si, pour quelque raison que ce soit, vous n’êtes pas satisfait
ou si vous avez des questions concernant le produit ou son installation, veuillez contacter notre équipe
Veuillez NE PAS contacter le distributeur ou le vendeur, car nous sommes plus à même de vous aider.
Gracias por comprar un producto de calidad de Foundations
satisfechos! Si por alguna razón no está satisfecho o si tiene preguntas sobre el producto o la instalación,
comuníquese con el equipo de servicio al cliente llamando al 330-722-5033 o www.foundations.com.
• Failure to follow these warnings and the installation instructions could result in serious injury
or death.
• Read
instructions. DO NOT discard.
graves
• Lisez
Conservez
non respect de ces avertissements et instructions d’installation peut entraîner des blessures
• Le
NO se comunique con el distribuidor ni con el vendedor ya que nosotros estamos
all instructions before installing the extended length changing station. Keep these
ou la mort.
attentivement toutes les instructions avant d’installer la station à langer allongée.
®
de service à la clientèle au 330-722-5033 ou www.foundations.com.
®
. ¡Nuestro objetivo son consumidores 100%
mejor preparados para ayudarlo.
WARNING
AVERTISSEMENT
ces instructions. NE les jetez PAS.
. Nous avons pour objectif
• El no seguir estas advertencias y las instrucciones para la instalación podría causar lesiones
graves o la muerte.
• Lea
adicional.
todas las instrucciones antes de instalar la estación para cambiar pañales de longitud
Guarde estas instrucciones. NO las deseche.
ADVERTENCIA
SI257I
ADULT INSTALLATION REQUIRED.
TOOLS REQUIRED:
)A( leveL
)B( epat gnirusaeM
)C( llird rewoP
• .NOITATS GNIGNAHC HTGNEL DEDNETXE FO YLBMESSA EROFEB SNOITCURTSNILLADAER
• Unpack carton and identify all parts.
ASSEMBLY INSTRUCTIONS
A
WARNING
B
C
•
•
MUST be secured in order to support the weight they are intended to support. It is recommended that this unit be
installed in a recessed fashion. If surface mounting, contact an architect, building contractor, or Professional Engineer
for proper installation and hardware. Contact an architect or building contractor if any questions.
•
•
weight limit of 400 pounds (181.8 kg) may cause the unit to be unstable or may cause a hazardous unstable condition to
This changer has six (6) recess mounting holes.
The diaper changing station is no stronger than the anchors or walls to which they are attached and, therefore,
Child should never be left unattended.
Avoid serious injury from falling or sliding out. Always use restraint system.
• Adding excessive weight such as parcels, packages, or accessories to the unit or to the bag hooks that exceed the total
exist.
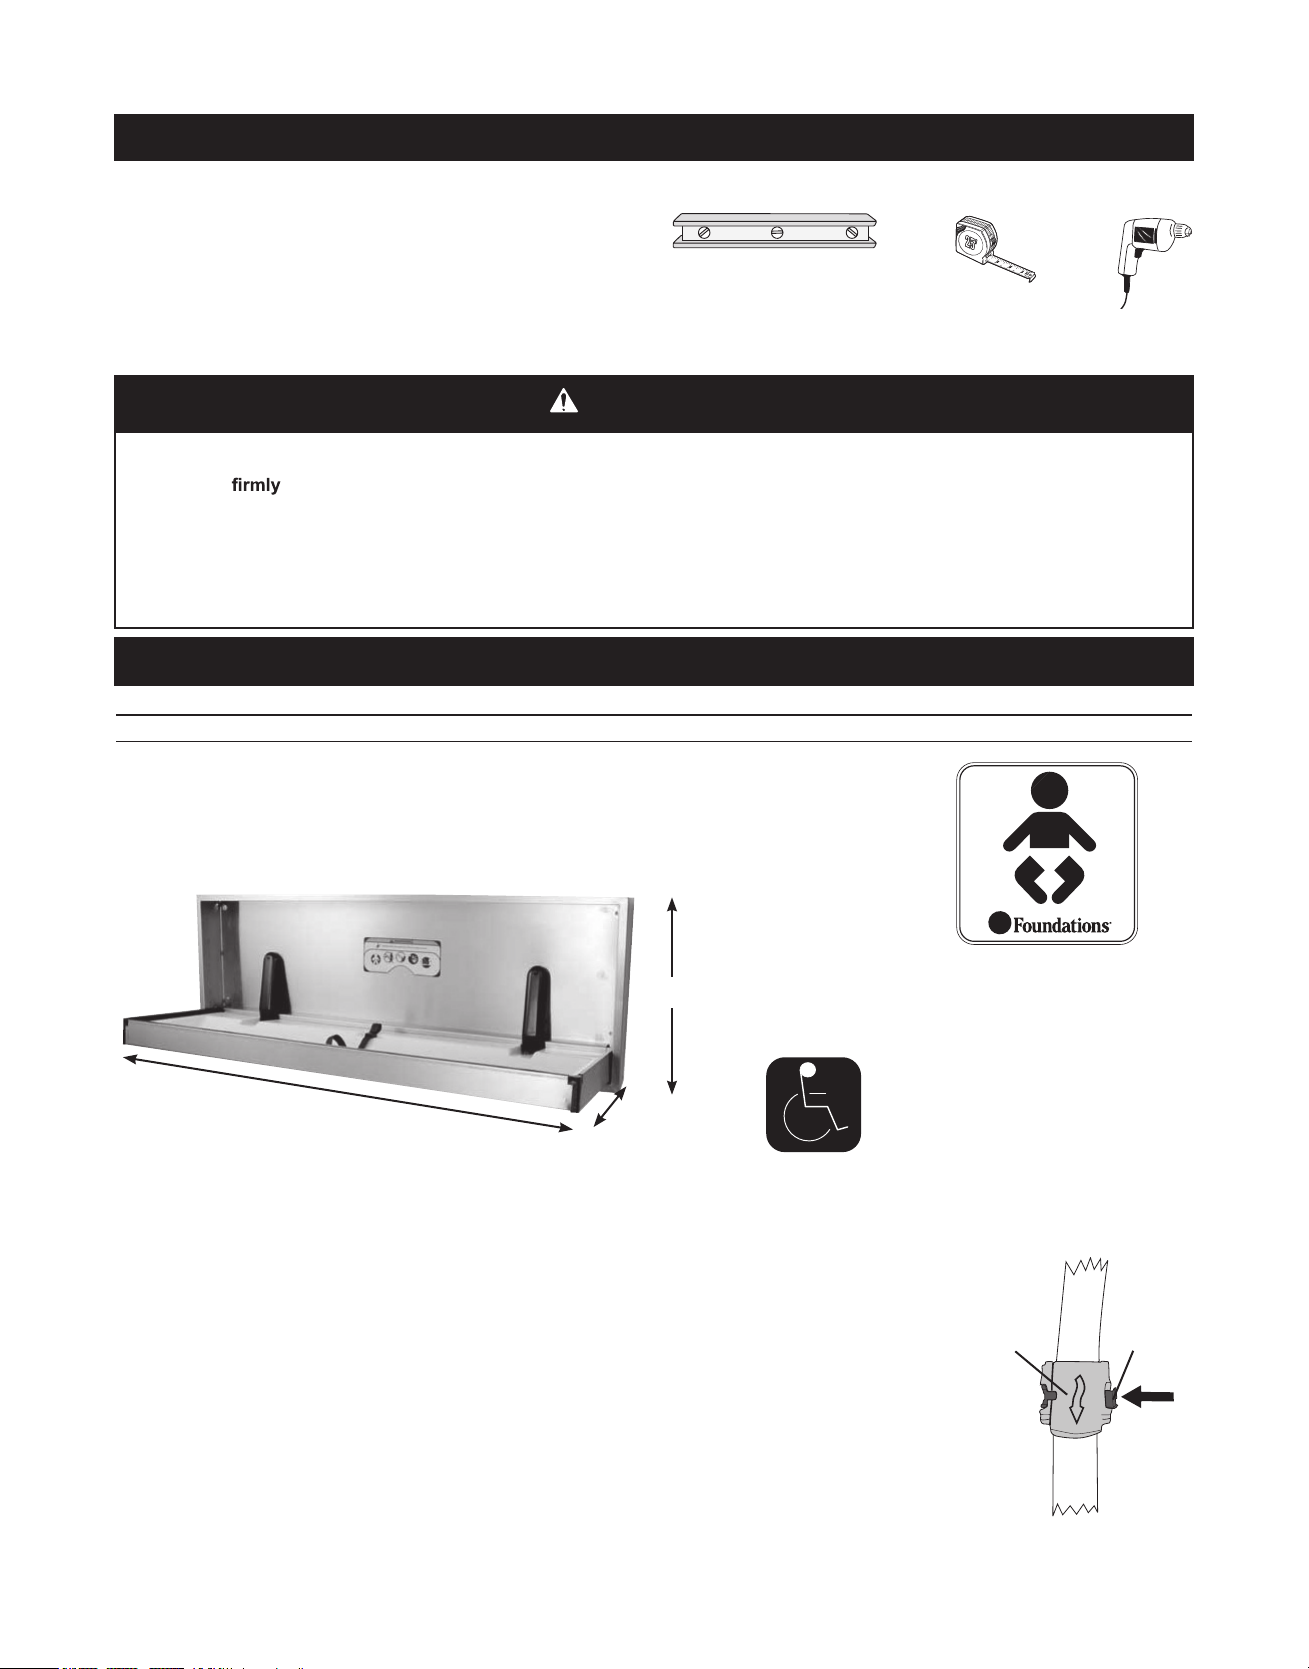
PARTS LIST
Parts Description Quantity
Door / Wall Plate 1
IMPORTANT: Due to widely varied wall material,
anchoring to be determined by architect or engineer.
Door / wall plate to be
23-1/8”
(588 mm)
mounted on outside of
restroom door.
A.D.A. Compliance:
306.3 Knee Clearance
307.2 Maximum Protruding Objects
308.2 Forward Reach
62-3/16”
(1579 mm)
(Door)
17-7/8”
(454 mm) (R)
21-3/8”
(543 mm) (SM)
308.3 Side Reach
309.4 Operation
902.3 Work Surface
Compliant when properly installed.
OPERATION:
Rotate base downward. Place person to be changed on top of the changing surface. Use restraint system as described below.
After occupant has been changed, remove restraint system and rotate base back up against the wall.
USE OF RESTRAINT SYSTEM:
Place occupant so restraint strap is located at abdomen. Rotate top of buckle upward and insert
strap in buckle. Pull strap through buckle until snug against occupant. Rotate top of buckle
downward to lock the strap into place. Slide red locking tab over top of buckle (Fig. a). Reverse
steps to loosen strap.
Top Of
Buckle
MAINTENANCE AND CLEANING:
Check all hardware and components monthly or as required to ensure hardware is tight and there
are no missing or damaged components. Take unit out of service if any component is missing or
damaged and contact customer service to order replacement parts. Do not substitute parts.
For replacement parts, contact customer service at 330-722-5033.
Clean by using a damp cloth with mild soap or mild multi-purpose cleaner. Do not use and strong
chemical cleaners or cleaning agents that may be hazardous to children.
Fig. a
1
Locking
Tab

INSTALLATION - RECESSED
Wood double stud blocking is necessary. Contact an architect and
.
For A. D. A.
1. Slide changer into blocking area and mark mounting hole location
on blocking studs.
This may require 2 additional people to help hold changer
appropriate fasteners .
for other substrates.
1"
(25.4 mm)
For A. D. A.
Compliance
28”
(71 cm)
Recess
Mounting
Holes
Double Stud
A. F. F
Recess
Mounting
Holes
63 1/4"
(1607 mm)
63 1/4" (1607 mm)
Rough-in
Double Stud
19.4"
(492 mm)
Double Stud
3 7/8"
(98.4 mm)
21 3/4"
(552 mm)
Rough-in
Double Stud
TOP
VIEW
FRONT
VIEW
Recess
Mounting
Holes
INSTALLATION - SURFACE-MOUNT
is necessary .
Contact an architect or building contractor to make sure the
For A. D. A. compliance,
attachment hole.
.
.
Wall
For A. D. A.
Compliance
48 1/2”
(123 cm)
Collar
14 3/4
(374.7 mm)
A. F. F
Surface Mount
Holes
Top
48"
(1219 mm)
on center
2
 Loading...