

Foundations SI255D-Gen, 100-EV User Manual
Model 100-EV
Vertical Diaper Changing Station
Installation Instructions
WARNING
• Failure to follow these warnings and the installation instructions could result in serious injury
or death.
• Read all instructions before installing diaper changing station. Keep these instructions. DO NOT
discard.
SI255D-Gen
ASSEMBLY INSTRUCTIONS
ADULT INSTALLATION REQUIRED.
A
B
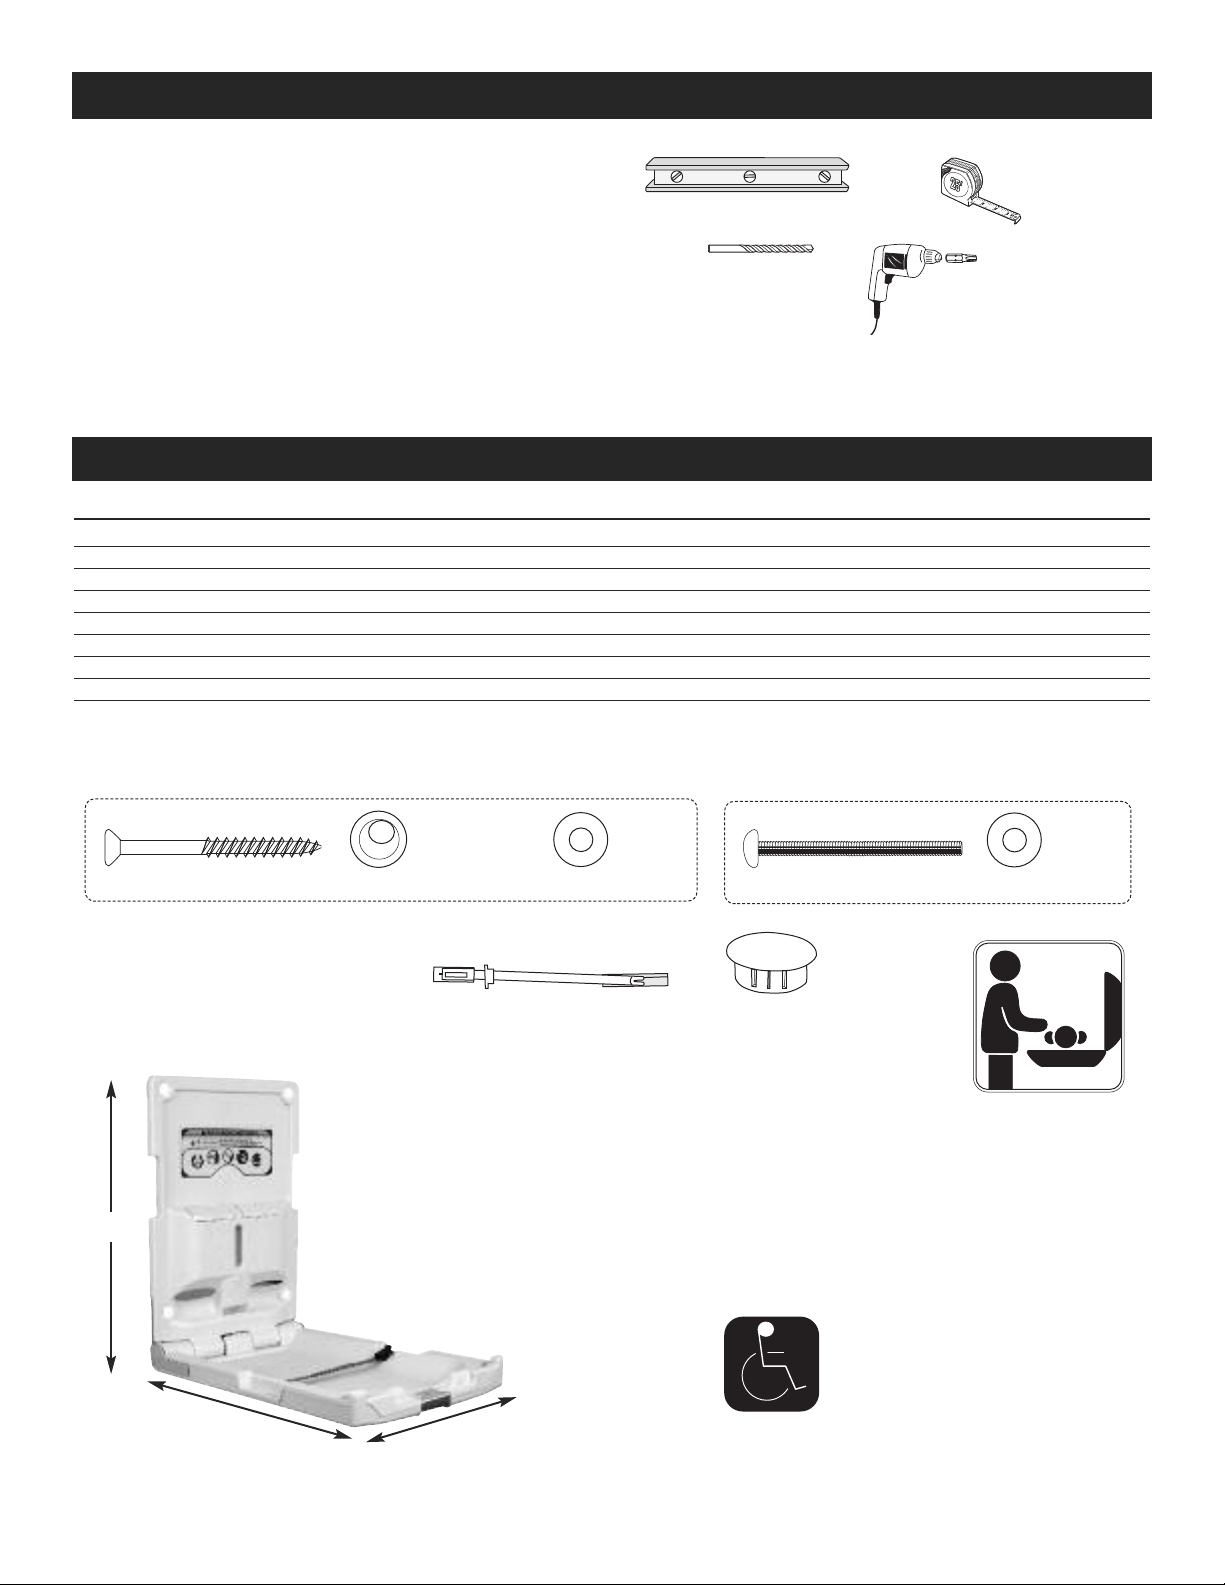
TOOLS REQUIRED:
evel (A)
L
Measuring tape (B)
Power drill with 7/32”, 1/8” and 1/2” masonry bits (C)
C
D
Power screwdriver with bull nose phillips bit (D)
• READ ALL INSTRUCTIONS BEFORE ASSEMBLY OF Diaper Changing Station.
npack carton and identify all parts.
• U
PARTS LIST
Parts Description Quantity
Hardware for installation:
3” Wood Screws 4
3/4” Finishing Washers 4
3” Machine Screws 2
3/4” Flat Washers 4
Toggle Anchors 2
1-1/4” Caps 6
Door / Wall Plate 1
3” Wood Screws
30.5”
(775 mm)
32”
(813 mm)
For Wood Studs:
3/4” Finishing Washers
Toggle Anchors
19.5”
(495 mm)
3/4” Flat Washers
For Use With Toggle Anchors:
3” Machine Screws
1-1/4” Caps
A.D.A. Compliance:
4.4.1 Maximum Protruding Objects
4.2.5 Forward Reach
4.2.6 Parallel Approach
4.27.4 Operation
Compliant when properly installed.
3/4” Flat Washers
Door / wall plate to be
mounted on outside of
restroom door.
1
 Loading...