

Page 1
Con taC t Us:
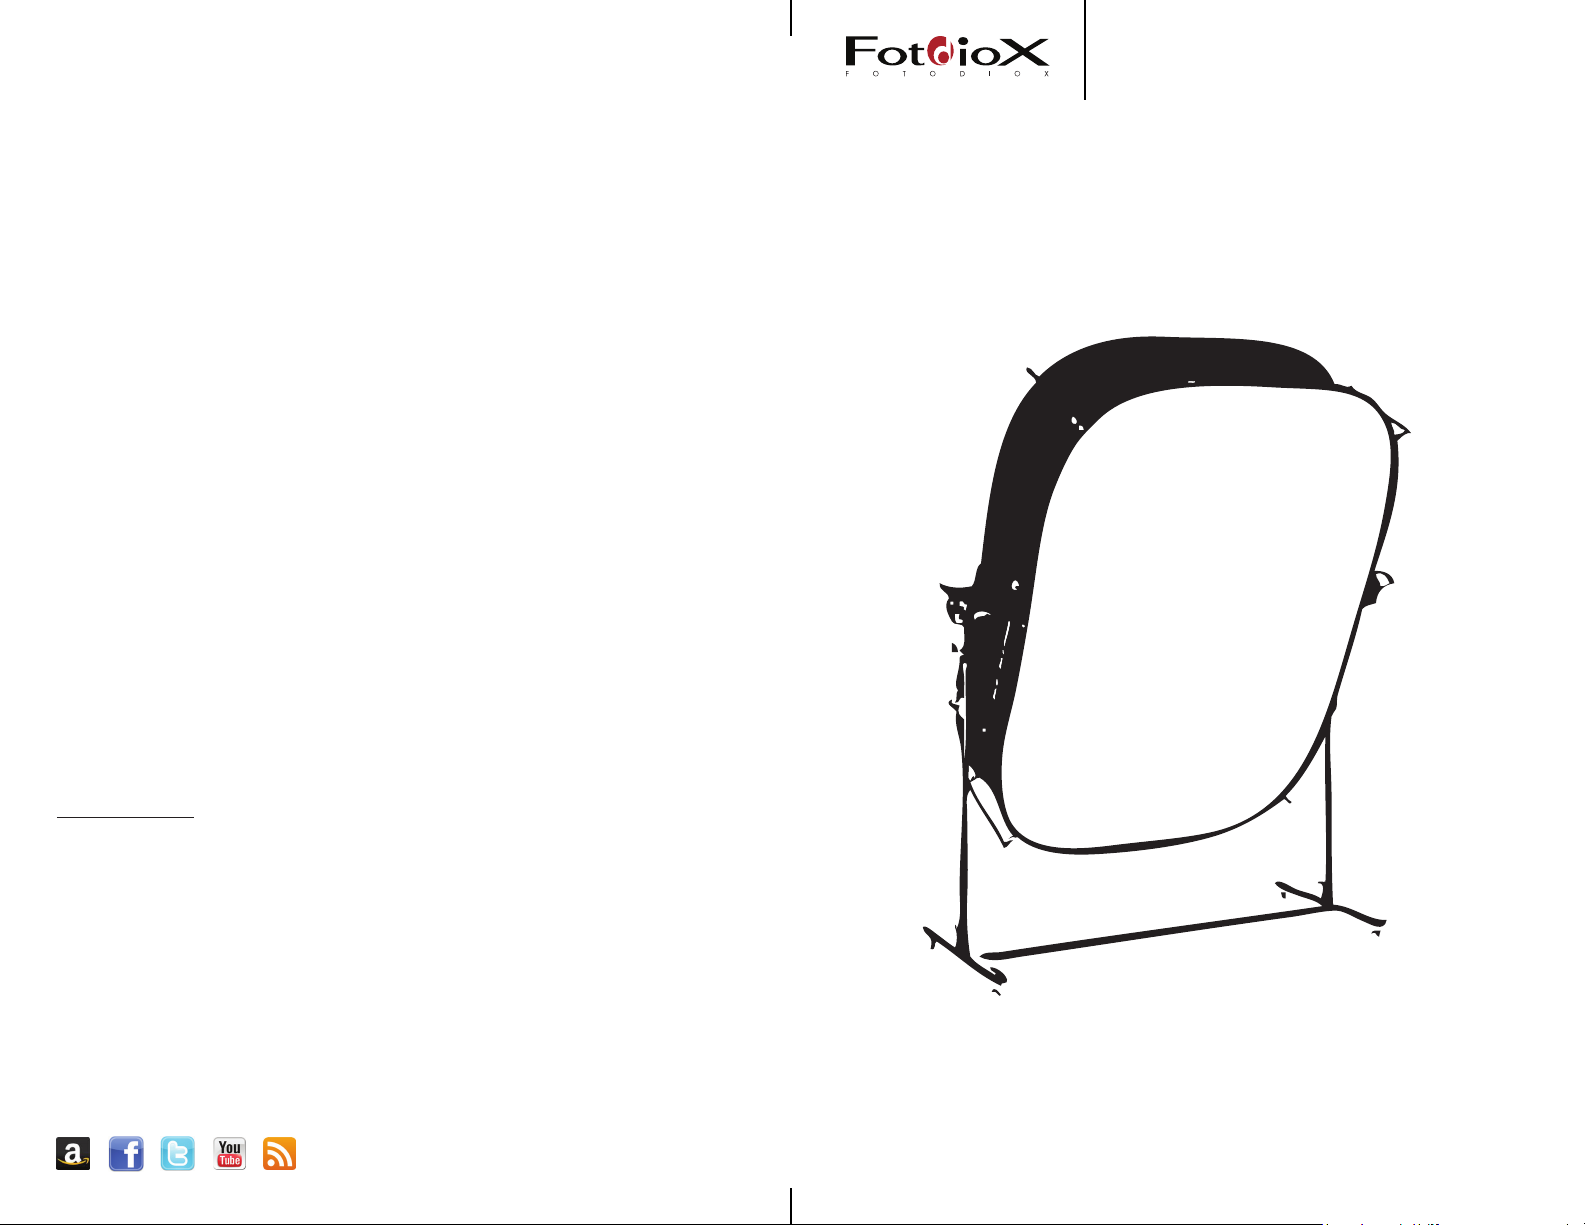
Pro Highkey
In stru c tio n Ma n ual
For Information Regarding this
and more of our products,
please contact us:
E-mail: [email protected]
Phone: 847.201.4623
www.fotodiox.com
3805 Hawthorne Ct.
Waukegan IL, 60087
We’re also on:
w w w . f o t o d i o x . c o m
Page 2
Contents
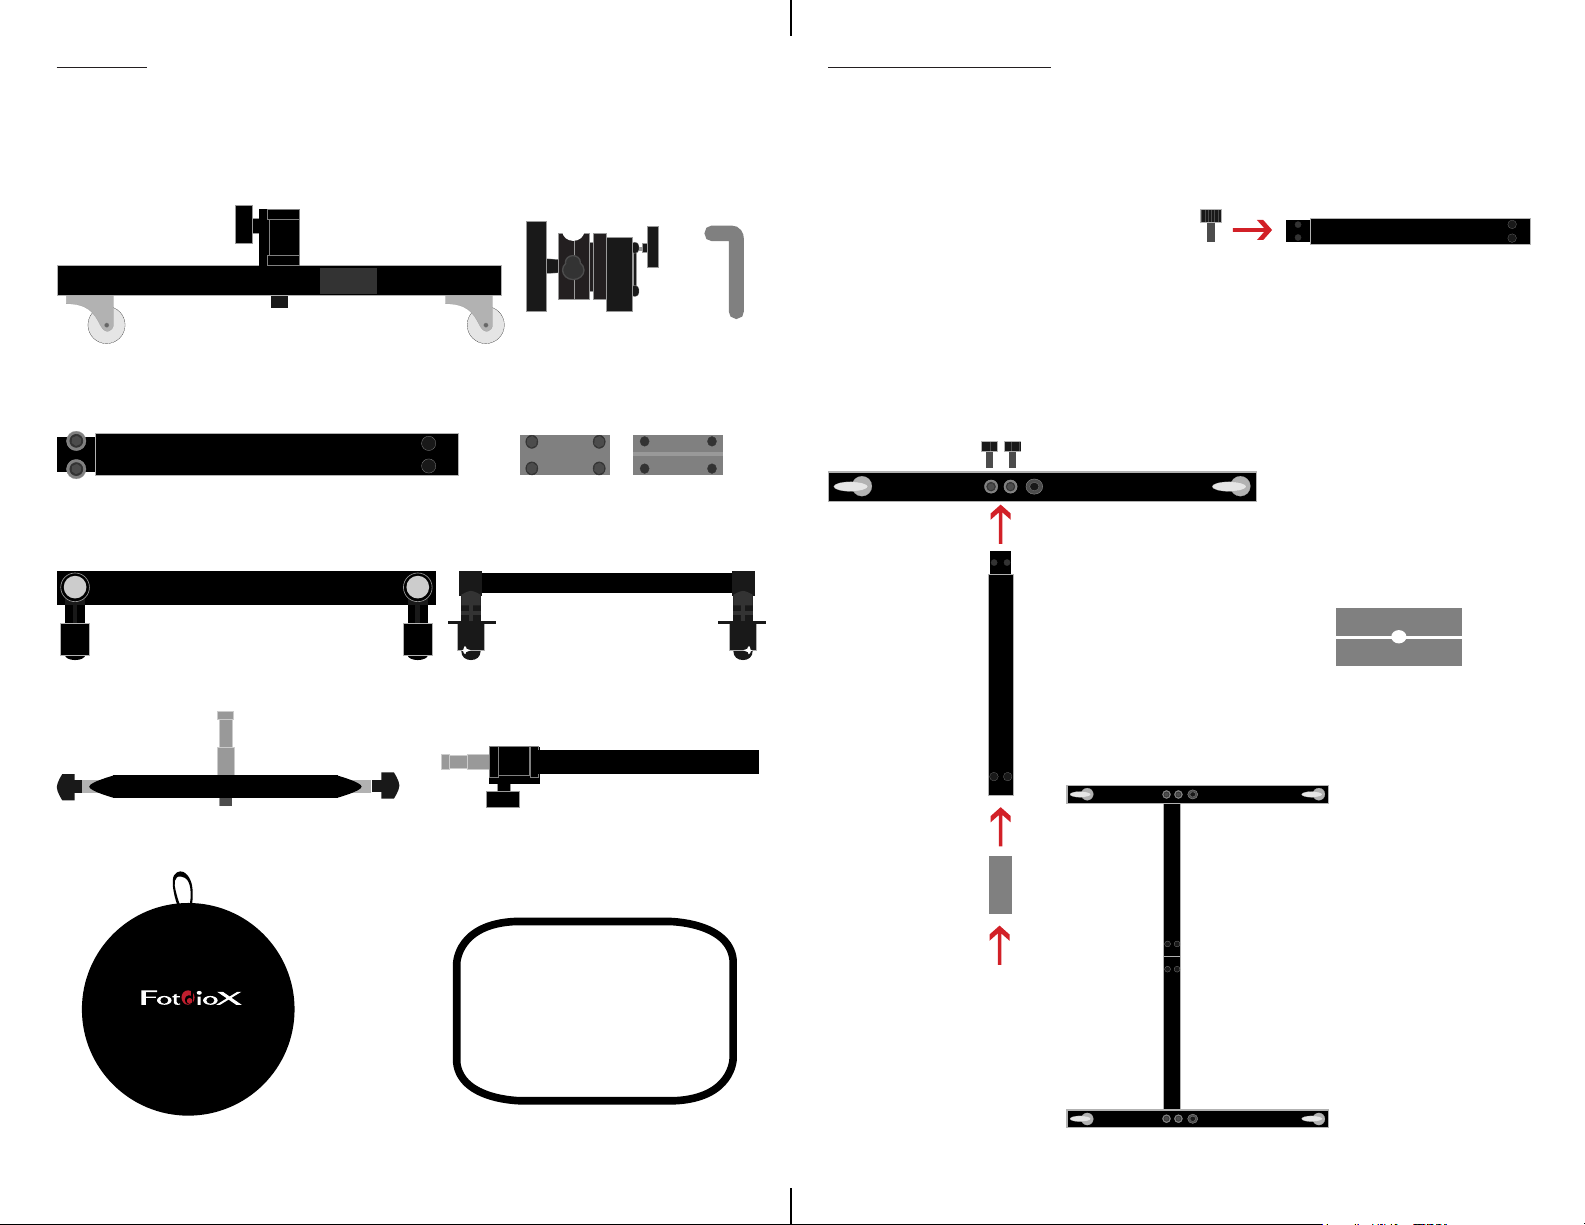
Pro 5x7 Highkey Background Kit Includes
assembling the highkey
The Base
2x Wheel Base
2x Base Column
4x Softbox Holder
2x Strobe Holder
2x Bracket 1x Tool
1x Bottom
Base Plate
4x Softbox Lock
2x Poles
1x Top
Base Plate
In an large open area,
1 2
gather and sort all of the
contents for an easier
assembly process.
With the screws
3 4
removed, insert the
Base Column into the
Wheel Base and secure
screws back on.
*View from bottom
Place the two Base
5
Plates so that they
look like this.
Remove the screws
with included key.
Repeat step three with
remaining Wheel Base
and Base Column.
1x Case
1
1x Softbox
Insert the two plates
6
together into the Base
Column with screws
facing down, tighten
lightly.
Connect the two parts
7
so that it looks like this:
Tighten All Screws.
*View from bottom
2
Page 3
assembling the highkey
The Frame
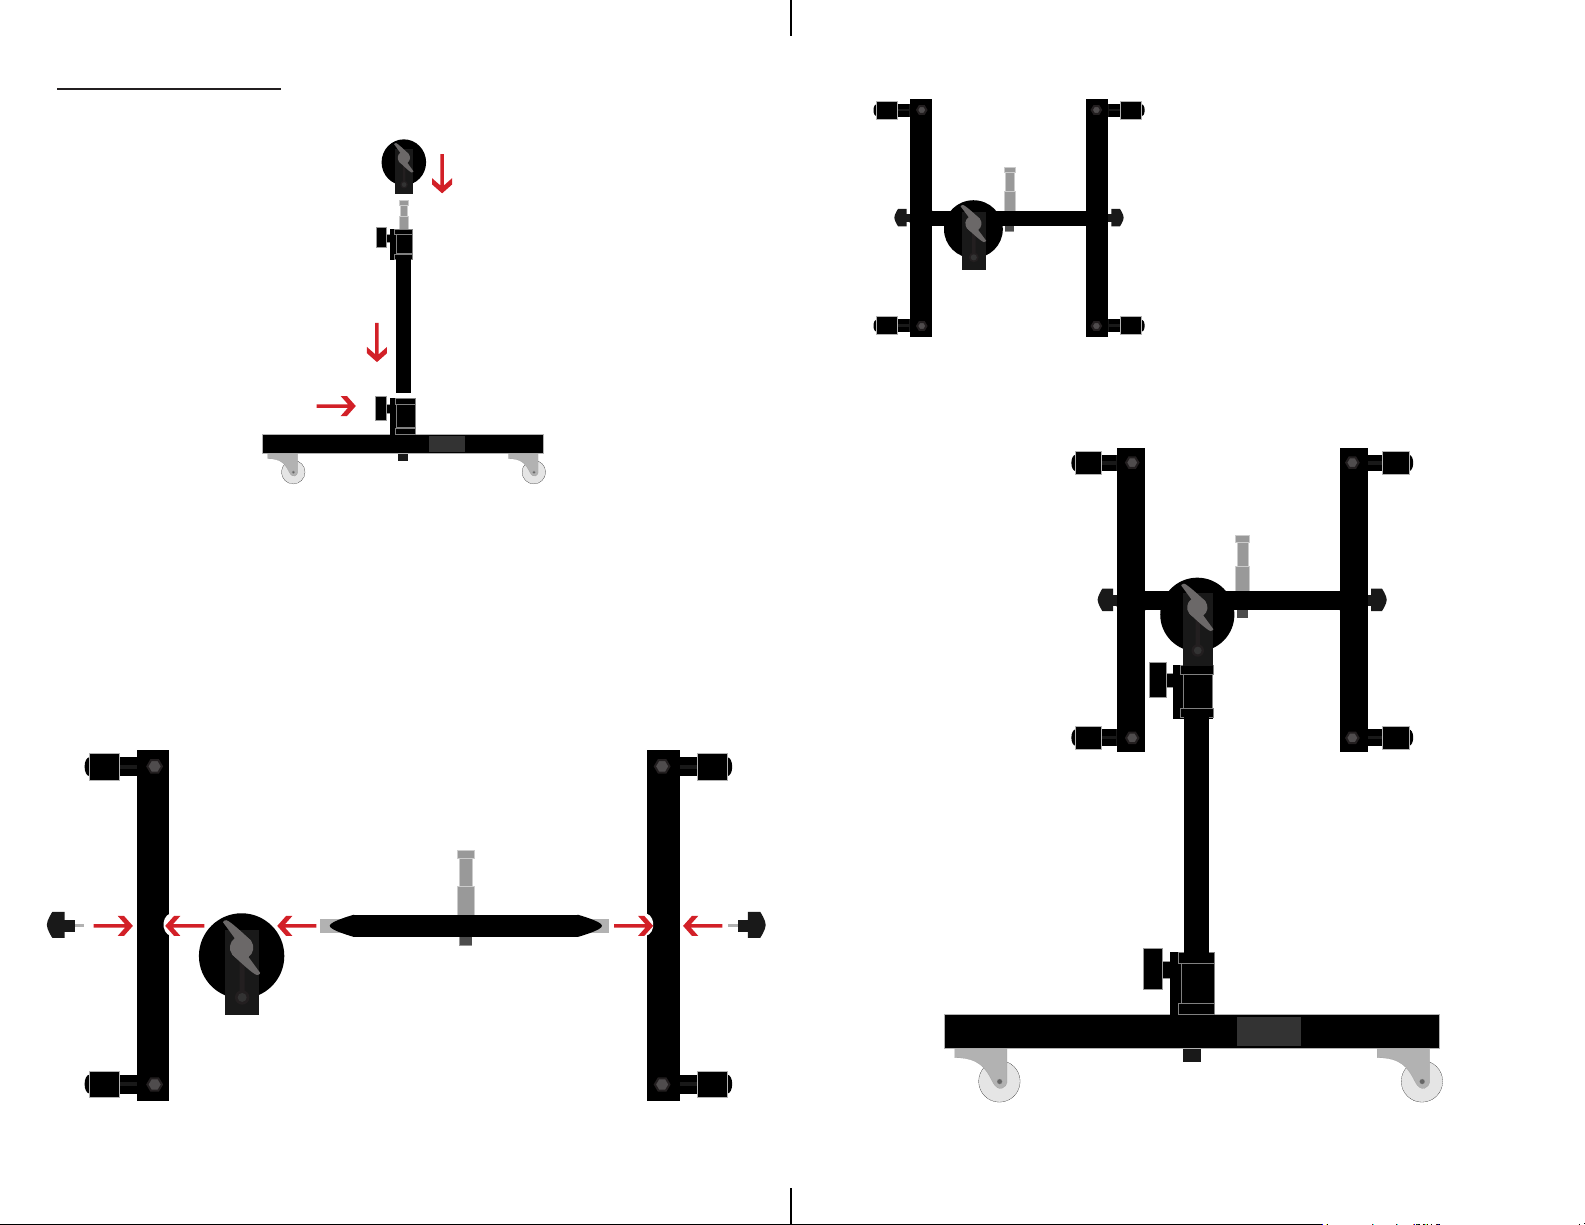
Insert the Pole into
1 2
the base and lock
with handle.
Repeat with
second Pole.
*Handle
Insert the bracket
and rotate so that
both brackets
(big handle) face
each other when
mounted.
Both sides should
look like this.
The nished Bracket and
5
Holders should be mounted
on both poles by now;
tighten every handle.
Remove the handle screws
3 4
from the Strobe Holder and
slide it through the big holes
on the bracket.
Make sure it’s facing up.
Insert the Softbox Holders
to each end of the Strobe
Holders and lock with
handle screws.
Repeat for the other side.
3
4
Page 4
assembling the highkey
The Softbox
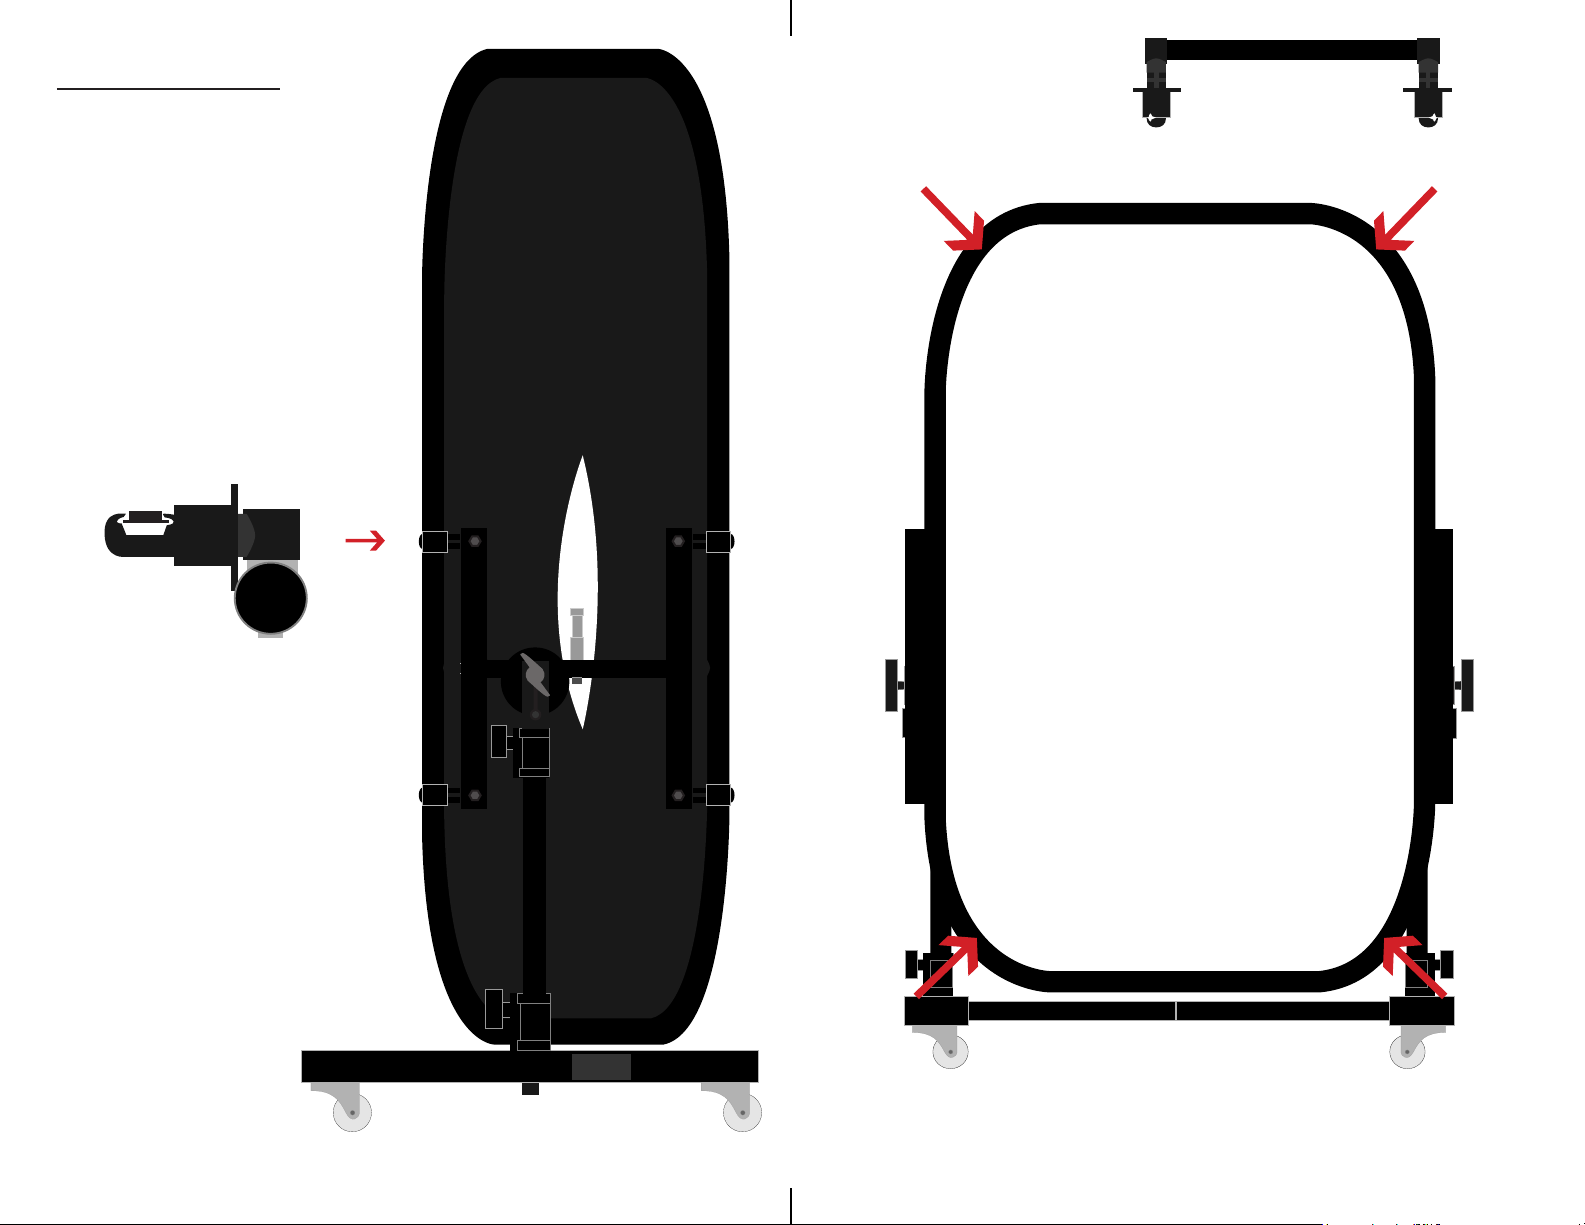
Place the open softbox
1
in the center of the
frame.
With the pins on the
2
Softbox Holder, secure
the softbox by clipping
along the metal edge
of the softbox.
Now attach the four
4
Softbox Locks to each
corner of the Softbox to
prevent it from closing.
Repeat for all four pins
3
and move on to the
other side.
DONE
Adjust angle and height to suit your needs
5
6
 Loading...