

Page 1
Con taCt Us:
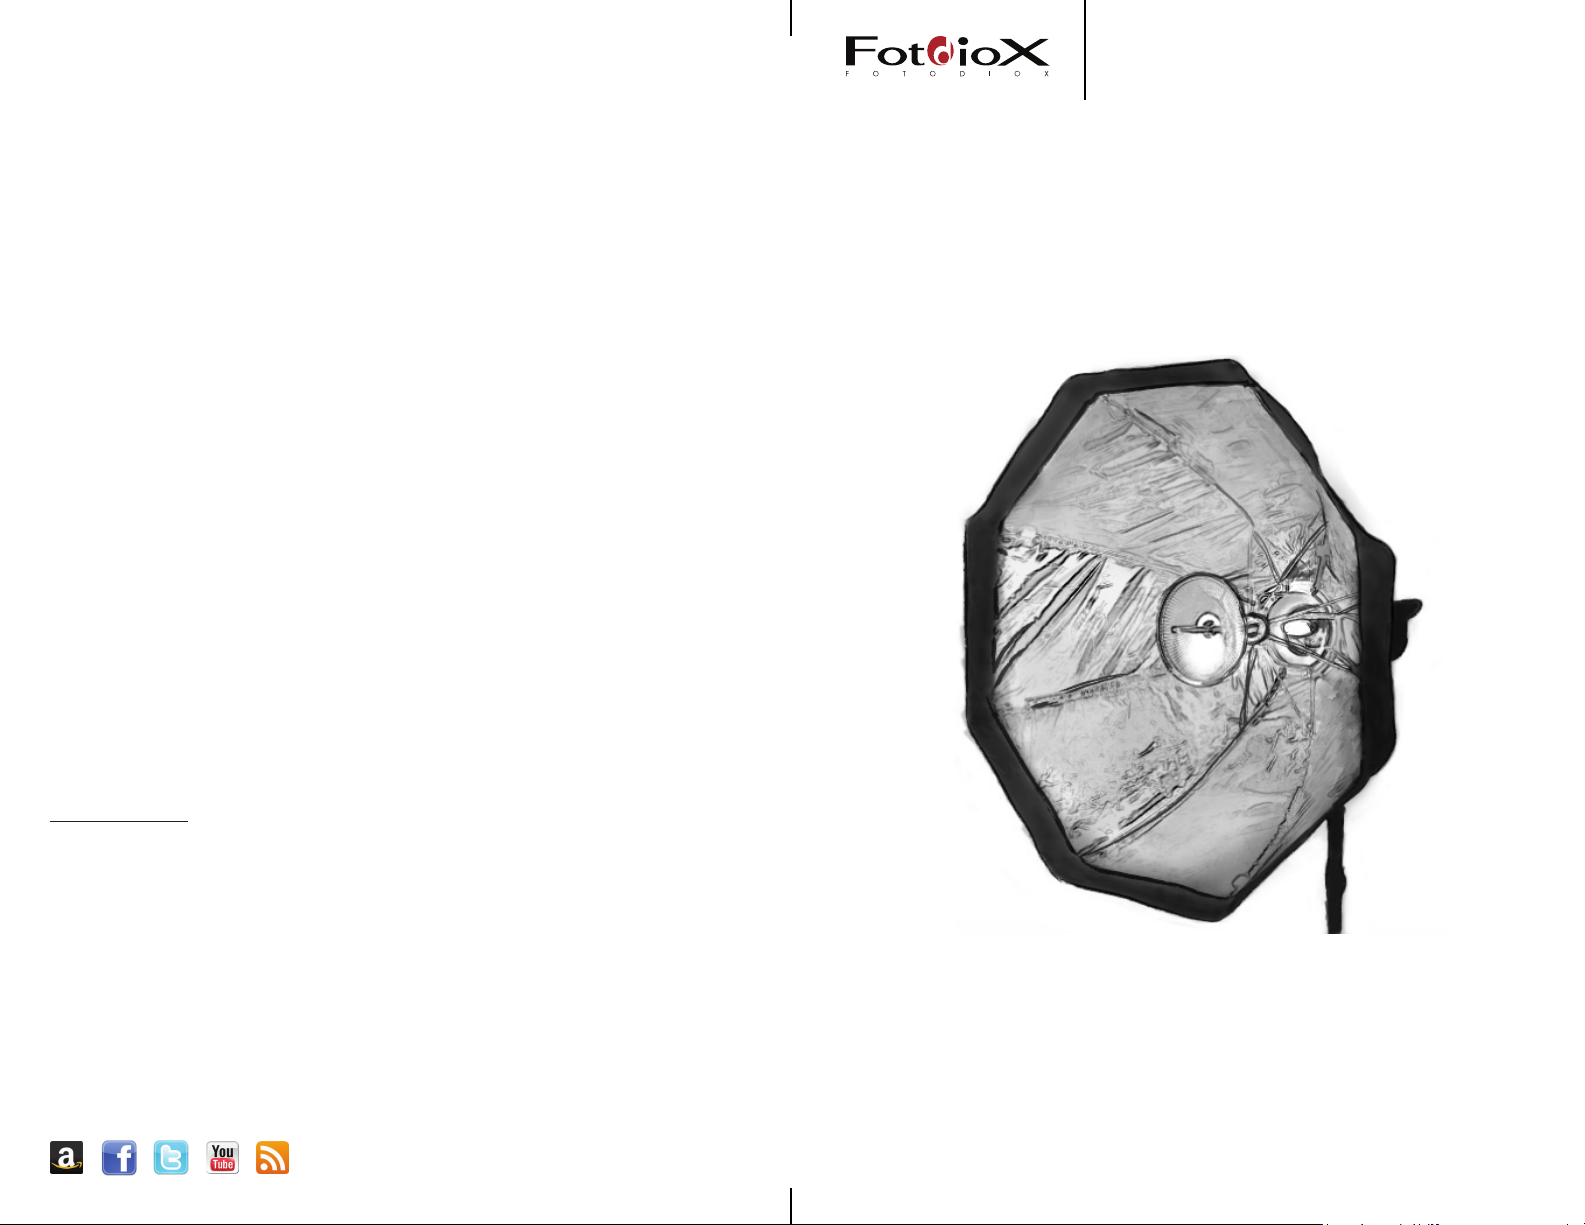
EZ Pro Softbox
Instruction Manual
For Information Regarding this
and more of our products,
please contact us:
E-mail: [email protected]
Phone: 847.201.4623
www.fotodiox.com
3805 Hawthorne Ct.
Waukegan IL, 60087
We’re also on:
w w w . f o t o d i o x . c o m
Page 2
the softbox
Specs and Features
assembling the softbox
Pro Studio Solutions EZ-Pro
this UniqUely DesigneD softbox is perfect for studio and location shooting. It
is made with Fotodiox high quality reective and diffusive material. The
dome of the softbox is made of durable Pro-grade omni-bounce silver
reective fabric with black backing. It also features a neutral diffusive
bafe inside the dome to provide softer lighting if needed. A diffusive
white fabric closes the front of the softbox and is attached by Velcro.
The Softbox features a patent and unique beauty dish which eliminates
the harsh hot spot common in other softboxes.
Product Features:
• Assemble and dissemble in a heart beat
• Great for travel. Pro grade, heat resistant reective fabric
• Heavy duty construction
• Features inner bafe, and outer diffusive cover for even light throw
• Sealable venting for use with modeling lamp or continuous lighting
• Rotation speeding ring with thumb screw lock
Contents
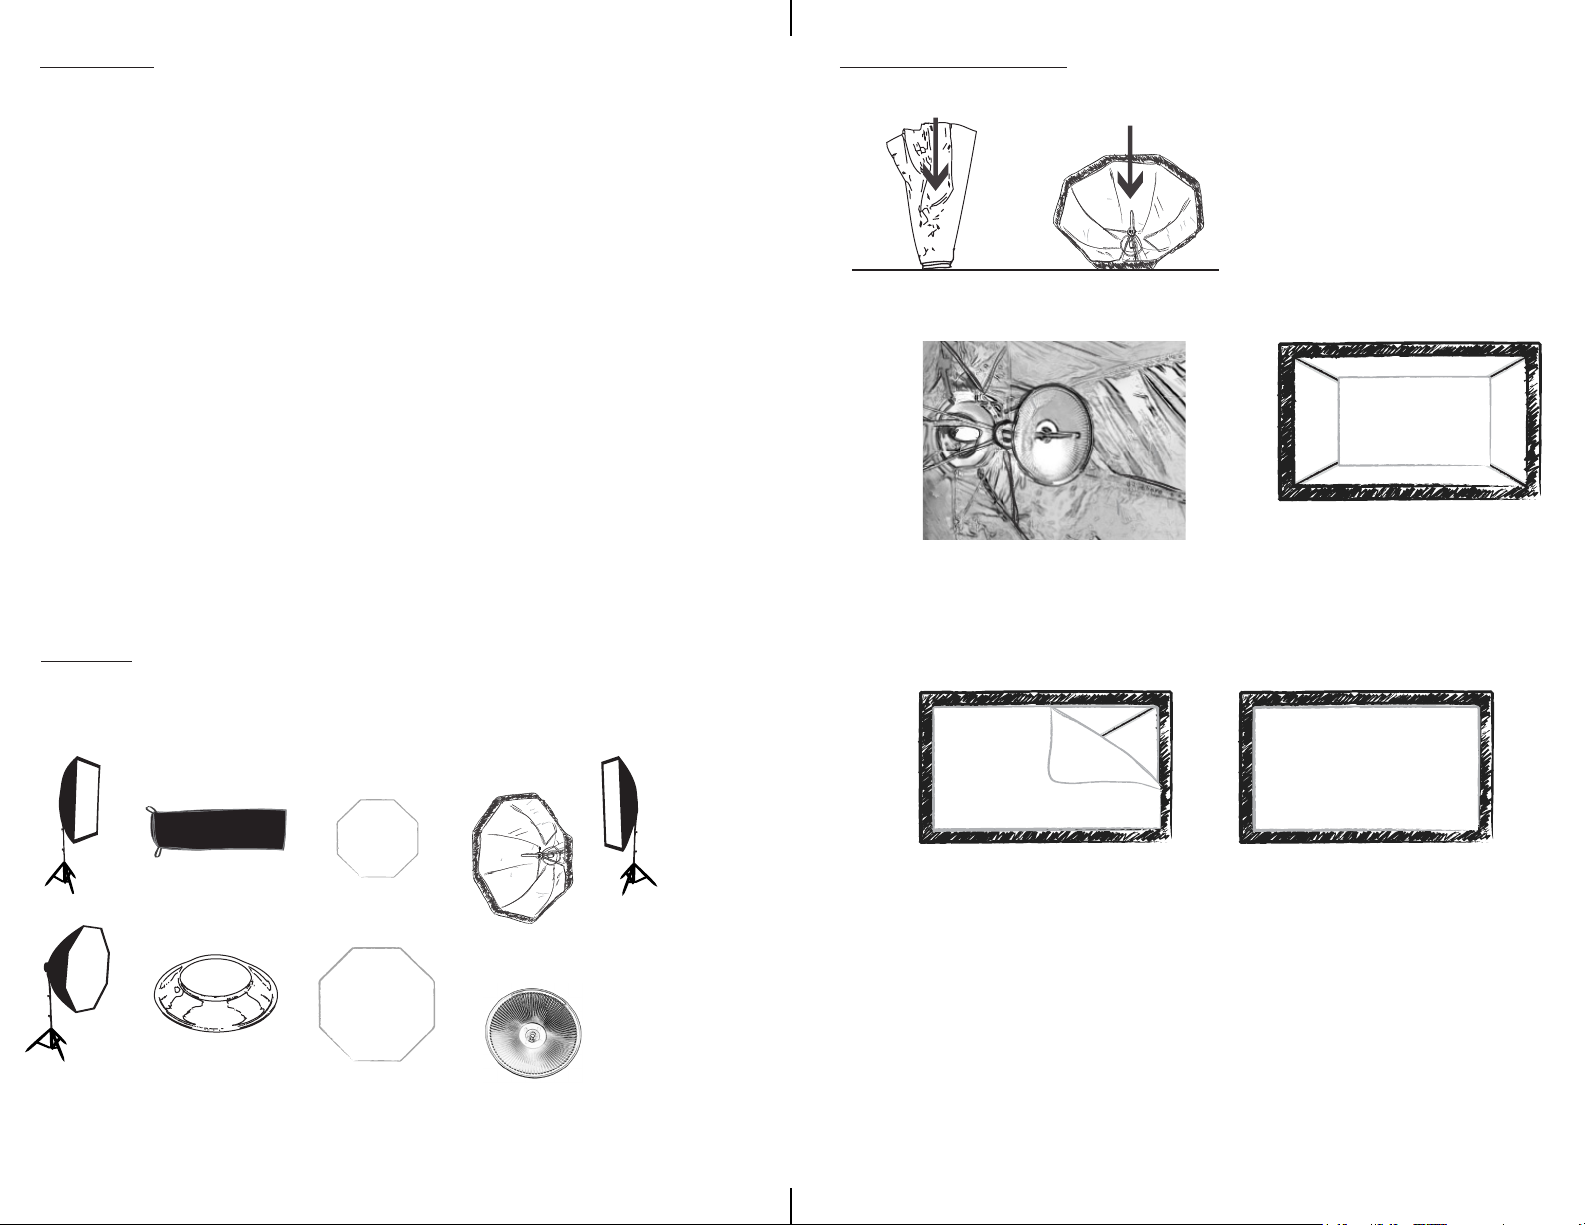
Stripbox, Rectangular/Square and Octagon Softboxes Include
1
2
4
Place the beauty dish in
the center rod at your
desired distance along the
center rod.
Find a large open area and
stand the Softbox on the
oor, silver side up.
To open, push the umbrella
plate against the oor until it
clicks / locks.
3
Connect all corners of the
Inner Diffuser to the elastic
bands.
1x Carrying Case
1x Speedring
Insert
1
1x Inner Diffuser
1x Outer Diffuser
1x Softbox
1x Beauty dish
Grab the Outer Diffuser
and attach the Velcro
to the entire perimeter of
the Softbox. Press rmly
around the perimeter to
close any gaps between
the Shell and the Diffuser.
To replace the insert (if needed) simply remove the four
5
screws from the plate, remove the existing insert and
replace it with a new insert screwing it back on.
Be sure attach the Diffuser
on the inner side of the
Softbox, leaving a good
amount of Velcro to
attach a Grid if desired.
2
 Loading...