

Page 1
10/2014
INSTALLATION / SETUP GUIDE
SECOND EDITION
Page 2

Page 3

for Microsoft Windows
Activation Key:
Copyright 2014 FORMAX All rights reserved.
FORMAX, Publisher
No part of this documentation may be copied, photocopied, reproduced, translated, microlmed,
or otherwise duplicated on any medium without written consent of FORMAX.
Use of the software programs described herein and this documentation are subject to the FORMAX
License Agreement enclosed in the software package.
All product names referenced herein are trademarks of their respective companies.
Page 4

Page 5
INSTALLATION
System Requirements
PC Hardware Software
Pentium 2GHz PC with 1 GB RAM or higher Works with any Windows® compatible printer
(Prints to multiple printers with single license)
4 GB free hard disk space Pre formatted print data only in PDF format
CD-ROM PDF Reader
Windows 2000 OS or higher Java Runtime
* One PC per license, if MailDoc is activated on a 2nd PC with the same activation code MailDoc will be deactivated on the
initial PC.
* Internet Connectivity required to operate program
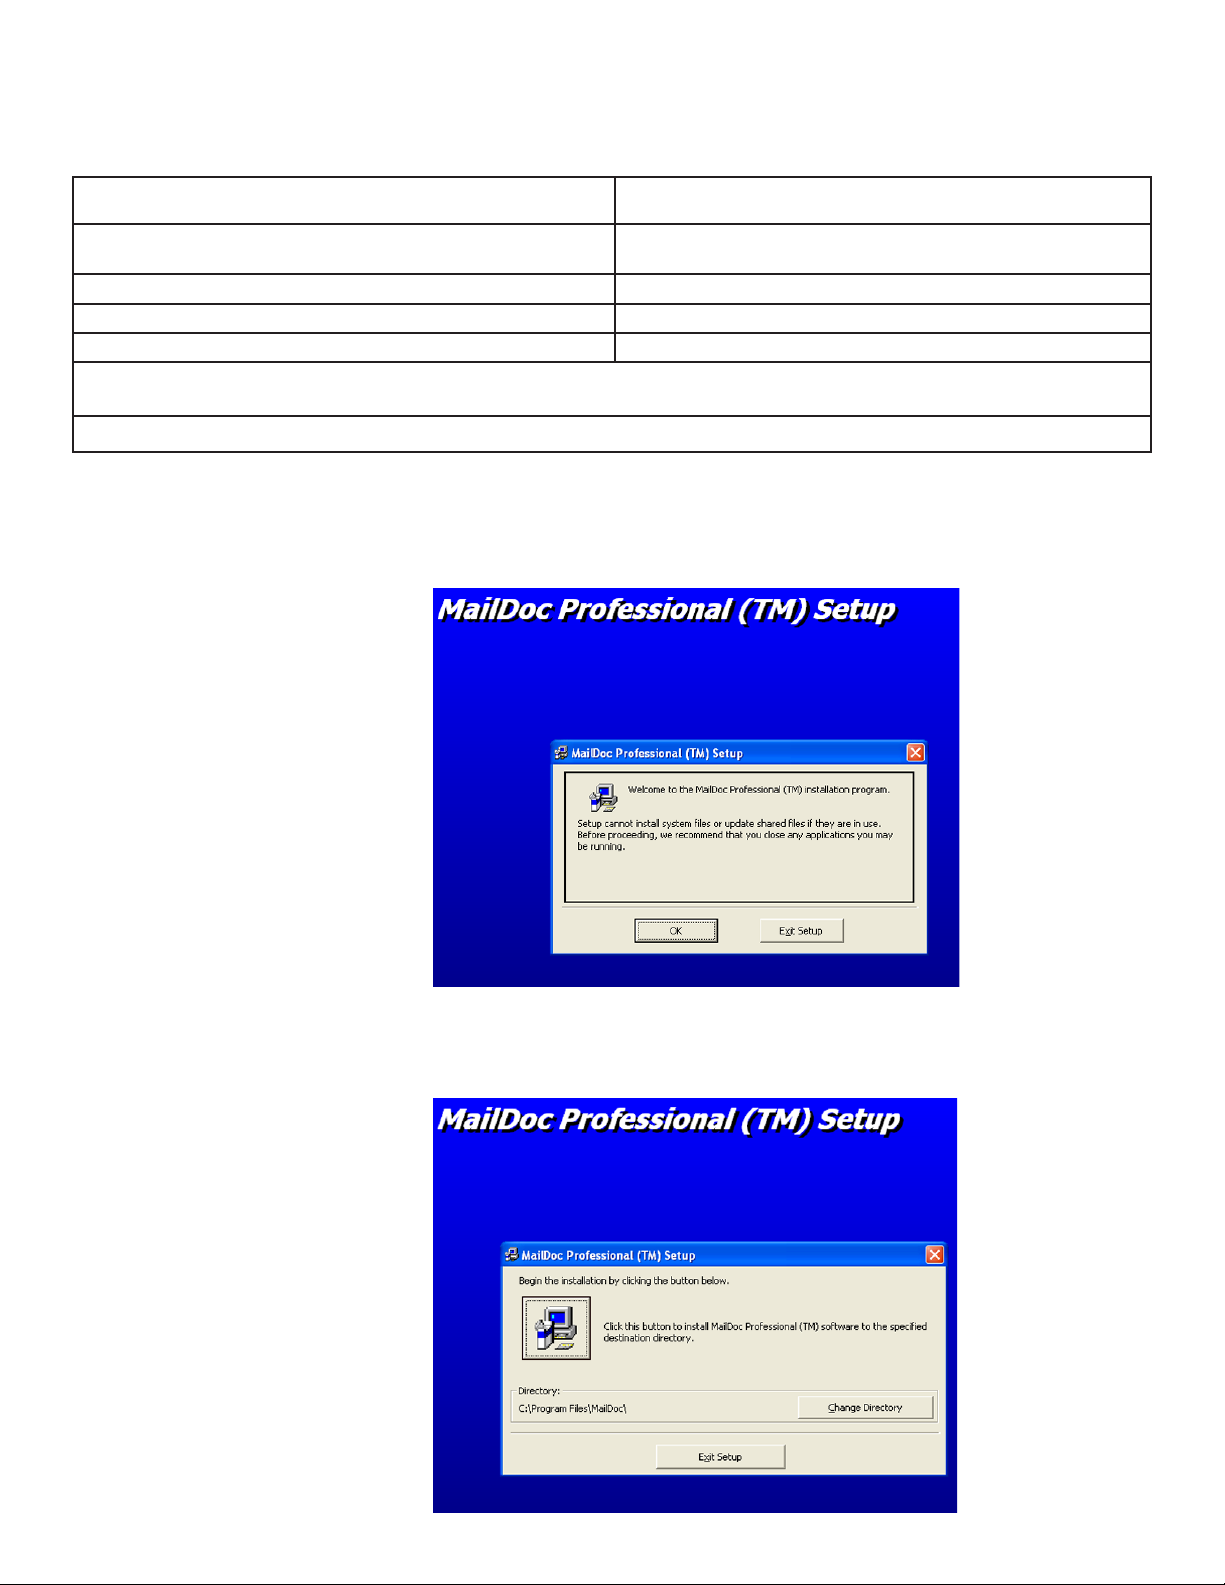
1. Insert MailDoc software disk into CD Drive. (If the disk does not autorun open the CD Drive and select
Setup.exe). Maildoc Professional Setup will open, close any applications running and press “OK” to
begin install.
2. Select program directory and then press the computer icon to continue setup.
1
Page 6
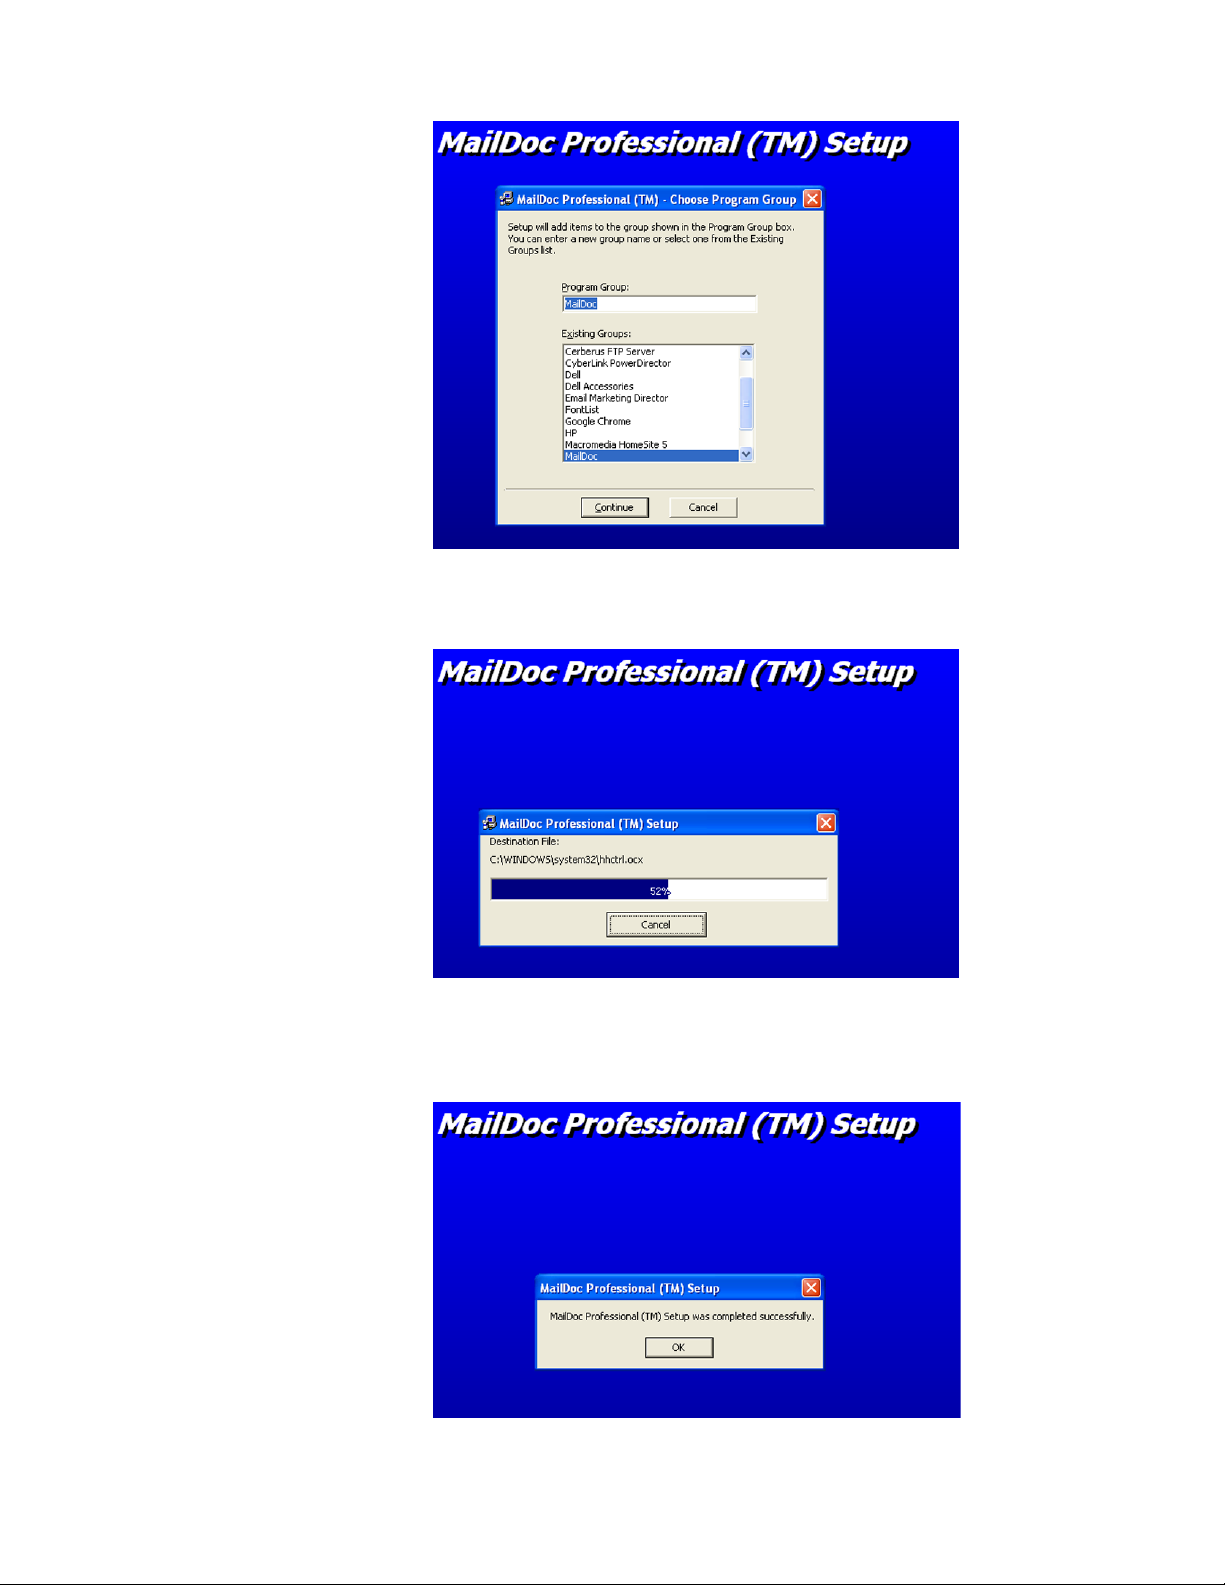
3. Select program group and press “Continue”
4. Installation will begin.
5. Press “OK” when installation has completed to begin using MailDoc Professional.
2
Page 7

PRODUCT REGISTRATION
To begin using MailDoc Professional the product must be registered with the Serial Number pro-
vided. When rst opening Maildoc a registration prompt will be displayed, click “OK” to continue.
Fill out the required registration information and click “Register” to send the information. Upon
successfully completing the registration Maildoc Professional will be ready for use and a con-
rmation e-mail will be sent.
3
Page 8
ABOUT MailDocTM Professional
MailDocTM Professional adds OMR or BCR marks to your PDF documents, invoices and statements
that are required by OMR/BCR enabled folder-inserters. These OMR/BCR marks tell the folder-inserter
how the documents should be prepared for mailing. Information such as the number of pages of each
document and which documents need inserts or require diverting are included in these OMR/BCR marks.
The marks also ensure the documents are inserted in the envelope in the correct sequence.
With its driver technology, MailDocTM Professional can quickly and efciently support a wide variety of
OMR/BCR folder-inserters. With this software, you can create and save a conguration le or template
for commonly used documents, enabling re-use of these congurations for commonly performed tasks.
4
Page 9
ADDING MARKS TO THE FILE
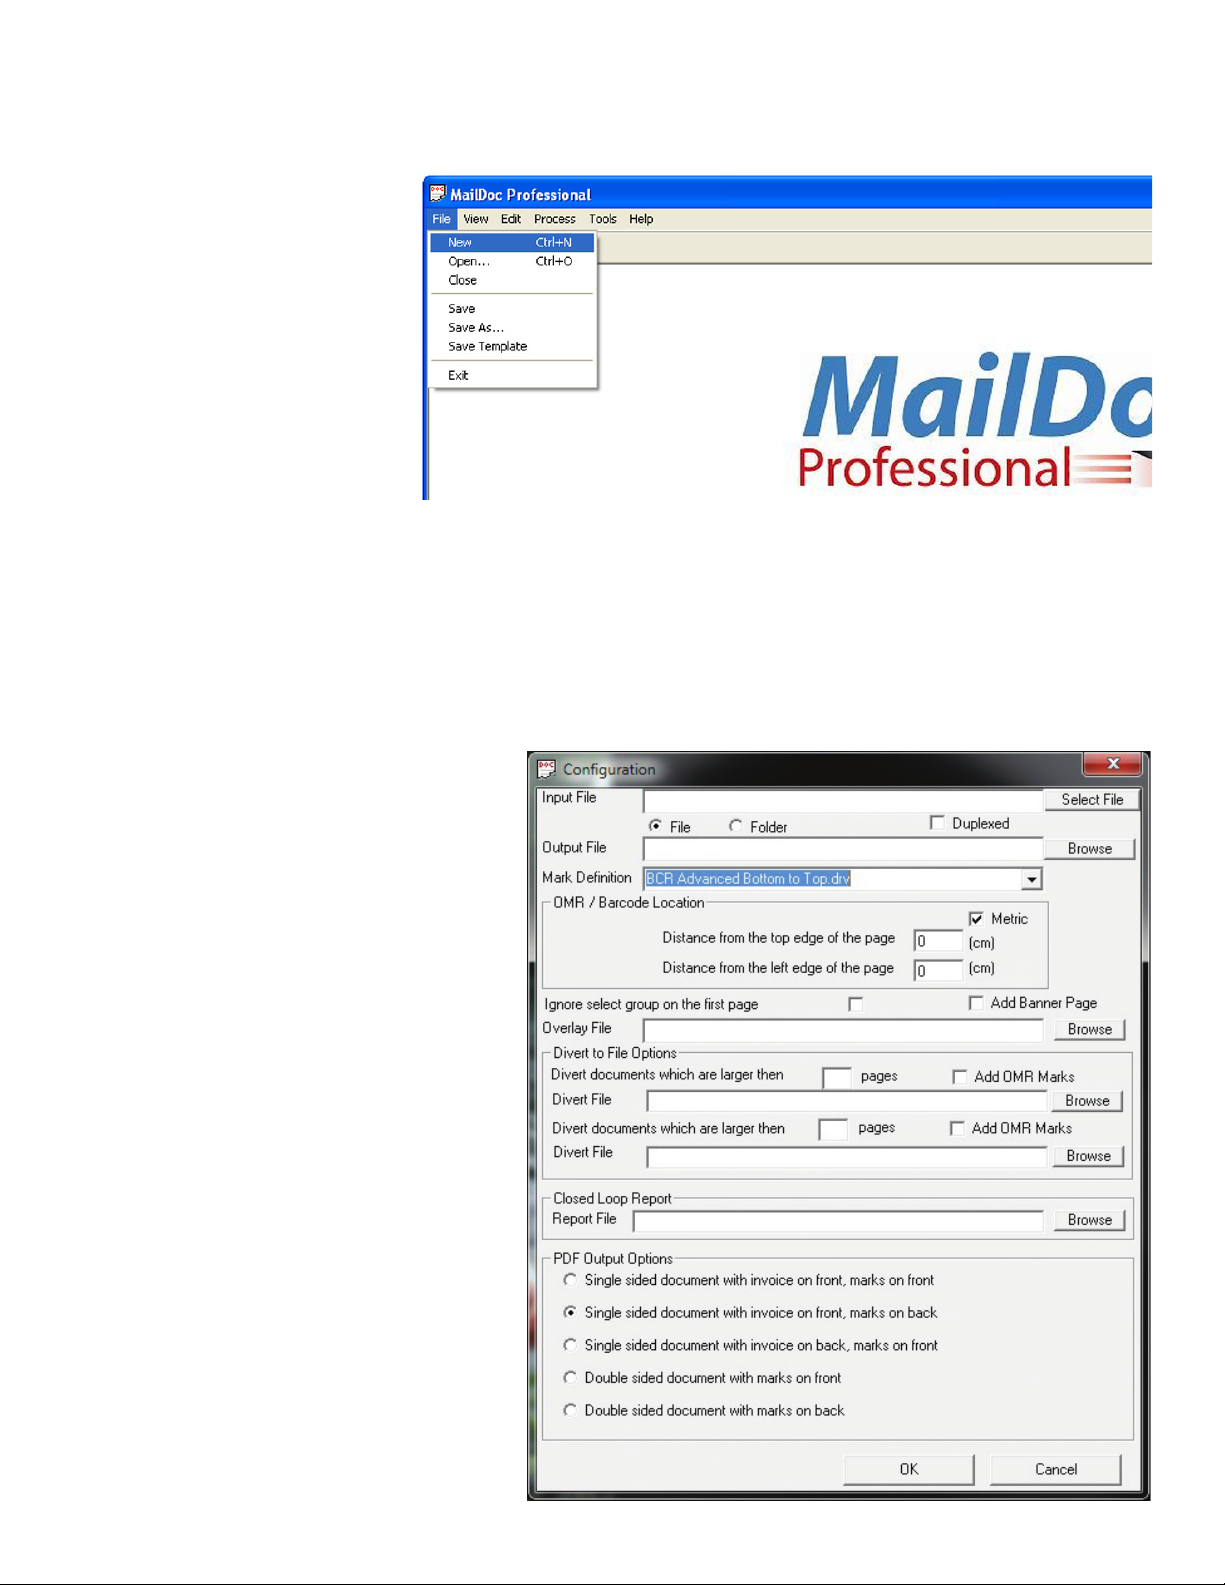
Select File/New to create a new job or File/Open to open a previously saved job or template.
File vs Folder Option for Input File:
• MailDoc can import PDF’s via two different methods File and Folder. The le option is used to
import a single PDF le (single pdf containing multiple pages to be grouped/sorted). The folder
option, allows you to select a given folder that contains multiple individual PDF les that contain
the same formatting (each PDF is for an individual customer). MailDoc will then merge and
group all of these individual PDF les into one combined PDF with the OMR/BCR marks printed
on them.
• The Duplexed check box is used if the PDF File that is being imported is also set up for duplex
printing.
5
Page 10

You will also need to enter the following information:
• Output File: Enter the lename and location for your processed PDF documents with OMR/
BCR added.
• Mark Denition: Contains the options of which type of OMR/BCR will be applied to the
document based on your inserter.
Predened Mark Denition Options:
“BCR Advanced Bottom To Top.drv”:
“BCR Advanced Top To Bottom.drv”:
“Dual Track Advanced Bottom To Top.drv”:
“Dual Track Advanced Top To Bottom.drv”:
“FD7100 Advanced BCR Bottom to Top.drv”:
“FD7100 Advanced BCR Top to Bottom.drv”
“FD7100 Advanced OMR Bottom to Top.drv”:
“FD7100 Advanced OMR Top to Bottom.drv”
“OMR Advanced Bottom to Top.drv”:
“OMR Advanced Top to Bottom.drv”:
Top to bottom reading
Top
Edge
Safety
Start
Bottom to top reading
Top to bottom is the most common reading direction. In most cases the top edge of the form is leading or entering
the inserter rst, using the “top to bottom” orientation. In cases when the top edge of the form is trailing or enters the
inserter last, the “bottom to top” mark orientation is needed.
• OMR/BCR Location: This determines where the marks will be physically located on the
documents.
Edge
Top
Safety
Start
• Overlay: An overlay is static information which will appear on every page of your document. It
might include a company logo, graphics or a form layout.
• Divert File Options: Enter the number of pages and a lename for the diverted documents, If a
document is equal to or exceeds the number of pages entered it will be sent to the le selected
for further processing.
• PDF Options: Select Single sided or Duplexed documents. If single sided is used only one
side of the paper will be printed on, if duplexed is selected both sides of the paper will be printed
on reducing the number of paper sheets used. Note: duplexed can only be used if your printer
can duplex print.
6
Page 11

When you have made your selections, click “OK” to display the imported documents.
7
Page 12

SELECTING THE GROUP FIELD
Once the document opens, you will need to select your group eld. The group eld is the unique
information used to determine where a document begins and ends. In this example, the group eld is
the invoice number. MailDoc will know the previous document is complete when it sees a new invoice
number.
Select the grouping eld by clicking and holding the right mouse button at the top, left corner of the
information to be selected, and dragging and releasing the mouse button at the bottom, right corner of
the information. A black box will appear around the selected eld. The text in the box will be displayed
in red.
8
Page 13

GROUPING CRITERIA
Grouping criteria can be used when a repeating value is not present on each page. For example if
there is no invoice number available a date, salutation or page number that is present only on the rst
or last page of a document can be used to separate each set. In the sample below the page number is
used. In this case a box is drawn around the page # eld on the document, “Start Text” is selected and
“Page # 1” is typed into the “Match Text” eld (Note: the “Match Text” eld is case sensitive.).
Grouping Methods:
• Repeating Value: Is used when the identier to be used is a unique character string (i.e.
invoice#, customer#, Acct#, etc.) that is in the same location on every page. MailDoc will read
what is in this box location on every page of the le, and group the all pages of the same
character string together.
• Start Text / End Text: This is used when there are no common identiers on every page of the
set.
• Start text is used to inform MailDoc that whenever the character string in the box you drew is
seen in the same location, that it is the rst page of the set. Any other pages following that do
not have this specic identier in the same location will be considered part of the same set until
the identier is seen again. Once seen, the previous set is completed and the next set is started.
• End Text functions very similar to start text, the only difference is that End text tells MailDoc
what is considered the last page of the set.
9
Page 14

SELECTING INSERT & DIVERT FIELDS
MailDoc Professional allows you to mark selective inserts and diverts for your document based on
the criteria you select. As an example, a selective insert allows you to instruct the inserter to add a
particular promotion or notice to a specic envelope, such as a bonus coupon to a customer in a certain
zip code.
The divert function allows you to instruct the inserter to place the document in the folder-inserter’s divert
tray instead of placing the document into an envelope. For example, you might wish to divert invoices
with a zero balance so they do not get mailed.
To select a eld for Inserting or Diverting, choose the appropriate item from the Edit Menu. Only the
number of selective inserts and diverts available for the “Mark Denition” selected are displayed on the
Edit menu.
10
Page 15

Use the mouse to create a box around the information to be used for each insert and divert, then click
the Properties button.
The Properties box allows you to set Boolean conditions (i.e. Equal to, Less than, Greater Than, etc..)
for each selective insert and divert. You can set up to 5 criteria for each insert or divert.
In the example shown, any address that contains Zip Code “03820” will receive an additional insert.
11
Page 16

The Boolean conditions available are described below.
Operator Field Command
= Numeric Number in the box equals the comparison value.
> Numeric Comparison value is less than displayed value.
< Numeric Comparison value is greater than displayed value.
<> Numeric Comparison value is between displayed values.
Equals Text Comparison value exactly matches displayed text.
Not Equal Text Comparison value does not match displayed text.
InString Text Comparison value appears within displayed text.
NotInString Text Comparison value not within displayed text.
StartsWith Text Comparison value at beginning of displayed text.
EndsWith Text Comparison value at end of displayed text.
12
Page 17

E-MAIL SETTINGS
MailDoc Professional can e-mail invoices directly to customers at the end of the sorting process. To
utilize this feature the e-mail address must be present on the document to be sent.
Select “Edit”, from the drop down list select “Divert To File” then select the File number to be diverted
to. In the example below “File 1” has been selected.
13
Page 18

Highlight the area containing the e-mail information. In the example below the box containing the email address is larger than the e-mail address present to allow for varying lengths. With the information
highlighted click on the “Properties” button to dene the criteria.
14
Page 19

The “Criteria for Divert to File” will open. The “Selection” box contains the information selected on the
previous screen. In the “Divert Conditions” choose the divert value, in this case it will be “CONTAINS”.
Select the “Add” button next to the “one of the list values” eld.
Enter the search value, in this example the “@” symbol is used to lter for e-mail addresses. Press “OK”
after entering the value.
15
Page 20

Check the “E-mail Divert Files” box and then press the “E-mail Settings” buttons
Enter your sender e-mail information along with subject and message. In addition a delay between
e-mails can be set and a “Report E-mail” can be added. Press “Apply” to save the information.
16
Page 21

SAVING YOUR SETTINGS
Once you have completed the selective inserts, diverts, grouping settings etc., you can save your job
by using the “File/Save”, “File/Save As” or “File/Save Template” options. “Save” or “Save As” will save
the le with all OMR/BCR settings along with input and output le settings. “Save Template” saves just
the OMR/BCR settings without the input and output settings for use with other input and output les,
eliminating steps and saving time for recurring jobs that have the same layout but with different data.
17
Page 22

PRODUCING THE MARKED DOCUMENT
To process your document, select “Process” from the menu bar.
Once the “Process” screen appears, you can click “Start” to generate the appropriate marks in the
output le. Selecting the “Test File” check box will generate comments beside each mark describing the
marks’ instruction.
18
Page 23

The Summary Report will appear on the screen once the le has been processed and marks have been
added. The Summary Report for this job is displayed below. The report can be printed and/or saved.
Close the screen when nished.
The top of the sample output le is shown below. The marks added by the software have been
highlighted.
19
Page 24

SETTING OMR MARK DEFINITIONS
To change the current mark denitions or to create a new set of denitions, select OMR Mark
Denitions from the Tools menu.
From this window, you may specify the dimensions of a mark, as well as the spacing between marks.
You may also specify Dual Track. Descriptions of each eld appear on the next page.
20
Page 25

Mark Length – Sets the length of the OMR marks.
Mark Weight – Sets the width of the OMR marks.
XSpacer – Denes the distance between each subsequent mark within the X-Axis (width) of the document.
• XSpacer = 0 - OMR marks are drawn from the top of the page to the bottom or from the bottom of
the page to the top.
• XSpacer > 0 - OMR marks are drawn from left to right. Each subsequent mark will be drawn
Xspacer units to right of the previous mark.
• XSpacer < 0 - OMR/BCR marks are drawn from right to left. Each subsequent mark will be drawn
Xspacer units
Yspacer - Denes the distance between each subsequent mark within the Y-Axis (length) of the document.
• Yspacer = 0 - OMR marks are drawn from left to right or from right to left.
• Yspacer > 0 - OMR marks are drawn from the top of the page to the bottom.
• Yspacer < 0 - OMR marks are drawn from the bottom of the page to the top.
XSpacerDual – Denes the distance between the rst track of marks and the second track of marks in the X-Axis
(width).
• XSpacerDual = 0 - OMR marks are drawn from left to right or from right to left, and the second track
of marks are drawn above or below the rst track of marks.
• XSpacerDual > 0 - OMR marks are drawn from the top of the page to the bottom or from bottom to
top, and the second track of marks are drawn to the right of the rst track of marks.
• XSpacerDual < 0 - OMR marks are drawn from the top of the page to the bottom or from bottom to
top, and the second track of marks are drawn to the left of the rst track of marks
YSpacerDual - Denes the distance between the rst track of marks and the second track of marks in the Y-Axis
(width).
• YSpacerDual = 0 - OMR marks are drawn from the top of the page to the bottom or from the bottom
of the page to the top, and the second track of marks are drawn to the left or right of the marks.
• YSpacerDual > 0 - OMR marks are drawn from left to right or right to left, and the second track of
marks are drawn to the below the rst track of marks.
• YSpacerDual < 0 - OMR marks are drawn from left to right or right to left, and the second track of
marks are drawn to the above the rst track of marks.
Dual Track - When selected two tracks of marks will be drawn. (For inserters that support dual OMR marks)
Max # of Pages - Denes the maximum number of pages MailDoc will group together to go into one envelope, i.e.
5 pages. Any document that exceeds the number of maximum pages will contain a divert mark. These sets will be
sent to a divert tray or stop in the collating area depending on the inserter model.
21
Page 26

Use the elds on the right hand side to assign your inserter’s supported marks to a relative position within the
mark sequence. The sequence of marks should follow the sequence of marks that your inserter expects. A
description of the mark can be entered into the adjacent text box.
Start – On every page, Denes the beginning position of the OMR code
Accumulate / Insert – Determines if additional pages are to be pulled or if the set is complete.
• No mark present = Accumulate; Mark present = Insert
Selective Feed – Tells the inserter to pull a sheet from a specied feeder based on criteria entered.
Divert/Cont. – This mark stops the system from folding & inserting, ejects the set to the divert tray and keeps
running.
Divert/Stop – This mark stops the system from folding & inserting, ejects the set to the divert tray and the inserter
stops.
Sequence – Sequence marks number the pages in a stack, to allow the inserter to detect sheets accidentally
getting out of sequence. If one sequence mark is used the pages will be numbered 1-2-1-2 etc. If two sequence
marks are used the pages will be numbered 1-2-3-4-1-2-3-4 etc. If three sequence marks are used, the pages will
be numbered 1-2-3-4-5-6-7-1-2-3-4-5-6-7, etc.
Custom – These marks can be customized for additional functions that may be available on the inserter.
Present/Deck – This mark ejects lled envelopes to alternate exit prior to sealing. This feature may be used for
periodic inspection of stuffed envelopes or as an end of run indicator.
Sealing – If automated sealing is available on the inserter this mark will indicate that the envelope should not be
sealed.
Exit Control – If multiple exit options are available this mark can be used to direct where the nished mail piece is
ejected from the inserter.
Env. Hopper – If multiple envelope hoppers are available on the inserter this mark will indicate which envelope
hopper to pull from.
Parity – A Parity mark ensures that the number of marks on the page are always even.
Safety – On every page. Provides extra security, primarily used for paper skew, if the safety mark is not read an
error code will be displayed on the inserter.
Mark Underlay (OMR only) – By enabling this checkbox MailDoc will create a clear space around the OMR/BCR
marks so that the inserter can properly read. (Each inserter type has specications for clear space around the
OMR/BCR marks, please see the operator manual of your inserter for further information on space needed).
• XPadding / YPadding: Allows you to program the size of the clear space of the underlay using the X/Y
Coordinates.
First Page only Check Box (OMR only) – When enabled, MailDoc will only place the OMR marks on the First
and Last Page of the set. The pages in between will not have any marks placed on them.
Beginning of Set Mark (OMR only) – Used for non-Formax branded equipment. (Please see operator manual of
your inserter to see if needed)
When you have entered the conguration for your folder-inserter, select Save to retain this information.
22
Page 27

SETTING OMR MARK LOCATION FOR NON-FORMAX INSERTERS
OMR Mark size spacing and positions can easily be adjusted to meet the requirements of non-Formax
Inserters. Begin by selecting the “Mark Denitions” from the “Tool” drop down
The “Mark Denition” screen will open with default settings. Select “Create New OMR” from the “Mark
Denition” drop down eld and name the new OMR marks in the “Denition Name” eld. Then simply
change the length, width, space between marks, mark positions and denitions to meet the criteria of
the non-Formax inserter. Press “Apply” and “Save” to save the new OMR.
23
Page 28

SETTING BCR MARK DEFINITIONS
To change the current mark denitions or to create a new set of denitions, select “Mark Denition” from
the “Tools” menu.
From this window the functions of BCR can be selected including how the multi-page documents are
grouped, selective feeding options, divert and sequence.
24
Page 29

• N of M: Security feature that ensures the correct number of sheets are accumulated and inserted. N = the
sheet # and M = the # of sheets in each set. If N is less than M another sheet is pulled, if N is equal to M the
set is complete and inserted, and If N is great than M a sequence error is generated and the group is diverted.
• Sheet Sequence – A sheet sequence mark is used as a sheet counter, if a sheet number is missing, an error
is generated..
• Group Sequence – A group sequence mark is used as a set counter, if a set number is missing, an error is
generated..
• Insert – An insert mark has the inserter feed a sheet from the station specied.
• Accumulate – An accumulate mark indicates that a set is complete and is ready to be inserted.
• Divert/Cont – A divert/cont mark ejects the set to the divert tray and continues operation.
• Divert/Stop – A divert/stop mark stops the system from collating and ejects the set to the divert tray.
• Sel. Feed – Tells the inserter to pull a sheet from a specied feeder based on criteria entered.
• Sealing - If automated sealing is available on the inserter this mark will indicate that the envelope should not
be sealed.
• Exit Set - If multiple exit options are available this mark can be used to direct where the nished mail piece is
ejected from the inserter.
• Env. Hopper - If multiple envelope hoppers are available on the inserter this mark will indicate which envelope
hopper to pull from.
• Customer ID – The customer ID mark is used in place of the N of M or insert accumulate mark. If the
customer ID is the same as the previous page it will accumulate if the Customer ID is different then the
previous set it will insert the set.
• Display Barcode Number – Enables the display of the code numbers within the barcode.
• Rotation Angle – Sets the angle of the barcode, horizontal, vertical, left to right, right to left, top to bottom or
bottom to top.
• Max # of Pages (OMR/BCR) – Used to set a value
• Pitch (BCR Only) – Used to set the Ratio of think to thin lines of the barcode (Typically set to 2.3 for Formax
branded inserter systems)
• Barcode Type (BCR only) – Check operator manual of inserter to see which code can be read
1D – Single Dimensional barcodes 2D – 2 Dimensional barcode
25
Page 30

Opening Saved Files and Templates
To open a saved le or template, select “Open” from the “File Menu”.
Product Updates
Product updates are available periodically to enhance the product performance. To access updates,
a password must rst be obtained through Formax. Press the Help button and select “Download” from
the drop down menu.
Enter the password and follow the on-screen directions to complete the download.
26
 Loading...