

Page 1
FD 8652CC AutoOiler
Cross-Cut Paper Shredder
OPERATOR MANUAL
FIRST EDITION
5/13
Safety Devices and Other Features
Formax 8000 Series Shredders are equipped with various safety features:
Automatic Reverse Rotation
When too much paper is inserted, the cutter stops operating and
automatically rotates in reverse to discharge the jammed paper.
An alarm sounds. Reduce the amount of paper and restart the operation.
Door Switch
If the door is open, the shredder will not operate.
Automatic Stop
When the shredded paper lls the wastebasket, the “FULL” light
comes on and the cutter stops operation. Open the door, remove the
wastebasket and empty paper scraps. Replace the wastebasket, close
the door and continue operation.
Automatic Power Shut-Off
• If the shredder operates continuously for more than 30 minutes, the
power is automatically shut off.
• If the motor is overloaded, the “STOP” LED will ash until it cools
down. When the ashing stops the shredder is ready to be used again.
Maintenance
• Disconnect power by pulling power cord plug from wall outlet.
• To clean the exterior, wipe the surface with a soft cloth. If the surface is very dirty, use
a neutral detergent, then wipe again with a soft cloth.
CAUTION:
• Never put water directly on the surface of the shredder.
• Never clean the case with benzene or thinner, since it will cause discoloration.
• Do not dismantle the shredder. Contact your Formax Dealer for service.
Page 2
Operation
1. Flip the power switch “ON” located on the right side of the shredder.
2. Auto Start/Auto Stop
When the “START” button is pushed, the signal lamp “AUTO” will light.
Insert paper to shred. The shredder will start and stop automatically
when using this function.
3. Manual Operation
If paper is too small for the shredder’s sensors to detect, shred it
manually. Push the “START” button once more and the “MANUAL”
lamp will light. Insert paper to be shredded. Three minutes after
shredding, the cutter automatically stops rotating.
4. Reverse Operation
Push the “REV” button and the signal lamp “REV” will light and cutters
will operate in reverse. If too much paper is inserted at one time in
standard modes, the shredder will automatically operate in reverse. If
this occurs, remove the inserted paper and shred in smaller amounts.
NOTE: The maximum amount of paper to be shredded differs
according to paper quality, humidity and voltage. If the shredder is to
be used continuously, do not insert more than half of the maximum
capacity.
Set-up Guidelines
1. Install the shredder on a level surface, away from heat sources and direct sunlight.
2. Insert plug into wall outlet with the appropriate voltage, 110V. If the outlet is shared
with another electronic device, the total current should not exceed 30A (at 1
10V).
Specications
Cutting Style: Cross Cut
Shred Size: 5/32” x 1-19/32”
Sheet Capacity: Up to 32 sheets
Speed: Up to 33 feet per minute
Feed Opening: 16”
Dimensions: 28” W (includes oil reservoir) x 24” D x 43” H
Security Level Level 3 (HIPAA Compliant)
Bin Capacity: 53 gal.
Weight: 317 lbs
Power supply: 110V, 50/60Hz 20A
Accepts credit cards, staples and paper clips
Safety Precautions
To avoid personal injury, and damage to the shredder, observe the following safety
precautions. Please keep these instructions for future reference.
NOTE: In case of emergency, ip the “Power Switch”
to cut off power and/or pull the plug out of the wall
outlet.
• Keep hands, long hair, clothing, ties, jewelry and loose
items away from the feed opening and shred outlet.
• Do not use the shredder for anything other than its
intended purpose. Never use it to shred cloth, plastic,
cardboard or any hard material that will cause damage to the shredder blades.
• Do not allow children to use the machine.
• Do not operate with a damaged power cord or plug, or when the machine is
damaged in any manner.
• Unplug the shredder when it is being moved, or if it is not in use for an extended
period of time.
• Do not disconnect the power by pulling only the cord. Hold the plug when
disconnecting.
• Keep the shredder away from direct sunlight.
• Do not sit on the shredder or place anything on top of it.
• Never open the xed switch or cover.
AutoOiler
The AutoOiler periodically pumps oil onto the cutting blades for optimal performance.
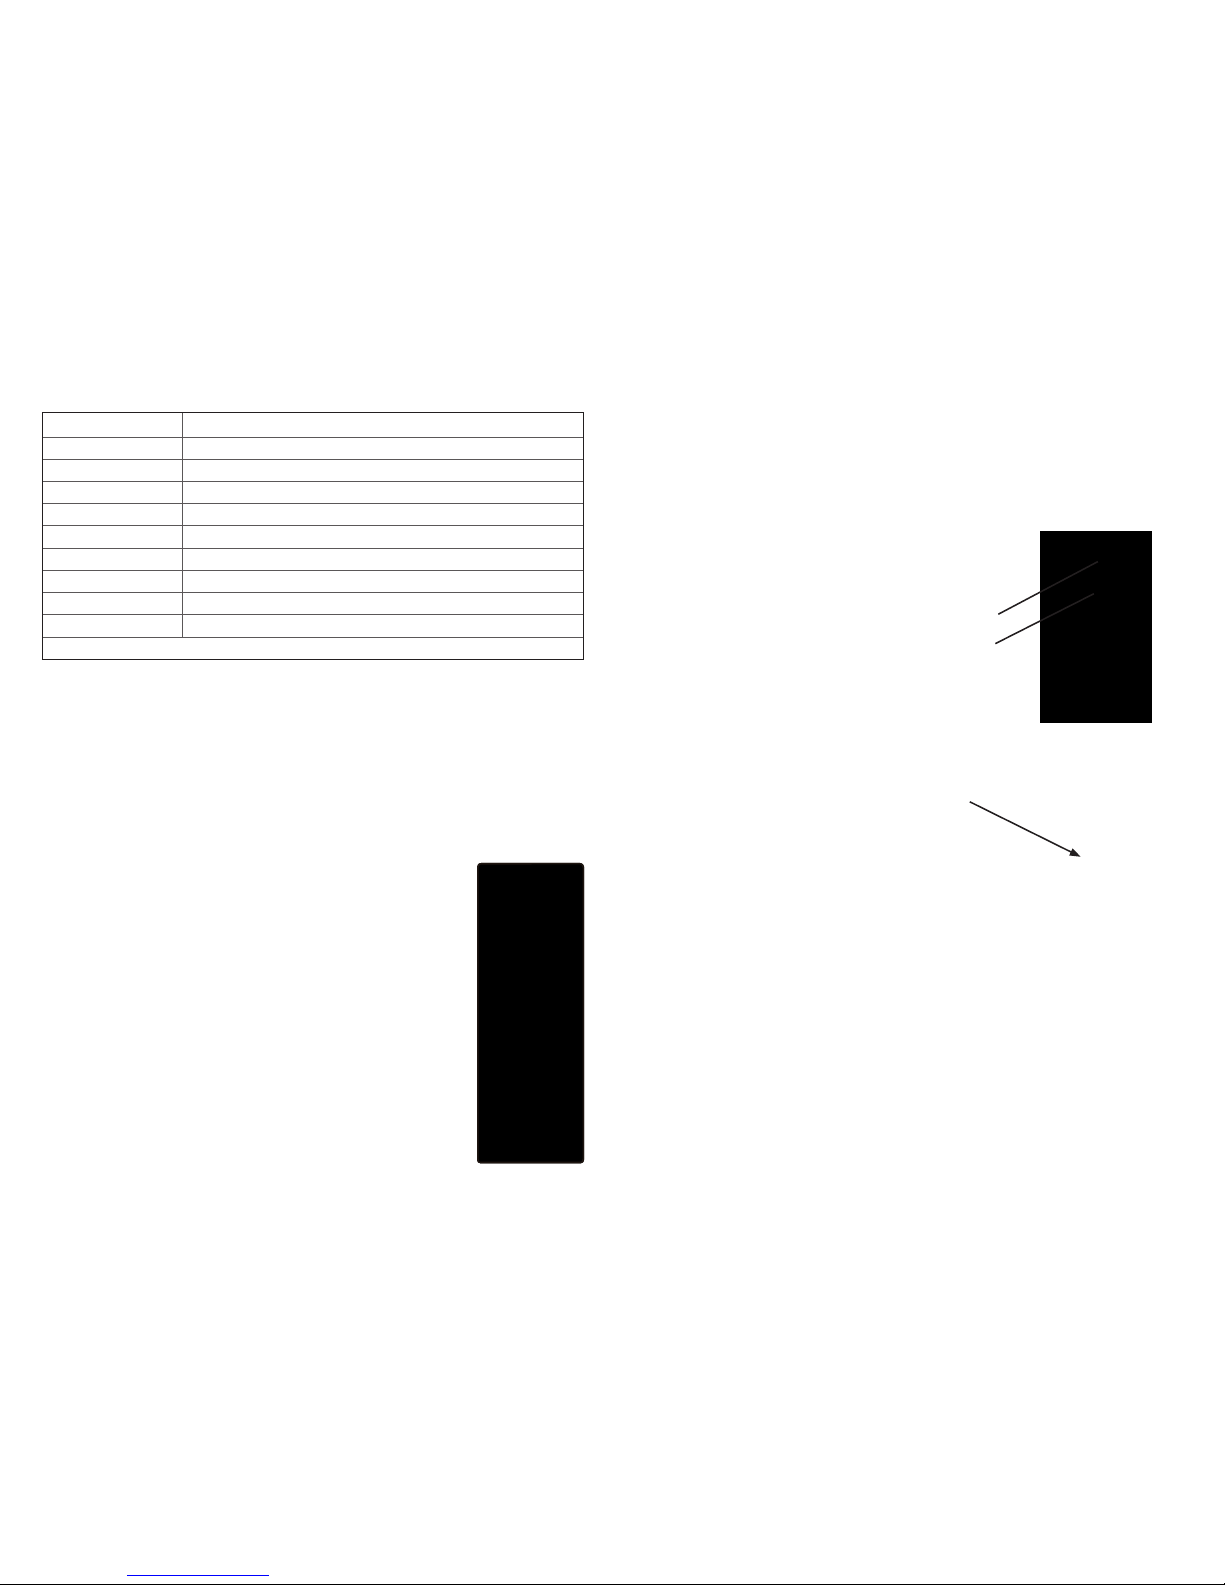
To install oil reservoir bottle, unscrew and remove cap from full
bottle of oil, insert hose into the top of the bottle, and screw on
cap.
The oiler is now ready for use.
5. Full Sensor
If the wastebasket is full, the “FULL” lamp will light and the cutter will stop automatically.
Open the door, empty the wastebasket of paper strips/chips, replace the wastebasket,
close door, and continue to shred.
Oil reservoir bottle
Hose & cap assembly
 Loading...