

Ti Amo Benches www.foreverredwood.com
866.332.2403; Outside the US: 619.600.5630 7am-7pm Pacific Time, Monday-Saturday
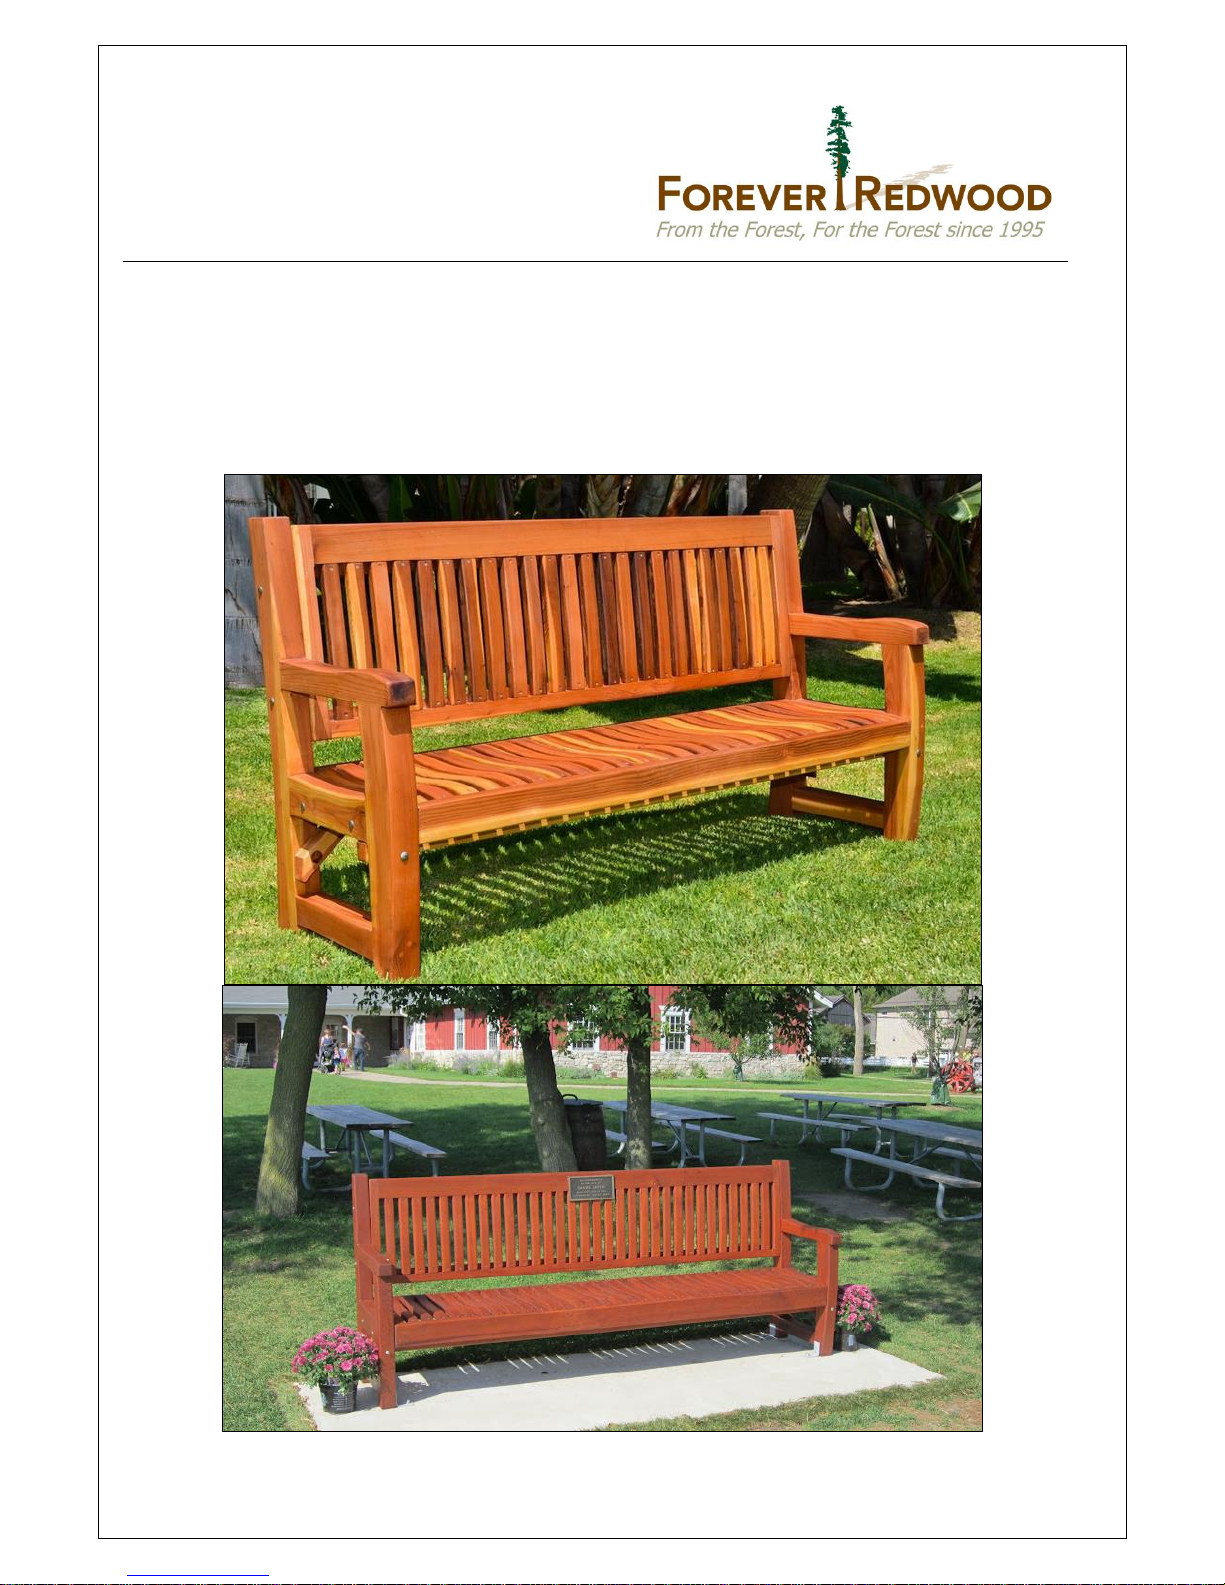
Assembly Instructions for:
TI AMO BENCHES

Ti Amo Benches www.foreverredwood.com
CONTENT OF BOXES
Quantity
Description
Drawing
1
Seat
1
Backrest
2
Sides
1
Front
Support
2
Diagonal
Supports
8
Carriage bolts 4 ½” x 5/16”, Washers and Nuts
2
Carriage bolts 3 ½” x 5/16”, Washers and Nuts
4
Carriage bolts 5 ½” x 5/16”, Washers and Nuts

Ti Amo Benches www.foreverredwood.com
ASSEMBLY INSTRUCTIONS
Thank you for purchasing Forever Redwood patio furniture. Forever Redwood is built by Old-Growth Again
Restoration Forestry (OGA). OGA is dedicated to restoration forestry. Sales of patio furniture finance our
restoration work in California redwood forestlands.
Tools required: ½-inch ratchet and a mallet or small hammer.
Unpack your bench and make sure you have all the parts. The parts that go together have the same numbers
written next to the predrilled holes they attach to.
Align the parts with the numbers as shown for ease of reference.
Step 1: Attach side to seat with 2 carriage bolts (4 ½” x 5/16), washers and nuts. You can differentiate the
seat from the backrest by the numbers written on the edges. On the edges of the seat you’ll find a number
written next to a set of predrilled holes. Match this number to the number written next to the pre-drilled
holes on the interior edge of the center member of the side of the bench. Tap in the carriage bolts from the
outside edge into the holes to attach the seat and side. Tap the bolts in all the way, then insert the washer and
nut and tighten with a ½- inch ratchet. The bolts should tap into their holes. If you have to force a bolt, the
piece is probably on the wrong side or is turned around. Do not over tighten or you’ll crush the redwood and
weaken the bench’s structure.
Repeat this step to attach the other side.
Ti Amo Benches www.foreverredwood.com
Step 2: Attach the backrest to side with two carriage bolts (4 ½” x 5/16), washers and nuts. Match the
numbers writ t en next to the holes on both pieces. Tap the carriage bolt from the outside in. Tap the bolt
in all the way, then add washers, nuts and tighten with ½-inch ratchet. Do not over-tighten. Repeat this step
to attach the backrest to the other side of the bench.
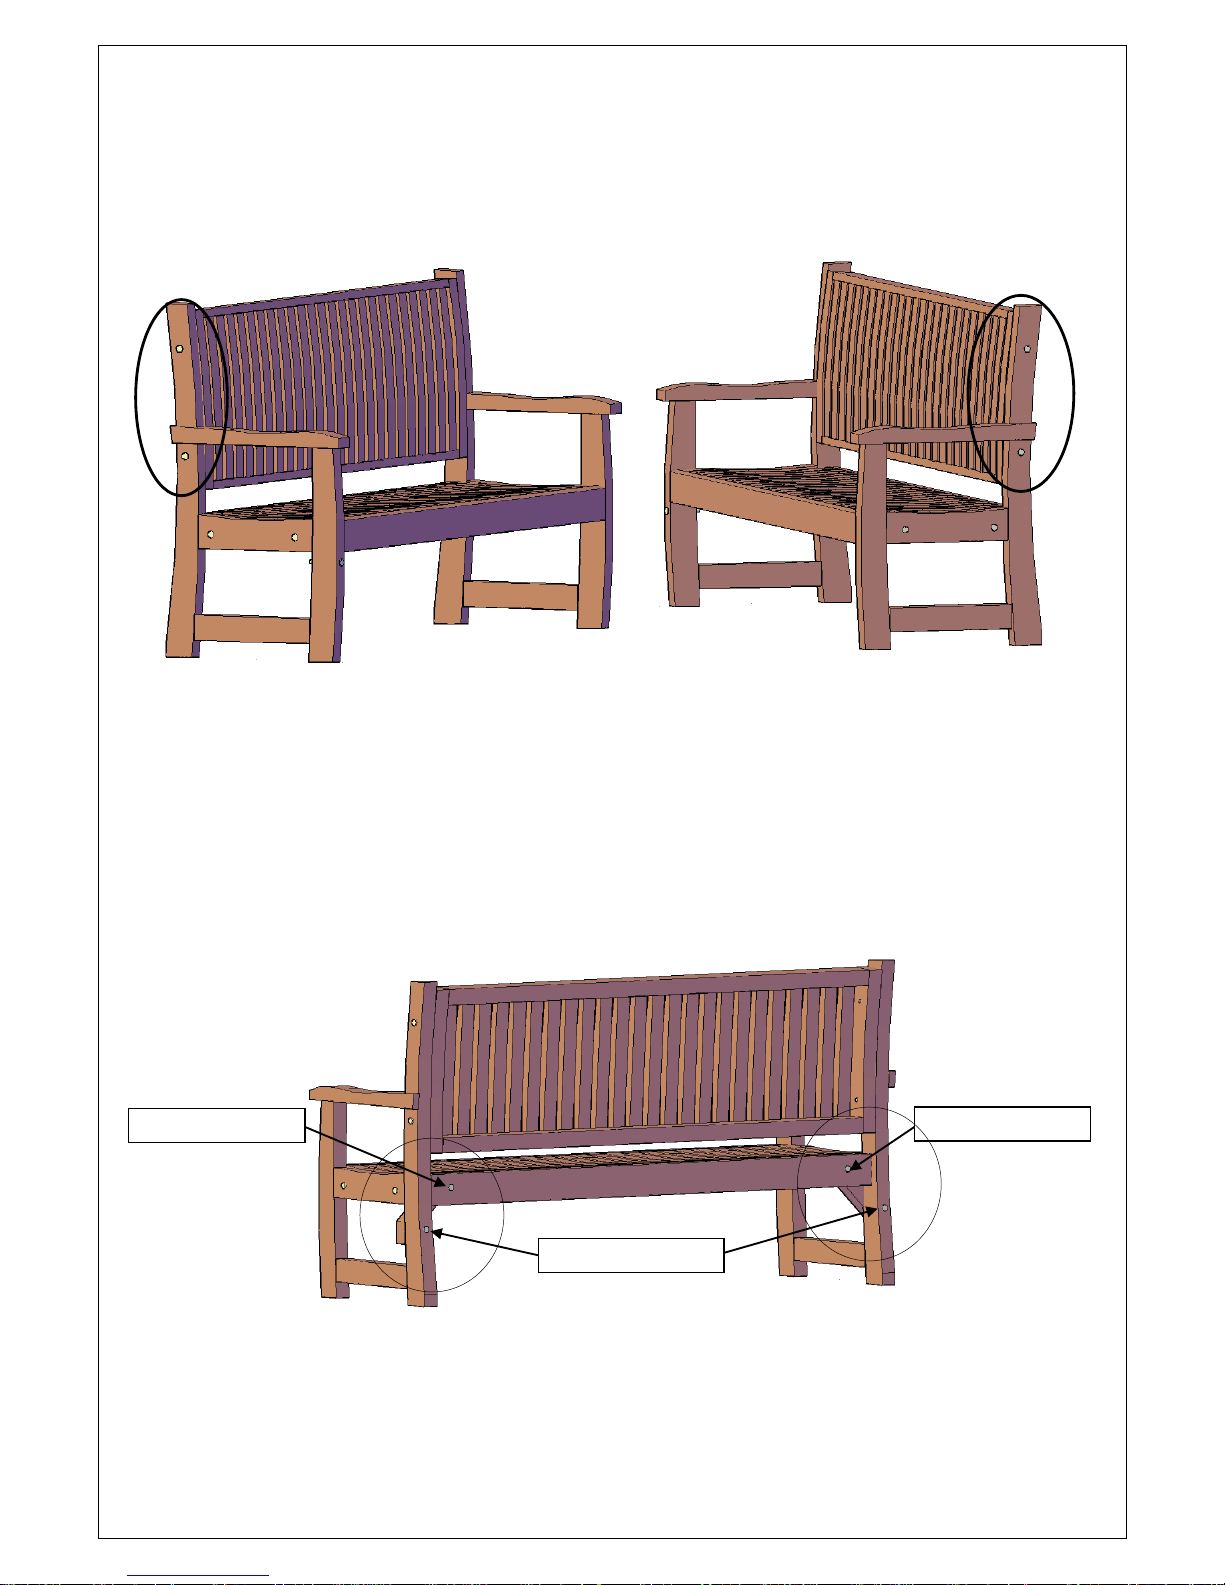
Step 3: Attach 45 degree angle diagonal supports. These supports are about 1 feet long and have a 45
degree angle cut on both edges. Match up the numbers written on the inside edge of these holes to the
numbers written on the 45 degree cross support piece. Align the predrilled holes, tap the carriage bolts from
the outside in. Tap the bolts in all the way, then add washers and nuts and tighten. Repeat for both sides
of the bench.

Ti Amo Benches www.foreverredwood.com
Step 4: Attach front support to sides. Match the number to the predrilled hole on the side of each side.
Tap the bolts in all the way, then insert the washer and nut and tighten with a ½-inch ratchet. Do not
over tighten or you’ll crush the redwood and weaken the bench structure. Repeat for other side.
Thank you. If you have any questions, please call or email us.
 Loading...