

Page 1
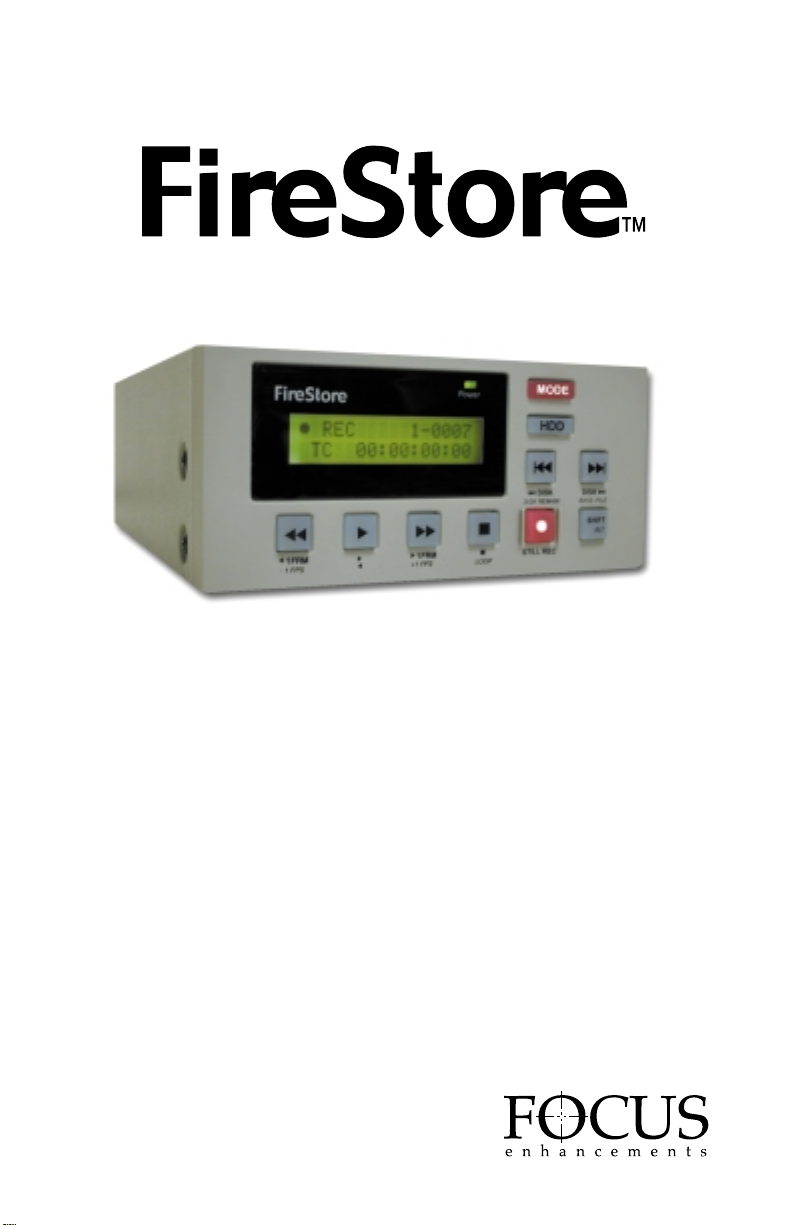
Instruction Manual
Addendum 2.3
MANL-0884-04
Page 2

FireStore
Table of contents Page
Introduction 4
1.0 User Interface Updates 4
1.1 Track Number Update 4
1.2 Delete Clip Update 4
1.3 Loop Mode Update 5
1.4 Record Time Remaining Update 6
1.5 Timecode Update 6
2.0 Slow Motion Modes 7
3.0 New File Formats 7
3.1 Matrox 7
3.2 QuickTime 8
3.3 Avid DV OMF 8
4.0 AV/C Control 9
5.0 Fresh Disk Format 10
6.0 Non-FAT32 Disk Partition & Format 10
7.0 Definable Splash Screen 11
8.0 System Software Boot From Hardware 11
9.0 Audio Correction Modes 12
10.0 Diagnostics Mode 12
11.0 Factory Reset 13
12.0 Updated Computer operating System Support 13
12.1 Microsoft Windows XP 13
12.2 Apple Macintosh OS 10 13
Notes 14
PAGE 3
Page 3
INTRODUCTION
This manual addendum describes functionality
of FireStore units that have firmware version
2.2 or above. In order to determine what
version of firmware you are using, hold down
the (MODE) button for two
seconds until the setup menu appears. Scroll
to the menu item that reads: "VERSION:".
The version of firmware should be 2.2. or
later. If you have an earlier firmware version
and would like to update to 2.2, contact your
dealer or distributor. Customers in the U. S. A.
and Canada may contact the FOCUS Enhancements
technical support department at:
www.FOCUSinfo.com
E-mail
: suppor
Telephone: 408-370-9963. 8 am-5 pm,
Monday to Friday, Pacific time.
(Hint: Mondays tend to be the busiest.)
Fax: 408-866-4859.
1.0 USER INTERFACE UPDATES
1.1 Track Number Update
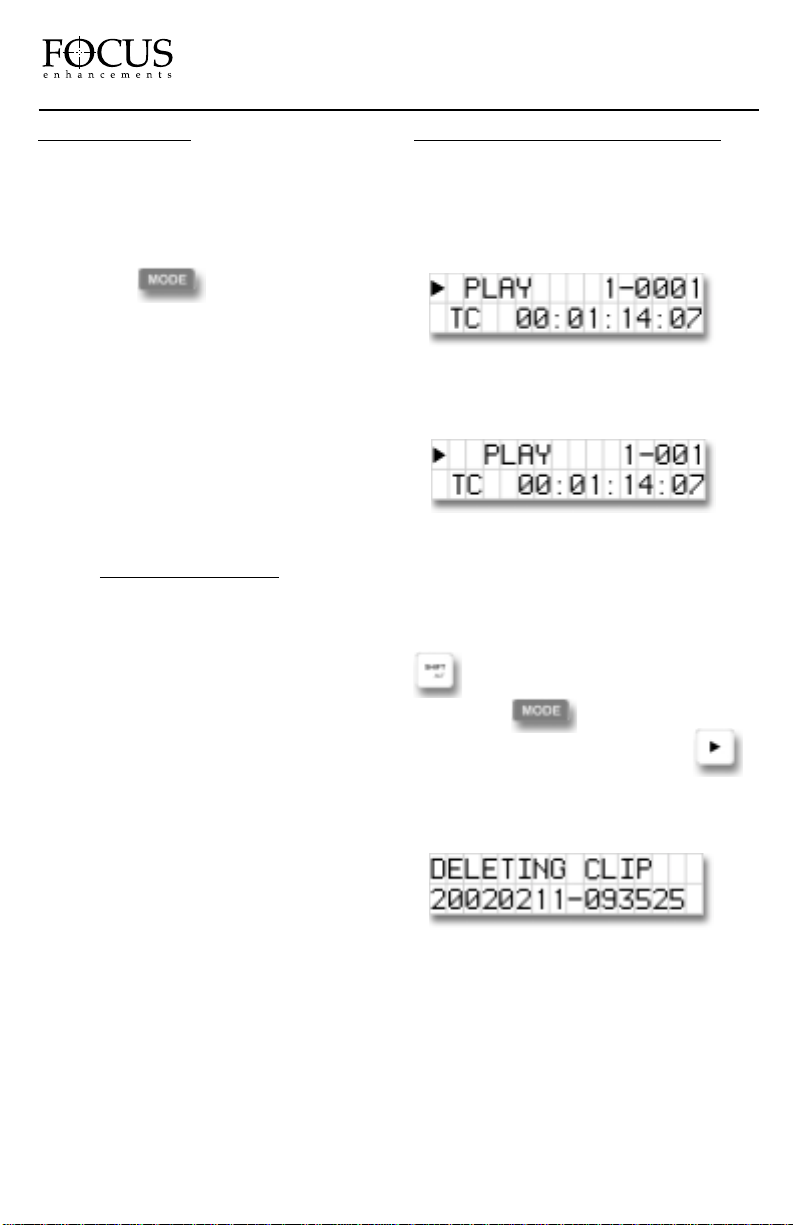
Previously, the display featured a four-digit
track display.
This has been updated to a three-digit track
display. This is the new display;
1.2 Delete Clip Update
FireStore features a new delete clip display
screen. To delete, select the particular track
to delete and hold down the (SHIFT/ALT)
button for two seconds followed by
the (MODE) button. Answer yes to
delete the clip by pressing the (PLAY)
button to initiate the delete process.
FireStore will display the base file name of
the particular f ile that is being deleted.
Once the delete process is complete, the LCD
display will display "STOP" and show the
track previous to what was just deleted.
FireStore
PAGE 4
Page 4
FireStore
1.3 Loop Mode Update
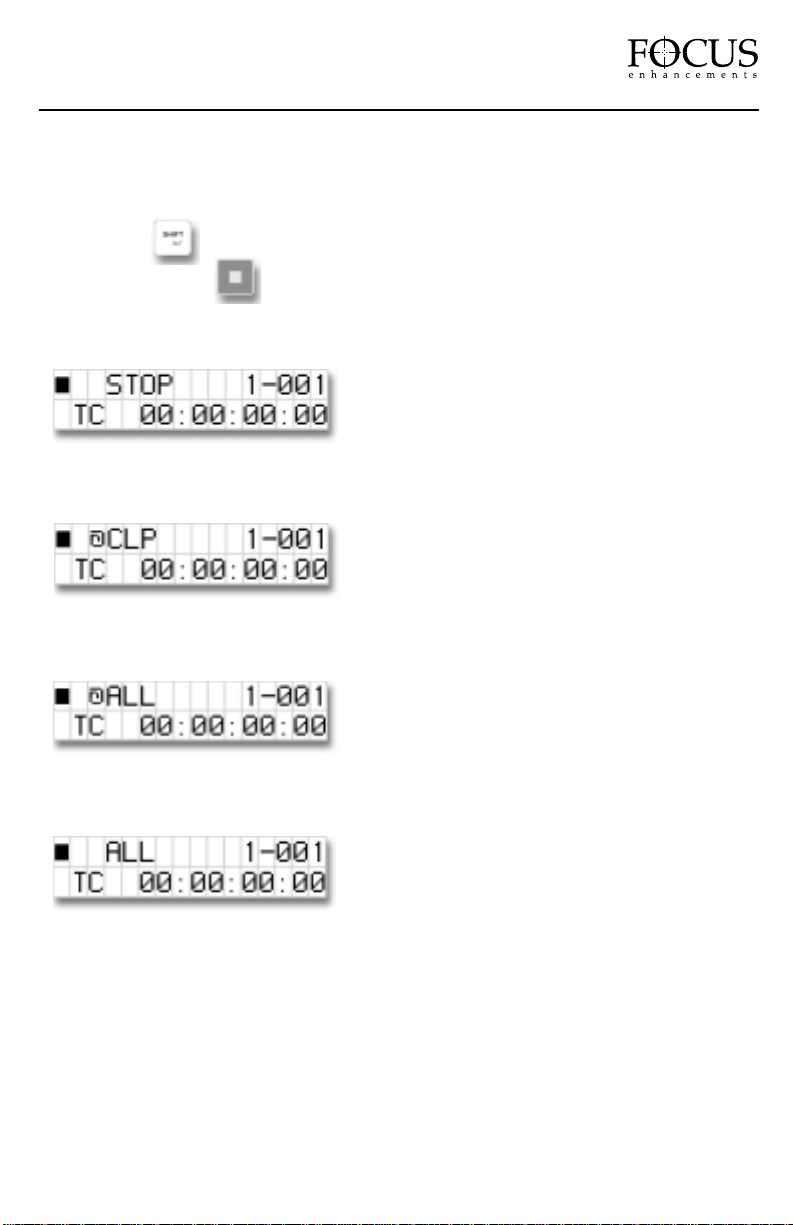
It is now possible to identify different loop and play modes when FireStore is in STOP mode.
To enter loop playback mode when FireStore is stopped, hold down the
(SHIFT/ALT) button for two seconds (the button will flash once in this mode).
Then press the (STOP) button and you will be able to cycle between the following
loop modes:
NORMAL PLAY
In this mode, FireStore will play the selected clip and pause at the end.
LOOP CLIP
In this mode, FireStore will loop the selected clip continually.
LOOP ALL
In this mode, FireStore will loop all the clips on the attached disk drive(s) continuously, in order.
PLAY ALL
In this mode, FireStore will play through all the clips on the attached disk drive(s) sequentially
then pause at the end.
PAGE 5
Page 5
1.4 Record Time Remaining Update
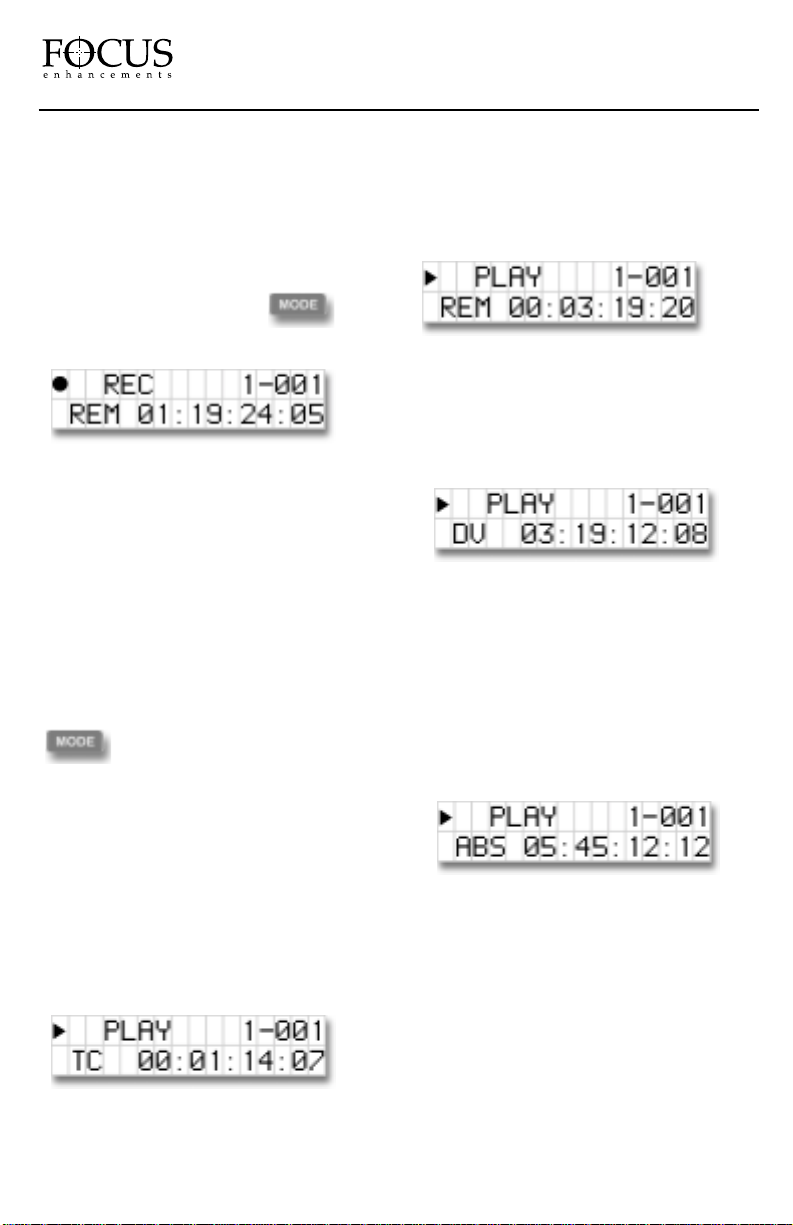
It is now possible to monitor the record
time remaining on a disk drive while in
record mode. Time is listed in hours,
minutes, seconds and frames. To do this,
put FireStore into record mode,
and simply press the (MODE)
button. The display will now read:
1.5 Timecode Update
There are now four different ways to display
timecode on FireStore: Standard Timecode
(TC), Remaining Timecode (REM), Source
Timecode (DV) and Absolute Timecode
(ABS).
In order to switch between the different
timecode displays, press FireStore’s (MODE)
button. It is possible to switch
between these modes during record or
playback. Each is described below.
Standard Timecode (TC)
FireStore will count from zero through the
duration of each individual clip in hours,
minutes, seconds and frames (00:00:00:00)
while recording. During playback, FireStore
will count up the duration of each clip.
Remaining Timecode (REM)
FireStore will display the remaining time on a
disk in hours, minutes, seconds and frames
while in record mode. In playback mode,
FireStore will count down the remaining time
of the particular clip being played.
Source Timecode (DV)
FireStore will display the incoming source
timecode from the source DV device when
in record mode. In playback mode, FireStore
will display the embedded timecode from the
DV stream.
Absolute Timecode (ABS)
FireStore will display the absolute or total sum
of the timecode for a particular recording
session. For instance, if the first clip began
with a timecode of 00:00:00:00 and ended
with a timecode of 00:00:14:21, the first
frame of the next clip will start at
00:00:14:22. If playing back a disk in play all
mode, FireStore will play the sum of all of the
clips as an absolute counter.
FireStore
PAGE 6
Page 6
2.0 SLOW MOTION MODES
FireStore allows you to play clips at slower
than real time speeds. It is possible to
playback NTSC clips at 15 frames per second
(FPS), 10 FPS, 6FPS, 5FPS, 3FPS, 2FPS and
1 FPS. PAL clips can be played back at
12FPS, 6FPS, 5FPS, 4FPS, 3FPS, 2FPS and
1FPS. To access the slow motion mode, select
the particular clip you would like to play (it is
also possible to play a loop all, loop clip or
play all sequence at slower than real time
speeds). Start playback by pressing
FireStore’s (PLAY) button. Once
playing, hold down the (SHIFT/ALT)
button for two seconds (the button will flash
when in ALT mode). Then press the RW
button once. You will notice the display
updates to:
By continually pressing the RW button, playback
will slow down playback by the increments
mentioned above until it reaches 1FPS. It is
possible at any time to increase the playback
speed by pressing the FF button. It will
increase by one increment forward (e.g. if you
are at 6FPS, playback will increase to 10FPS).
To exit this mode, simply press FF until
playback reaches normal play again or exit
by pressing the SHIFT/ALT mode button once
(the button will stop flashing when exited) and
press the Play button again.
3.0 NEW FILE FORMATS
FireStore now features three new file formats,
Matrox, QuickTime and Avid DV OMF. To set
either of these formats (as well as others),
hold down the
(MODE) button for two seconds and
the setup screen will appear. By pressing the
(MODE) button, cycle through until
you see the "REC FILE TYPE" screen. The
different file formats that are available are :
RawDV, AVI T ype 1, AVI T ype 2, AVI T ype 2C
(Canopus), Matrox AVI, QuickTime and Avid
DV OMF. Select the file format you wish to
use. Once set, that file for mat will remain
until it is changed, even if the power is cycled.
3.1 Matrox
The Matrox file format is designed for use
with the Matrox RT2000, RT2500, DigiSuite
DTV and DigiSuite LX applications with
Adobe Premiere. The Matrox file format is
unique on FireStore in that it creates two files
simultaneously; an AVI2 video f ile and a
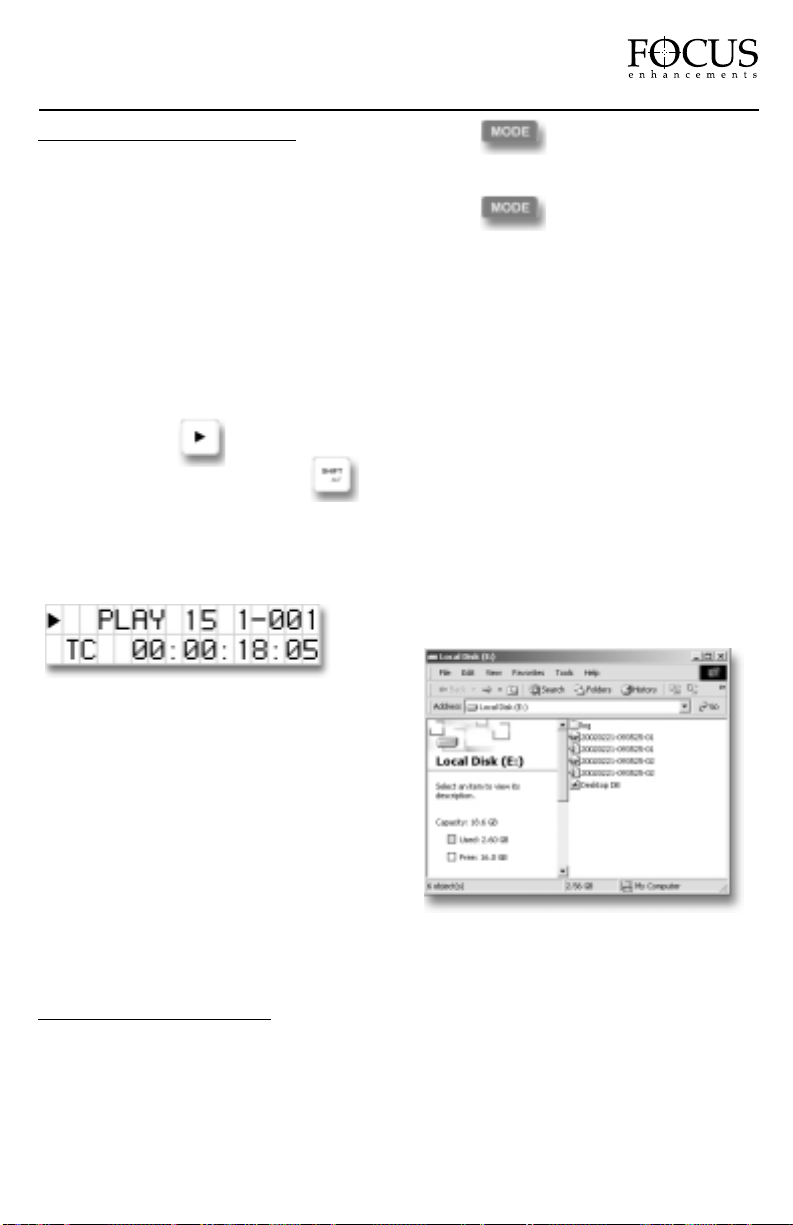
separate .WAV audio file. On the computer's
desktop, the file will look like this...
On FireStore, both the video file (AVI2) and the
audio file (.WAV) appear as one track. If yo u
delete a Matrox file, FireStore will delete both
the audio and video portion at the same time.
NOTE: The Matrox file format is not for use
with the Matrox RTMac. Use either AVI 2 or
QuickTime for Matrox RTMac based
applications.
PAGE 7
FireStore
Page 7
3.2 QuickTime
The QuickTime file format was developed for
better integration for Apple Macintosh users.
QuickTime files are designed to be used on
Adobe Premiere, iMovie and Apple Final
Cut Pro on the Macintosh. They can also be
used with the Matrox RTMac versions of
both Premiere and Final Cut Pro. When
the QuickTime file format is used, FireStore
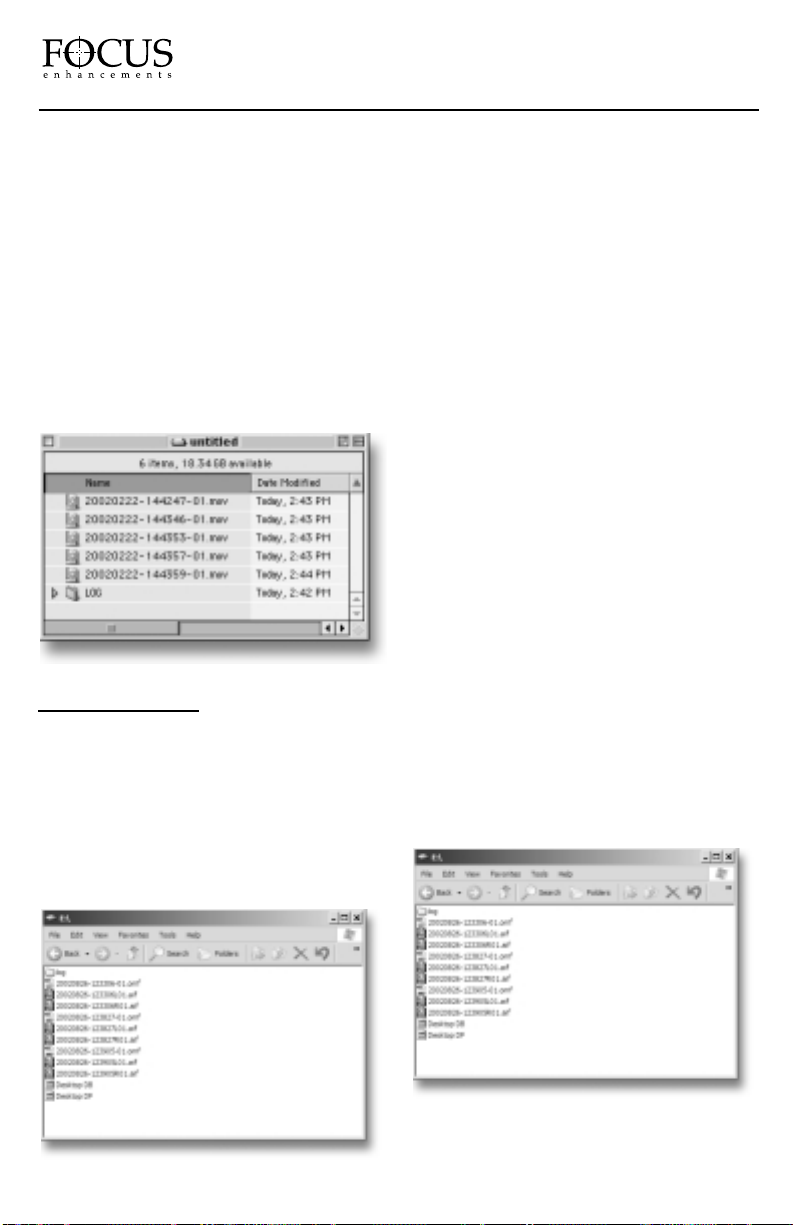
creates a .mov file. This single file includes
an audio, a video and a timecode track. On the
computer's desktop, the file will look like this...
3.3 Avid DV OMF
The Avid DV OMF file format was developed
for use with Avid Xpress DV version 3.0 or latter
on Windows 2000, Windows XP or Mac 0S10.
The Avid DV OMF file format creates three
files simultaneously; an OMF video file and
two separate AIF audio files. On the computer’s
desktop, the files will look like this...
NOTE: The following pictures in this section
show a WindowsXP interface. Pictures will
look slightly different on a Mac OS10 interface.
On FireStore, the video file (OMF) and the
audio files (AIF) appear as one track. If you
delete an Avid DV OMF file, FireStore will
delete the audio and video portions at the
same time.
In order to use the FireStore recorded Avid DV
OMF files on your Avid Xpress DV system
from the external FireWire drive, you must do
the following…
1. Locate the external FireWire drive on your
computer. (If you have trouble, you can locate
the name of the external drive by selecting
My
Computer
on a Windows system. On a Mac, the
FireWire drive should appear on the desktop).
2. Open the FireWire drive when you have
found it and create a new folder named
"OMFI MediaFiles". To do this on Windows,
select
File -> New -> Folder from the pull
down menu. On Mac, select
File -> New
Folder
. It is important that "OMFI
MediaFiles" is typed correctly in order for
Avid to see the disk drive. Drag all the OMF
and AIF files into the new folder (do not drag
in the files titled Desktop DB or Desktop DF).
FireStore
PAGE 8
Page 8
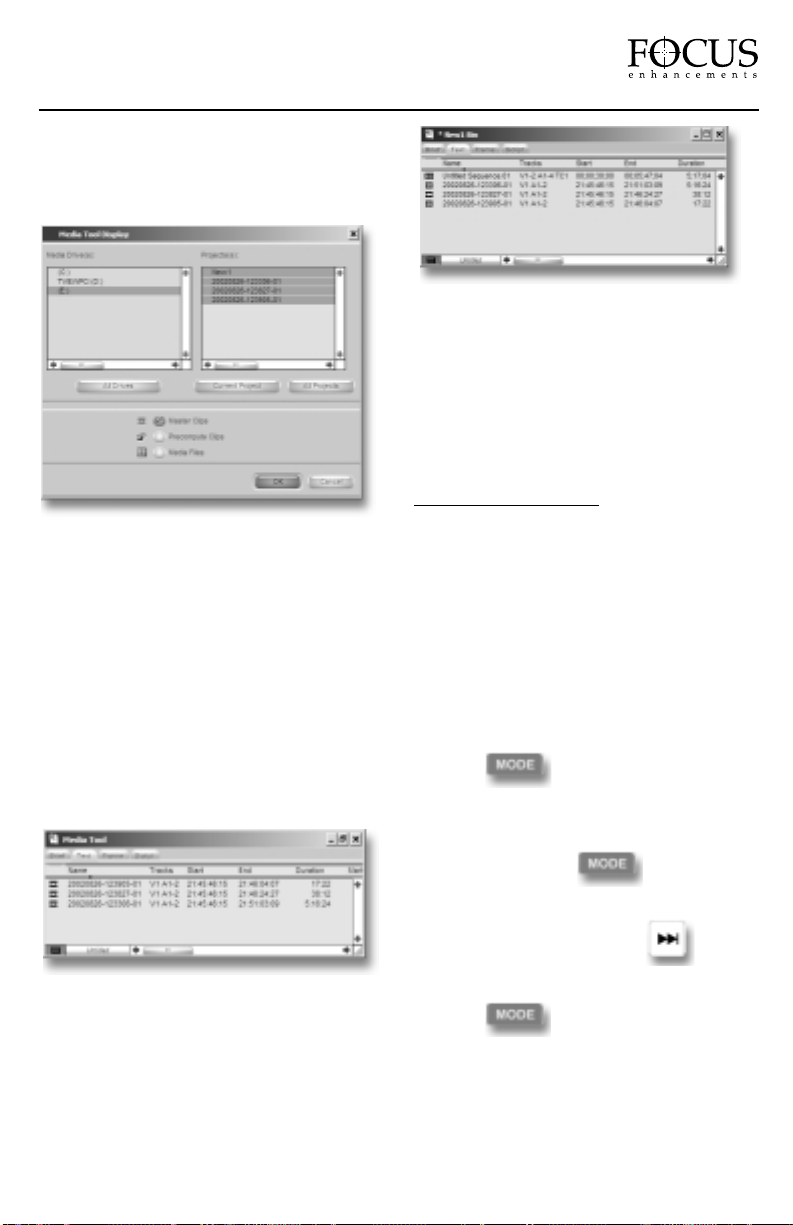
3. Launch Xpress DV. Once you have opened
the desired project or created a new project,
select
Tools -> MediaTool. The following
window will appear:
4. Locate and select the external FireWire
drive under Media Drive(s). (NOTE: If the
drive does not appear, check that you have
created the OMFI MediaFiles folder correctly
with proper case and spacing. Also, check to
see that the drive is properly connected and
recognized by the computer).
Under Project(s), select
All Projects (This will
highlight all items in the Project(s) window).
Ensure
Master Clips is checked then press OK.
The following Media Tools Window will appear:
5. Create a new bin (select
File -> New Bin)
or open an existing bin in Xpress DV. Once
opened, select all items in the Media Tools
window (select
Edit-> Select All). Drag the
contents of the Media Tools Window into the
bin. It is now possible to use these clips in the
Avid Xpress DV timeline.
It is also possible to import the FireStore
recorded files onto your Avid system’s media
drives. To do this, select
File -> Import. Find
the external FireWire drive and import the
file(s) onto the media drive. This may take
time as it is copying the file over to the media
drive. For instant editing, it is recommended
that you edit directly from the FireWire drive.
4.0 AV/C CONTROL
It is now possible to control FireStore from
external FireWire devices utilizing AV/C
control protocol. With this feature, it is possible
to control various FireStore functions such as
play, stop, pause, rewind and fast forward via
FireStore’s 4-pin "DV In/Out" port. Devices
that can control FireStore via AV/C include nonlinear editing systems, VTRs and camcorders.
To initiate AV/C control, hold down the
(MODE) button for two seconds.
Once in the setup menu, scroll through to
select the "SLAVE MODE" display by
pressing the (MODE) button over
and over. Once you get to this menu item,
press the (FORWARD INDEX) twice
to select "CONTROLLED". Then hold down
(MODE) again for two seconds.
Now connect FireStore to an AV/C controlling
device via FireStore’s 4-pin "DV In/Out" por t
(if it is an NLE system, usually the application
must not be open when you connect FireStore).
PAGE 9
FireStore
Page 9
In all cases, check your device's operating
manual to understand how it controls external
devices. In most cases, FireStore will act and
appear as a VTR.
Note: FireStore’s AV/C control is intended to
be used with a single file type. Therefore, it is
important that you select only one type of file
(e.g. Matrox, AVI Type 2 etc.) when attempting
to use AV/C control.
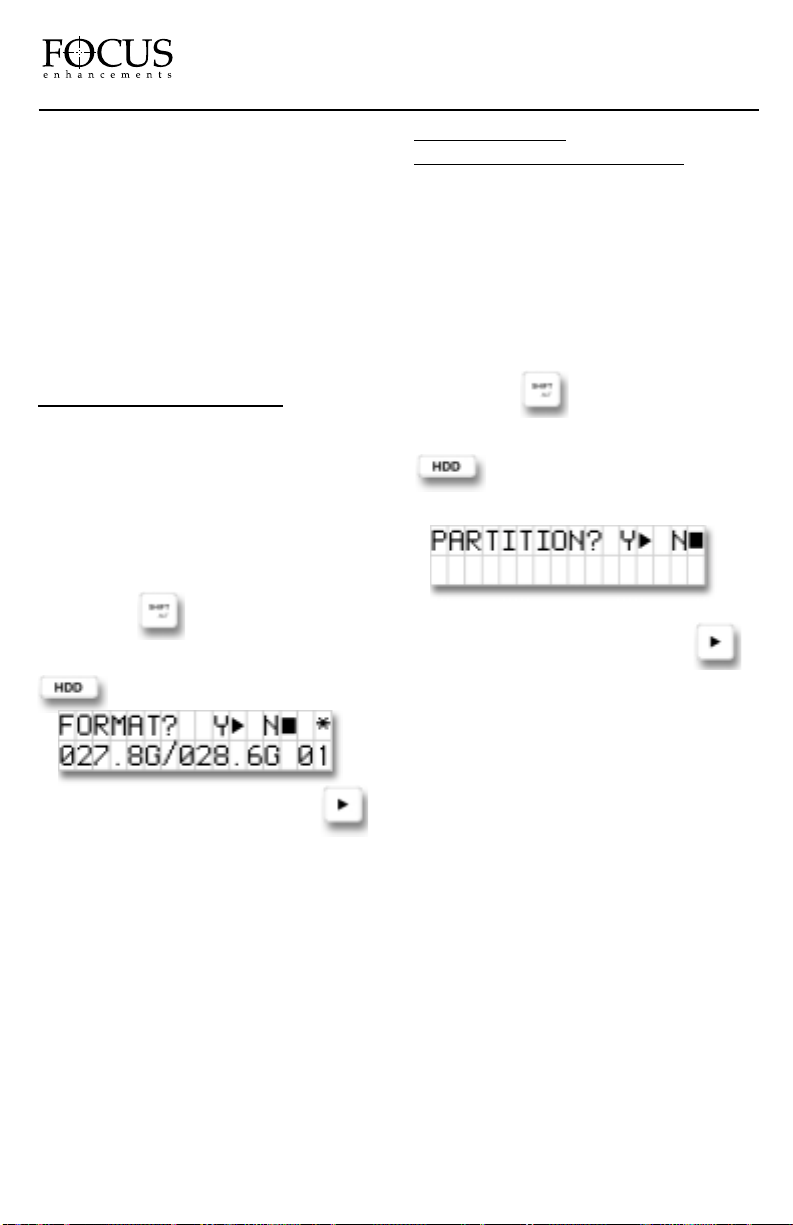
5.0 FRESH DISK FORMAT
If you have a brand new disk drive that does
not contain any existing partition(s), it is
possible to create a FAT32 volume utilizing
FireStore. Simply connect the FireWire drive
to FireStore’s "To HDD" port and power up
both FireStore and the disk drive. The display
will read "NO DISK". Simply hold down the
(SHIFT/ALT) button for two seconds
(until it flashes) and then press the (HDD)
button. You will be asked...
Answer "Yes" by pressing the (PLAY)
button.
WARNING: Formatting a drive
will delete all information.
Back up any
material you may wish to keep before
formatting.
FORMATTING IS NOT
UNDOABLE!
If you are unable to format
the drive, see section 6.0 of this document.
6.0 NON-FAT32
DISK PARTITION & FORMAT
If you have a disk drive that contains a nonFAT32 partition (such as NTFS, Mac OS
Standard, Mac OS Extended, UNIX etc.), it is
possible to partition this drive using FireStore.
Simply connect the FireWire disk drive to
FireStore and wait until you see the "NO
FORMAT" or "NO PARTITION" display on
the FireStore LCD. Simply hold down the
(SHIFT/ALT) button for two seconds
(until it flashes) and then press the (HDD)
button for two seconds. You will
be asked...
Answer "Yes" by pressing the (PLAY)
button.
WARNING: Formatting a drive will
delete all information.
Back up any material
you may wish to keep before formatting.
FORMATTING IS NOT UNDOABLE!The
LCD will display “PARTITIONING...*”
during the process. When finished, the default
STOP display will appear. Re-boot FireStore
before using.
FireStore
PAGE 10
Page 10

7.0 DEFINABLE SPLASH SCREEN
It is now possible to replace FireStore’s default
gray splash screen, the frame that appears
when FireStore is in STOP mode, with a user
definable splash screen. This is useful to
replace the gray screen with black for
projected presentations or to display your
company logo or call letters.
At boot-up, FireStore looks in the top level
directory of any partitions that it mounts. If it
sees a file named (case sensitive, all lower
case)..."splash.dv", FireStore will read the first
frame of that file. FS assumes that it is a
RawDV (.dv) file. Therefore, it is necessary
that the file is recorded as such in the first
place. It doesn't matter if splash.dv is greater
than 1 frame in length, FS just reads the first
frame from the file.
To change the name of a file, simply mount
the FireWire drive onto a computer and
change its numeric file name to "splash.dv".
8.0 SYSTEM SOFTWARE BOOT
FROM HARDWARE
PLEASE NOTE: This functionality is for
advanced users only and participants in the
FireStore beta program.
It is possible for FireStore to boot from an
external FireWire disk drive. During boot up,
FireStore will look for a particular .bin file on the
attached drive. If one is found, it will boot from
the disk drive. You will need to be using FireStore
ROM version number 2.20.062002 or later to do
this. Version number is displayed in the FireStore
Setup Menu. To setup your FireStore to boot
from an external disk drive, do the following:
1 Clear and for mat your FireWire drive, then
connect it to your computer system.
2 Contact the FOCUS Enhancements Technical
Support Group for the location of the FireStore
.bin file for download. Copy this new version to
your FireW ire dri ve. Ne xt, re-name this file
ww.bin.
3 Disconnect the drive form the computer
and connect it to FireStore. Hold the
(SHIFT/ALT) button until it blinks.
Next, press the (MODE) button to
get to the main menu. Cycle the different
selections until you find "Boot from HD".
Once there, use the FF index key to select
"Yes". Next, push the (MODE) button
to exit this menu area.
4 Now, re-start FireStore using the on/off
switch from the back of the unit. The new
software version (ww.bin) from your FireWire
drive will now operate FireStore.
5 To confirm this new software; hold the
(MODE) button to get back to the
main menu. Cycle the different selections until
you find a new software version number. Once
you confirm this update, you’re now ready to
use the new FireStore software.
PAGE 11
FireStore
Page 11
9.0 AUDIO CORRECTION MODES
PLEASE NOTE: Audio Cor rection Modes is
an advanced feature of FireStore. It is
recommended that you use the factory default
settings for most operations.
Audio Correction Mode allows you to alter
the performance of the audio error cor rector
while recording. It is useful when recording to
FireStore from tapes with lots of audio
dropouts. Error correction will only effect
AVI 2, AVI 2C, Matrox AVI and QuickTime
record file types. It does not effect RawDV or
AVI 1.
To access the Audio Correction mode, hold
the (SHIFT/ALT) button until it
blinks. Next, press the (MODE)
button to get to the main menu. Cycle the
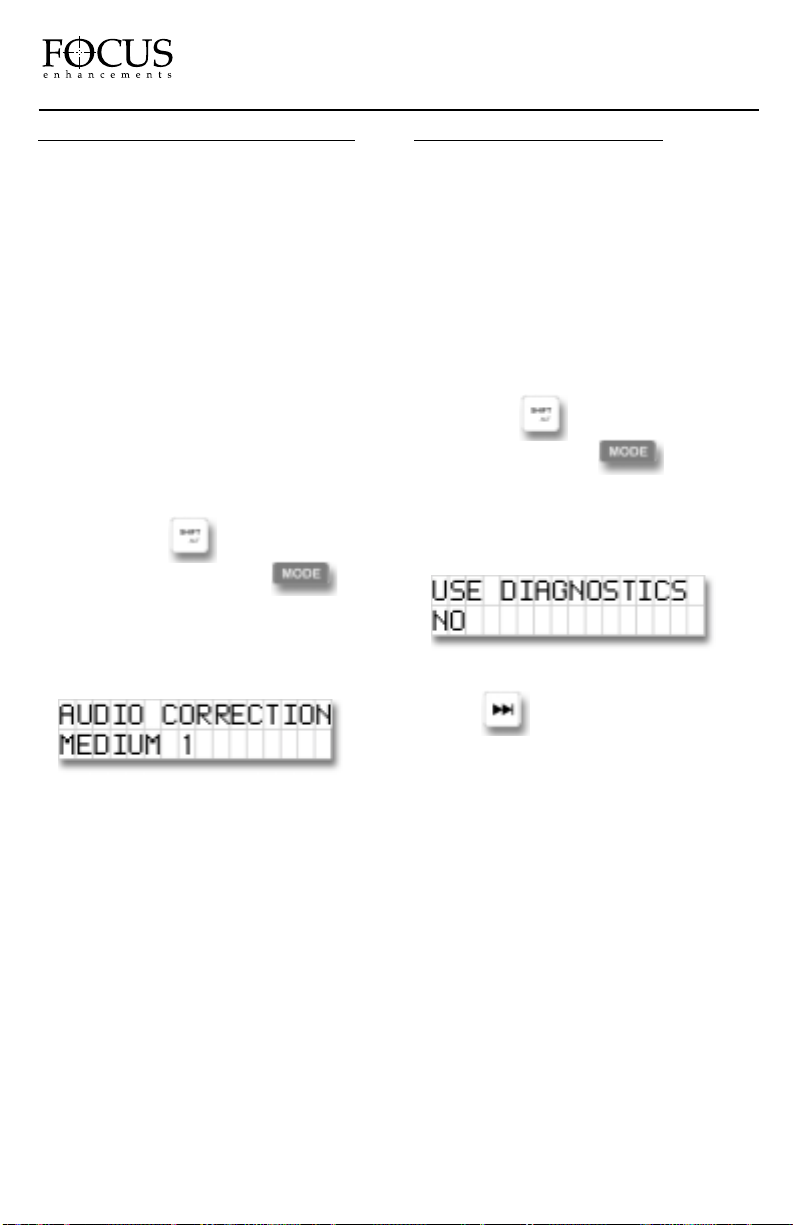
different selections until you find "Audio
Correction". The FireStore display will show
the default setting.
FireStore Audio Correction has the following
three modes:
MEDIUM 1: For "normal" clean tape played
back on a good VTR with very occasional
very short audio mutes.
MEDIUM 2: For cases where dropouts are
noticeable as short mutes (couple of frames)
in the audio in playback from the camera or
VTR.
MAXIMUM: For cases where there are visible
picture disturbances, and likely long audio
dropouts (1/2 sec and up).
10.0 DIAGNOSTICS MODE
Diagnostics Mode enables diagnostic
information to be passed out of FireStore’s
serial (GPI) port to a terminal. This is
primarily intended for FireStore beta users
and some technical support activities. It is
generally recommended that Diagnostics is
always set to "NO". Enabling Diagnostics
Mode will also disable the GPI function.
To access Diagnostics Mode
, hold the
(SHIFT/ALT) button until it blinks.
Next, press the (MODE) button to
get to the main menu. Cycle the different
selections until you find "Use Diagnostics".
The FireStore display will show the default
setting.
To enable Diagnostics, press the (FORWARD
INDEX) button to select "Yes". To exit,
select Diagnostics back to "No".
NOTE:Setting FireStore to Diagnostics Mode
will set Record File Type to AVI Type 2.
FireStore
PAGE 12
Page 12
11.0 FACTORY RESET
Factory Reset sets all of FireStore’s variables
to their factory default settings. To access
Factory Reset, hold the (SHIFT/ALT)
button until it blinks. Next, press the (MODE)
button to get to the main menu.
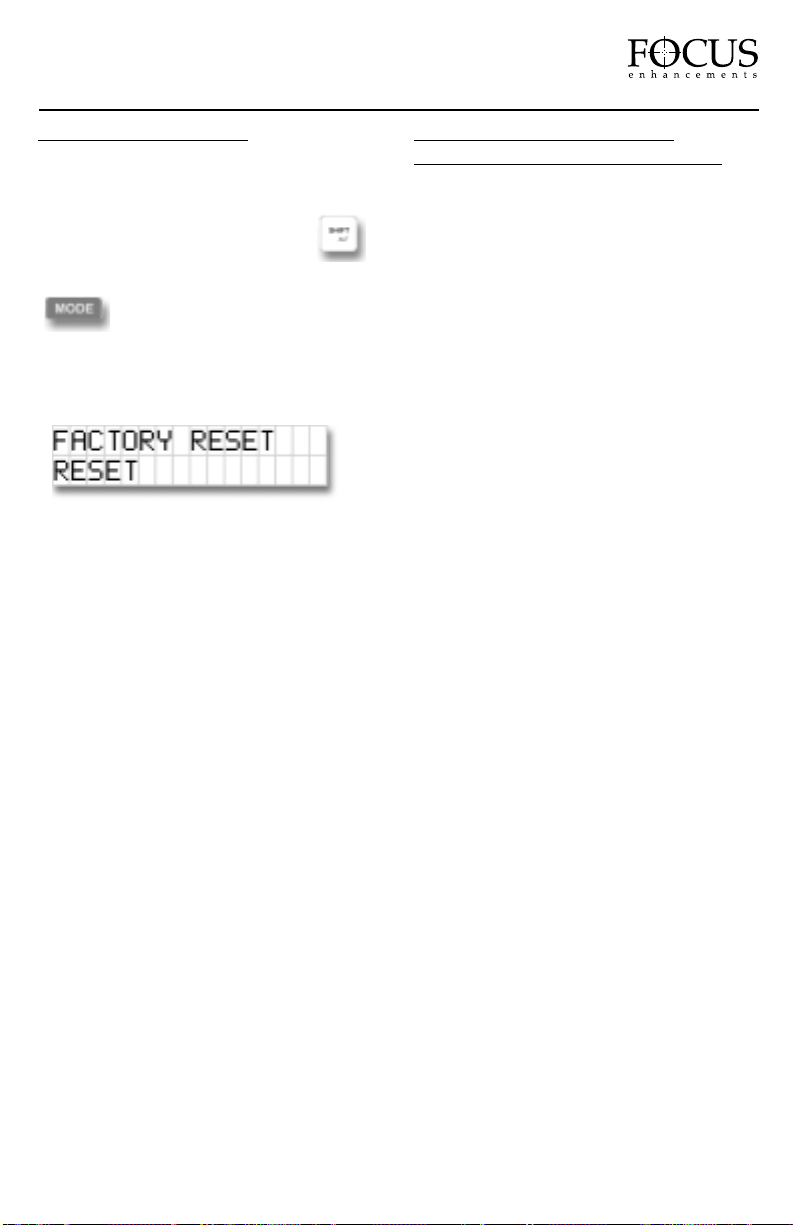
Cycle the different selections until you find
"Factory Reset". The FireStore display will
show the default setting.
To reset FireStore to its default factory
settings, press the (FORWARD INDEX)
button. The bottom line of the display will
read "Reset Complete". FireStore has now
returned to its default settings.
12.0 UPDATED COMPUTER
OPERATING SYSTEM SUPPORT
12.1 Microsoft Windows XP
It is now possible to use FireStore recorded
clips on applications running on Windows XP.
Its operation with mounting drives to the
desktop is virtually identical to that of other
Windows environments (see page 40 of the
FireStore Instruction Manual for more
information).
12.2 Apple Macintosh OS 10
It is now possible to use FireStore recorded
clips on applications running on Mac OS
10.1.3 or later. Its operation with mounting
drives to the desktop is virtually identical to
that of other Macintosh environments (see
page 43 of the FireStore Instruction Manual
for more information). If you have trouble
mounting FireWire disk drives, contact your
dealer or distributor. Customers in the U. S. A.
and Canada may contact the Focus
Enhancements technical support department
at:
E-mail: [email protected]
Telephone: 408-370-9963. 8 am-5 pm,
Monday to Friday, Pacific time.
(Hint: Mondays tend to be the busiest.)
Fax: 408-866-4859.
PAGE 13
FireStore
Page 13

NOTES:
FireStore
PAGE 14
Page 14

NOTES:
PAGE 15
FireStore
Page 15

FOCUS Enhancements, Inc.
1370 Dell Ave. Campbell, CA. 95008 USA
Telephone: 408 866-8300 Fax:408 866-4859 www.FOCUSinfo.com
 Loading...