

Page 1
ASSEMBLY & INSTALLATION INSTRUCTIONS
All instructions must be handed to the user for
safekeeping.
Please note : Except where otherwise stated, all rights, including copyright in the text, images and layout of this booklet is owned by Focal
Point Fires plc. You are not permitted to copy or adapt any of the content without the prior written permission of Focal Point Fires plc.
1
Revision B - 03/14
© 2014 Focal Point Fires plc.
Focal Point Fires plc.
Christchurch, Dorset BH23 2BT
Tel: 01202 499330
Fax: 01202 499326
www.focalpointfires.co.uk
Questions or problems with your appliance?
Don’t take it back to the store
just give us a call on 01202 588601 we’re here to help
lines open between 9am and 5pm, Monday to Friday
MODELS COVERED BY THESE INSTRUCTIONS
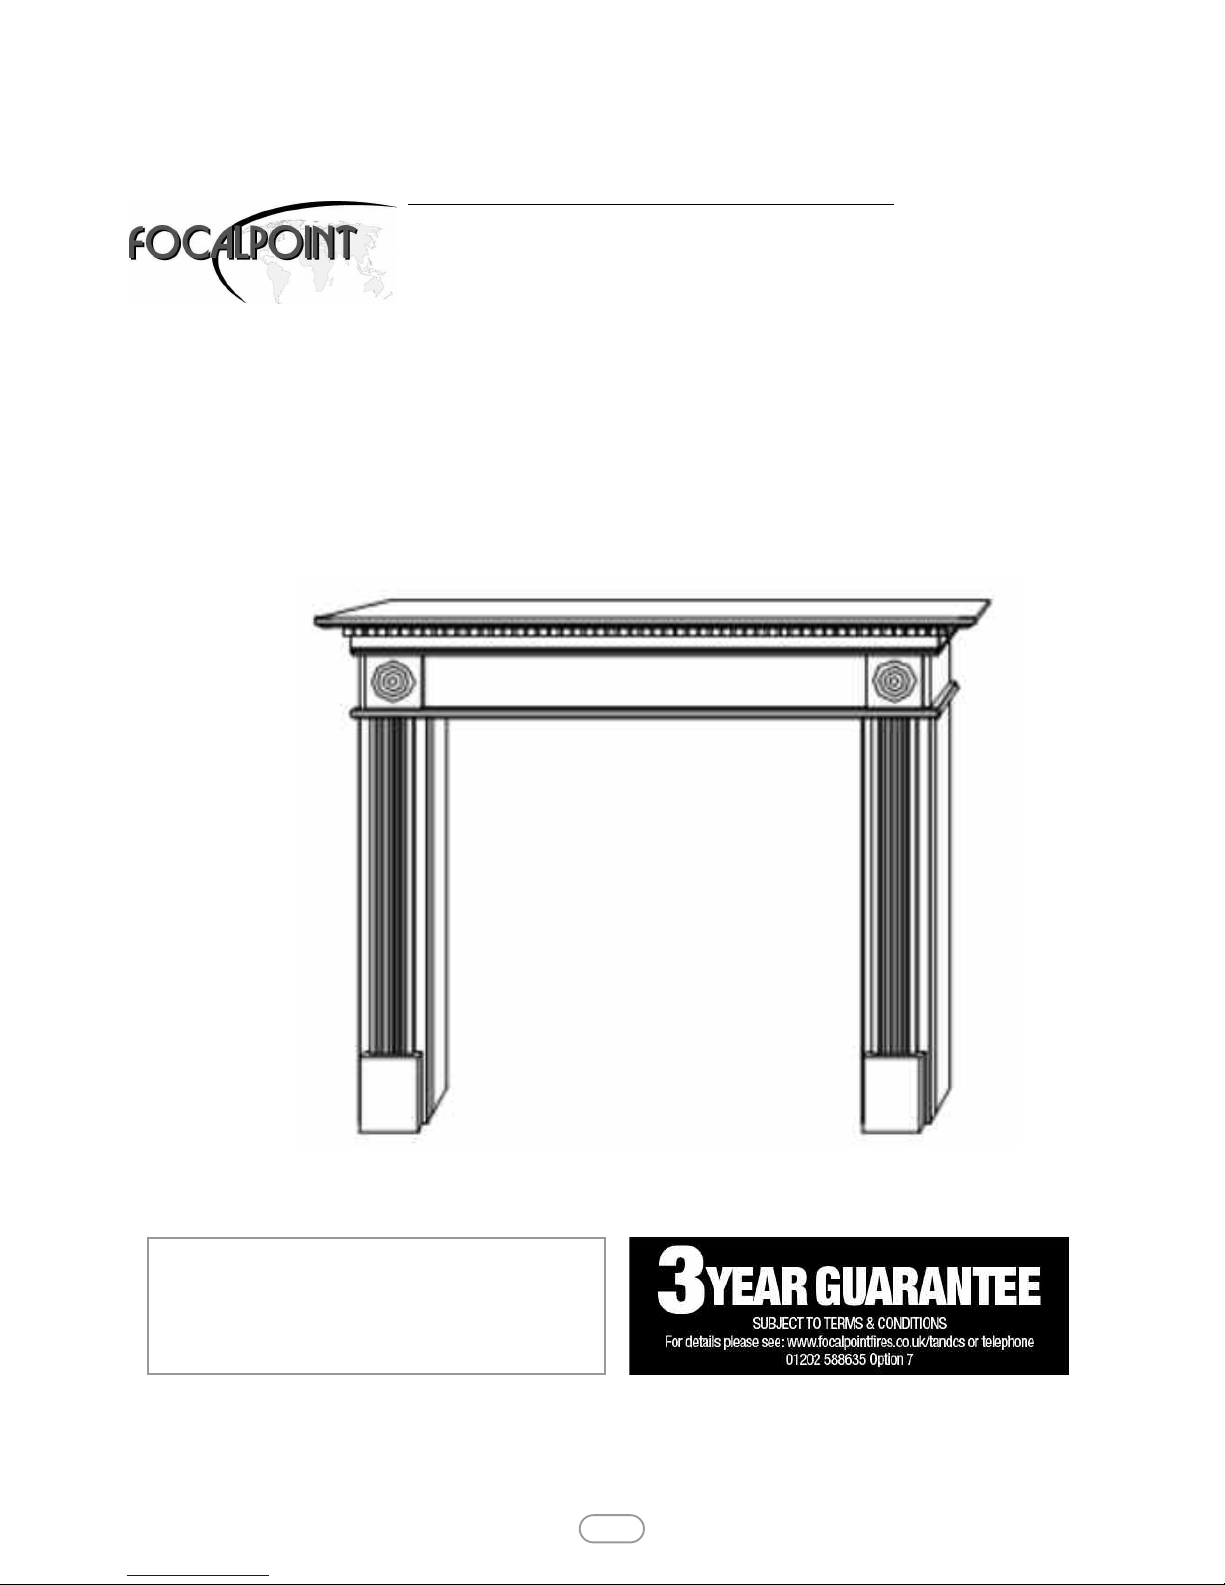
F820590 FPFBQ392 WOODTHORPE FIRE SURROUND PINE
F820591 FPFBQ393 WOODTHORPE FIRE SURROUND OAK VENEER
F820592 FPFBQ394 WOODTHORPE FIRE SURROUND WHITE
Page 2
A S S E M B L Y I N S T R U C T I O N S
2
GB IE
1.0 IMPORTANT NOTES
© 2014 Focal Point Fires plc.
Section
1.0
2.0
3.0
4.0
5.0
6.0
7.0
Contents
Important notes
Tools required
Hardware & parts list
Assembly
Installation
Cleaning/ finishing
Guarantee - terms and conditions
Page No.
2
2
2
3
4
4
4
2.0 TOOLS REQUIRED
CODE
NAME
FIGURE QUANTITY
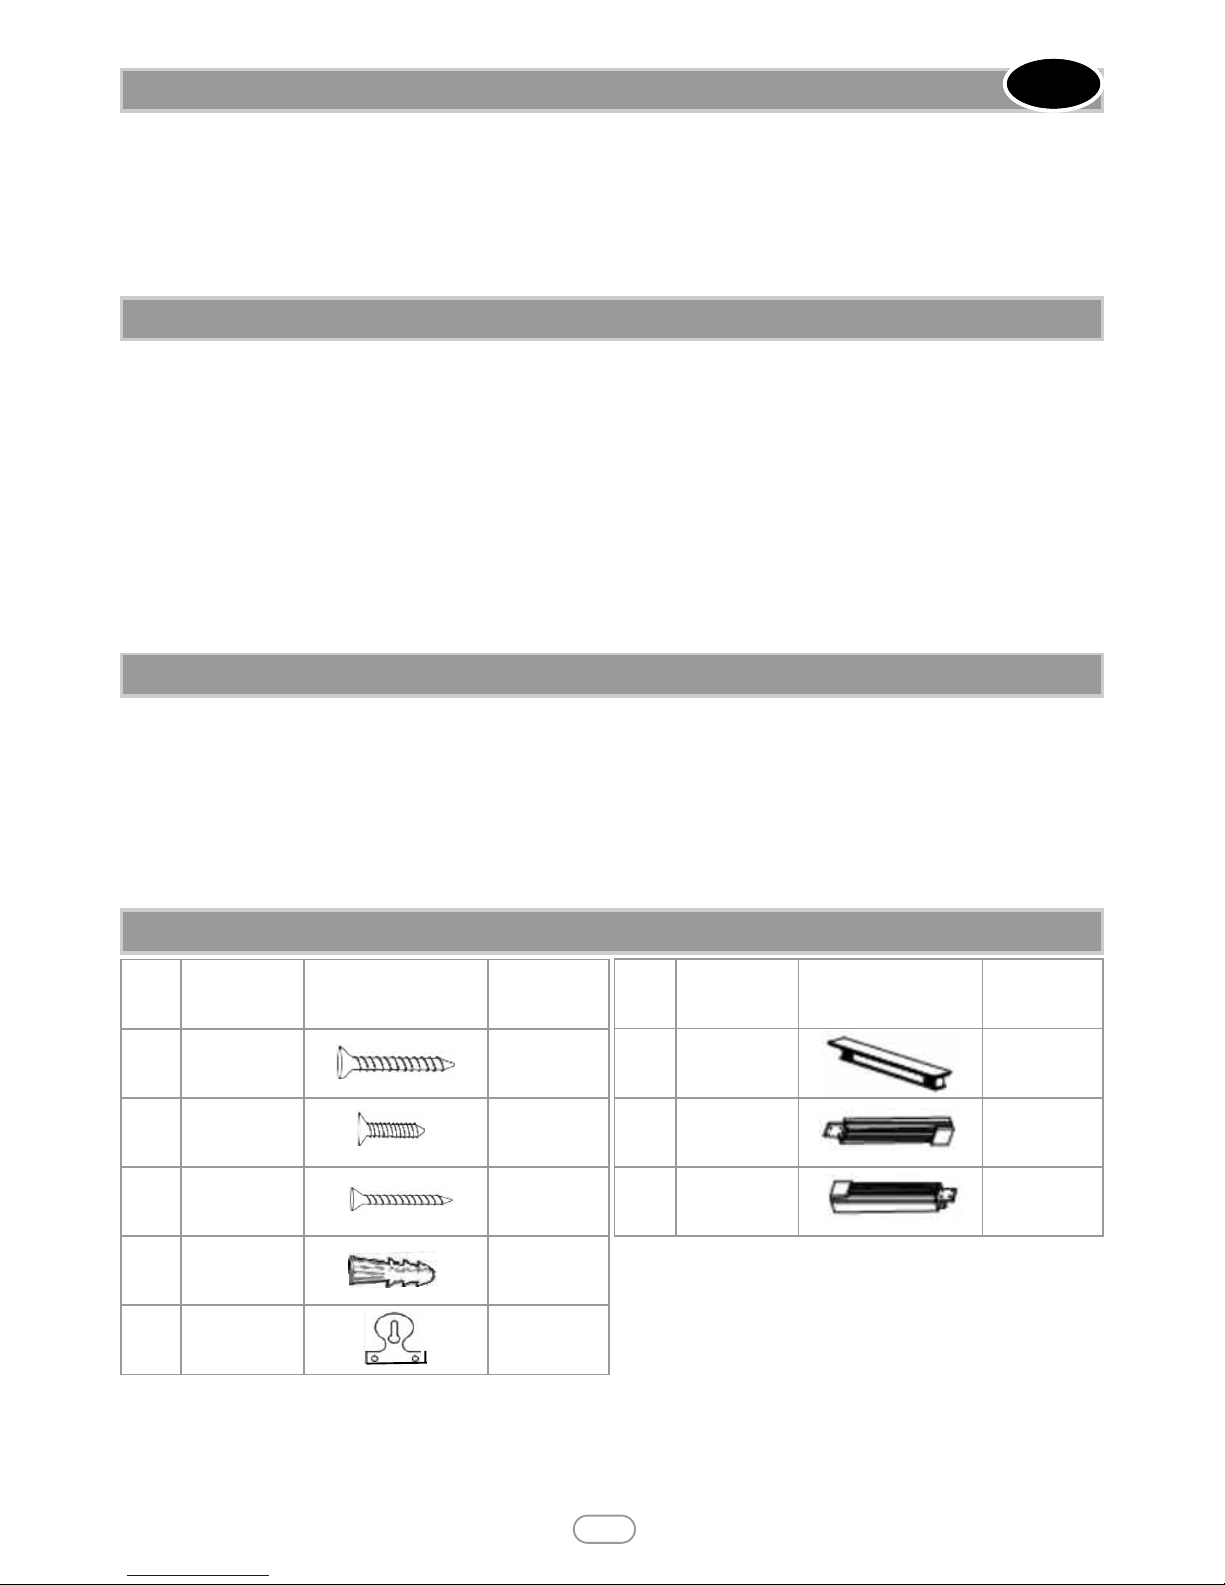
A
SCREWS
(8X32mm)
12PCS
B SCREWS
(6X20mm)
4PCS
C
WALL
SCREWS
(8X38mm)
2PCS
D WALL PLUGS
(6X25mm)
2PCS
E
MIRROR
PLATES
(45X43mm)
2PCS
3.0 HARDWARE & PARTS LIST
CODE NAME
FIGURE
QUANTITY
①
MANTLE
SHELF
1PC
②
LEFT LEG 1PC
③
RIGHT LEG 1PC
To ensure safe and stable installation:
1. The assembled Fire Surround must be fixed / secured to wall.
2. The wall must be sturdy and in good repair.
3. Some walls require alternative fixings (not included).
4. When drilling into the wall, check for hidden pipes and cables.
5.There are two options for construction of this surround.
A - with rebates - If you are installing this surround with a gas fire, or an electric fire where there is space in the wall to recess
the fire use parts 4 & 5, this means the laminate / marble is up against the wall.
B - with out rebates - If using this surround with an electric fire and a flat wall do not use with rebates, instead use the spacer
frame from the fire.
Cross head screwdriver PZ2 (3 inches in length or greater)
Drill, 6mm and a 2mm suitable drill bit
Pencil
Tape measure
Page 3
4.0 ASSEMBLY
3
GB IE
© 2014 Focal Point Fires plc.
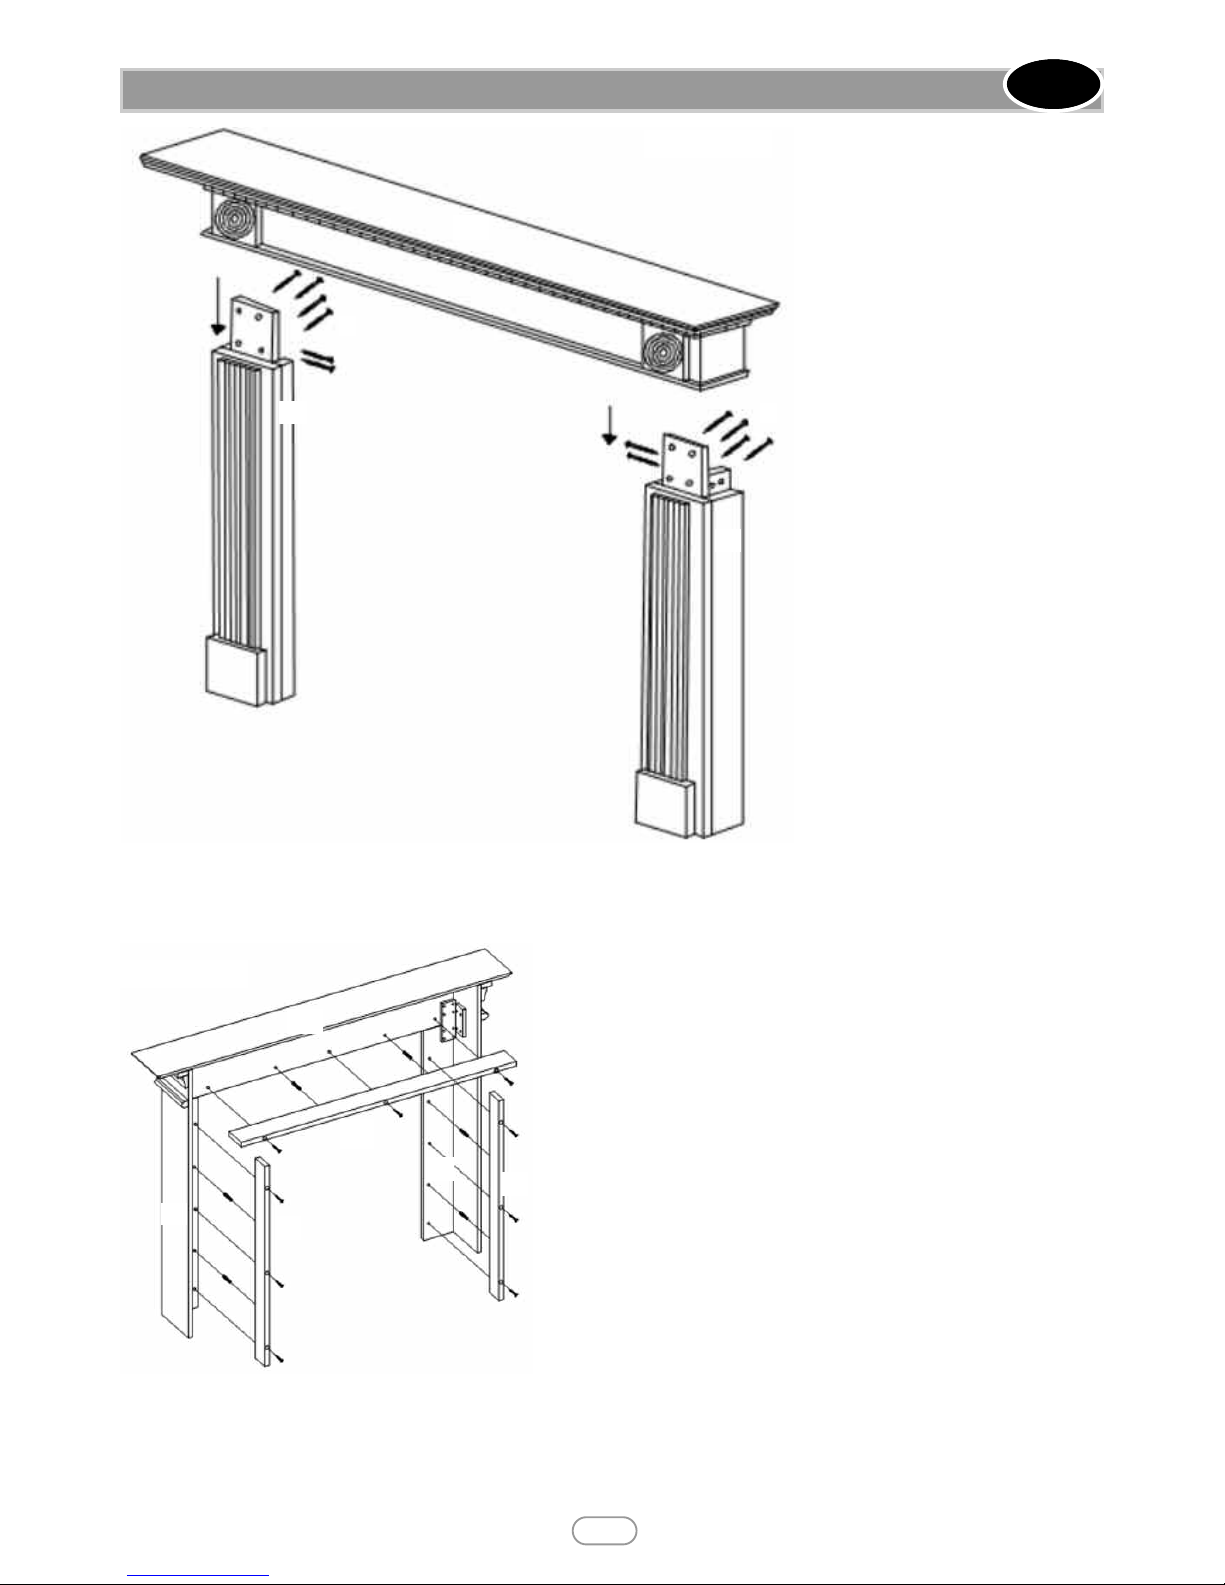
TAKE CARE - LAY THE SURROUND ON A SOFT SURFACE THAT WILL NOT DAMAGE THE SURROUND.
Lay the left leg(2) and the right leg(3) along with the top shelf (1) on the floor. Push them together so that the 3 parts fit
together with no gaps. Next insert 6 wood screws (A) in to each leg, 4 of which face the front, and 2 that face the outside
edge. When correctly aligned the screws (A) can be tightened..
Parts
1
2
3
4
5
Fixings Parts
A x 12 PCS 1
2
3
A
A
②
③
⑤
STEP 1
③
②
④
①
STEP 2
If you require a 25mm rebate, you will now need to remove the rebates from the surround, this can be achieved by
removing 3 screws from each part of the rebate.
④
①
Page 4
B
C
B
D
5.0 INSTALLATION
GB IE
4
© 2014 Focal Point Fires plc.
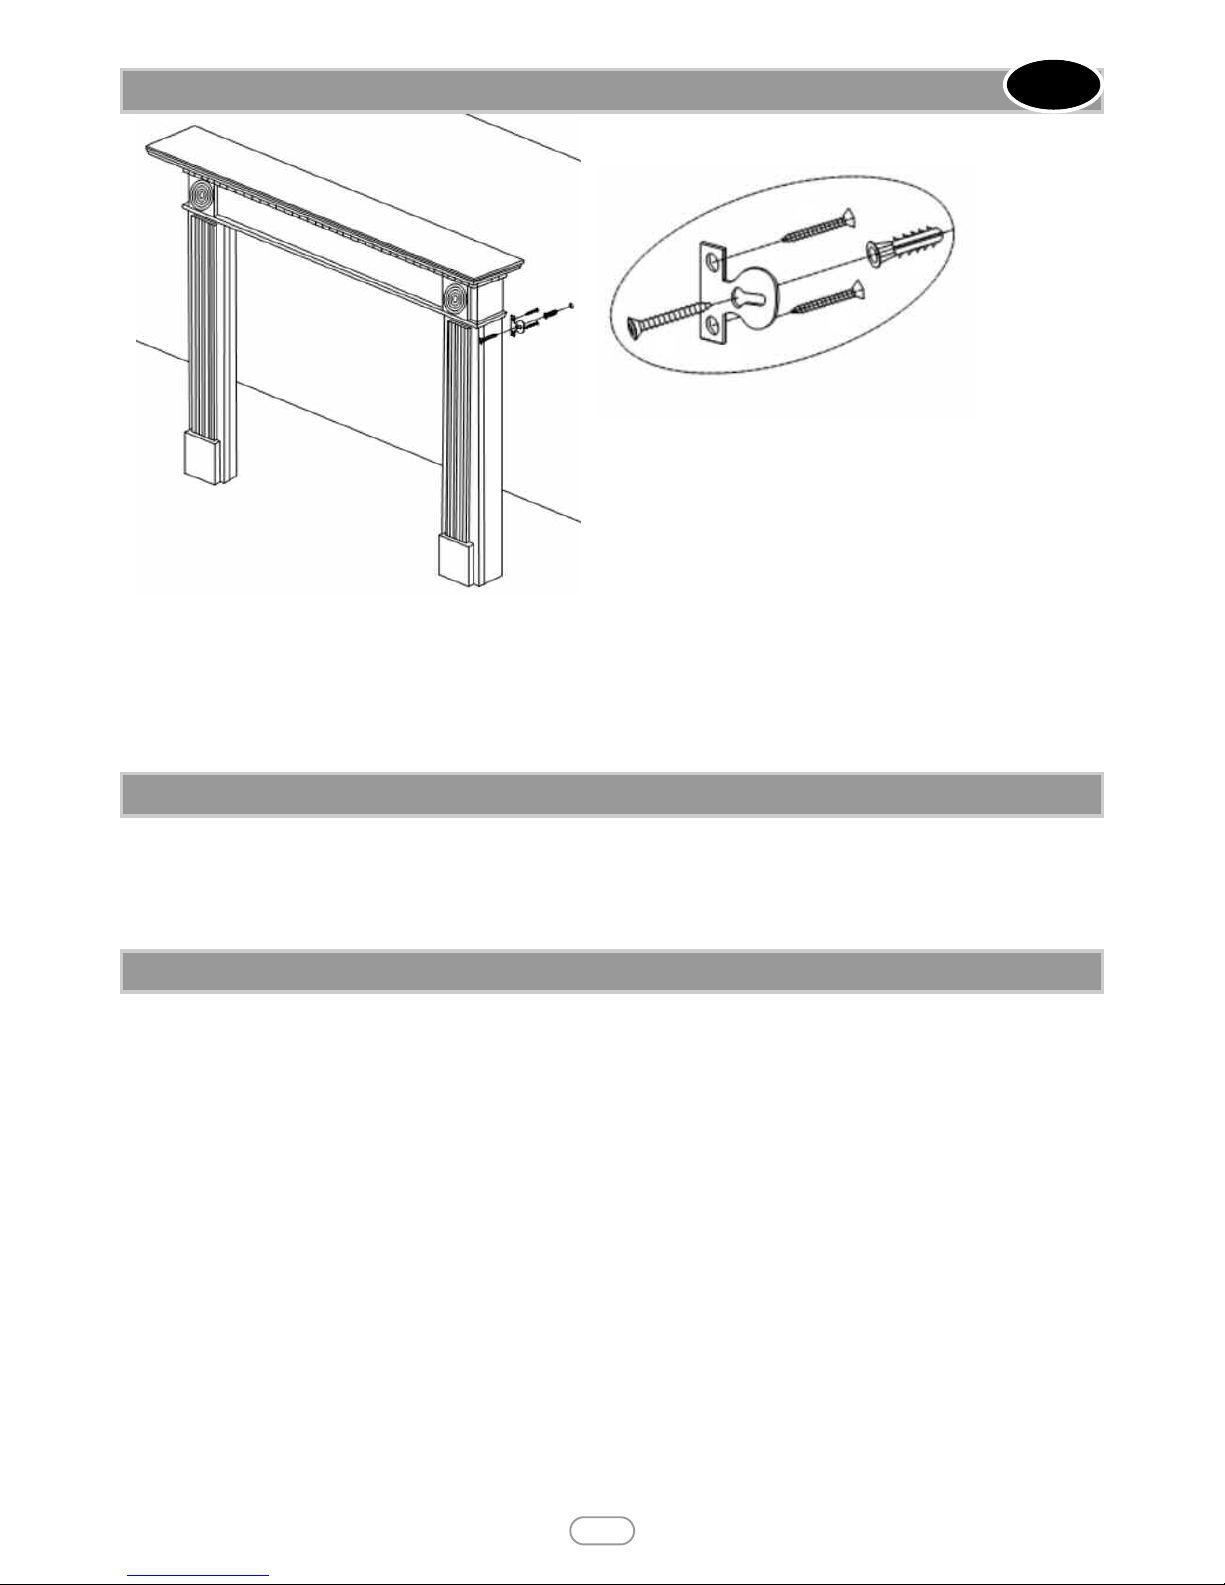
With a pencil mark out the desired height where you would like the mirror brackets (E) to be situated on the rear of the legs. To avoid
splitting the leg, pre drill the bracket holes with a 2mm drill bit. Now attach the brackets to the legs using the screws (B). Once the
brackets are in position, centre and level the hearth into its final fitting position. Position the surround on the hearth to correspond with
the header/fireplace lintel, mark with a pencil on the wall where you wish to drill. Remove the surround and prepare the wall from the
marked positions. If using the fixings supplied, drill a hole in the wall using a 6mm drill bit. If not, use a suitable drill bit for the wall plugs
you are using. Insert the wall plugs (D) into position. Offering the surround back up into position against the wall, you are now able to
secure the surround to the wall using the screws (C).
Fixings
B x 4 PCS
C x 2 PCS
D x 2 PCS
E x 2 PCS
Before carrying out any of the following operations, ensure that the appliance is OFF and completely cold. Regularly clean
around the appliance to ensure that dust, fluff, pet hair etc, are kept to a minimum. There are no other specific requirements for
care, other than regular cleaning of the general appliance.
A wipe with a dry cloth is normally sufficient. DO NOT use abrasive cleaners as they can damage the finish. Test on a hidden
part before cleaning. Clean only in the direction of the grain. Regularly check the surround is securely fixed in position.
6.0 CLEANING/ FINISHING
7.0 GUARANTEE - TERMS AND CONDITIONS
The 3 year guarantee commences from the date of purchase, provided that the terms and conditions are adhered to:
Registration is not required.
1. For any claim to be made within the 3 years from date of purchase you will be required to provide and supply us with your
proof of purchase.
Making a claim is easy.
If you wish to make a claim under our 3 year guarantee and all the terms and conditions for your product have been met then
please submit the following information for the attention of the 3G Service Department to the address below. Alternatively, you
can email or fax. Please note that this does not affect your statutory rights.
Focal Point Fires plc, 3G Service Department, Reid Street, Christchurch, Dorset, BH23 2BT.
Alternatively email: [email protected] or fax. 01202 499326.
Details required:
1. Name, full address including post code and contact telephone number.
2. Receipt of purchase or credit card statement.
F861252
As our policy is one of continuous improvement and development, we hope therefore you understand we must retain the right to amend details and/or specifications without prior notice.
E
 Loading...