

Page 1
TM
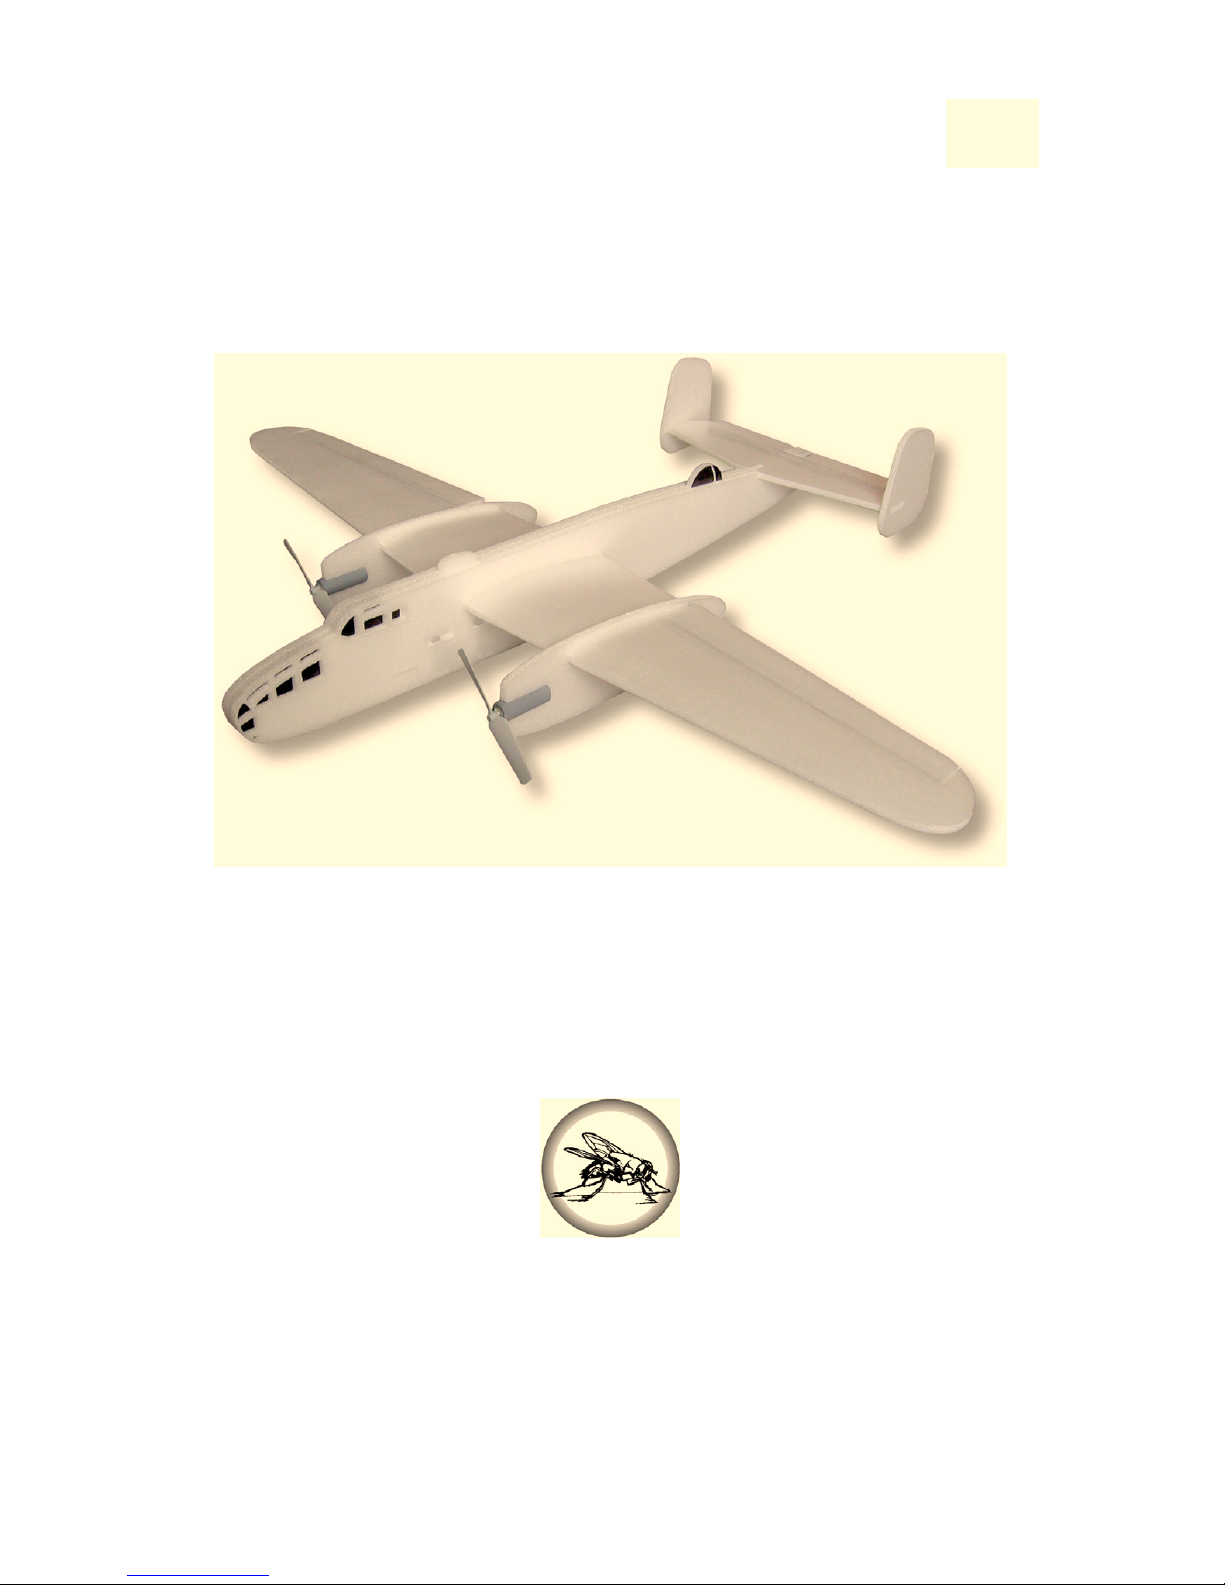
“Insta-Plane”
B-25
Heavy Twins Series
Instruction Manual
Electric Foam Parkflyer
Designed By: Daniel J. Schwartz
Available Exclusively from:
www.FoamFly.com
4077 WoodCreek Dr.
Ypsilanti MI. 48197
USA
© 2005 FoamFly.com
Page 2

Page 3

1
Thank You for purchasing a FoamFly Insta-Plane! Welcome to the world of
simple, durable foam flying machines. The Insta-Plane is sure to thrill, with its profile
styling, and amazing performance. This plane is not recommended for complete
beginners, but it isn’t something to be afraid of either. It’s as easy to build, and more
durable than pre-fab planes that you might find at the hobby shop.
The Insta-Plane Construction makes the plane quick and easy to assemble. All
the pieces are specially pre-cut with only a few jobs left for you to do. You can literally
have this plane up and flying in under an hour. Experience helps, and I recommend
reading these instructions thoroughly before beginning.
Insta-Plane “Heavy Twin” Specs:
• Ready To Fly Weight 5 Oz.
• Motors: EDP-50 x 2
• Propeller: 3x3 or 3x2
• Batteries: 450mAh 2-cell Lithium
• Receiver: GWS R4P (4 Channel)
• Servos: GWS Pico
• ESC: GWS ICS-100 (5-Amp Speed Control)
Introduction:
FoamFly.com is more than just a hobby company. It’s a community too! Please
take pictures of your plane, and upload them to the photo gallery. Feel free to drop by and
see what all the other foam junkies have been building. There are free plans, and lot’s of
tips and ideas as well as unique new planes that you won’t find anywhere else.
Okay, you’ve got your kit in front of you, and you’re ready to cruise the skies. Only
problem: the plane is lying in pieces in front of you. Well we can take care of that too.
There are some techniques you’ll need to be familiar with to make the most of your kit. I’ll
refer to them as they’re needed, but the details of those techniques will be in the Appendix
at the end of this manual.
The Insta-Planes are so easy to assemble that one instruction manual suits them
all. There are a few variations, but I’ll try to cover all of them. Any items unique to your
plane will be mentioned on the exploded view on the following pages.
1) Identify all the parts:
You’ll need to know which part is which, unless you want to end up with the flying
equivalent of Frankenstein’s Monster. So, let’s start by taking a look at what you’ve
got here.
a) Foam Airplane Parts:
(1) Fuselage Sections (Center, 2-sides & Servo cover)
(2) Wings
(3) Ailerons
(4) Elevator
(5) Vertical Stabilizers (Some models)
(6) Motor Nacelles or Fuselage booms
b) Laser Cut Control Horn
c) DuBro E/Z Connectors
d) .032” wire & plastic tubing
2) Fuselage:
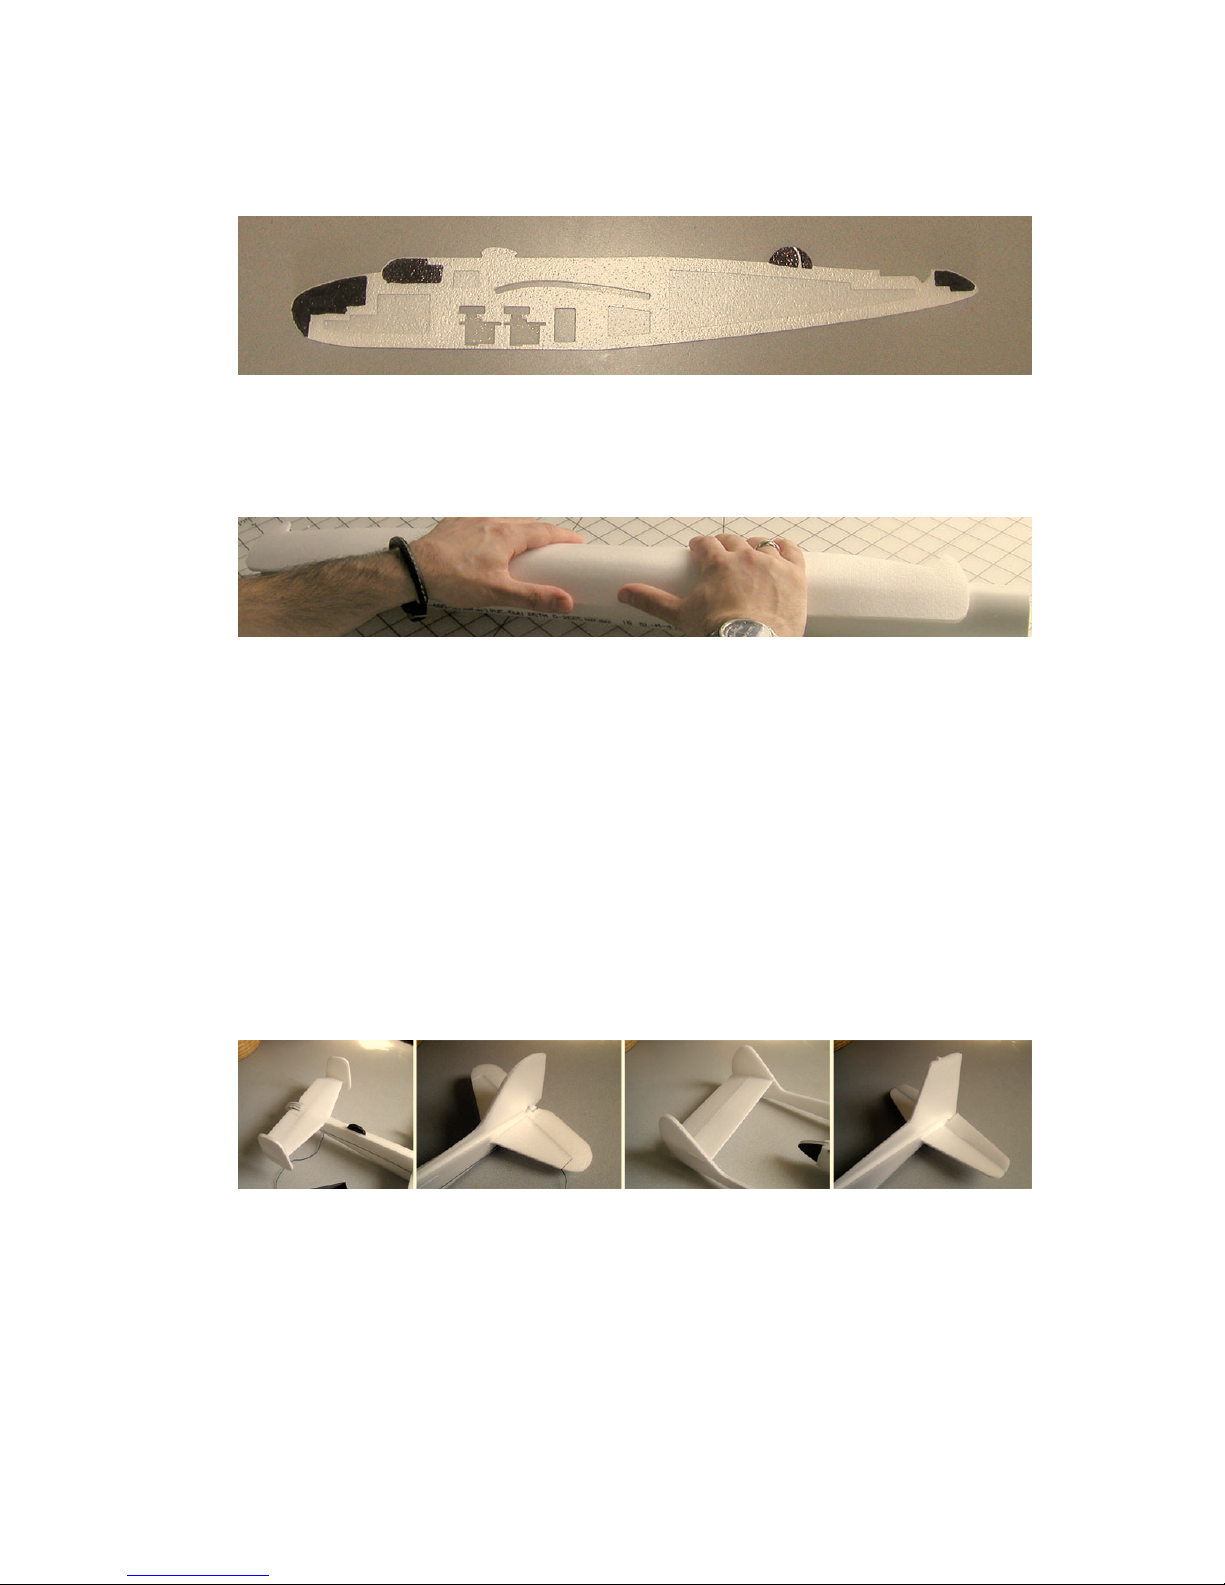
a) All the Insta-Plane fuselages go together the same way. The three layers
sandwich together to form a strong hollow structure. I like to glue these parts
with contact cement (See the Appendix section, “Gluing”) but a variety of other
glues fit the bill here as well.
b) Things to consider:
Page 4
©2005 FoamFly.com 2
i) If you plan ahead it’s possible to build the ESC and the Y-connectors into
the hollow space in the fuselage. But, if that seems like too much work,
you’ll be able to bundle the wires and tuck them under the plane later.
ii) Before you glue the sections together, now is the perfect time to color in
the windows on the center section.
3) Wing:
a) Figure out which side will be the top of the wings. The wings have grooves cut
into them where the aileron torque rods will go. Those grooves go on the
BOTTOM of the wings.
b) Roll the wings into shape: Now that you know which side is up for your wings, roll
the airfoil shape into them. (See the Appendix Section, “Rolling the Foam”)
c) The Insta-Planes are either High-Wing, Low-Wing, or Shoulder Wing. So,
depending on which model you have, either fit the wing onto the matching
notches in the fuselage, or slide it through the slot in the main fuselage.
d) Attach the nacelles or tail booms. There are two types:
i) Slide in parts are easy. Just push the nacelle over the wing until it meets up
with the notches cut into the wing. This will help you to line it up straight.
ii) Snap on nacelles are only slightly more complicated. Using a knife, split the
closed section at the back of the nacelle if necessary for your model. Then
gently slide the nacelle straight back from the leading edge of the wing until
the tabs snap into the slot in the wing.
e) Tape hinge the ailerons into place in the slots in the wing.
4) Tails:
a) In general it’s easier to tape hinge the moving half of the elevator to the
nonmoving half before installing the whole elevator into the plane. However, in
some cases, this must be done after. Check the exploded view for specifics.
b) Vertical Tails, if separate fit over the tabs at the end of the elevator, and will be
glued into place.
5) Glue it up:
a) Parts that fit flat against each other are best glued with contact cement, but other
glues will work also. Parts that slot together and other seams are most easily
glued with a hot glue gun. (See Appendix section, “Hot Glue Welding”)
6) Motors:
a) Put the propellers on the motor shafts before installing the motors into the plane.
b) The motors should be a snug fit into the slots in the nacelles. Line the motors up
with the wires pointing inwards.
c) Two tips:
i) Align the motors so that the propellers can stop evenly while horizontal.
This will help keep them off the ground.
Page 5

3
Page 6

©2005 FoamFly.com 4
Page 7
5
ii) Consider pointing the motors ever so slightly to the right to help counteract
propeller torque.
d) Weld the motors in place with hot glue where they meet the foam.
7) Radio Gear:
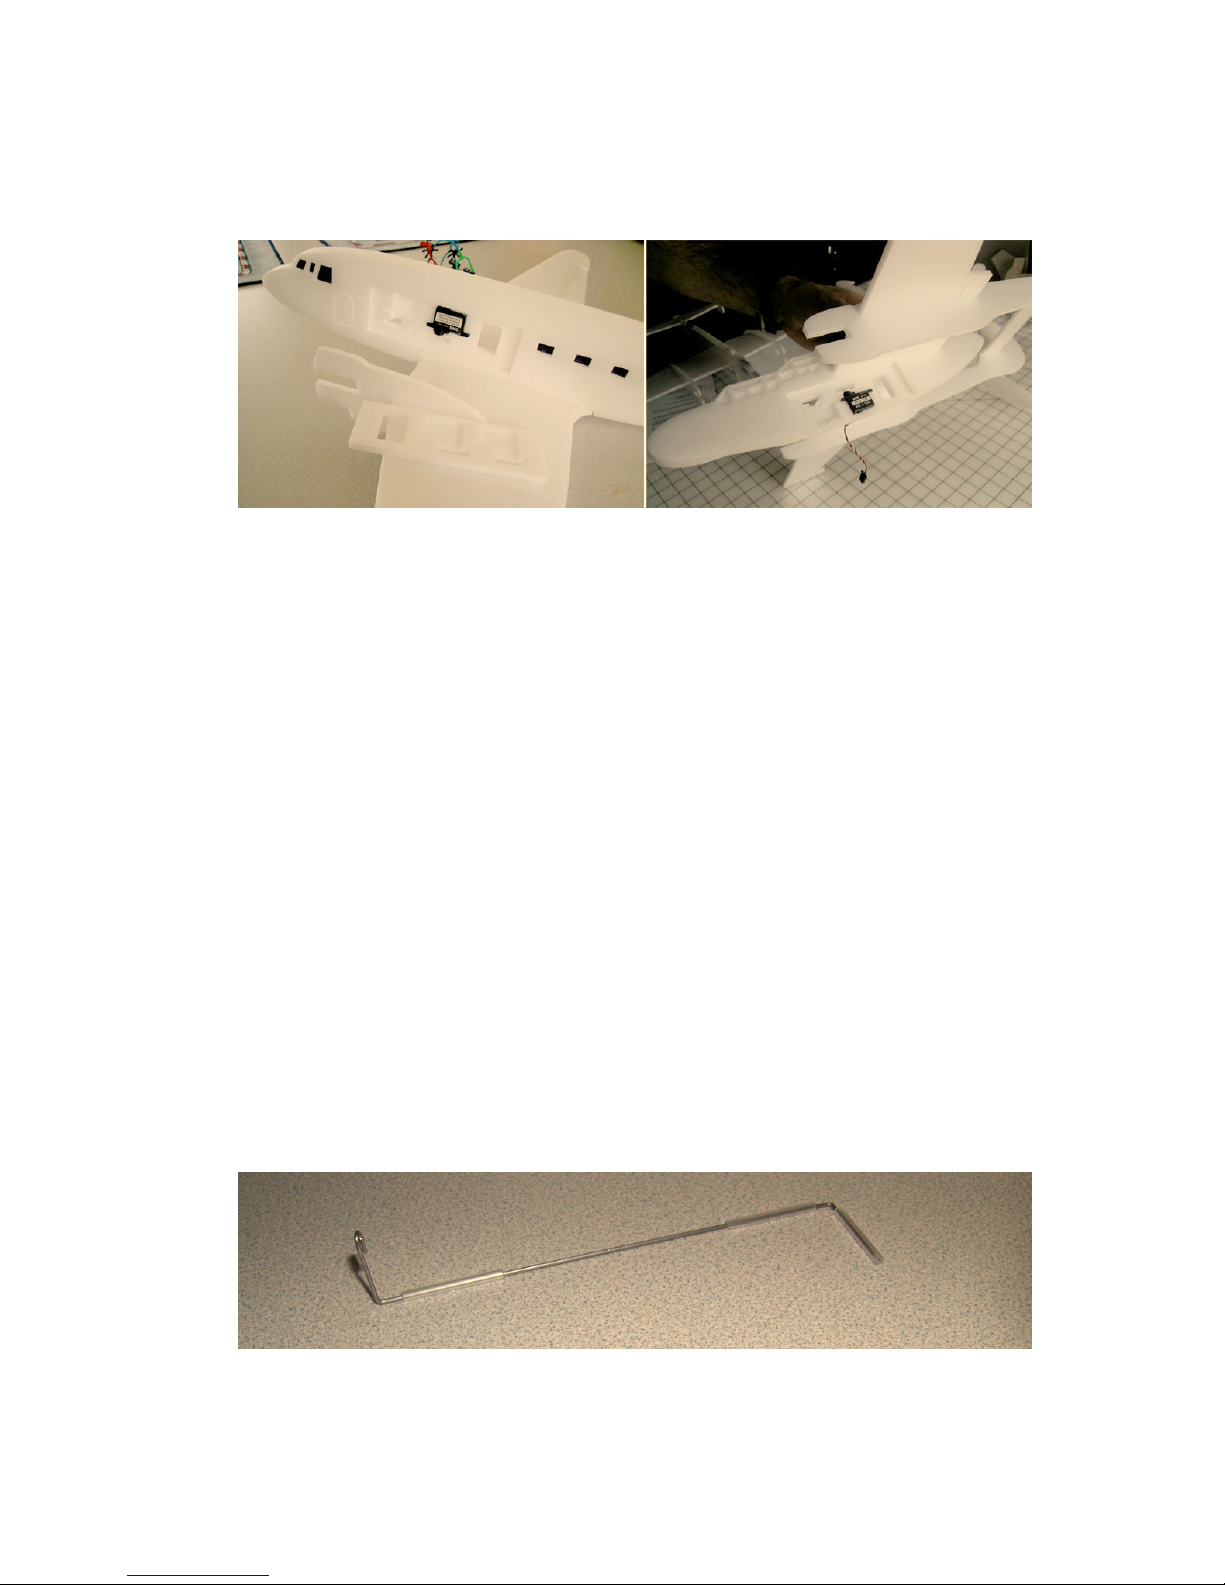
a) The Servo bays are pre-cut to be a perfect fit for GWS Pico Servos, but you
should be able to make modifications to fit servos in the same size range.
b) Plug the servos into the receiver, and power it up. Make sure that the sticks, and
the trims are centered. Put the two-arm servo arms onto the servos pointing
straight out the sides.
c) Slide the servo wires through the slots in the fuselage sides, and set the servos
into the bays.
d) Glue the cover into place, being careful not to get any glue on the servos
themselves.
e) The GWS Pico 4ch receiver is a perfect fit in the fuselage.
f) Plug everything in, making sure the servo plugs face the right way
8) Controls:
a) Put the DuBro E/Z connectors into the servo arms. Two on the forward servo
facing the wing, and one on the rearward servo facing the other way. This way
the pushrods for the ailerons and elevator won’t interfere with each other.
b) Elevator:
i) Make a slit in the bottom of the elevator, and fit the plastic control horn into
place, so that the hole is lined up over the hinge line. Hot Glue Weld the
control horn in place.
ii) Fit the Z-Bend end of a piece of wire into the control horn, and slide the
other end through the E/Z Connector. If necessary, glue a small piece of
tubing in the middle of the fuse to support the wire.
c) Aileron Torque Rods:
i) This is probably the single most important control setup on the plane. When
your ailerons are finished, you want to have more up throw than down. To
accomplish this you’ll need to lean the arm of the torque rods in the direction
that you want more travel.
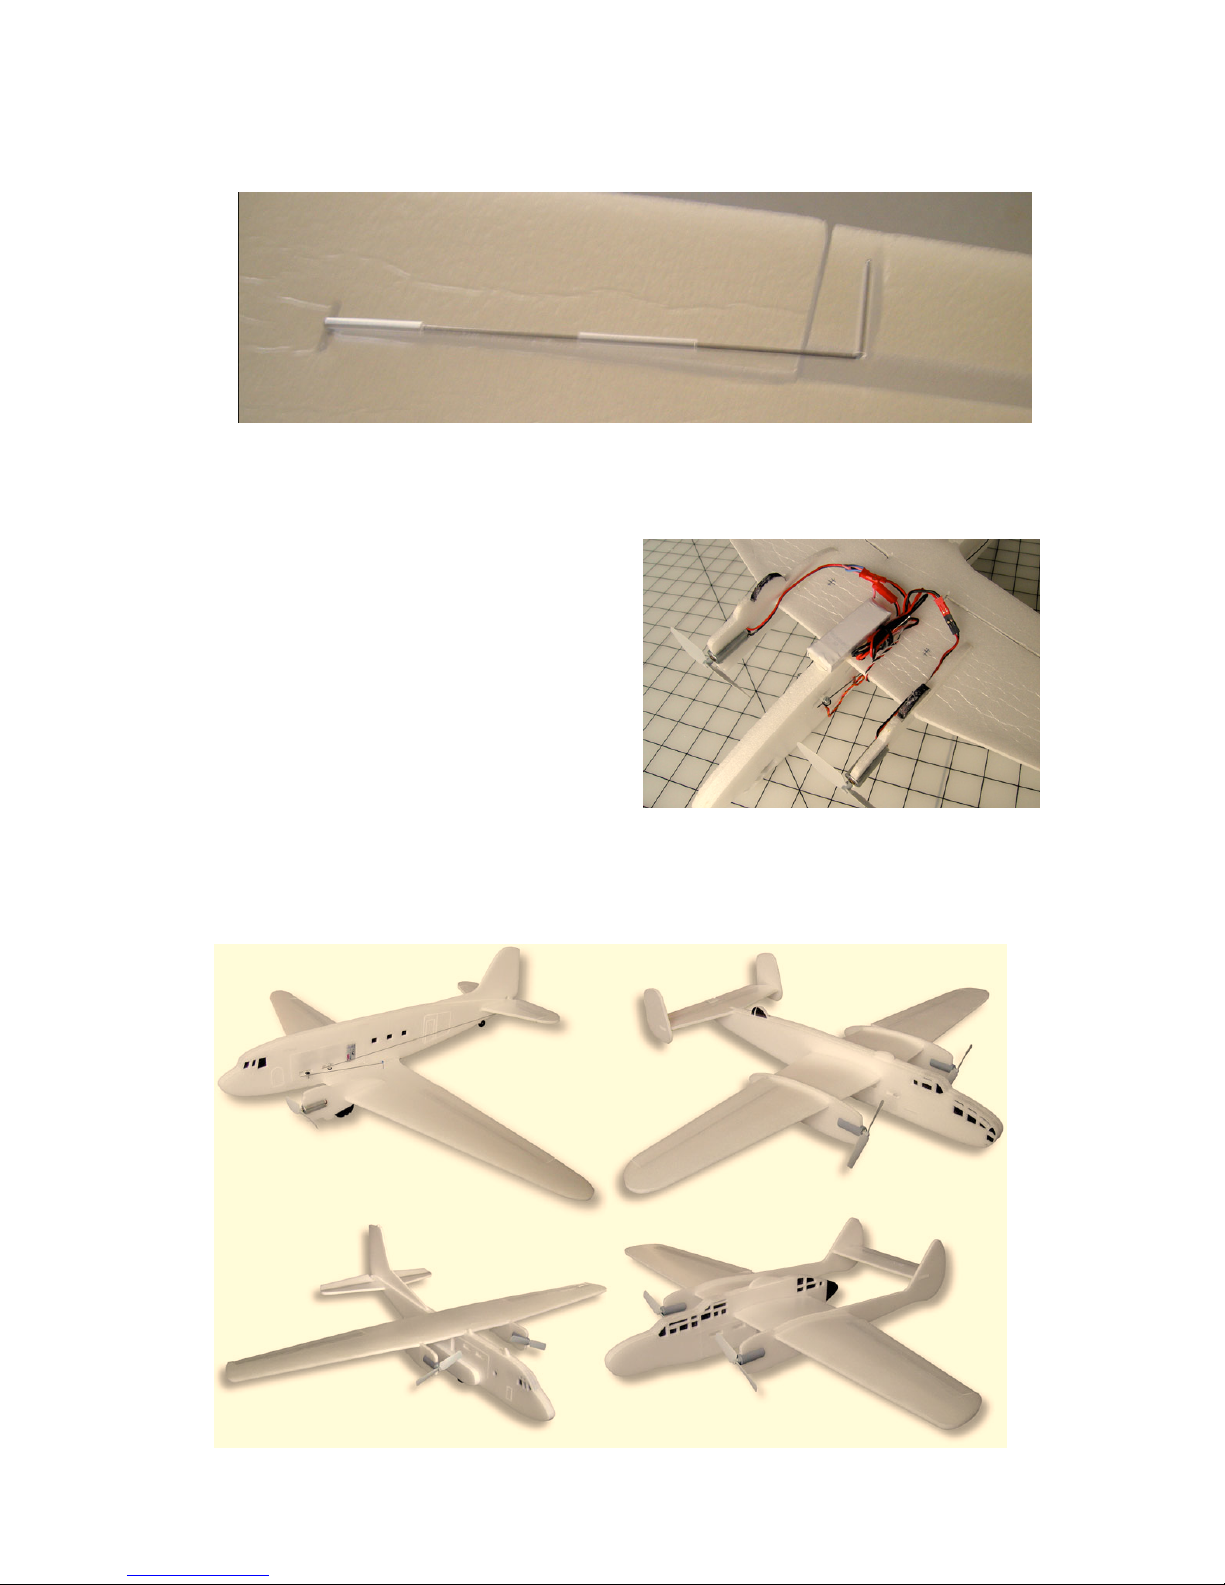
ii) Bend a small loop in the end of a piece of wire, then make a 90 degree
bend about 5/8” down from the loop.
iii) Slide two 3/4” lengths of plastic tube onto the wire, near the bend. Make a
second bend at right angles to the first one far enough down the wire so that
it reaches the aileron.
iv) Make a second torque rod that is the mirror image of the first.
Page 8
©2005 FoamFly.com 6
v) Test fit the torque rods into the grooves in the bottom of the wing, and cut a
slot into the bottom of the aileron where it lines up with the rod. Use another
short piece of tubing in that slot, and hot glue weld all the tubes into place
when the ailerons work smoothly.
vi) Fit the Z-Bend end of a short piece of wire into each of the loops on the
torque rods, and the other end through the E/Z Connectors on the servo
arms. If they’re a loose fit in the loops, you can use some plastic tube (or
wire insulation) to tighten it up.
d) Finishing Touches:
i) Make sure everything is
plugged in, and check to see
that the controls move
smoothly, with even throws.
ii) You can attach the battery with
Velcro or tape as required to
balance properly.
iii) Tie up and tape down any
loose wires. The ESC, the
antenna, etc…
9) Fly it:
a) Double check the CG, and that the controls actually move in the right directions.
b) Center all the controls, and give the plane a gentle push at about 3/4 throttle.
c) Get the plane trimmed for level flight, and…Have Fun!
d) Collect them all. ;)
Page 9
7
APPENDIX:
The Tools: (and things you’ll need)
1) Pliers: Something suitable for wire bending.
2) Knives: a Razor knife, and an X-Acto would both be useful.
3) .032” wire for pushrods and possibly landing gear
4) Glue: UHU Creativ’ contact cement, Hot Glue Gun, or Foam-Safe CA, or Elmer’s
White glue, or RC-56 type white glue, or Epoxy. You’ll probably want a couple of
these for good measure.
5) Tape: You’ll want some “crystal clear” Scotch Tape if you can find it. If not, you can
cut down packing tape.
The Techniques: You’ll probably want to practice these on a piece of the scrap foam.
1) Gluing:
a) Contact Cement:
The contact cement will test your patience. I know you’ll be tempted to stick
the pieces together immediately, but don’t be give in. The UHU Creativ’ will form
the strongest bond, if you allow it to dry for about 5 MINUTES before putting the
pieces together, and probably much longer. Put the glue on BOTH surfaces to
be joined. If you’re not used to contact cement, remember you really only get
ONE CHANCE at putting the pieces together. It really is instant gluing! (except
for the waiting, but that’s already over at that point)
The UHU Creativ’ has a long working time. After application, the glue can
sit for nearly half an hour and still make a full-strength bond. If you plan ahead a
little, you can apply the glue to all the fuselage surfaces in the order that you’ll be
assembling them, and the first ones will be ready to press together by the time
that you’re done applying glue to the last. Then proceed in order, for an
exceptionally quick build.
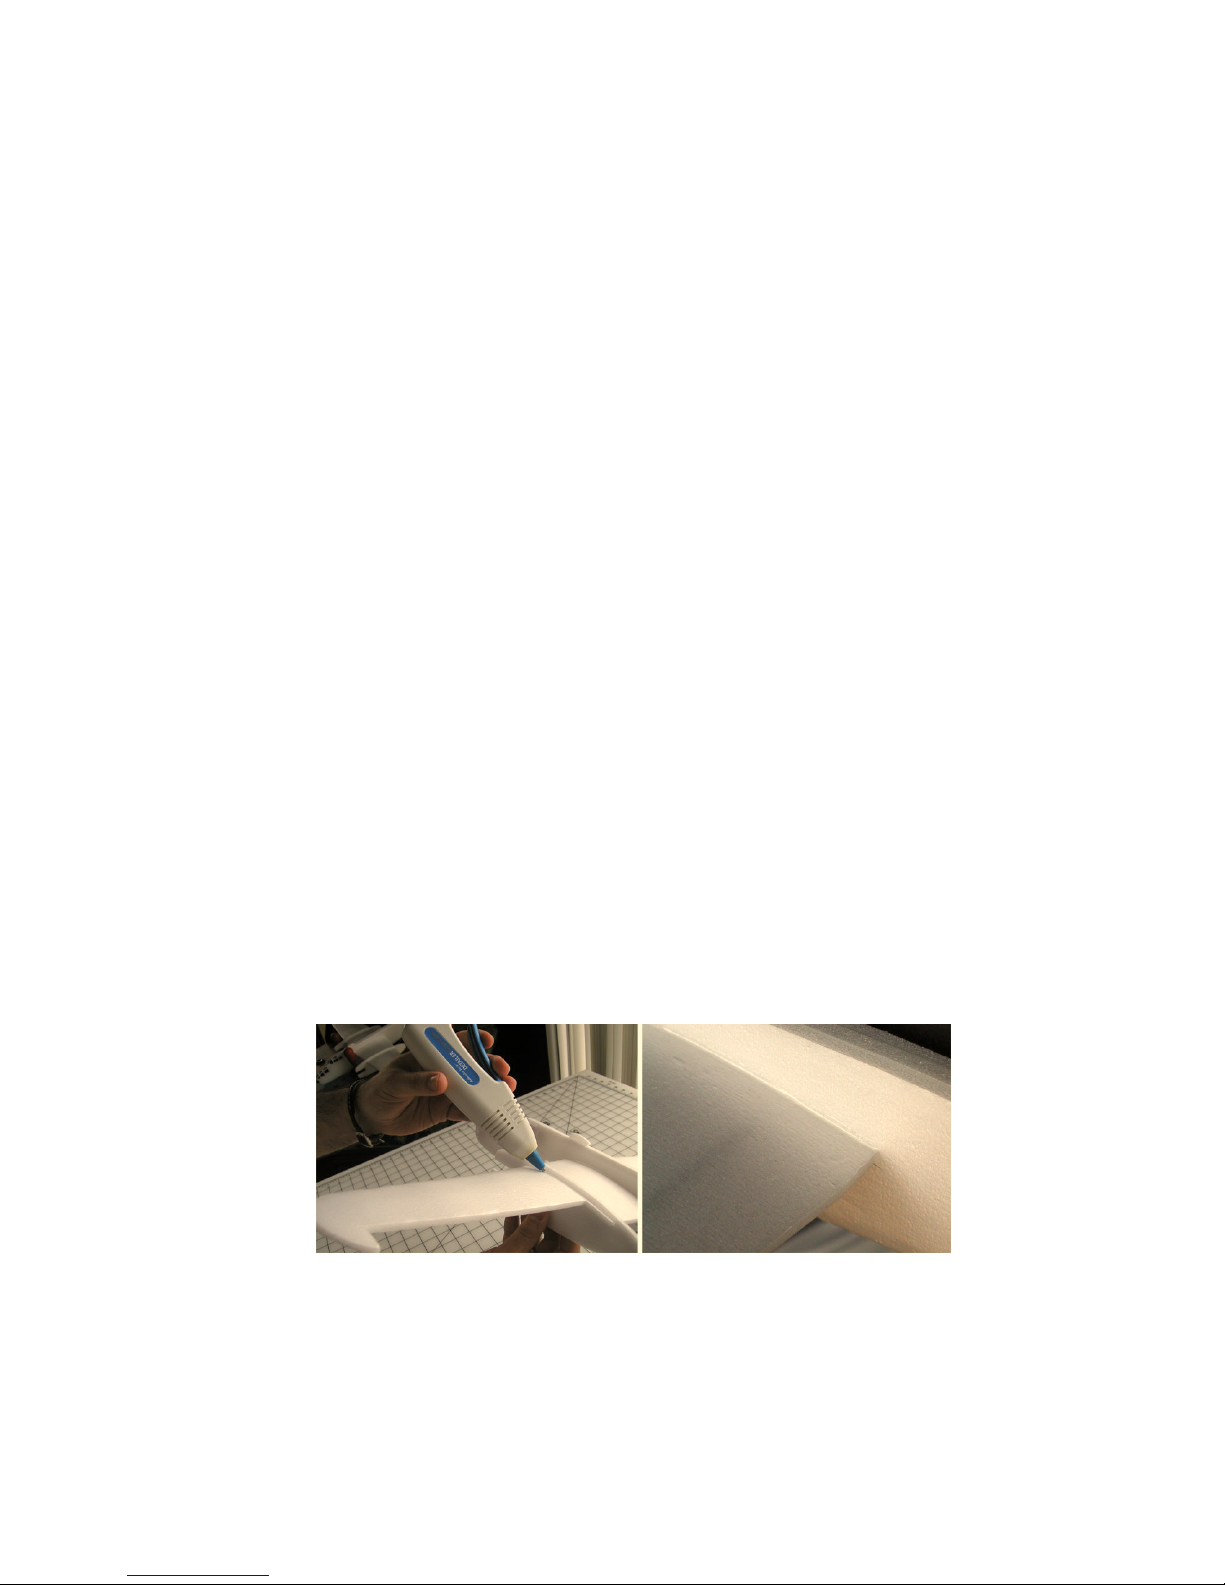
b) Hot Glue Welding:
Although the hot glue gun can be used to attach flat sections, it dries too
quickly to give you much time. The glue gun works best when the parts are
already assembled, and you simply need to make the fit permanent.
Rather than continually pulling back the gun, leaving a globe of glue behind,
move the gun forward, keeping just enough glue flowing that the tip slides easily,
and leaves a seam of glue pressed deep into the corner of the joint. This takes a
little practice, but leaves an unobtrusive glue joint that is incredibly strong. Quick
and easy too!
2) “Rolling the Foam”
a) You’ll be bending the foam to form the airfoil for the wings. Find yourself a
section of 2” PVC pipe, (Or a Baseball Bat, Rolling Pin, Kitchen Counter, Bathtub
edge, etc…) and press the wings firmly and evenly down onto it to form the airfoil
shape. It doesn’t take too much pressure. The airfoil curves more sharply right
near the leading edge, so you can use smaller diameter pipe (or a Broom handle
etc.) to add a little more curvature there if you feel it’s necessary. It’s also
acceptable to just use your thumb, and the side of your index finger to work the
leading edge bend a little.
 Loading...