

Page 1
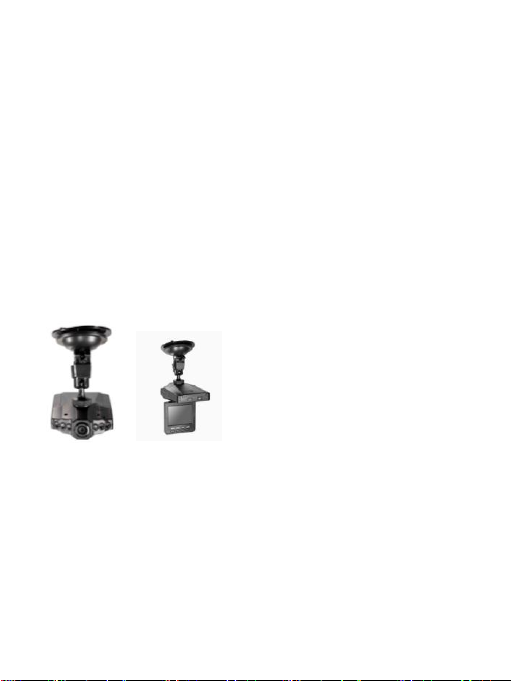
HD Car Video Recorder
Ⅰ.Product Features
1. Function: Video / Camcorder/ Recorder / Browser
2. Support SD/MMC
3. Infrared video recording
4. Built-in Microphone & speaker / Supports TV-OUT
5. Video format: MJPEG ( AVI )
6. Photo format: JPG
7. Video resolution: 640*480 /720*480 /1280*720
8. Photos resolution: 1280*1024 /2048*1536 /2592*1944/3264*2448
9. Loop shooting / continuous photos/ timed photos
10. Built-in Lithium battery / Support USB car charger
11. PC connection: USB port
Ⅱ.Accessories
1. User manual / USB cable / AV cable / Car mount
2. Car charger ( input: 24-12V, output: 5V adapter)
3. Lithium battery (built-in)
Ⅲ.Power Supply
1. Built-in Lithium battery
2. Car charger wit 5V USB / PC with USB cable
Ⅳ.Operation Instructions
User Manual
Page 2

1. Insert the SD/MMC card before started. Disconnect the AC
power or Lithium battery to reset when device crashed.
2. LED indicator: Power on / Charging.
3. Power on to enter into video recording mode. Press “ ”
button to start video recording. Repress “ ” button to
save the video file and stop video recording.
4. Connect with car charger USB power supply to start video
recording automatically. And disconnect to auto save the
file and power off.
Ⅴ.Function Keys
1. “c“ Key: Power On/ Off ( short press to power on,
long press 3 seconds to power off)
2. “ ” Key: Confirm
3. “ MODE“ Key: Mode switching among video,
camcorder, recorder, browser
4. “MENU” Key: Menu
5. “UP” Key: go up
Ⅶ. Menu settings
1) Turn on the device
2) Press the “MODE” button to switch to Video interface
3) Press the “MENU” button to enter into “video settings”/ “system
4) Press the “MENU” button to exit
5) Others:
6. “DOWN” Key: go down
1. Video settings
settings”
Video size : 1280x720/720x480/640x480
Video timestamp : shut/open
Cycle video : open/shut
The time of cycle video:1min/2min….
Video voice : open/shut
Page 3

Delay shutdown : shut/ x x min/…
2 System settings:
1) Turn on the device
2) Press the “MODE” button to switch to Video interface
3) Press the “MENU” button to enter into “video settings”/ “system
settings”
4) Press the “MENU” button to exit
5) Others:
Sound settings:shutter sound/shotdown sound/key
sound/
Supply frequency:50Hz/60Hz
Standby set : shut/1min
Screen saver set : shut/ 30s
Image rotate: open/shut
Lanuage: english/ simplified Chinese/ Traditional
Chinese….etc.
Video output : NTSC/PAL
Booting screen: shut/system/custom
Formatting : yes/no
Reset : yes/no
Verions information
2. System Setting: Power on, then press “ MODE” key to switch to
Video camera mode.
Press “MENU” enter into “ Video setting” / “ system setting” menu.
Select “ System setting”, then press “ ” to enter.
Press “MENU” to back or exit.
-
Page 4

3. Camera settings:
1) Turn on the device
2) Press the “MODE” button to switch to camera interface
3) Press the “ ” button to start takeing photos
4) Press the “MENU” button to “ menu setup
5) Others:
Image size: 3264x2448/2592x1944/
2048x1536/1280x1024
Image quality: high-quality/ better/ generally
Shooting mode : shut/self-timer 2s/ self-timer
10s/Continuous
Date stamp : shut /date/time
4. Record settings :
1) Turn on the device
2) Press the “MODE” button to switch to record interface.
3) Press “ ” to start/finished recording
4) Press “UP” to stop/continue
5) Press “MENU” to exit
5. View settings:
1) Turn on the device,
2) Press the “MODE” button to switch to view interface
3) Press the “ ” button to start browsing
4) Press the “UP” button to stop or continue
5) Press the “MENU” button to exit
6) Others:
File locking : lock or unlock single file / lock or unlock all
File delete : Delete the file / Delete all
Silde show : Start/Interval/Cycle( press ” ” button
to confirm and press “MODE” button to adjust
Eequivalent : black and white / Retro / Negative
Page 5

Film…etc
Rotate : Rotate/Save/exit
Voice memo : increase/ delete (
Set to boot screen: yes/no
6.USB connection settings
MSDC (press “ ”to connect U-disc
PC-CAM (press the “ ”to connect pc camera.
Video recording ( press the “ ”button to enter into video
interface and press the “ ”to start video.)
 Loading...