

Flyingwings ltd Ninja Combat Slope Soarer User Manual
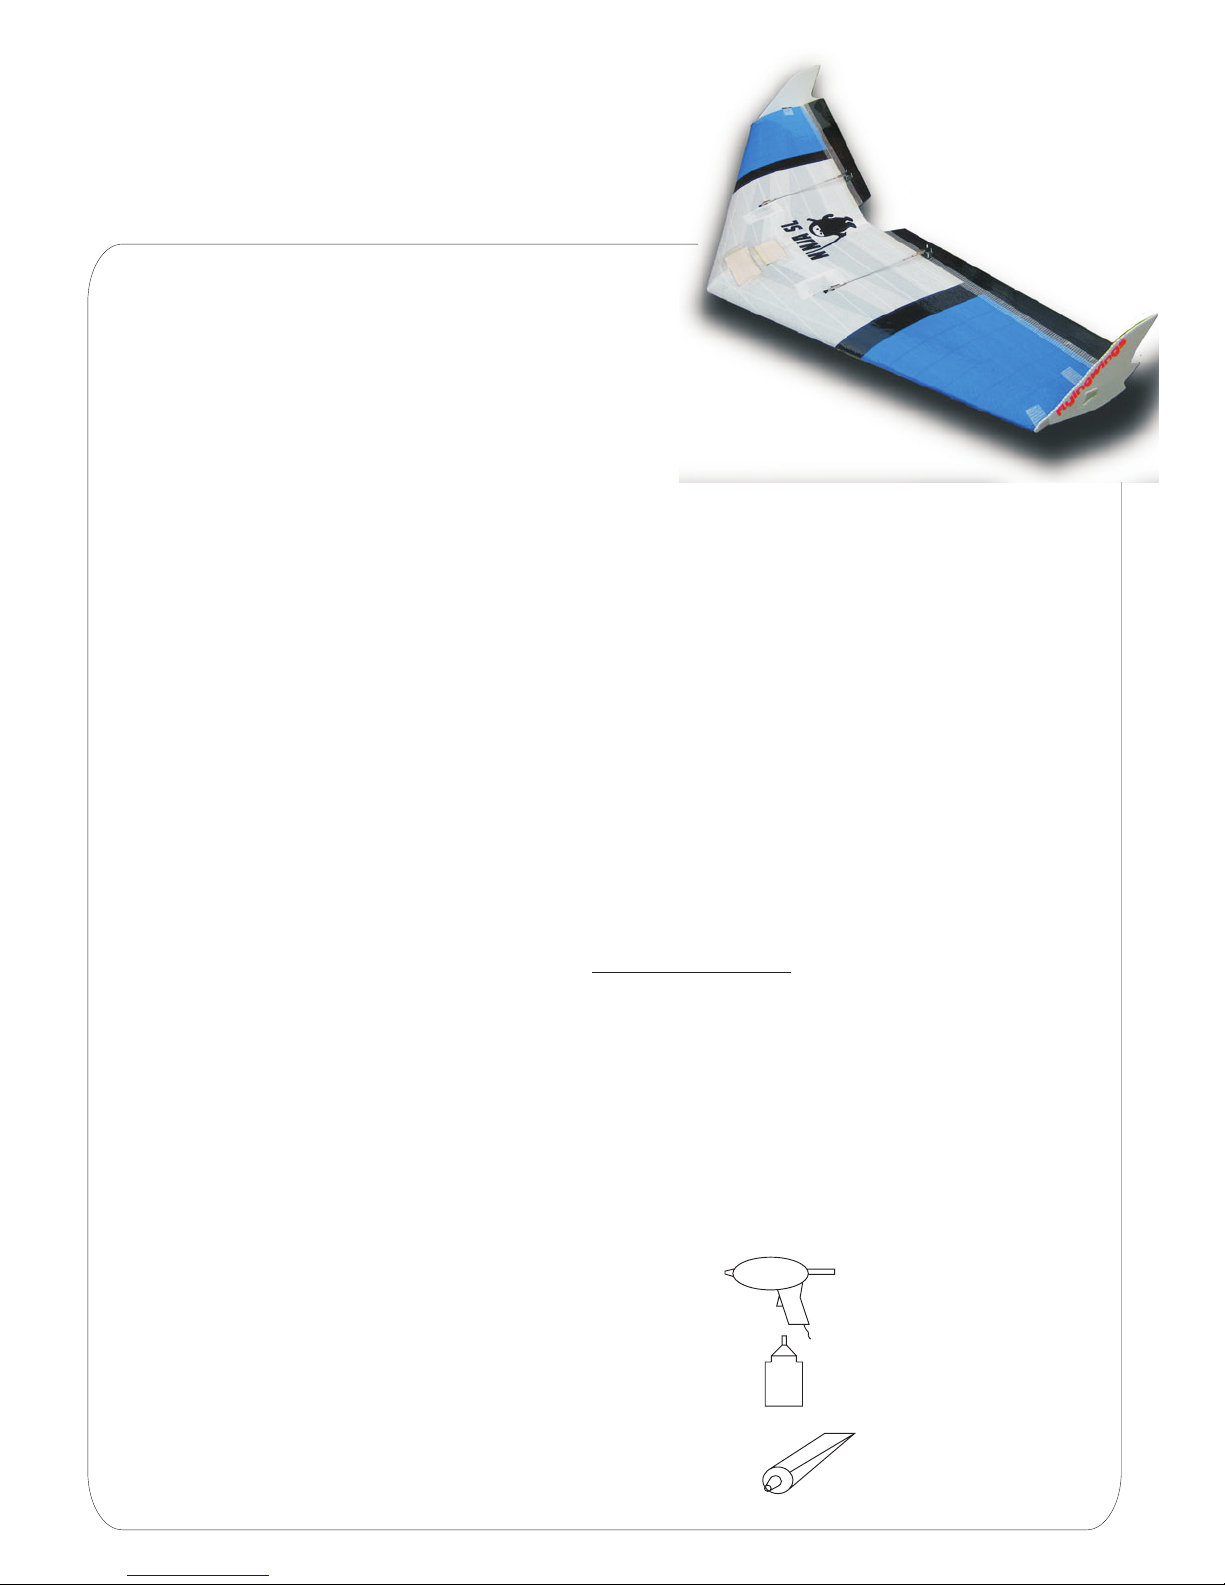
Thank you for purchasing the Ninja Slope Soarer
The word "Awesome" is over used, but this new glider lives
up to this. Firstly its big, at 48" with a deep chord , the Ninja
has a large wing area and will fly in winds form 10mph to gale force.
The Ninja will maintain inertia in collisions and aerobatics, successive loops are
possible and dynamic soaring is achievable.
Wingspan: 48 inches (1.2 metres)
As well as this power system you will require:
2 x servos 43g (standard size)
1 x Long range receiver
1 x Nihm 4.8v Battery 2500-3300mah
1 x Transmitter capable of elevon mixing or mixing module
LETS GET BUILDING
Ninja Combat Slope Soarer
Flying wing
Flyingwings recommends
that you get insured by the
BMFA.
www.bmfa.org
Flyingwings ltd
CRITICAL DATA
CENTRE OF GRAVITY 220mm BACK
FROM THE NOSE POINT
TARGET FLYING WEIGHT
750-800 grams without Ballast
UHU POR
HOT GLUE GUN
CA GLUE
BLACK AND LITE VERSIONS
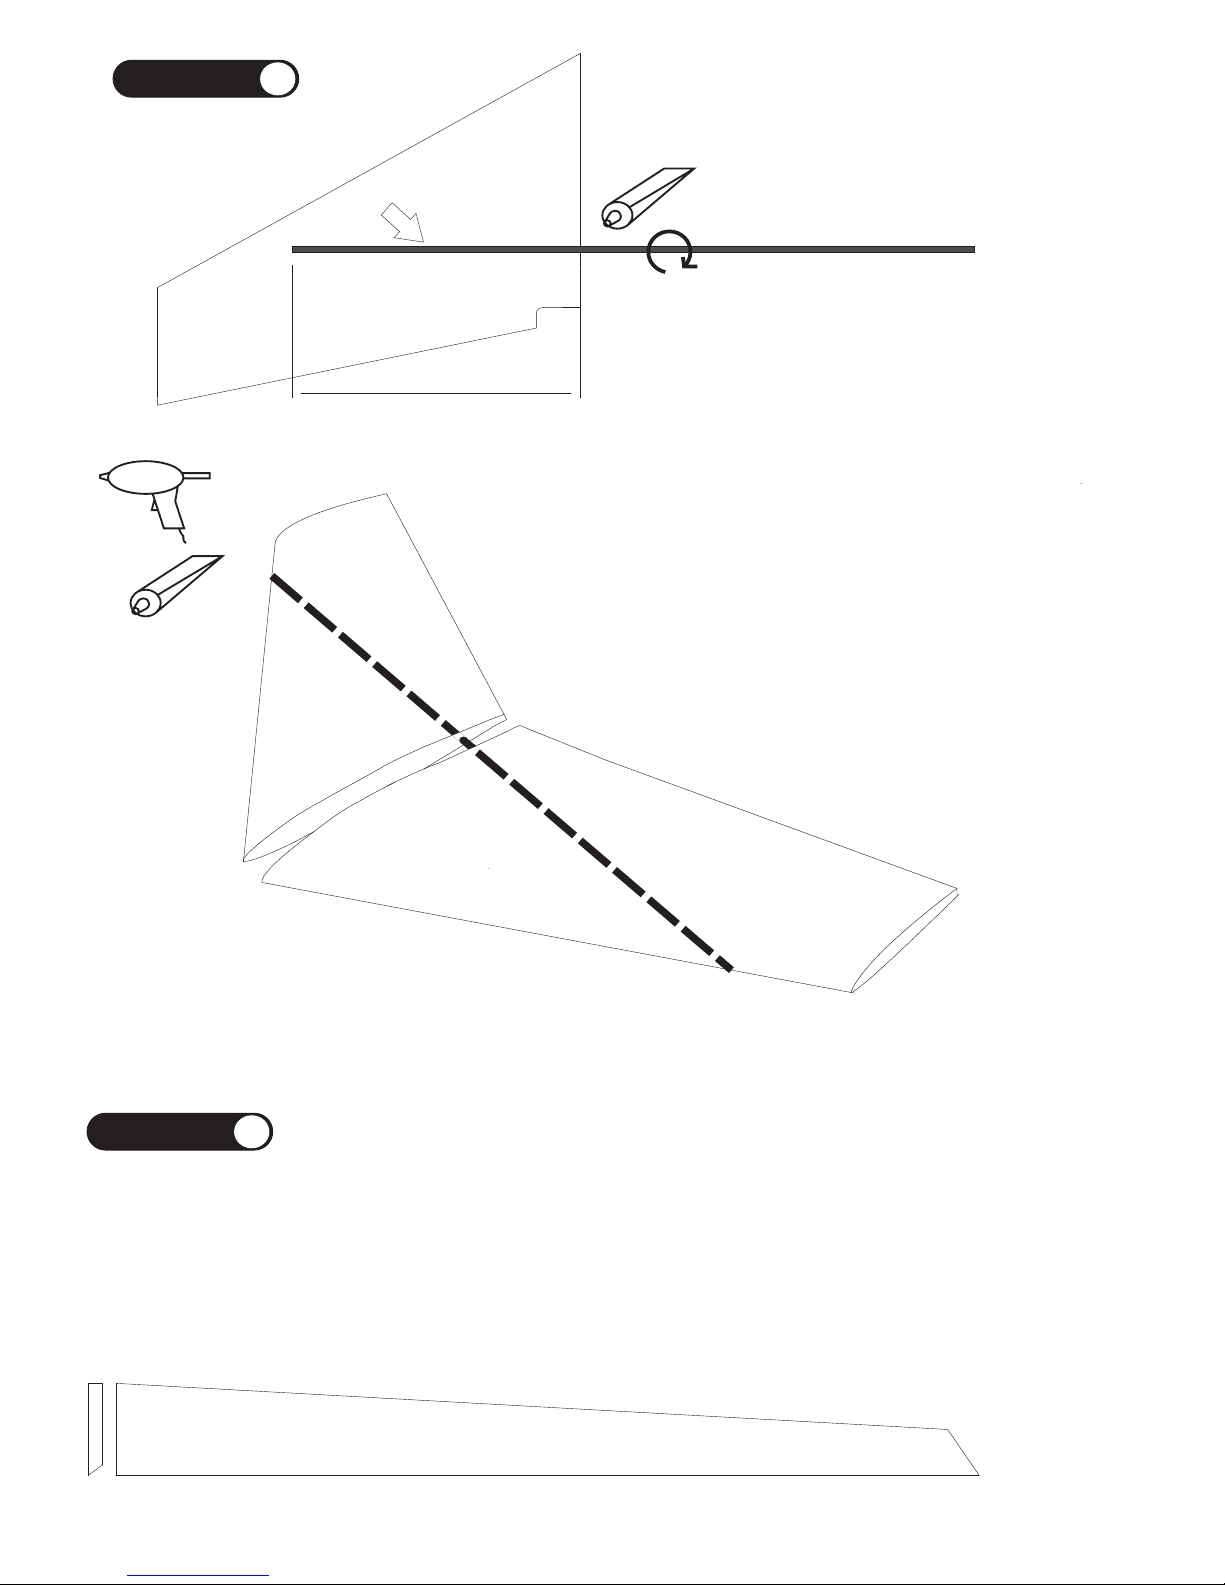
Fibreglass or carbon spar
Approx 500mm
Mark the centre of the spar with a marker.
Squeeze some uhu por into the hole in the
wing and insert the spar and twist to spread
the glue out. Use uhu por glue to coat both
faces of the wings insert spar and hold the
wing together using some strapping tape.
Keep checking the accuracy of the join.
Using a sanding block, chamfer the leading edge of the Balsa elevons.
L e a d i n g E d g e
STEP
STEP
1
2
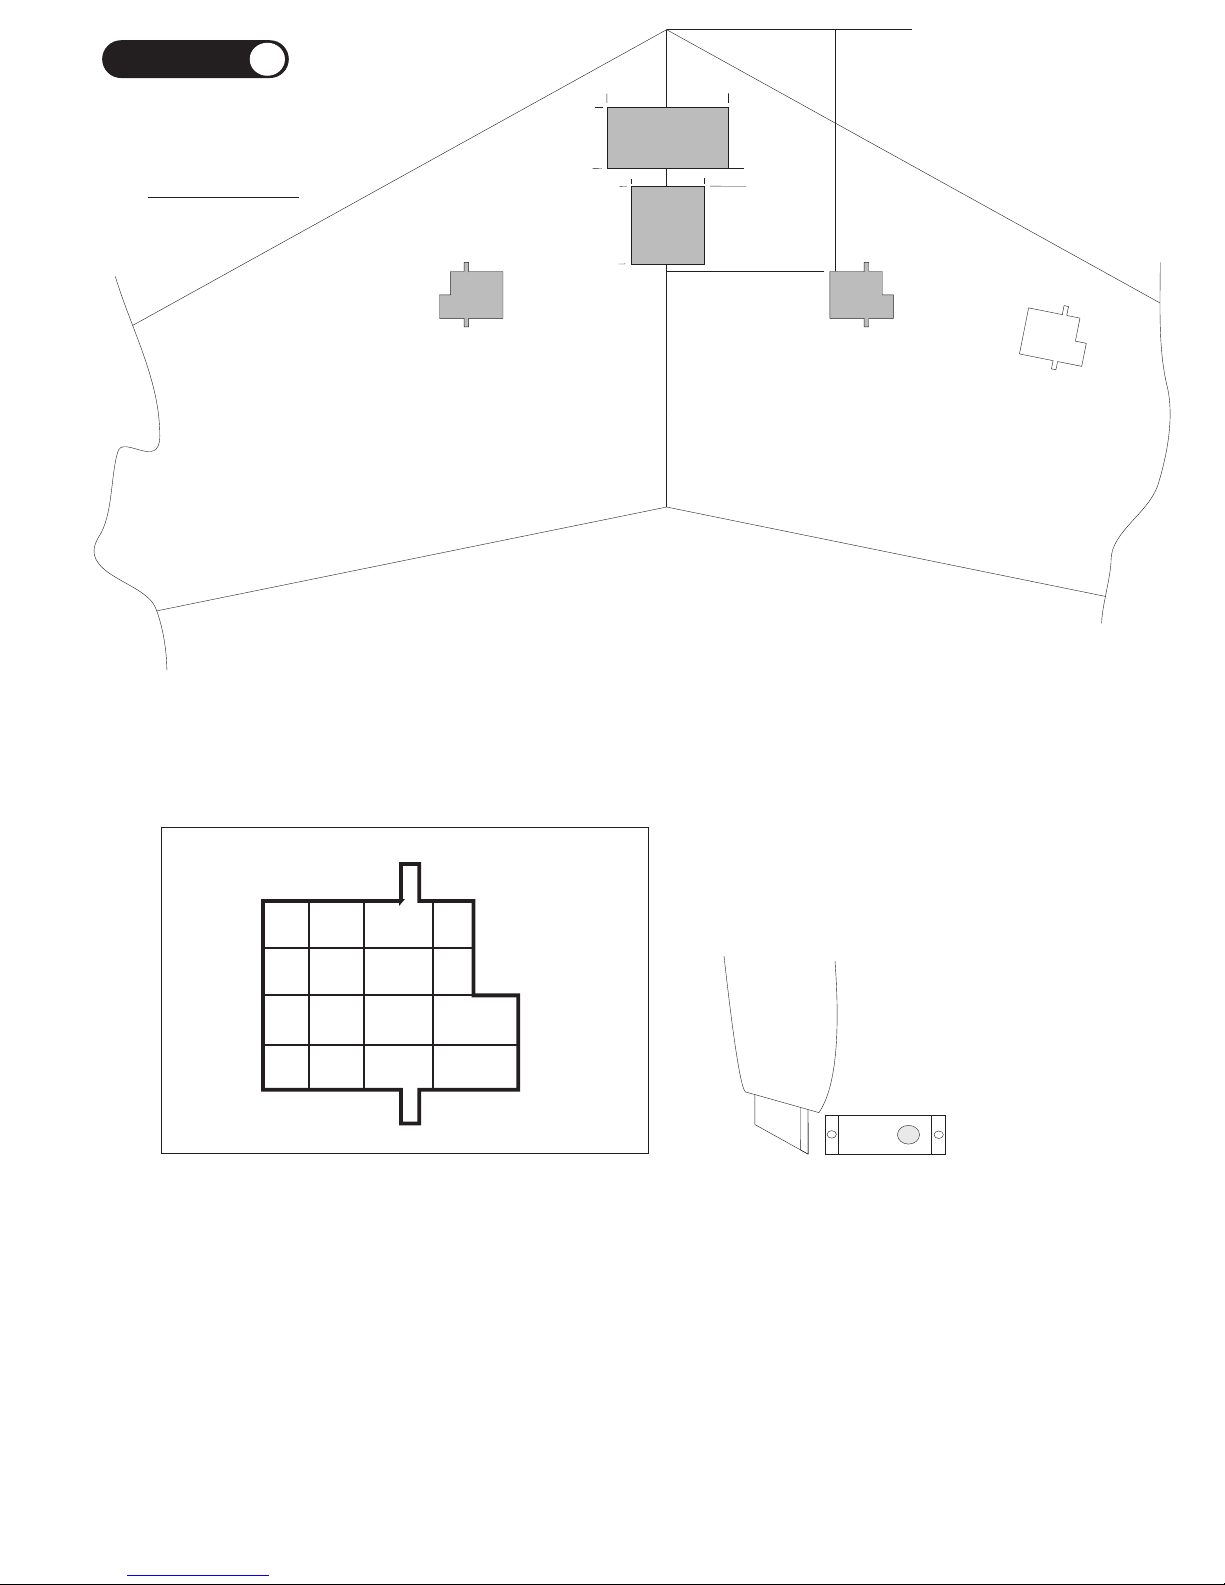
60mm
100mm
50mm
5mm
170mm
130mm
50mm
70mm
Above is a guide to the locations of the radio and
battery equipment. These are only a guide and
should be modified to suit your needs. Use a fairly
big battery like a 3000mah 4.8v unit. This will help
in achieving the “centre of Gravity” without adding
excess ballast.
Cut EPP only with a new and sharp blade.
The best method for cutting out servo and equipment holes in EPP, is to position the parts and
carefully draw around them.
Set your knife to approximately the depth required, ie servo as shown above.
Cut around the drawn shape, then cut into small squares, prise out the small blocks with a flat
bladed screw driver.
Its better to remove too little material than too much.
Alternative servo location,
may extension leads
TOP OF WING
STEP
3
 Loading...