

flying Thinz Mad 3D Taco Instruction Manual
Mad 3D Taco
An All Out 3D Fun Fly Plane
The FlyingThingZ Mad 3D Taco is a fun 3D aerobatic park flyer’s dream. This is a high performance
electric R/C airplane designed for all out 3D aerobatics using inexpensive power systems such as the
GWS EPS350D motor/gearbox combos.
Utilizing space age materials such as depron and carbon fiber, simple construction methods, and
adding small but powerful electric drive systems, you'll get a spectacular performing electric R/C park
flyer airplane capable of performing 3D maneuvers previously only expected from much larger and
more expensive glow or gas models. Torque rolls with easy; knife edge and harrier right on the deck;
upright or inverted flat spins; If you can dream it up, the FlyingThingZ Mad3D Taco can do it.
All parts are laser cut with the utmost precision which makes assembly a snap. No special tools are
required for alignment, all the parts fall together effortlessly. The Mad 3D Taco could easily be assembled within 3 to 5 hours.
Copyright © 200
5 Kit# FTZ3D003
Specifications
Wingspan: 37”
Weight: 14 to 16 oz
Radio: 4 Channel with Micro Servos
Motor: GWS 350D to HiMax 2025

2
Table of Contents
Warranty Information...................................................3
Warnings and Safety Precautions............................................. 3
Before Starting the Assembly Process........................................... 3
Using This Manual.................................................... 4
Kit Contents........................................................4
Required Tools and Adhesives...............................................4
Wing Assembly...................................................... 5
Preparing Control Surfaces................................................ 5
Elevator Assembly.....................................................5
Finalized Assembly.................................................... 6
Painting Tips....................................................... 6
Install Control Surfaces..................................................7
Radio & Control Preparation............................................... 8
Radio Installation.....................................................8
Finalize Radio Setup................................................... 10
Throws & Center of Gravity................................................10
Pre-Flight Checklist....................................................11
AMA Safety Code.....................................................11

3
Warranty Information
FlyingThingZ, Inc. guarantees this model to be free from defects in material and workmanship at the date of purchase. This warranty
does not cover any parts damaged by use or modifications. In no way shall FlyingThingZ, Inc. liability exceed the original cost of the
purchased model. Further, FlyingThingZ, Inc. reserves the right to modify this warranty without prior notice.
In that FlyingThingZ, Inc. has no control over the final stages of assembly or material used for the final assembly, no liability shall be
assumed nor accepted for any damage of the final user-assembled product. By the act of using the final product, the user accepts all
resulting liability.
We, as a kit manufacture, provide you with a top quality kit and manual, but the quality and flying characteristics of your finished
model depend on how you build it; therefore, we cannot in any way guarantee the performance of your completed model and no representations are expressed or implied as to the performance or safety of your completed model.
If the buyer is not prepared to accept the liability associated with the use of this product, the buyer is advised to return this kit
immediately, in new and unused condition, to the place of purchase.
Warnings and Safety Precautions
READ THROUGH THIS MANUAL BEFORE STARTING ASSEMBLY. IT CONTAINS IMPORTANT WARNINGS AND
INSTRUCTIONS CONCERNING THE ASSEMBLY AND USE OF THIS MODEL.
AN RC AIRCRAFT IS NOT A TOY! IF MISUSED, IT CAN CAUSE SERIOUS BODILY HARM AND DAMAGE TO PROPERTY.
FLY ONLY IN OPEN AREAS, PREFERABLY AT AMA (www.modelaviation.com) APPROVED SITES. FOLLOW ALL INSTRUCTIONS INCLUDED WITH YOUR RADIO AND ENGINE.
You must assemble the model according to the instructions. Do not alter or modify the model, as doing so may result in an
unsafe or unstable aircraft. In a few cases the instructions may differ slightly from the images provided. In these cases, the written
instructions should take precedence.
Take your time to build straight, true and strong.
You must use an R/C radio system that is specifically designed for aircraft frequencies, properly tuned and in first class working
condition. The correctly sized engine displacements and miscellaneous components should be used throughout the building process
as specified on this manual.
Check the operation of your model before each flight and insure that all equipment is fully operational and all hardware is secure.
Be sure to check all linkage connections and parts that may become dislodged during flight.
This kit is not intended as a trainer. If you are not an experienced pilot, you should fly the model only with the help and supervision of a competent, experienced R/C pilot.
Before Starting the Assembly Process
Before beginning assembly of the Mad 3D Taco, remove all parts from their packages for inspection. Inspect all hardware, fuselage
parts, wing components and foam for damage. If you find any damaged or missing parts, please contact us directly.
FlyingThingZ, Inc.
34 Chatham Hill Road
Stroudsburg, PA18360
www.flyingthingz.com
sales@flyingthingz.com
4
Using This Manual
This manual is divided into sections to aid in the assembly process. It provides an easier more concise layout allowing for breaks
between each major section. Additionally, check boxes have been provided next to each step to help keep track of the completed
assembly process. Steps with two check boxes indicate that the step is repeated, such as for a right and left wing panel, control linkages or fuselage side. Remember to take your time and follow the directions carefully.
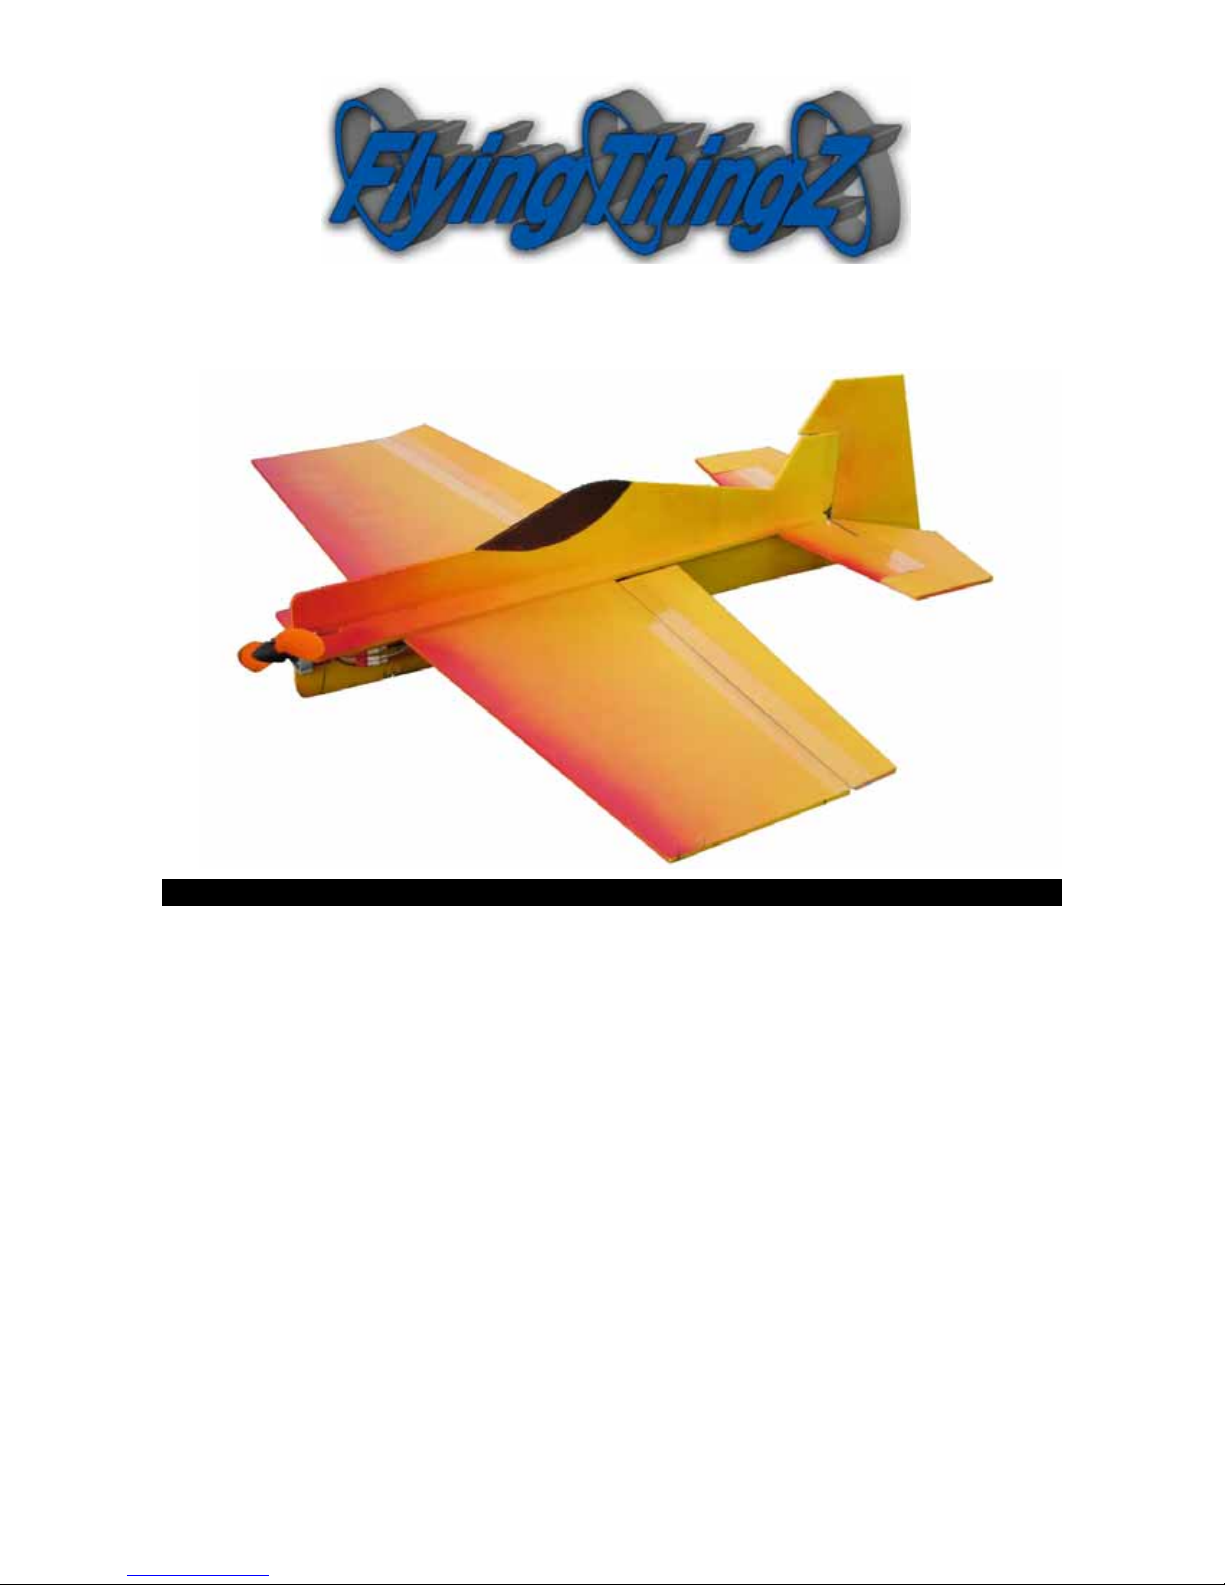
Kit Contents
Part # Description Qty.
A Horizontal Fuse 2
B Vertical Fuse 1
C Wing 1
D Elevator 2
E Horizontal Stab 1
F Rudder 1
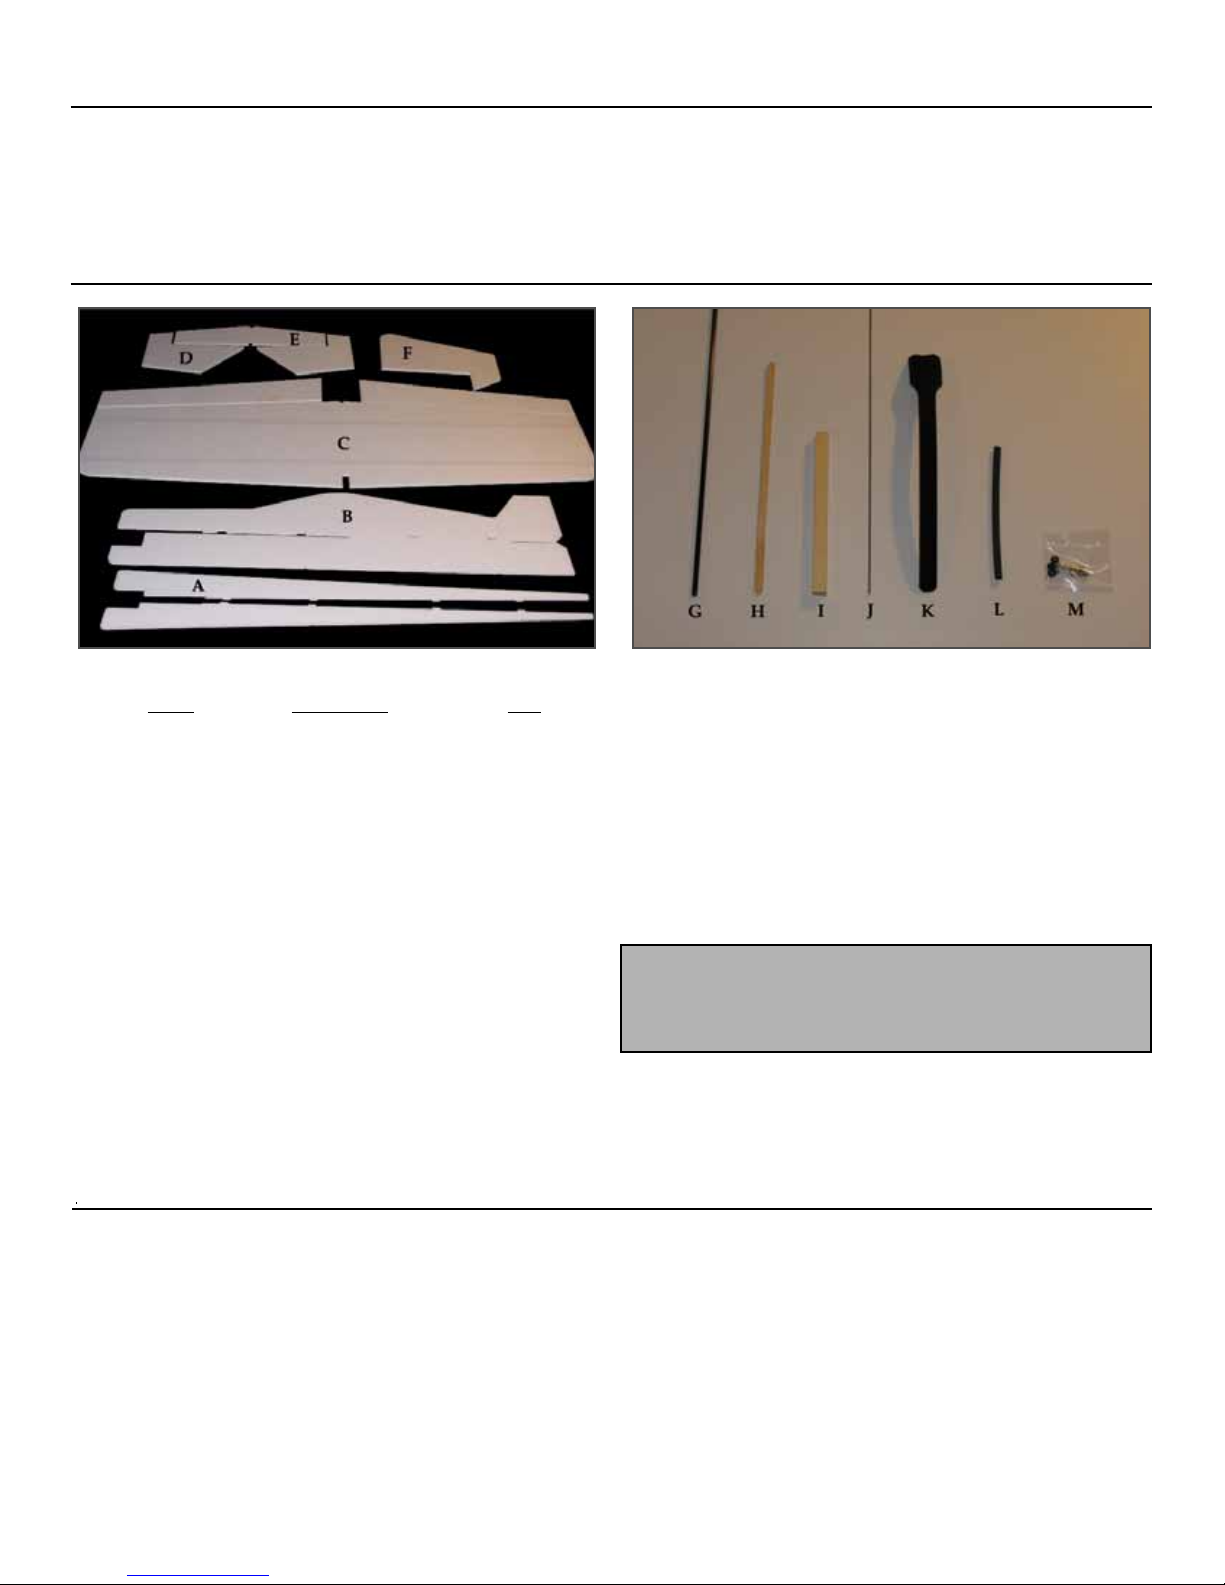
G Carbon Fiber Rod 4
H Skid Plate 1
I Motor Mount 1
J Control Rod Wire 1
K Velcro Strap 1
L Heat Shrink Tubing 1
M EZ Connector 4
Not Shown Elevator Joiner 1
Required to Complete Kit
4 Channel Radio with 4 Micro Servos (eg. Hitech HS-55)
Electric Motor (GWS 350D, HiMax 2015 or 2025)
Speed Controller (eg. Phoenix 25)
Battery Pack (7.4v or 11.1v Li-Po or NiMH)
Gear Box
Propeller
Avoid Using CA to bond parts on foam. Regular CA will eat
the foam and ruin it. FlyingThingZ recommends epoxy, foam
safe CA or Gorilla Glue
5 or 30 Minute Epoxy
#120 Sand Paper
Sanding Block
Hobby Knife
Pen or Pencil
Assorted Screw Drivers
Building T-Pins
Razor Saw
Wire Cutters
Needle Nose Pliers
Paper Towels
Ruler
Mixing Sticks
Alcohol
Rotary Tool / Dremel
Router Attachment
Hot Glue Gun
Hinges or Hinge Tape
Drill
1/16” Drill Bit
Double Sided Tape
Double Sided Velcro Tape
Paint
Foam Safe CA or Gorilla Glue
Required Tools and Adhesives
5
Wing Assembly
Glue the two carbon fiber rods into the precut slots on the
back of the wing. Make sure to lay the wing on a flat level surface before allowing the glue to set. Wipe off any excess glue
with alcohol and paper towels.
Install the wing into the vertical fuselage. Use t-pins and the
provided squares to attach the wing to the fuselage. Run a bead of
glue alone the top and bottom edges of the wing. Quickly move to
the next step before the glue sets.
Insert the motor mount into it’s slot in the fuselage and into
the notch on the wing. Glue it in place making sure that motor
mount is centered with the fuselage. The motor mount should
help straighten the wing.
Put the Taco aside as the glue sets and move on to the next steps.
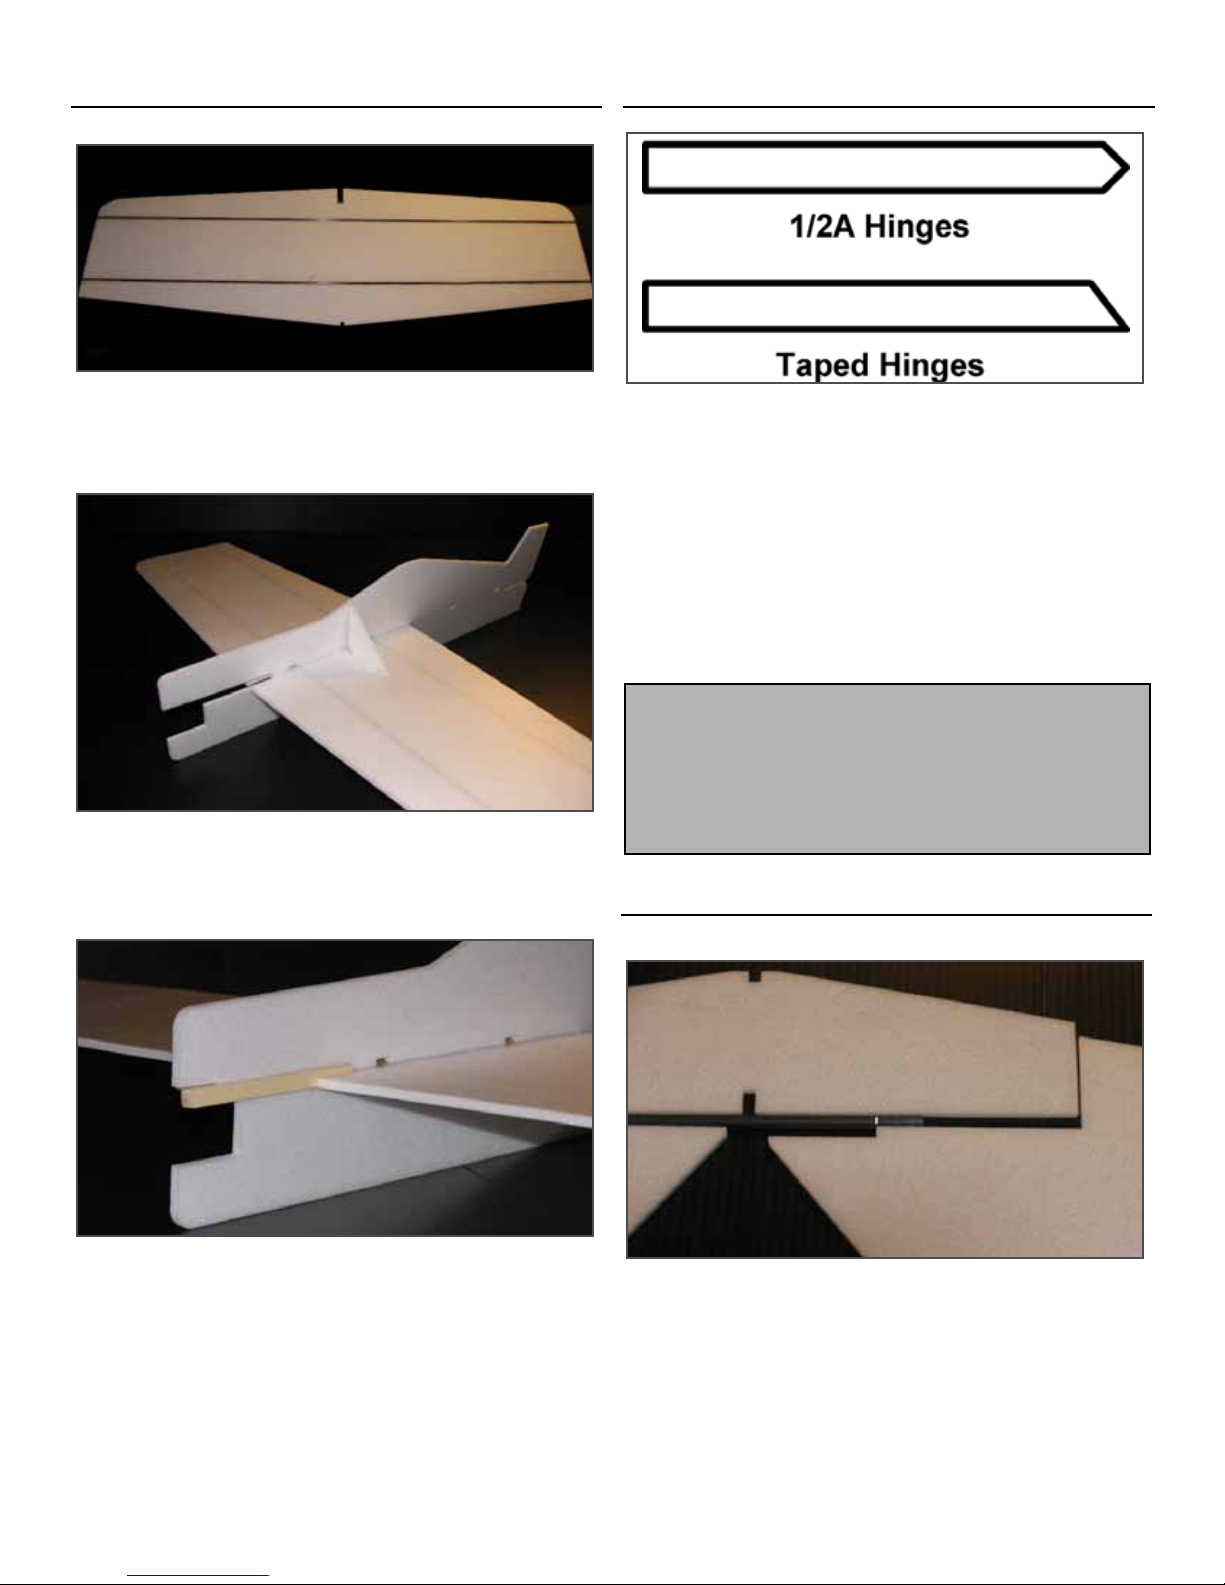
Preparing Control Surfaces
To prepare the control surfaces, you have to make a decision. If
you are going to hinge your control surfaces with regular hinges,
then the surface must be shaped as shown above for the 1/2A
Hinges.
If you prefer to use tape to hinge your control surfaces, then the
surfaces must be shaped as shown above for Taped Hinges.
Using #120 grit sandpaper on a sanding block, shape the edges
of your control surfaces as shown above for your preferred hinging method. Make sure the correct edge on the control surface is
shaped by checking them against the wing or stab.
Elevator Assembly
Dry fit the elevators onto the horizontal stab with the elevator
joiner between the two elevator halves. Make a mark on the
elevator joiner where it meets the second elevator. Cut the elevator joiner on the mark. Make sure to compensate for the outside
edges of the elevator that butt up against the horizontal stab.
FlyingThingZ recommends taking the extra time and steps to
hinge your control surfaces with Dubro 1/2A Hinges (part# 118
or 119)
If you’d prefer to use the tape method, we recommend using
Dubro’s Electric Flyer Hinge Tape (part#916)
 Loading...