

flying eagle Fys-13 Owner's Manual
1
FYS-13 FYS-13L
POWERFUL SHREDDER
OWNER ’ S MANUAL

2
To
operator:
Thank you for buying Shredder Fys-13 and Fys-13 L.
This owner’s manual is considered a part of shredder and should be always with
the shredder. Please make sure to read and follow all instructions in this manual
before attempting to operate this machine.
WARNING
This symbol points out important safety instructions, which if not followed, may
result in personal injury. When you see the symbol, please read the instructions
carefully.
1. Understand and follow the instructions on the machine and in the manual before
attempting to assembleor operate the machine. K eep this manual in a safe place for
future and regular reference and for ordering replacement parts.
2. Never allow children under 16 years old to operate this machine. Never allow
adults to operate this machine without proper instruction.
3. Keep bystanders, helpers, pets, and children at least 10m from the machine while
it is operation. Stop the machine if someone enters.
4. Be familiar with all the controls and their proper operation.
5. Never run an engine indoors or in a poorly ventilated area. Engine exhaust
contains carbon monoxide, an odorless and deadly gas.
6. Do not put hands and feet near rotating parts or in the feeding chambers and
discharge opening.
7. Do not put metal or stone into the machine.
8. Never wear loose clothes or long jewelry and keep your long hair under
protective headgear when operating machine.
9. Never use the machine on a slope or hard smooth floor.
II. Assemble Instructions
3
Unpack and check contents.
Remove all the items from the box. If any part are missing, contact your place of
purchase at once.
Assembly should be done on a clean, level surface with a helper.
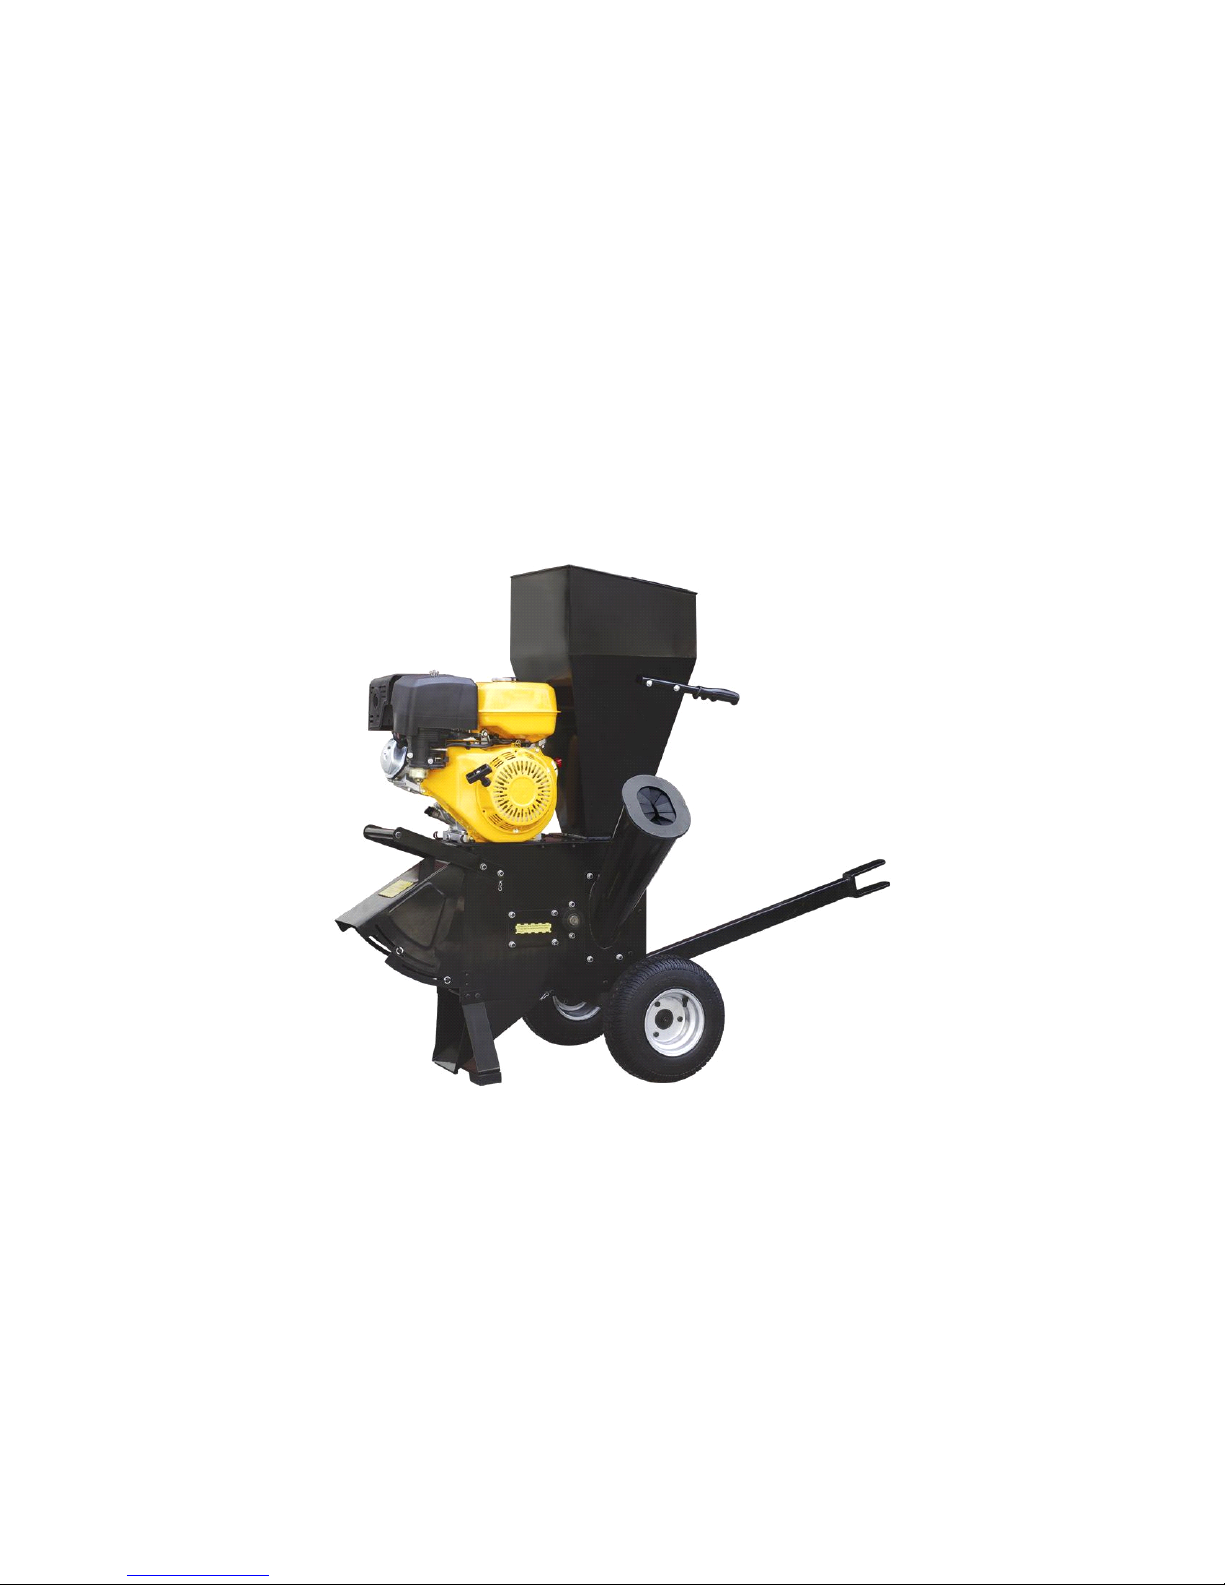
1.
Take
out the body from the box and place it on a wood shelf.
figure 1
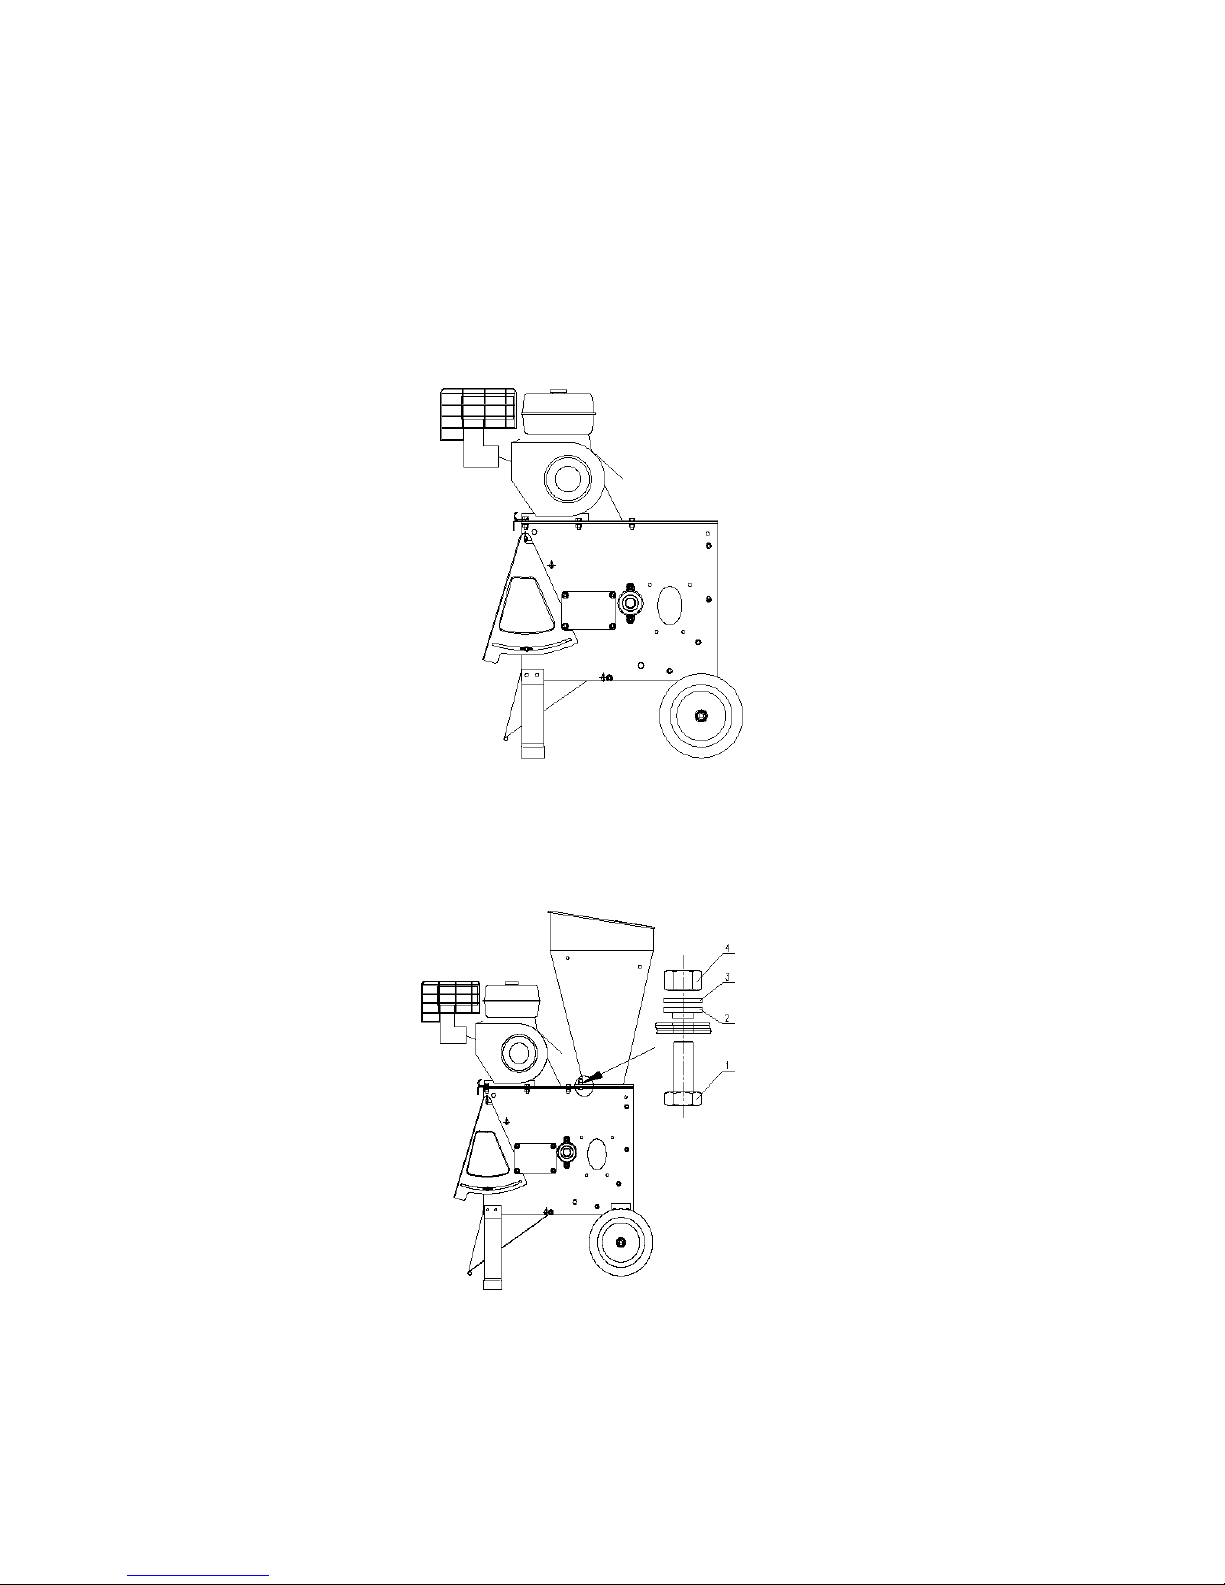
2. Attaching the funnel to the basic machine, see figure 2
figure 2
2.1. Place the big funnel on the main body.
4
2.2. Fasten the bolt 1 with washer 2,gasket 3 and nut 4.See figure 2.
2.3. Pull the discharge hopper out of the parts box and align the holes 1,2.
2.4. Attach front foot 5 , to the sideboard of the parts box and align the mounting
holes with holes 1,2.
2.5. Put the pipe spacer that was removed in step1 back in place. Insert the bolts and
secure them tightly with gasket s and nuts.
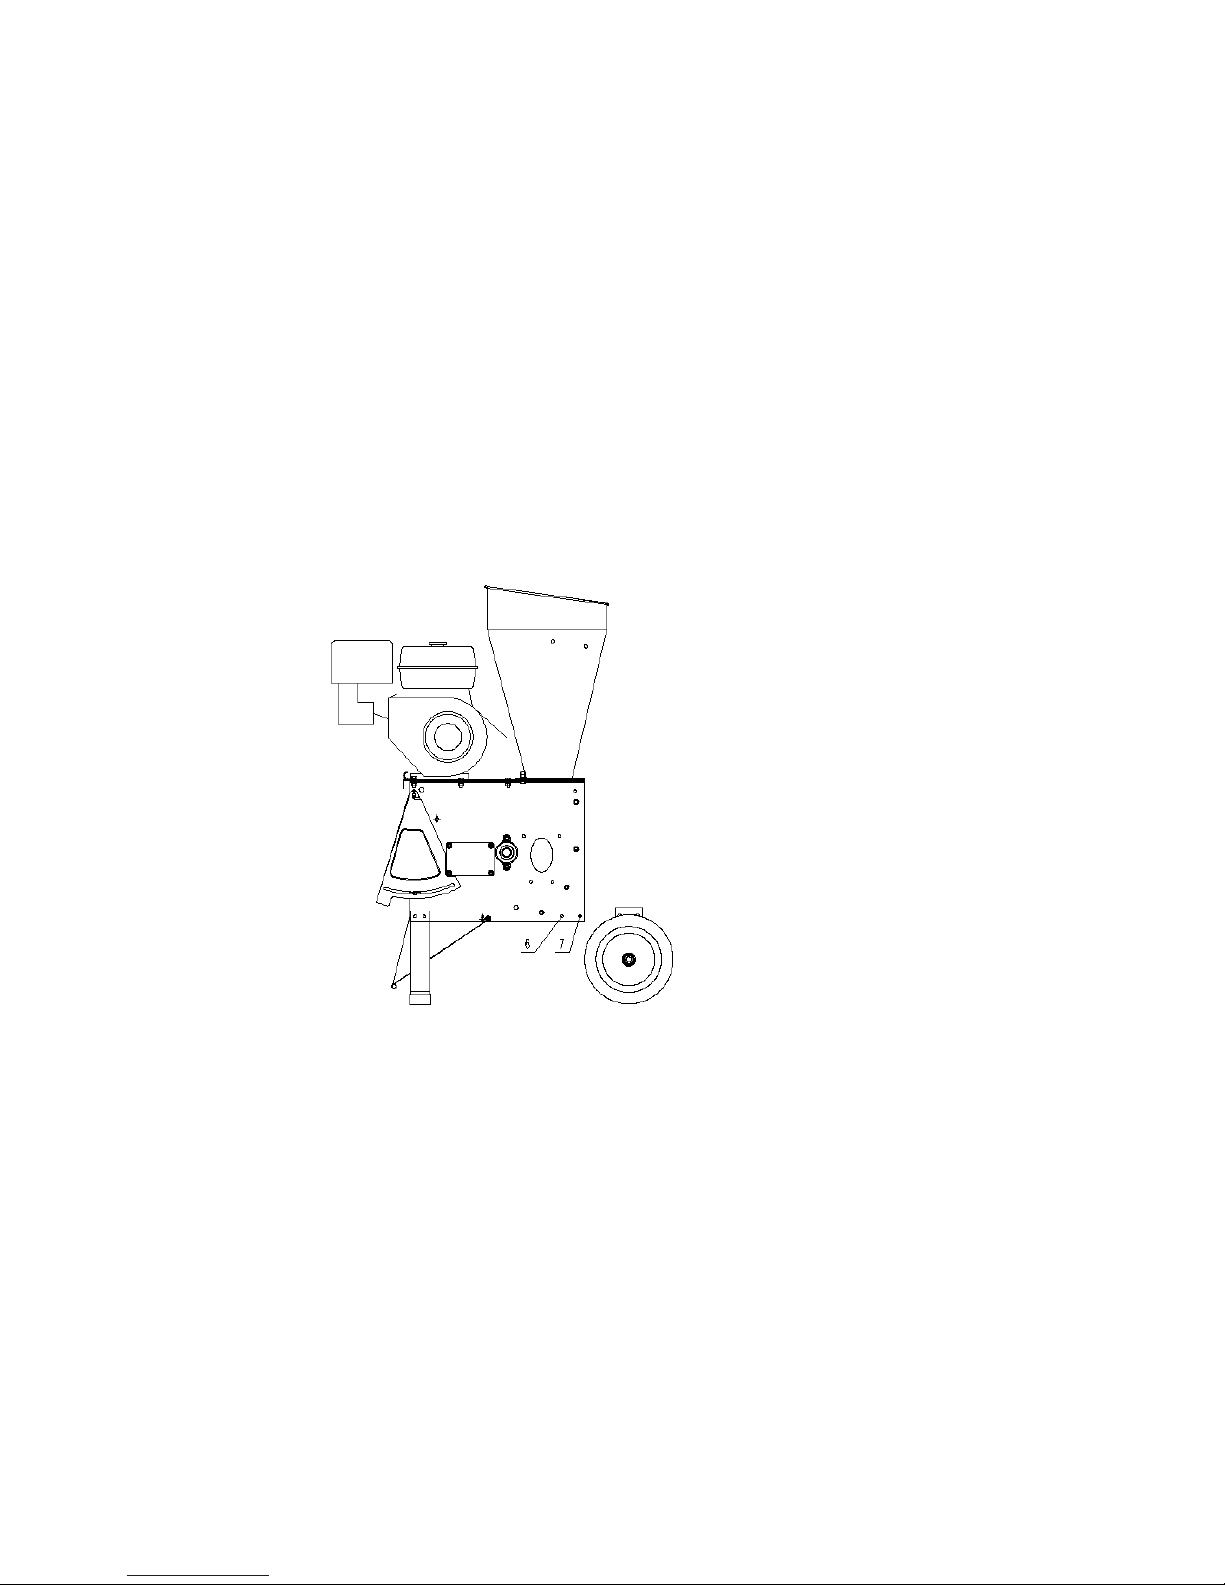
3. Attach axle brackets, axle and tires. See picture 3.
figure 3
3.1
Remove the wood shelf.
3.2 Disassemble the bolt 7 and pipe spacer.
3.3
Put the rear axle brackets in place and align the mounting hole with holes 6.7.
3.4
Insert M8*20 bolt in hole 6 from outside to inside and secure it slightly with
gasket and nut.
3.5
Reassemble the pipe spacer and the long bolt 7and secure it tightly with gasket
5
and nut. Then screw the nut tight in 6 place.
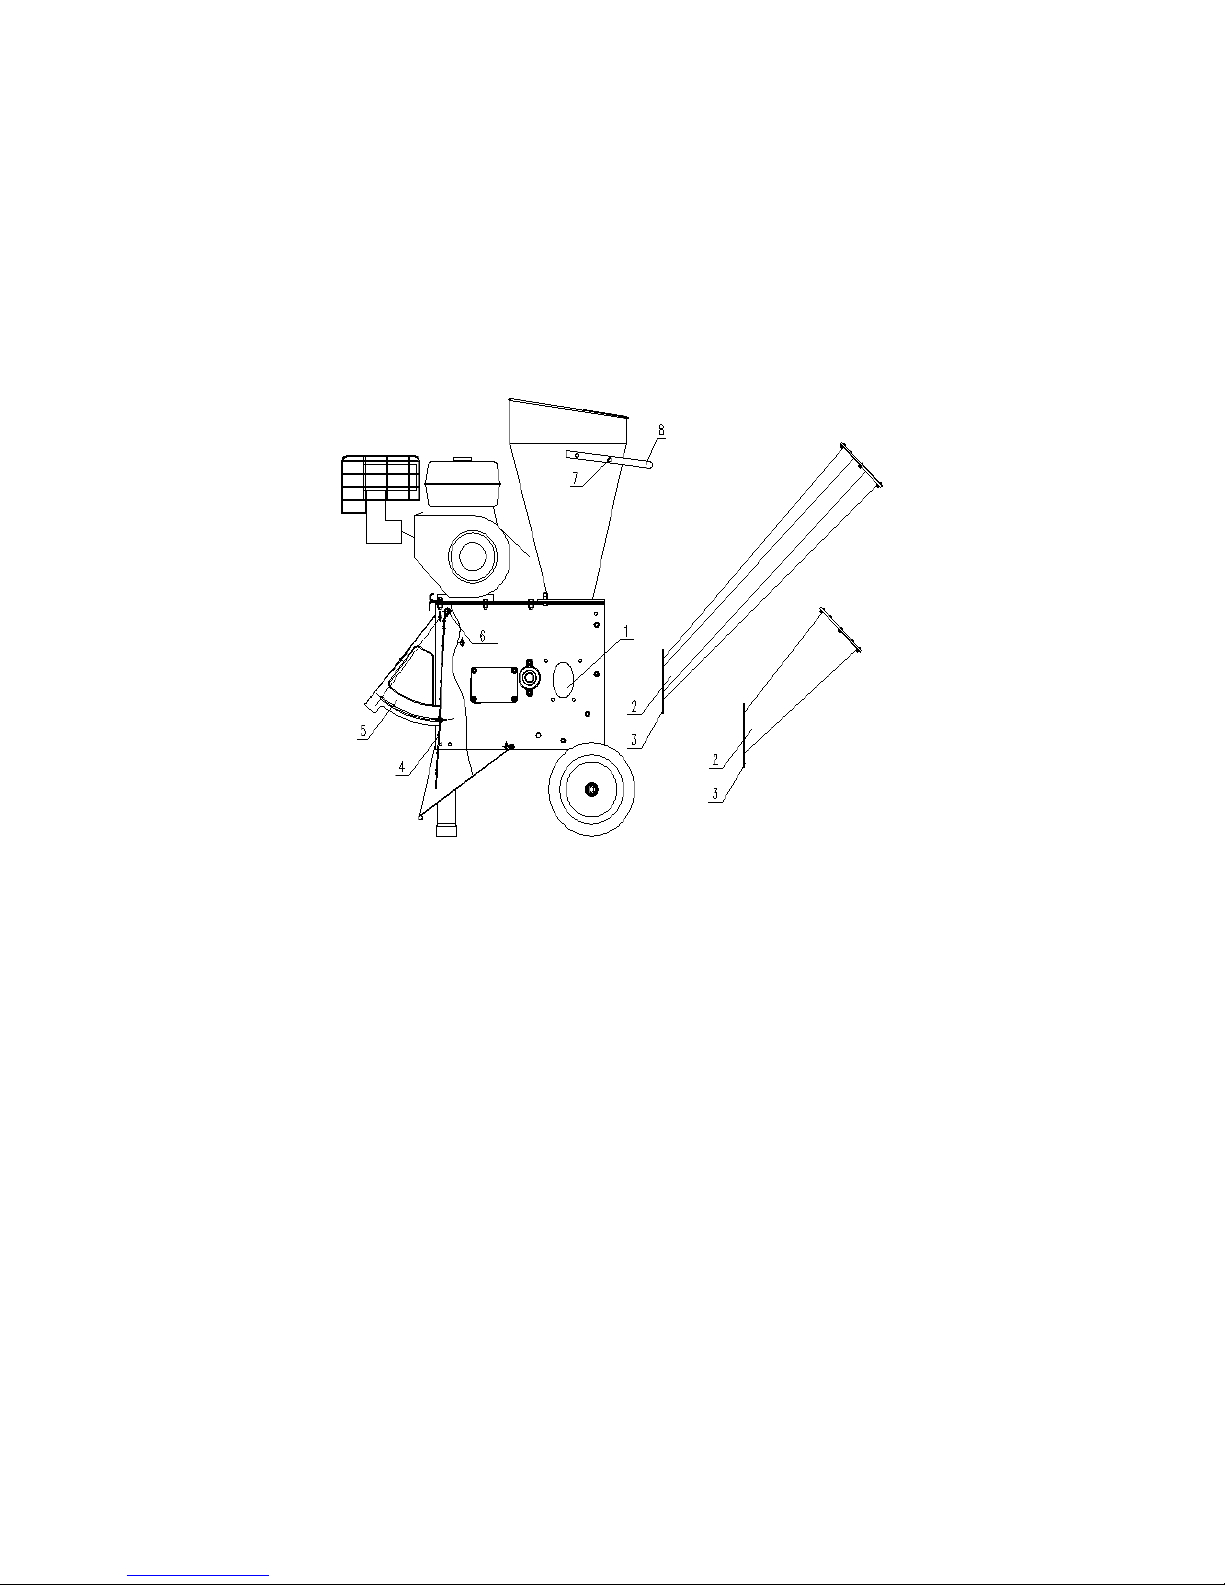
4. Attaching the chipper tube to the basic machine.
Note: The short chipping chute refers to Fys-13 and the long chipping chute refers
to Fys-13L.
figure 4
4.1. Put the chipper tube 2 in place on the side of the basic machine. Align the three
mounting holes in the flange with three holes around place 1.
4.2. Secure the flange with gaskets and nuts M8. Make sure the chipper tube has no
deflection before tighten the nuts.
5 . Mounting the discharge grid.
5.1 . Remove the thumbscrew s on both sides of the movable door and lift the door
on the highest position. Hook the grid on the axis of the door and clamp the grid
with the spring to prevent the grid falling off.
6
5.2 . Put lower part of the grid outside of lower axis in the discharge opening.
Tighten the screws M5*15 on the left and right side of discharge opening to fix the
grid.
6. Mounting the two handles
7. Safety instructions for machine with bagging attachments. Cover the discharge
opening with the nylon bag and tighten the tie. When the machine is working, the
chips are collected in the bag.
8. Check all the screw, bolts, nuts and tighten them if they get loose.
9. Add fuel to engine.
9 .1. There is no fuel and oil in the new engine.
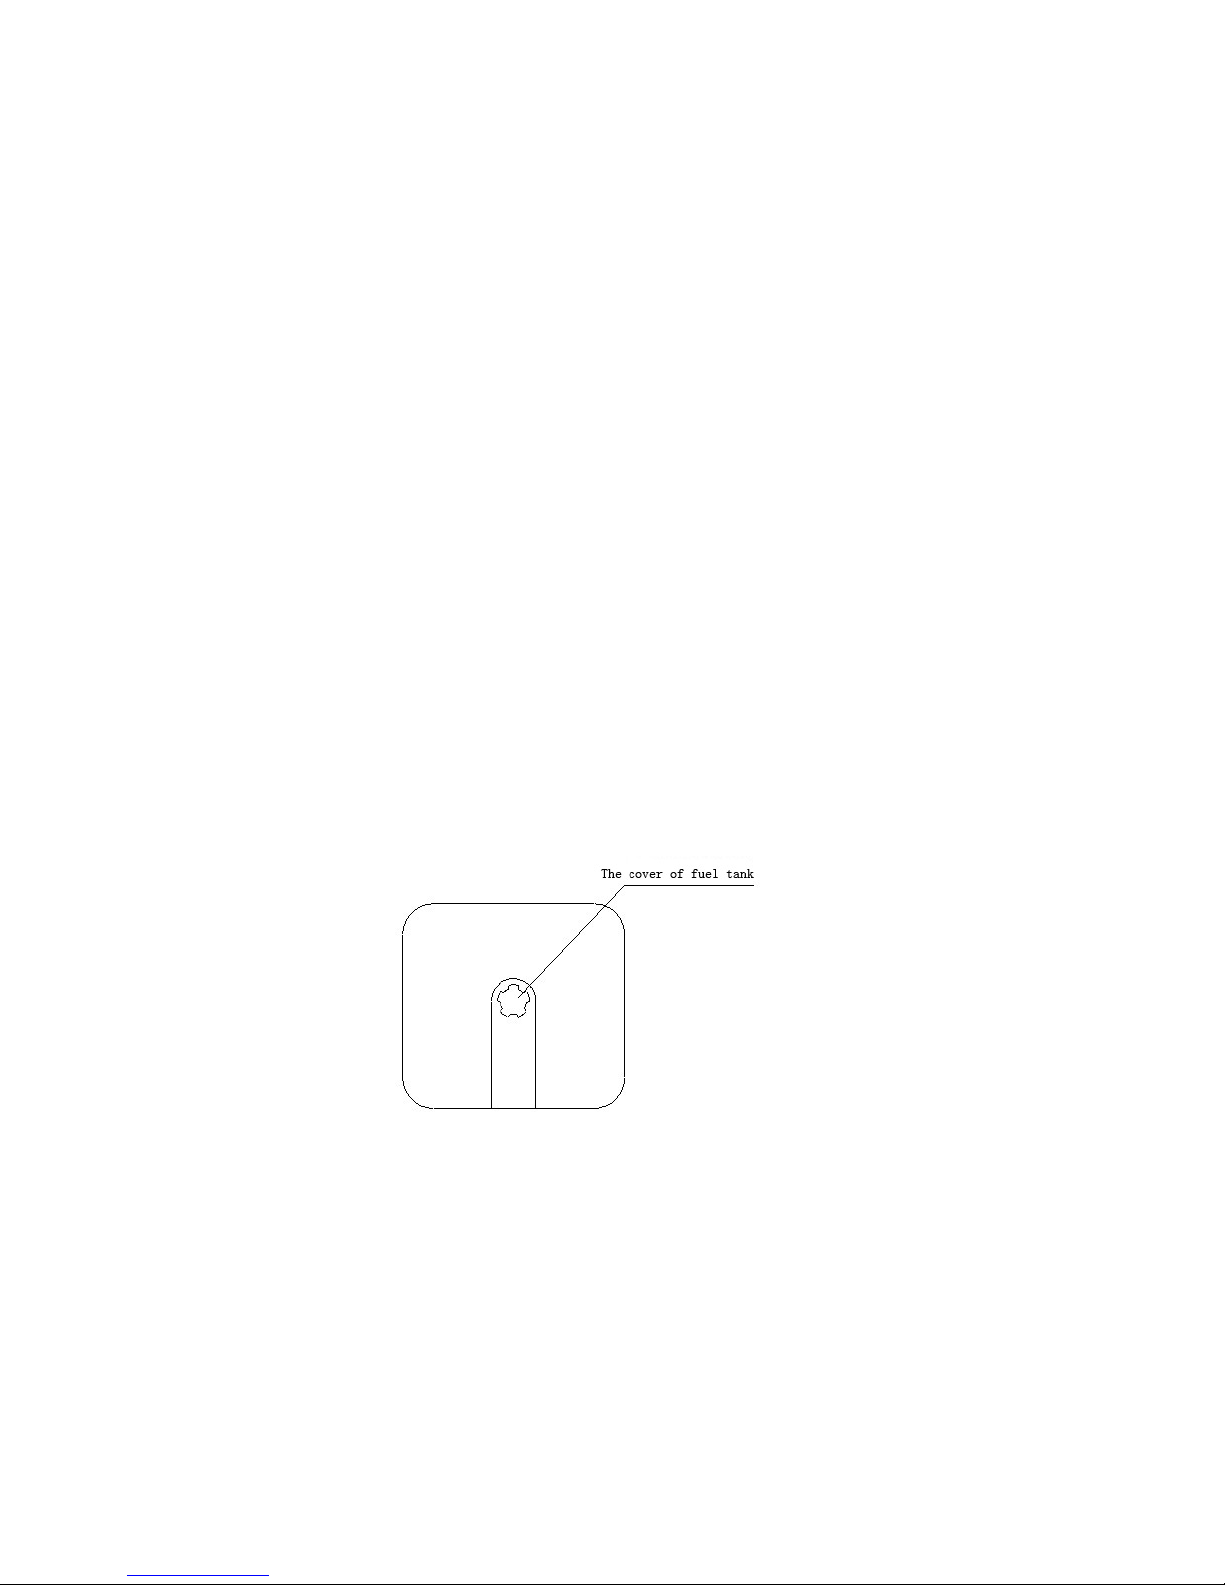
9 .2. Open the cover of fuel tank and add pure gasoline. See picture 5.Do not fill
closer than 10mm to 15mm from the top of the fuel tank.
figure 5
9 .3. Open the cover and pull the di p stick out. See picture 6. Gasoline 10W-30 and
5W-30 are available . Do not fill closer than 10mm to 15mm from the top of the
fuel tank.
 Loading...