

Page 1
503
❶
(A)
(B)
(C)
(F)
❸
❹
(D)
(E)
(I)
(G)
❷
(H)
Pression minimum de fonctionnement pour
Installation
Please follow the toilet manufacturer’s installations
instruction for installing the fixture. Note that the toilet
requires a minimum water supply line pressure. See or
refer to manufacturers’ specifications for minimum
operating pressure for the fixture. Before attaching, you
should always flush the water supply lines.
After completing the installation, you are required to
adjust the Cartridge Actuator (F). To adjust, make sure
the water is turned on and the vessel is completely
charged. The Actuator needs to be set at the proper
clearance, 1/8” from either the Flush Rod or push
button. To make this adjustment, hold the Actuator
while loosening the Phillips setscrew in the center of
the Actuator, and rotate the Actuator up
(counterclockwise) or down (clockwise) until the proper
clearance is obtained. See Figure 4 for clearance
required for flush-handle fixture. Tighten setscrew after
adjusting the Actuator.
Additional notes:
• Water supply requirement: cold water, potable
water system.
• You may be required to initially flush the toilet a few
times to properly charge the system.
• Should your fixture develop a leak between the tank
and bowl, please refer to the fixture manufacturer’s
installation instructions.
• Steps for Run-On Condition:
1. Recheck the actuator adjustment described above
2. Clean the Shank Inlet Screen
❶
(A) and check
your water supply pressure – See Step 6
3. Remove/Rinse/Reinstall the Flush Cartridge
❸
–
See Step 2 for Cartridge Removal/Installation.
Instalación
Siga las instrucciones de instalación del fabricante del
excusado para instalar el accesorio. Tenga presente que
el excusado requiere de una presión mínima de la línea
de suministro de agua. Vea o consulte las
especificaciones del fabricante sobre la presión mínima
de operación para el accesorio. Antes de fijarlo, siempre
debe purgar las líneas de suministro de agua.
Después de finalizar la instalación, debe de ajustar el
Accionador del Cartucho (F). Para ajustarlo, asegúrese
de que el agua esté activada y la vasija esté totalmente
cargada. El accionador tiene que ajustarse al huelgo
correspondiente, a 1/8” de la varilla de descarga o del
botón. Para hacer este ajuste, sostenga el accionador
mientras afloja el tornillo de fijación de cruz del centro
del accionador y gire el accionador hacia arriba (en
sentido contrario al de las manecillas del reloj) o hacia
abajo (en el sentido de las manecillas del reloj) hasta
obtener el huelgo correcto. Véase la Figura 4 para
conocer el huelgo necesario para el dispositivo de
manija de descarga. Apriete el tornillo de fijación
después de ajustar el accionador.
Notas adicionales:
• Requisito de abastecimiento de agua: agua fría,
sistema de agua potable.
• Es posible que sea necesario que primero descargue
el excusado varias veces para cargar adecuadamente
el sistema.
• Si su dispositivo desarrolla una fuga entre el tanque y
la taza, consulte las instrucciones de instalación del
fabricante del dispositivo.
• Pasos para la condición de ejecución activa:
1. Compruebe de nuevo el ajuste del actuador
descrito arriba
2. Limpie la pantalla de admisión del vástago
❶
(A) y
compruebe su presión de suministro de agua; vea
el paso 6
3. Quite, enjuague y vuelva a instalar el cartucho de
enjuagado
❸
Vea el paso 2 para conocer cómo
quitar e instalar el cartucho.
Installation
Veuillez suivre les instructions d’installation du
fabricant pour installer l’appareil sanitaire. Prenez
note que l’appareil sanitaire nécessite un minimum
de pression en eau dans le tuyau d’alimentation. Voir
ou se reporter aux spécifications du fabricant
concernant la pression minimum nécessaire pour
assurer le fonctionnement de l’appareil sanitaire.
Toujours évacuer l’eau des tuyaux d’alimentation en
eau avant de les raccorder.
Une fois l’installation terminée, vous devrez régler
l'actionneur de la cartouche (F). Pour le régler,
assurez-vous d’avoir ouvert l'alimentation en eau et
vérifiez que le récipient est complètement rempli.
Pour que l’actionneur soit correctement réglé,
l’espacement entre celui-ci et le levier de
déclenchement ou le bouton-poussoir doit être de
1/8 po. Pour effectuer ce réglage, tenez l’actionneur
tout en desserrant la vis de pression Phillips au
centre de l’actionneur, puis faites pivoter l’actionneur
vers le haut (sens antihoraire) ou vers le bas (sens
horaire) pour obtenir l’espacement adéquat. La figure
4 montre l’espacement nécessaire pour les appareils
à manette de chasse. Serrez la vis de pression une
fois le réglage de l’actionneur terminé.
Autres remarques:
• Exigence en matière d’alimentation en eau:
système d’eau froide et potable.
• Initialement, il est possible que vous deviez
déclencher la chasse de la toilette à plusieurs
reprises afin de remplir correctement le système.
• En cas de fuite entre le réservoir et la cuvette,
veuillez consulter les instructions d’installation du
fabricant de l’appareil sanitaire.
• Étapes à suivre si la chasse d’eau ne s’arrête pas
de couler:
1. Vérifiez à nouveau le réglage de l’actionneur
décrit plus haut
2. Nettoyez la grille d’entrée de la tige
d’alimentation
❶
(A) et vérifiez la pression de
l’alimentation en eau – Voir étape 6
3. Retirez/Rincez/Réinstallez la cartouche de
chasse
❸
– Voir étape 2 pour le
retrait/l’installation de la cartouche.
prior to servicing.
system
inside the toilet tank.
503-H
MADE IN U.S.A.
504
Replacement Instructions for 503,
503-H and 504 Series
Important: Do not return to store where purchased.
Please read the entire manual before attempting to
make any adjustments or repairs.
WARNING:
• When replacing components on the FLUSHMATE® FlushometerTank System, make certain that the water supply valve is turned
off and the toilet has been flushed to relieve pressure in the
FLUSHMATE® tank.
• USE OF PETROLEUM-BASED LUBRICANTS OR CORROSIVE
CLEANING PRODUCTS CONTAINING CHLORINE, SUCH AS
HOUSEHOLD BLEACH, DROP-IN BLOCKS OR TABLETS, OR
DISINFECTANTS, THAT ARE APPLIED INSIDE THE CHINA HOLDING
TANK WILL VOID YOUR FLUSHMATE® WARRANTY. The exterior
of the tank and the entire bowl can be cleaned following the
manufacturer’s recommendations or in the same fashion as any
other toilet.
• FLUSHMATE® Flushometer-Tank Systems are designed to be used
with a cold potable water system only and use of non-potable water
supply or a tempered or hot water supply will void your warranty.
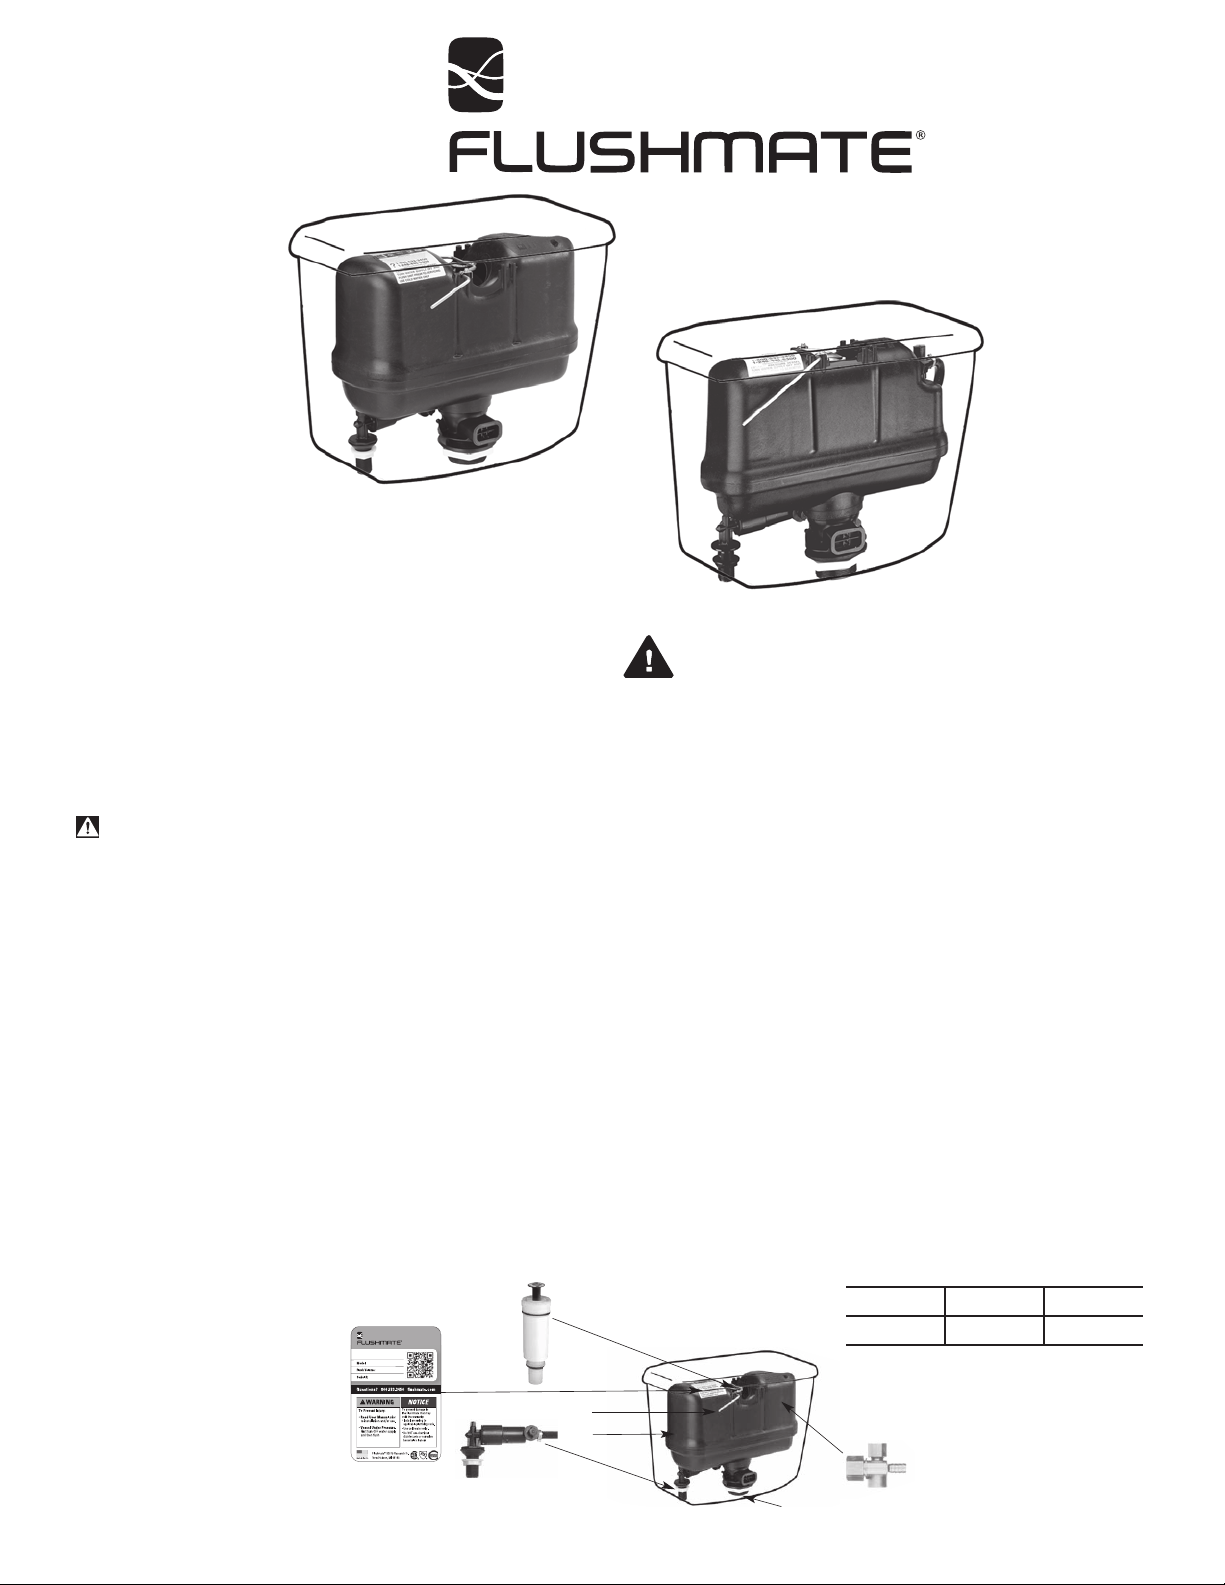
List of Components for 503, 503-H and 504 Series:
1. Lower Supply Group w/Hose BL100504-3
(A) Supply Shank w/inlet screen
(B) Pressure Regulator w/Back Check
(C) Relief Valve
2. Upper Supply Group BU100505
(D) Air Inducer Cap w/duckbill
(E) Vacuum Breaker
3. Flush Valve Cartridge Assembly
(F) Actuator w/setscrew
4. FLUSHMATE® Tank
(G) Discharge Extension w/Drain
(H) Name Plate w/Serial Number
WARNING
To Prevent Injury:
Read Installation Manual
Read entire manual before performing any tasks.
Safety Precautions
Care should be taken when working on the Flushmate System. Surfaces
can become wet, which may create a slip / fall hazard. Exposed tank bolts
have sharp threads and may cause injury – avoid contact. Lifting the toilet
tank (up to 45 lbs./20.4 kgs) is required. If you are unable to lift the toilet
tank contact Flushmate: 1.800.533.3460
Vessel Under Pressure
Prior to servicing the Flushmate System, first completely CLOSE water
supply stop and then flush toilet to release pressure from the Flushmate
vessel. Failure to do so can result in injury or damage to the toilet tank and
bowl.
NOTICE
Use of petroleum based lubricants or cleaning products containing chlorine
(household bleach, drop-in blocks or tablets, disinfectants) that are applied
or inserted into the toilet tank and/or Flushmate vessel will void your
Flushmate Limited Warranty. When cleaning the exterior of the toilet, follow
manufacturer’s recommendations.
Install according to applicable plumbing code.
Minimum Operating Pressure By Series
503 503-H 504
20 psi* 20 psi* 25 psi*
*Minimum operating pressure by series for
FLUSHMATE unit only. Max 80 psi
Page 2

FLUSHMATE REPLACEMENT
INSTRUCTIONS
Replacement Instructions for Two
Piece Flushmate® Tanks
Products: Two Piece Toilet
Applications (M-101526)
Tools Required:
Large Adjustable Wrench for 3” nut
(recommend Flushmate ST100100 3–in–1 wrench)
6” Pliers
Philips and Slotted screwdrivers
Instructions:
1. Turn off water at the supply stop. Flush the toilet to relieve
water and air pressure from the Flushmate® system.
Disconnect water supply line from the supply shank and
remove the lock nut that holds the supply shank in place.
The supply shank protrudes from the bottom of the china
tank on the left hand side.
2. If necessary, disconnect the Flushrod from the flush-
handle linkage. Remove the screws that attach the
Flushrod to the Flushmate®and use them to attach the
Flushrod to the new Flushmate
3. Loosen the nuts on the bolts protruding from the underside
of the toilet, below the china tank. These nuts should be
loosened much like lug nuts on an automobile wheel;
alternate between them instead of completely removing
one at a time.
4. Once the nuts have been removed, lift the china tank
straight up off of the bowl. Empty any residual water that
may have accumulated in the china tank into the china
bowl. Place the china tank down flat on its backside on
a secure location.
5. Remove the “tank to bowl” gasket (thick, spongy doughnut-
type) from the Discharge Extension and unscrew large
lock-nut on the bottom center of the china tank. A spanner
wrench works well for this, but any tool that will spread to
accommodate the 3” plastic locknut will work.
6. Slide the Flushmate® system out of the china tank.
7. Place new “tank to tank” gasket (flat rubber gasket with
ribs on one side) on new Flushmate® with the ribs facing
downward. Some “tank to tank” gaskets do not have
ribs; installation of this gasket is universal. Slide the
Flushmate® system into the china tank. It’s best to insert
the supply shank into the china tank first and then the
Flushmate® vessel.
8. Screw both lock-nuts onto the exposed threads (supply
shank and discharge extension) on the bottom end of the
china tank.
9. Place the “tank to bowl” gasket onto the exposed
discharge extension and reattach tank to bowl.
10. Attach brass washers and hex nuts to each bolt (making
sure you put the washers on before the hex nuts) and
tighten securely. When tightening the tank to bowl nuts,
use the alternating method while putting downward
pressure on each side as you tighten the nuts on that
side. In effect, you will be “rocking” the system in the
direction of the nuts you are tightening. You must get the
bolts tight enough to prevent any leakage (when flushed)
between the tank and the bowl, but not so tight that you
risk breaking the china.
11. Reattach water supply line to the supply shank and turn
on the supply stop. Wait for Flushmate® to set up
(fill with water and stop “cycling”) and flush the toilet.
If the Flushmate® doesn’t set up and water continues
to run through it, you will need to adjust the cartridge
and perhaps the actuator cap. See the owners manual
for adjustment or visit http://www.flushmate.com/
documentlibrary
®.
Replacement Instructions for
One Piece Flushmate® Tanks
Products: One Piece Toilet Applications
(M-102540 Models)
Tools Required:
Large Adjustable Wrench for 3” nut
(recommend Flushmate ST100100 3–in–1 wrench)
6” Pliers
Philips and Slotted screwdrivers
Instructions:
1. Turn off water at the supply stop. Flush the toilet to
relieve water and air pressure from the Flushmate® tank.
Disconnect water supply line from the supply shank and
remove the lock nut that holds the supply shank in place.
The supply shank protrudes from the bottom of the china
tank on the left hand side.
2. Loosen the nuts on the bolts protruding from the underside
of the toilet, below the china tank. These nuts should be
loosened much like lug nuts on an automobile wheel;
alternate between them instead of completely removing one
at a time.
3. Once the nuts have been removed, lift the Flushmate® tank
straight up out of the toilet tank. Empty any residual water
that may have accumulated in the china tank and then set
it down flat on the backside with the front of the china tank
facing the ceiling.
4. If necessary, disconnect the Flushrod from the flush-handle
linkage. Remove the screws that attach the Flushrod to the
Flushmate® and use them to attach the Flushrod to the
new Flushmate®.
5. Remove rubber washers from the bolts and install them on
the new Flushmate®.
6. If the “tank to tank” gasket is attached to the Flushmate®
remove it and place it on the new Flushmate®. Contact the
fixture manufacturer for replacement if required.
If equipped with a Drain Valve Assembly
> If the Drain Valve Assembly is intact and not broken you
can proceed to the next step.
> If the Drain Valve Assembly is broken you will need to
replace it.
i. At the inside bottom of the tank you will see a small
the Drain Valve Assembly.
ii. Either pull it out or unthread it based on your fixture
manufacturer. If you have to unthread it out of the
china tank you will need to put your fingers inside
the large discharge outlet in the china tank and
hold the locknut, while unthreading the Drain Valve
Assembly.
iii. Once you remove the Drain Valve Assembly, make
sure that the small white plastic ball is intact. If the
ball is missing you will need to remove it from the
toilet bowl.
iv. To remove this ball, you will need to remove the
from the floor, gently lay the toilet on the backside
and gently rock the toilet back and fourth (from
side to side) until the ball rolls out.
v. Next you will need to reinstall the toilet back on the
floor.
vi Then install the new Drain Valve Assembly, do the
reverse as you did to remove it.
7. Reinstall the Flushmate® into china tank, by aligning bolts
through the holes and the threaded shank through the
larger hole on the left-hand side.
8. Attach new brass washers and brass hex nuts to each bolt
{making sure you put the washers on before the hex nuts)
and tighten securely. When tightening the tank to bowl nuts,
use the alternating method while putting downward pressure
on each side as you tighten the nuts on that side. In effect,
you will be “rocking” the tank in the direction of the nuts
you are tightening. You must get the bolts tight enough to
prevent any leakage (When flushed) between the tank and
the bowl, but not so tight that you risk breaking, the china.
9. Reattach water supply line to the supply shank and turn
on the supply stop. Wait for Flushmate® to set up (fill
with water and stop “cycling”) and flush the toilet. If the
Flushmate® doesn’t setup and water continues to run
through it, you will need to adjust the cartridge and perhaps
the actuator cap. See the owners manual for adjustment of
visit http://www.flushmate.com/documentlibrary/
Winterizing
1. Turn off the water supply valve and flush the
toilet to relieve the pressure.
2. Place a bucket under the lower Supply Shank (A)
and disconnect the water supply line, allowing the
water to drain into the bucket.
3. Push down on the Actuator and pull it up
momentarily to allow air into the vessel.
4. Follow the fixture manufacturer’s instructions for
winterizing the bowl.
5. Do not put antifreeze or any other chemical
agents in the china holding tank or in the
FLUSHMATE
®
Tank.
Points to Remember
• When replacing components on the FLUSHMATE®
Flushometer-Tank System, make certain that
the water supply valve is turned off and the
toilet has been flushed to relieve pressure in the
FLUSHMATE
• Water supply requirement: cold water, potable
water system.
• The Flush Valve Cartridge can be removed
by inserting the handles of a pair of pliers into
the top of the Flush Valve Cartridge and turning
counterclockwise.
• With each flush, a small amount of water may
be emitted from the upper supply group. A drain
at the base of the FLUSHMATE
eliminate most of this water. Depending on
usage, you may see some residual water (less
than 1”) in the china holding tank. This is a
normal occurrence.
• Your water pressure is adequate if your water
supply line will yield one or more gallons of water
within thirty (30) seconds.
• Replacement parts are readily available by
contacting Consumer Services at 800-533-3460
or by visiting the “Where to Buy” section of our
website, www.flushmate.com, or purchase online
at www.eflushmate.com.
If you would like additional information or require
technical assistance, please contact FLUSHMATE
Consumer Services at 800-533-3460, or visit our
website, www.flushmate.com. For faster service,
please be prepared to provide the serial number and
date of installation of your FLUSHMATE
For support outside the United States, visit our
local contact website at www.flushmate.com/
localcontact.
®
tank.
®
system will
®
system.
®
FLU-eMKT8014EN 0616
 Loading...