Page 1

Certifications
P Conforms to European Standard EN61010-1, EN61326.
Limited Warranty
Each Fluke product is warranted to be free from defects in material and
workmanship under normal use and service. The warranty period is one year
and begins on the date of shipment. Parts, product repairs and services are
warranted for 90 days. This warranty extends only to the original buyer or end
user customer of a Fluke authorized reseller, and does not apply to fuses,
disposable batteries or to any product which, in Fluke’s opinion, has been
misused, altered, neglected or damaged by accident or abnormal conditions of
operation or handling. Fluke warrants that software will operate substantially in
accordance with its functional specifications for 90 days and that it has been
properly recorded on nondefective media. Fluke does not warrant that software
will be error free or operate without interruption.
Fluke authorized resellers shall extend this warranty on new and unused
products to enduser customers only but have no authority to extend a greater or
different warranty on behalf of Fluke. Warranty support is available if product is
purchased through a Fluke authorized sales outlet or Buyer has paid the
applicable international price. Fluke reserves the right to invoice Buyer for
importation costs of repair/replacement parts when product purchased in one
country is submitted for repair in another country.
Fluke’s warranty obligation is limited, at Fluke’s option, to refund of the purchase
price, free of charge repair, or replacement of a defective product which is
returned to a Fluke authorized service center within the warranty period.
To obtain warranty service, contact your nearest Fluke authorized service center
or send the product, with a description of the difficulty, postage and insurance
prepaid (FOB Destination), to the nearest Fluke authorized service center. Fluke
assumes no risk for damage in transit. Following warranty repair, the product
will be returned to Buyer, transportation prepaid (FOB Destination). If Fluke
determines that the failure was caused by misuse, alteration, accident or
abnormal condition of operation or handling, Fluke will provide an estimate of
repair costs and obtain authorization before commencing the work.
Following repair, the product will be returned to the Buyer transportation prepaid
and the Buyer will be billed for the repair and return transportation charges (FOB
Shipping Point).
THIS WARRANTY IS BUYER’S SOLE AND EXCLUSIVE REMEDY AND IS IN
LIEU OF ALL OTHER WARRANTIES, EXPRESS OR IM PLIED, INCLUDING
BUT NOT LIMITED TO ANY IMPLIED WARRANTY OF MERCHANTABILITY
OR FITNESS FOR A PARTICULAR PURPOSE. FLUKE SHALL NOT BE
LIABLE FOR ANY SPECIAL, INDIRECT, INCIDENT AL OR CONSEQUENTIAL
DAMAGES OR LOSSES, INCLUDING LOSS OF DATA, WHETHER ARISING
FROM BREACH OF WARRANTY OR BASED ON CONTRACT, TORT,
RELIANCE OR ANY OTHER THEORY.
Since some countries or states do not allow limitation of the term of an implied
warranty, or exclusion or limitation of incidental or consequential damages, the
limitations and exclusions of this warranty may not apply to every buyer. If any
provision of this Warranty is held invalid or unenforceable by a court of
competent jurisdiction, such holding will not affect the validity or enforceability of
any other provision.
In Case of Difficulty
For service or calibration, call your nearest authorized Fluke
Service Center.
For application or operation assistance or information on
Fluke products, call:
USA: 1-888-99-FLUKE (1-888-993-5853)
Canada: 1-800-36-FLUKE (1-800-363-5853)
Europe: +31 402-678-200
Japan: +81-3-3434-0181
Singapore: +65-738-5655
Anywhere in the world: +1-425-446-5500
Or, visit Fluke’s Web site at www.fluke.com
Fluke Corporation Fluke Europe B.V.
P.O. Box 9090 P.O. Box 1186
Everett, WA 98206-9090 5602 B.D. Eindhoven
USA The Netherlands
700P29, 700P30, 700P31
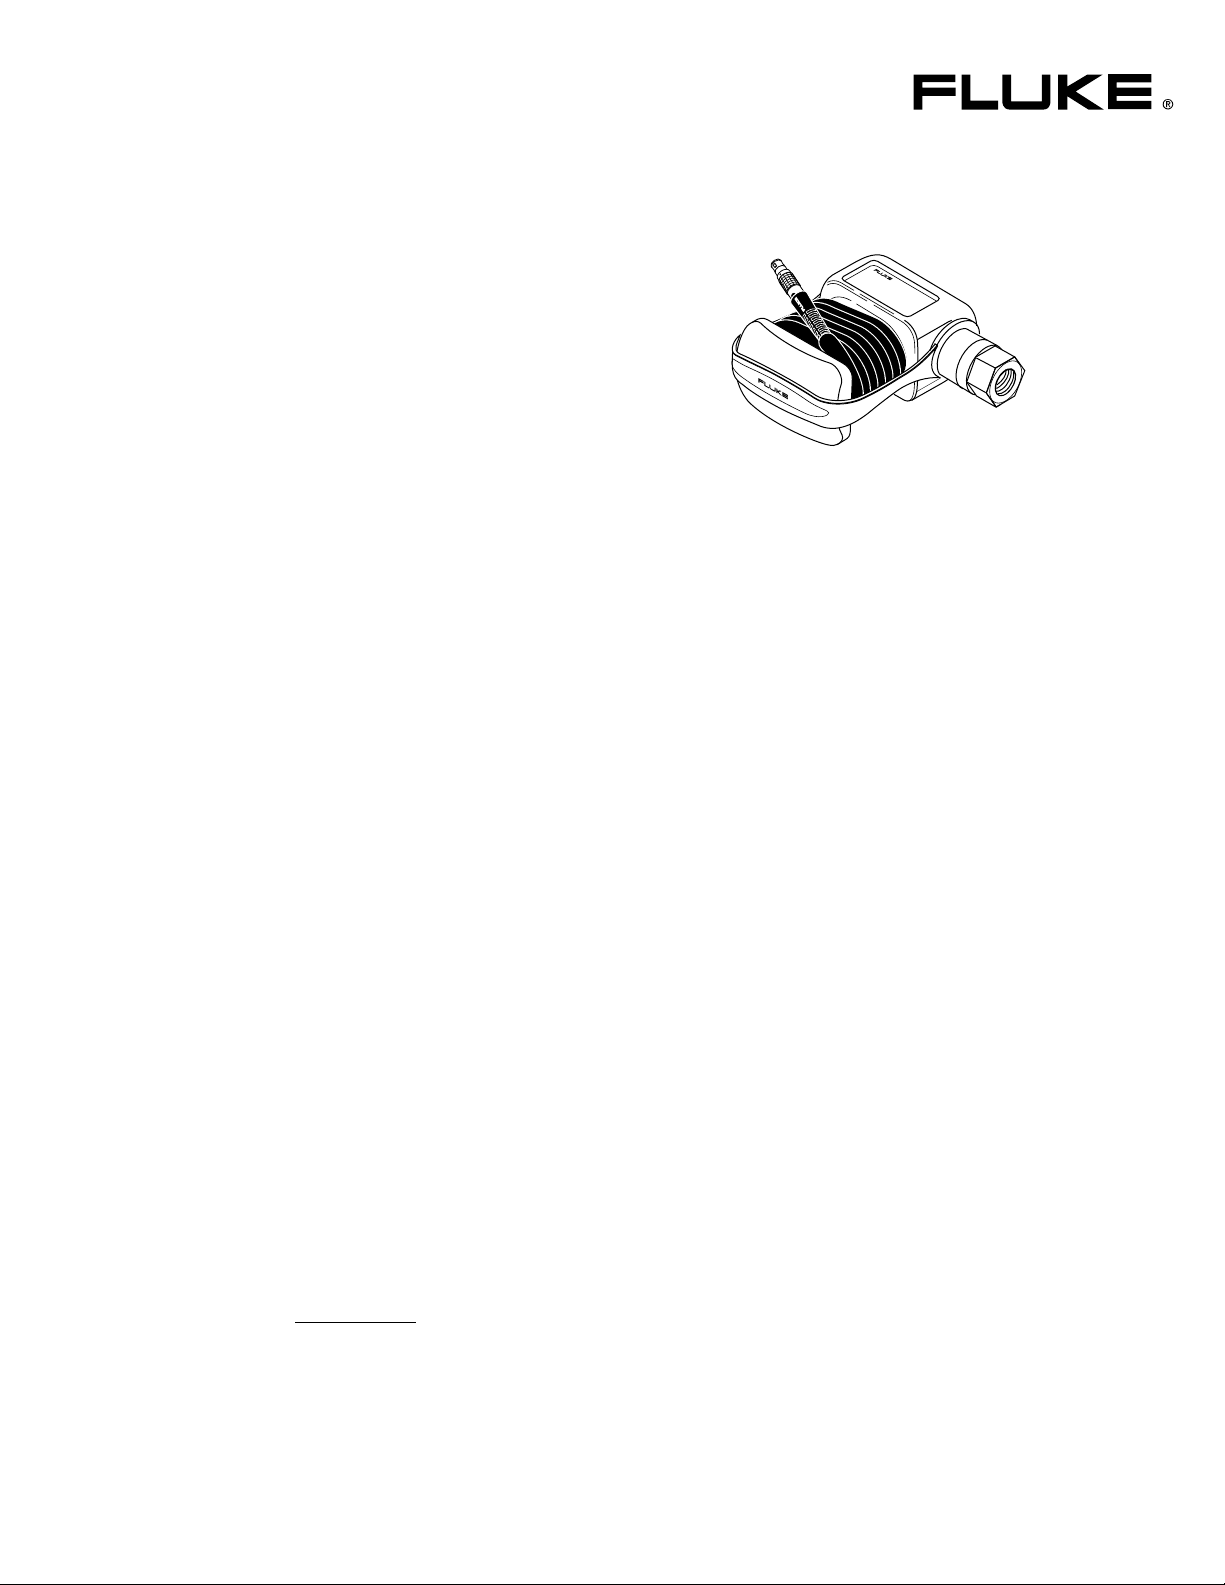
Pressure Modules
Instruction Sheet
Introduction
Fluke Models 700P29, 700P30, and 700P31 Pressure
Modules allow you to measure high pressure with the Fluke
700 Series Documenting Process Calibrators. Read this
sheet before you use the pressure module. This sheet
contains specifications and information about how to avoid
personal injury and damage to the pressure module. This
instruction sheet assumes that you know how to use the 700
Series Documenting Process Calibrator. (Refer to the
Manual
if necessary.)
Note
If you are using a Fluke Model 701 or 702 calibrator,
it must have software V1.3 or later to achieve the
specifications in this sheet. See Specifications
note 1.
The pressure module measures pressure using an internal
microprocessor. It receives operating power from and sends
digital information to the 700 Series calibrator.
Box Contents
Pressure module, strap, and instruction sheet.
Caution
Only use with Group 2 Fluids
compatible with Hastelloy C276.
W WARNING
To avoid injury due to the release of high
pressure fluid, use only adapters and fittings
rated to withstand the appropriate pressure.
Ensure that all adapters and fittings are securely
connected.
W WARNING
To avoid a violent release of pressure in a
pressurized system, shut off the isolation valve
and slowly bleed off the pressure before you
attach or remove the pressure module from the
pressure line.
Users
PN 602083 (English)
August 1996 Rev.3, 10/02
1995-2002 Fluke Corporation. All rights reserved. Printed in USA
Page 2

Avoiding Mechanical Damage
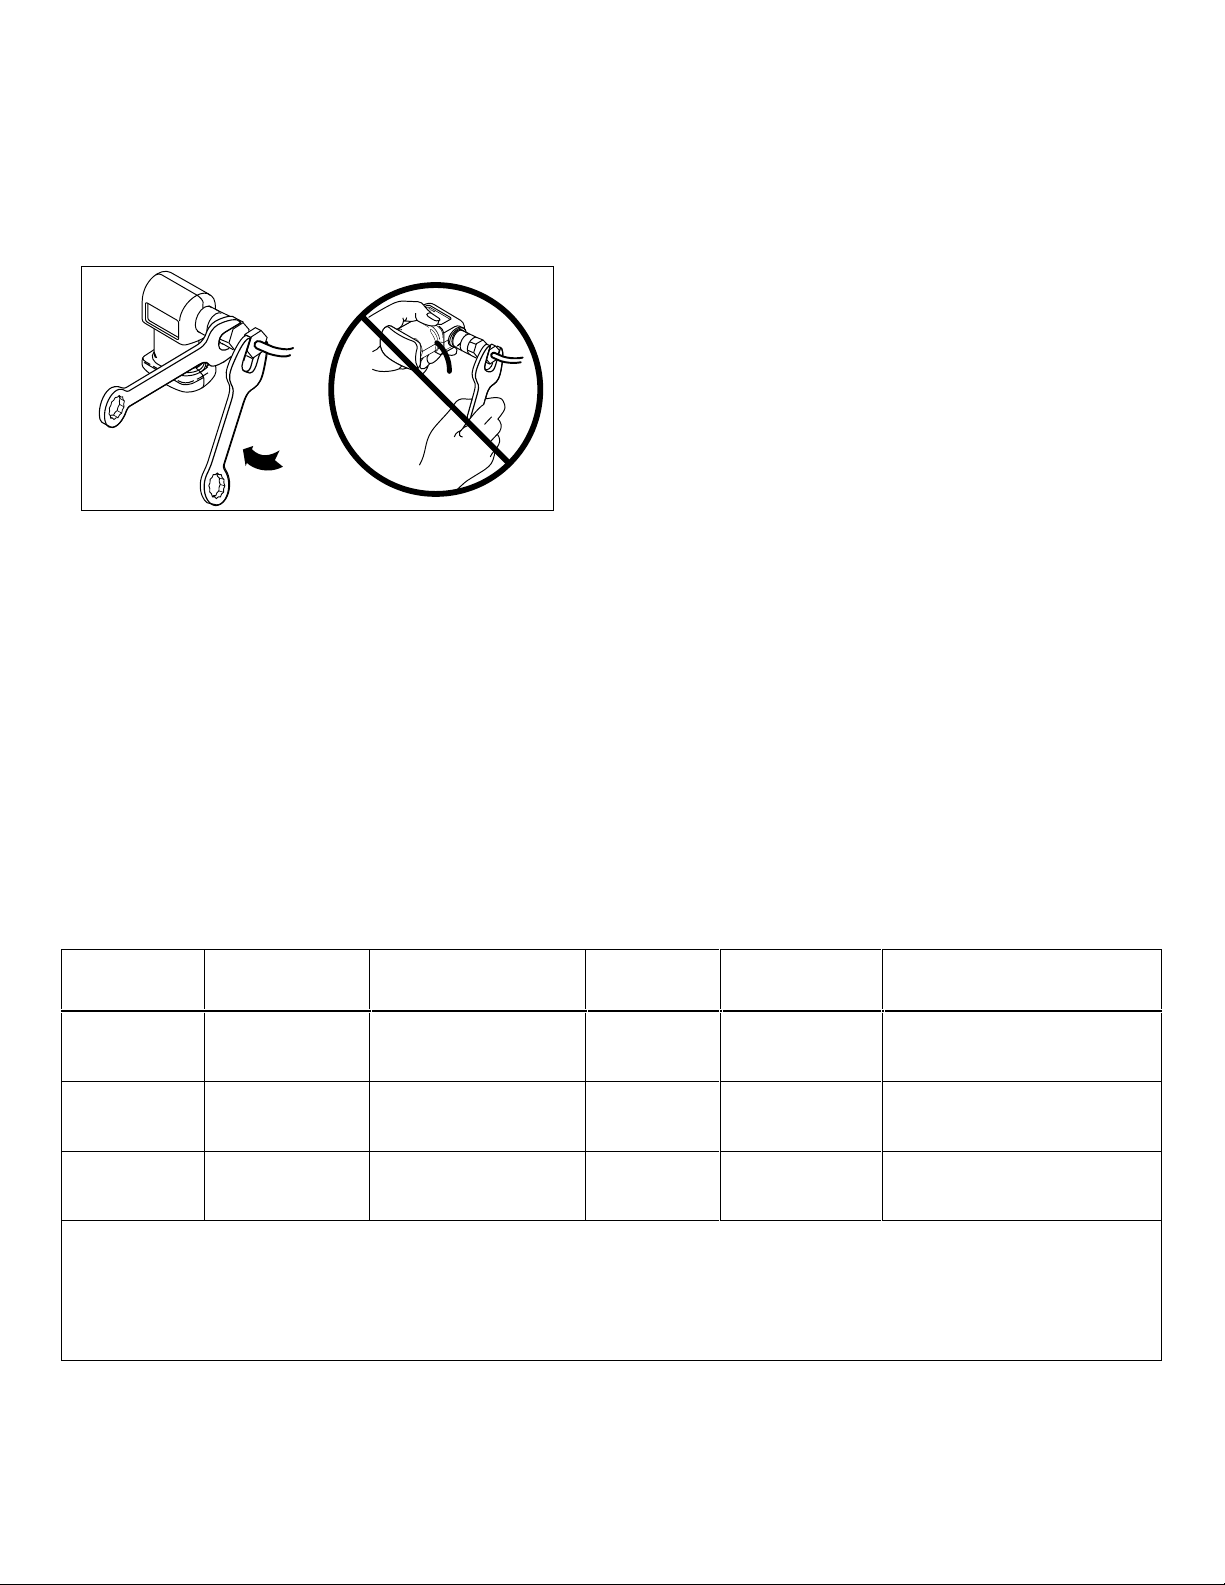
To avoid damaging the pressure module, never apply more
than 10 ft.-lb. of torque between the pressure module fitting
and the body of the module. Always apply appropriate torque
between the pressure module fitting and connecting fittings
or adapters. Figure 1 shows the correct and incorrect ways
to use a wrench when applying torque to the pressure
module fitting.
Pressure Calibration Kit
The Fluke 700PCK Pressure Calibration Kit makes it possible
to calibrate pressure modules at ambient temperature with a
precision pressure calibrator or dead weight tester. The
accuracy of the dead weight tester or pressure calibrator
must be significantly better than the pressure module
specification. A 386 or better PC and Windows® 3.1 or later
are required. The kit is an optional accessory available from
your distributor or Fluke.
RANGE
100 kPa
1 bar
Figure 1.
Avoiding Overpressure Damage
Applying pressure in excess of the BURST PRESSURE
specified on the pressure module can destroy the pressure
module. Burst pressure is 2X full scale for the 700P29 and
700P30, and 1.5X full scale for the 700P31.
Avoiding Corrosion Damage
To avoid damaging the pressure module from corrosion, use
it only with a medium that is compatible with Hastelloy C276.
Recommended Measurement Technique
For best results, it is recommended that the module be
pressurized to full scale and then vented to zero pressure
(atmosphere) prior to zeroing and making measurements
with the 700 Series calibrator.
Table 1. Specifications
Model
4
Range
2
Reference Uncertainty
(23 ° ± 3 °C)
Performance Test
If you need to check that the pressure module meets its
accuracy specification, use a dead weight tester or suitable
pressure calibrator. The accuracy of the dead weight tester or
pressure calibrator should be significantly better than the
pressure module specification. Proceed as follows to verify
that a pressure module is operating within specification:
1. Read the pressure value with no externally applied
pressure to make sure the 0% of scale is correct. When
reading the pressure with a 700 Series calibrator, press
the CLEAR (ZERO) key to remove any zero offset.
Note
The pressure zero function is available on Fluke 701
and 702 calibrators with V1.3 or later software.
Contact a Fluke Service Center to upgrade your
V1.0, V1.1, or V1.2 calibrator.
2. Connect the pressure module to a dead weight tester.
3. Set the dead weight tester to 20% of the pressure
module’s full scale value.
4. Make sure the reading agrees with the dead weight
tester value within the specification in Table 1.
5. Set the dead weight tester to 40, 60, 80, and 100% of
full scale and compare the respective readings.
6. If temperature sensitivity is of concern, repeat steps 1
through 5 at various controlled temperatures.
1
(% of full span)
Stability
(1 Year)
Temp
(0 ° to 50 °C)
Total Uncertainty
3
700P29 0 to 3000 psi
0 to 20680 kPa
0 to 207 bar
700P30 0 to 5000 psi
0 to 34500 kPa
0 to 345 bar
700P31 0 to 10000 psi
0 to 69000 kPa
0 to 690 bar
1. Use of pressure zero funct i on i s required to achieve these spec i fications. Contact a Fl uke Service Center to upgrade your Fluke 701 or 702 V1.0,
V1.1, or V1.2 Calibrator.
2. Available pressure units (psi, kPa, bar, inHg, mm Hg, inH
3. Accuracy specifications apply for 1 y ear f or 0 to 100% of full span from 0 to 50 °C. Typical uncertainty i s 1% of full span from -10 °C to 0 °C.
4. Maximum non-destructi ve pressure: 2X maximum rated pressure for P29 and P30, 1.5X f or P31.
5. Specifications reflect a confidence interval of 95%.
0.050% 0.010% 0.020% 0.080%
0.050% 0.010% 0.020% 0.080%
0.050% 0.010% 0.020% 0.080%
0, ftH20, kg/cm2, mmH20) are determined by the calibrator bei ng us ed.
2
 Loading...