

Fluidampr 760121, 760111 Installation Instructions Manual
Installation Instructions
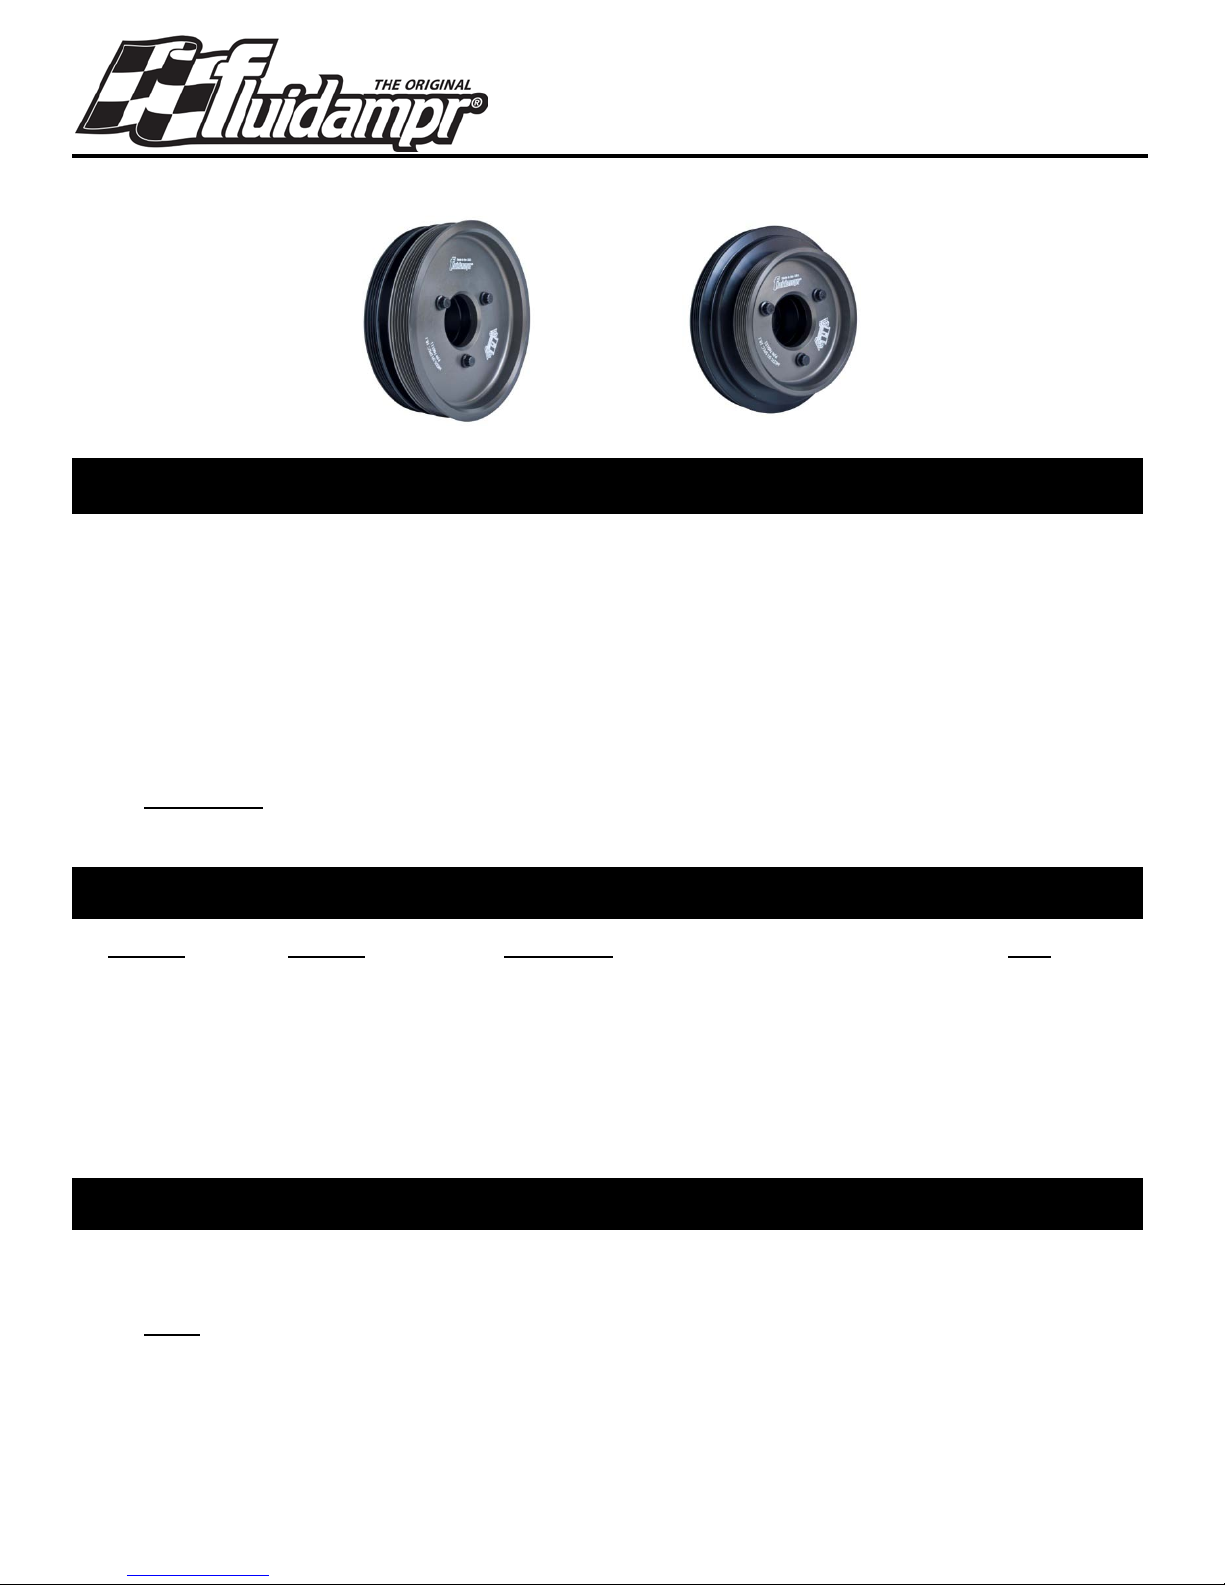
P/N 760111 With Stock Pulley
P/N 760121 With 25% Underdrive Pulley
2010 & UP GM LS3 & L99 ENGINES
Tools, Procedures, & Accessories
• Damper removal and installation tools (Kent-Moore J-41816 & J-41665 or equivalent)
• Anti-seize compound
• Sufficient torque wrench (see torque specs on page 2)
• Torque angle meter (Kent-Moore J-45059 or equivalent)
• Do not use hammers or pry bars to install or remove Fluidampr
• If installing Fluidampr P/N 760121 with 25% underdrive pulley for 2010-2012 app li cat ions, an 81.8” lo ng
accessory drive belt will be needed (Gates P/N K060819). For 2013 & UP applications, a 78” long belt will be
needed (Gates P/N K060780).
• A new torque to yield crankshaft bolt (GM P/N 12557840) is required and must be obtained at your local GM
dealer.
IMPORTANT
• DO NOT DRILL FLUIDAMPR – The inertia ring and silicone fluid are in a hermetically sealed housing.
Part No. Balance Application
760111 Internal Balance Chevrolet Camaro LS3 & L99 Stock Pulley 2010 & UP
760121 Internal Balance Chevrolet Camaro LS3 & L99 25% Underdrive 2010 & UP
BALANCING OR MATCH BALANCING
• Each Fluidampr component is precision balanced during manufacturing, so NO additional balancing is required.
• DO NOT ATTEMPT TO BALANCE THE CRANKSHAFT WITH FLUIDAMPR INSTALLED - The inertia ring
inside Fluidampr is balanced to a close tolerance at the factory and it rotates inside Fluidampr.
• If balancing the crankshaft is required, install the stock damper while balancing.
• Remove any equipment or accessories obstructing access to the stock damper per manufacturer’s instructions.
• Remove the accessory drive belt and A/C compressor drive belt.
- There is no tensioner on the A/C belt. The belt will either have to be “walked” off of the pulley or cut and
NOTE
replaced with a new belt.
– You CANNOT reuse old damper crankshaft bolt.
Notes On Balancing
Year
Step 1 – Stock Damper Removal
• Remove the stock damper using a suitable puller. Save the stock damper crankshaft bolt to use during the
Fluidampr installation process.
• On the rear of the stock damper hub you will find a thin metal washer held in place with a rubber gasket. This
washer will need to be removed and installed on the Fluidampr. If you don’t have a washer or the one you have is
destroyed one can be obtained thru your local GM dealer (ref GM P/N 12603843).

Step 2 – Fluidampr Installation
CAUTION - It is recommended that the Fluidampr be pinned onto the crankshaft when using the Fluidampr on high
horsepower or supercharged applications.
• Inspect the crankshaft snout for any burrs, scratches, or nicks. Carefully remove any surface imperfections by
filing and polishing the crankshaft snout so that it’s smooth and free of any surface irregularities.
NOTE – If installing Fluidampr on an aftermarket crankshaft it is recommended to mic the crankshaft snout and the
bore of the Fluidampr. There should be a .0015 to .0025” interference fit between the two. If your calculated value is
greater, the bore of the Fluidampr can be lightly honed to achieve the proper fit.
• Lightly coat the Fluidampr bore with anti-seize compound or moly grease to prevent galling during installation.
• Install the thin metal washer (GM P/N 12603843) on to the back of the Fluidampr hub. Carefully place the lip of
the rubber gasket of the washer over the hub and make sure the washer is centered and seated fully on the back
of the hub.
• Place the Fluidampr on the end of the crankshaft snout and thread the proper installation tool in the end of the
crankshaft. As you tighten the nut on the installation tool you should experience a smooth steady resistance until
the Fluidampr is fully seated against the timing gear.
NOTE - It will take some effort to tighten the installation tool nut since the Fluidampr has a press fit on the crankshaft.
If resistance increases dra matica lly before the Fluidampr is fully seated, stop and identify the problem before
proceeding.
• Remove the installation tool and install the old factory GM crankshaft bolt. Torque the bolt to 240 ft-lbs to ensure
the Fluidampr is fully seated. Remove the bolt and discard it.
NOTE – When the Fluidampr is fully seated the end of the crankshaft should be recessed in the bore by .094 to .176”.
• Place a few drops of Loctite 242 (or equivalent) thread locker on to the new torque to yield damper crankshaft bolt
(GM P/N 12557840) and torque it to 37 ft-lbs. Tighten the bolt an additional 140° using a torque angle meter.
• Install the A/C drive belt by carefully “walking” it on to the rear Fluidampr and A/C compressor pulleys. Install the
accessory drive belt and any equipment or accessories per manufacturer’s instructions.
Part No. Engine
Bolt Torque
760111 Chevrolet Camaro LS3 & L99 Stock Size 37 ft-lbs plus an additional 140°
760121 Chevrolet Camaro LS3 & L99 25% Underdrive 37 ft-lbs plus an additional 140°
WARNING
- FAILURE TO USE THE PROPER BOLT TORQUED TO THE PROPER FACTORY SPECIFICATION
WILL VOID WARRANTY AND COULD RESULT IN FLUIDAMPR OR CRANK DAMAGE.
LIMITED WARRANTY
LIMITED WARRANTY: All Fluidamprs are warranted to be free from defects in workmanship and materials for a period of one (1) year from the DATE OF PURCHASE. We
recommend that you keep a copy of your sales invoice of receipt showing DATE OF PURCHASE during this warranty period. In the unlikely event you need to make a claim
for warranty consideration, you must contact Horschel Motorspo rts f or a retur n ed goo ds aut ho ri zati on numb er . During the w arr anty period, Horschel Mot orsports will repair or
replace, at our discretio n, an y part or parts that are determined by Horschel Motorsports to be defective due to work mans hip or materials. Transportation charges for return of
defective parts must be prepaid by the purchaser. THIS WARRANTY DOES NOT INCLUDE AND IS NOT LIMITED TO THE FOLLOWING: Failure due to improper
installation or maintenance. Loss or injury incurred from use or operation of Horschel Motorsports products. Misuse, abuse, or unauthorized repairs. Removal or
replacement cost. Cost incurred due to downtime of vehicle. Damage to other engine or vehicle components. Normal wear and tear
Horschel Motorsports Phone 716-592-1000
180 Zoar Valley Road Fax 716-592-1001
Springville, NY 14141 Web www.fluidampr.com
E-mail support@fluidampr.com
P/N 4NFK03
 Loading...