

Flowtron Outdoor Products LE-800B User Manual
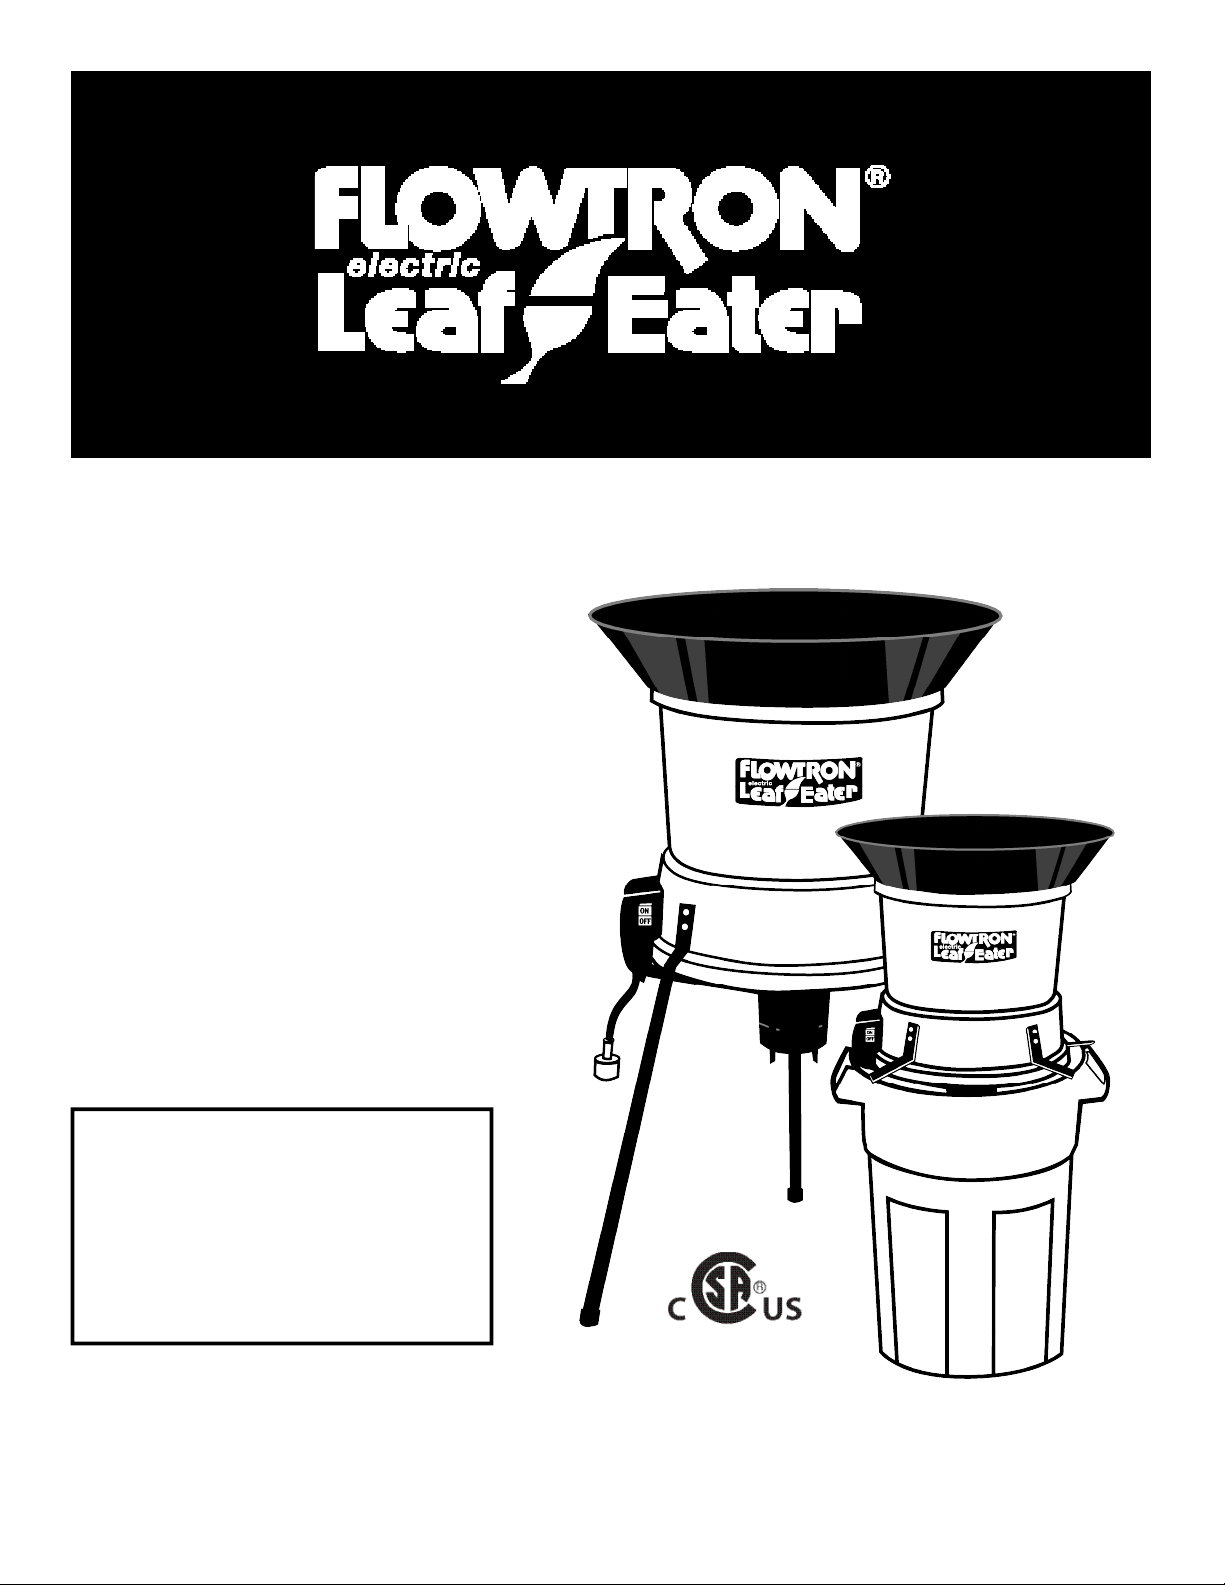
SHREDS LEAVES, GRASS CLIPPINGS, PINE NEEDLES . . .
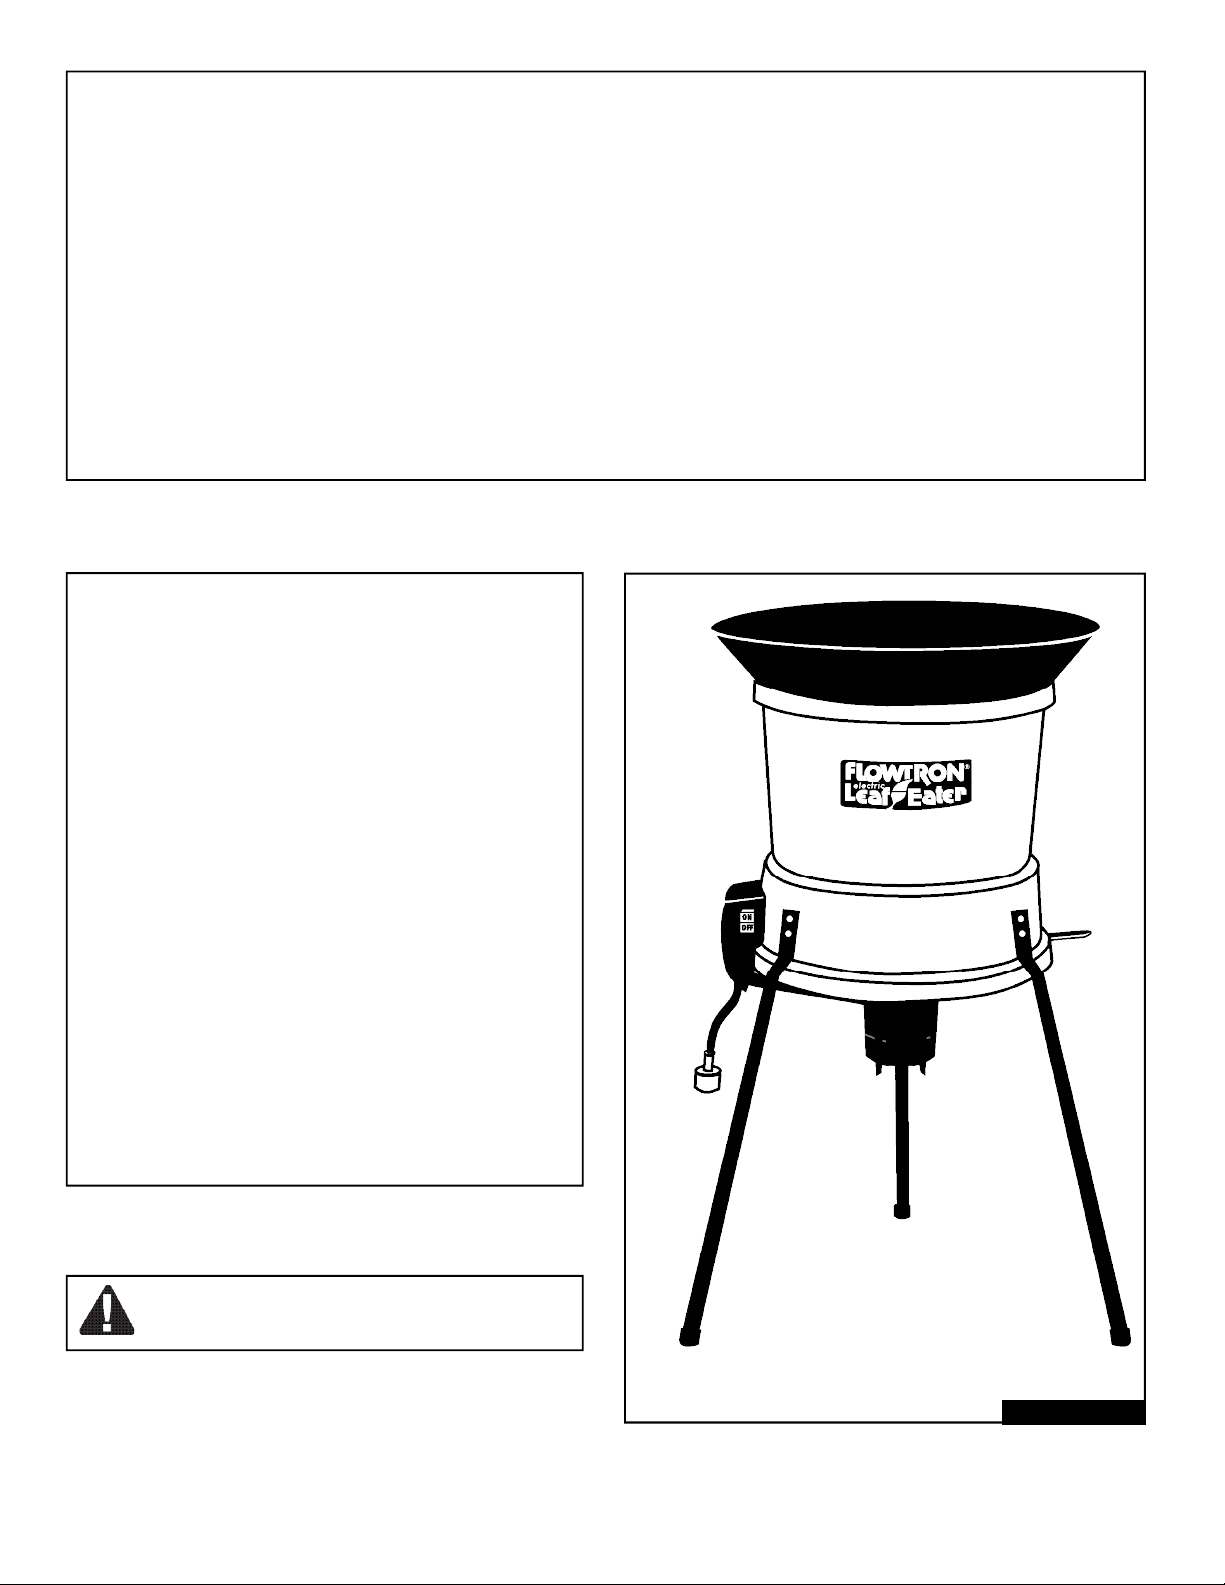
OWNER’S
MANUAL
Model
LE-800B
• Assembly
• Operation
• Maintenance
• Repair Parts
WA R N I N G
C a r e f u l ly read and fo l l o w
s a fety rules, precautions and
operating instructions.
Failure to do so can result in
serious personal injury.
Always Wear Eye Protection During Operation
page 2
Flowtron Leaf-Eater
One Year Limited Warranty
Flowtron, division of Armatron warrants your Leaf-Eater to be free from defects in materials or workmanship under normal use and service
for one year from date of the original purchase. All parts which are defective will be repaired or replaced free of charge. Any implied warranties,
including the implied warranty of merchantability are also limited in duration for one year from the original purchase date. Some states do not
allow limitations on how long an implied warranty lasts, so the above limitations may not apply to you.
The provisions of this warranty shall not apply to any Leaf-Eater which has been subject to misuse, neglect or accident, nor which is used
for a purpose for which it is not designed, or which shall have been repaired or altered in any way so as to adversely affect its performance and
reliability. Service by unauthorized parties voids your warranty. Warranty covers only the original purchaser. Commercial and/or professional
use is excluded from warranty coverage.
Flowtron neither assumes nor authorizes any person to assume for it any other liability in connection with its products. No responsibility is
assumed for any consequential damages that may result from the use of a Flowtron product, not for damages due to accident, abuse, lack of
responsible care, the affixing of any unauthorized attachments, loss of parts or subjecting this unit to any but the specified voltage. Some
states do not allow the exclusion or limitation of the incidental or consequential damages, so the above limitation or exclusion may not apply to
you.
This warranty gives you specific legal rights, and you may also have other rights which vary from state to state.
Flowtron Outdoor Products, 14 Highland Ave., Malden, MA 02148 • an ARMATRON company
Table of Contents
page
Warranty ................................................................. 2
Know Your Leaf Eater............................................ 3
Assembly............................................................. 4,5
Safety Rules and Precautions.............................. 6
Electrical Requirements........................................ 7
Motor Information.................................................. 7
Safe Operating Instructions ................................. 8
1. Moving Your Unit..............................................8
2. Loading Your Unit.............................................8
3. Mulching Control Lever ....................................8
4. Circuit Breaker/Restarting ................................8
Maintenance........................................................... 9
1. Cleaning ...........................................................9
2. Remove/Replace Cutting Line .........................9
3. Remove/Clean Air Filter ...................................9
Trouble Shooting ................................................... 9
Parts List .............................................................. 11
Instructions given with this symbol are for
personal safety. Be sure to follow them.
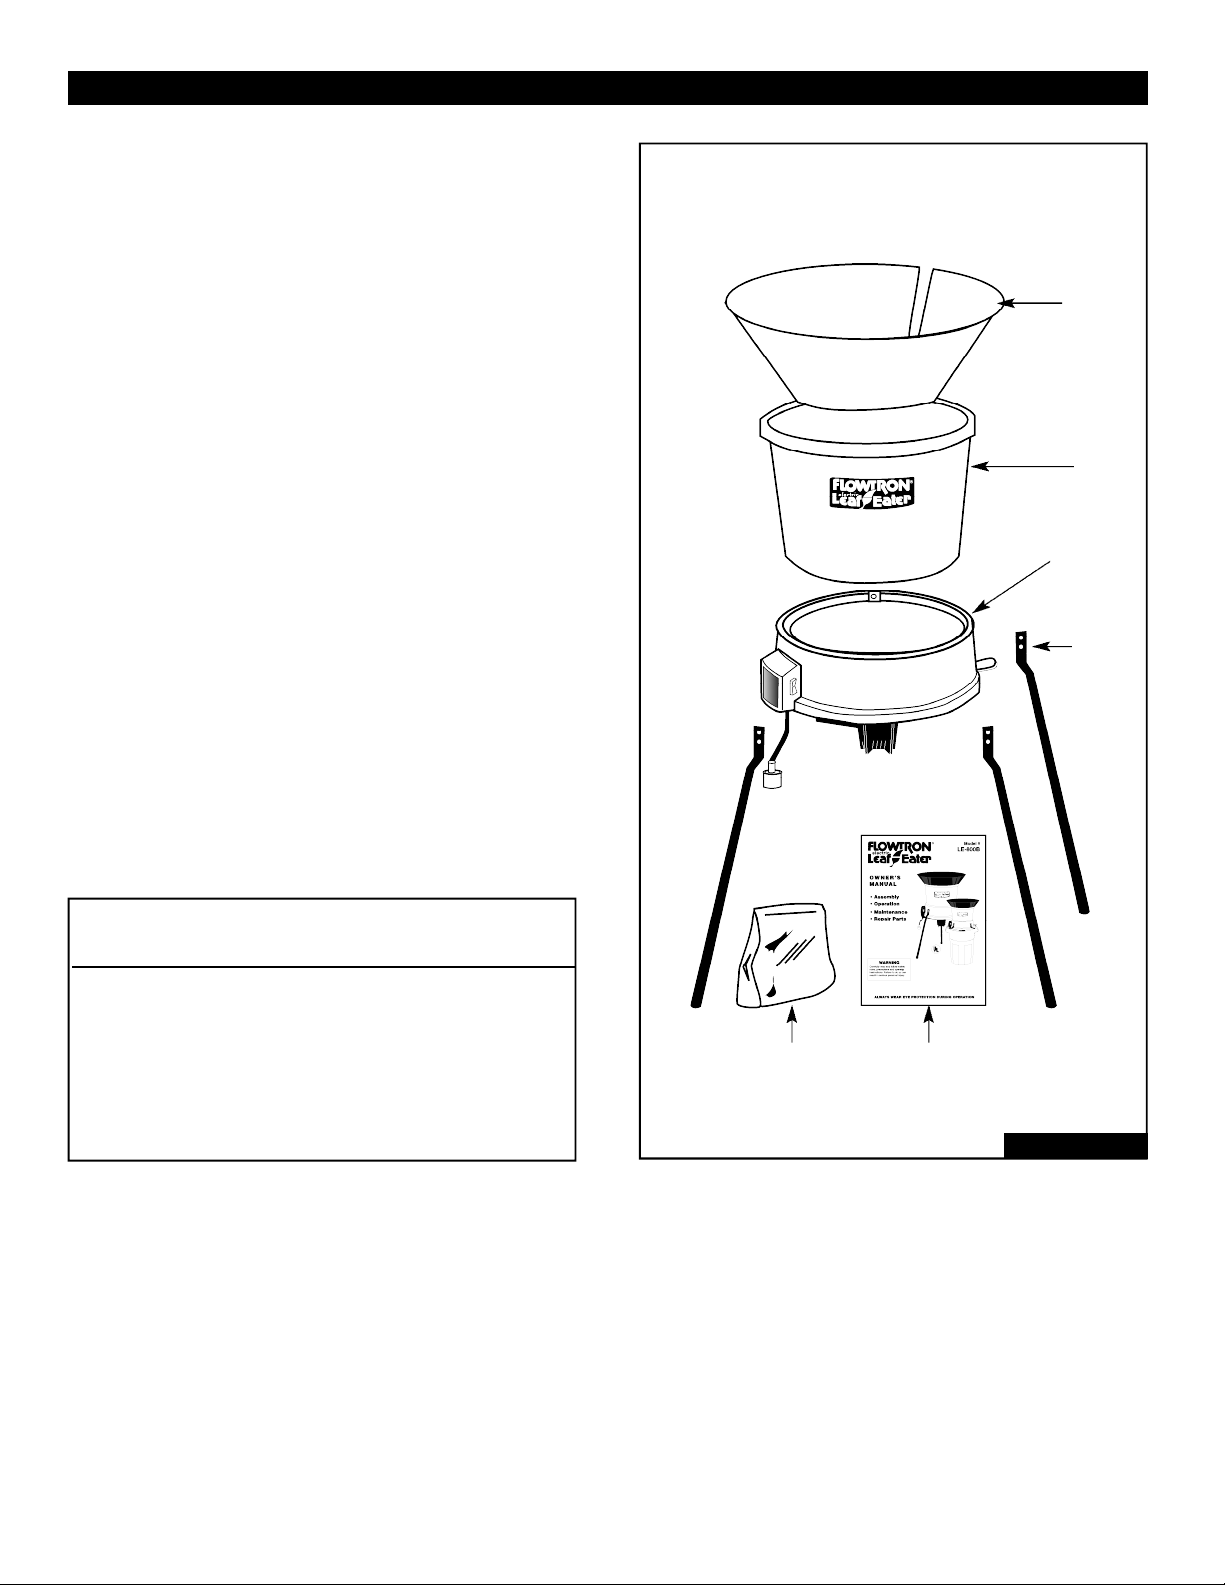
FIGURE 1
FUNNEL
FILTER
HOUSING
ON/OFF
SWITCH
POWER
CORD
MOTOR
COVER
CIRCUIT
BREAKER/
RESET BUT-
TON
UPPER
HOUSING
LOWER
HOUSING
MULCHING
CONTROL
LEVER
LEG
page 3
KNOW YOUR FLOWTRON LEAF-EATER
A. Introduction
Your Flowtron Leaf-Eater is a quality built product that is designed to provide you with a unit
that is not only affordable, but will perform with a
minimum of care and maintenance.
Special Features Include:
• Powerful universal electric motor
• Runs on normal household current
• Easily moved from place to place
• Can be used on a container or free standing on its own legs (included with unit)
• Easily replaceable cutting cords with
extras supplied with each unit.
B. Unpacking Instructions
Your unit has been carefully packed at the factory to prevent damage during shipment and
storage.
Carefully unpack the carton as follows:
1. Remove contents from carton
2. Check parts against list shown.
3. Examine for damage
Carton Contents
Key # Description Qty.
1 Funnel 1
2 Upper Housing 1
3 Lower Housing Assembly 1
4 Legs 3
5 Hardware Package 1
6 Owner’s Manual 1
REAR
LEFT SIDE
FRONT
4
2
1
5
3
RIGHT SIDE
6
FIGURE 2
page 4
ASSEMBLY
A. Preparation
Your owner’s manual has been developed to
help you assemble the unit and to understand
its safe operation. It is important that you read
your manual completely to become familiar with
the unit before you begin assembly.
1. Read your owner’s manual
2. Tools you will need
a. #2 Phillips Head Screwdriver
b. 3/8” Nut Driver
Hardware Bag Contents:
Qty. Description Looks Like
3 Container Mounting Bracket
3 Stud Plate
2 Screw, Pan Head, 10-32 x 3/8”
3 Screw, Sht. Mtl., #10 x 5/8”
4 Screw, Sht. Mtl., #10 x 1/2, Blk.
8 Hex Nut, Self-Lock, 10-32
4 Washer, #10
3 Tinnerman Clips
3 Leg Caps
36 Cutting Lines
1. Assembling Legs or Mounting Brackets
To install the three legs or the three mounting
brackets, align the three stud plates with the six
mating holes in the lower housing. Fasten the
legs or brackets with the six #10 - 32 self-locking
hex nuts as shown in Figures #3 or #4. When
using the legs, slip the three leg caps onto the
end of each leg.
FIGURE 3
FIGURE 4
 Loading...