Page 1

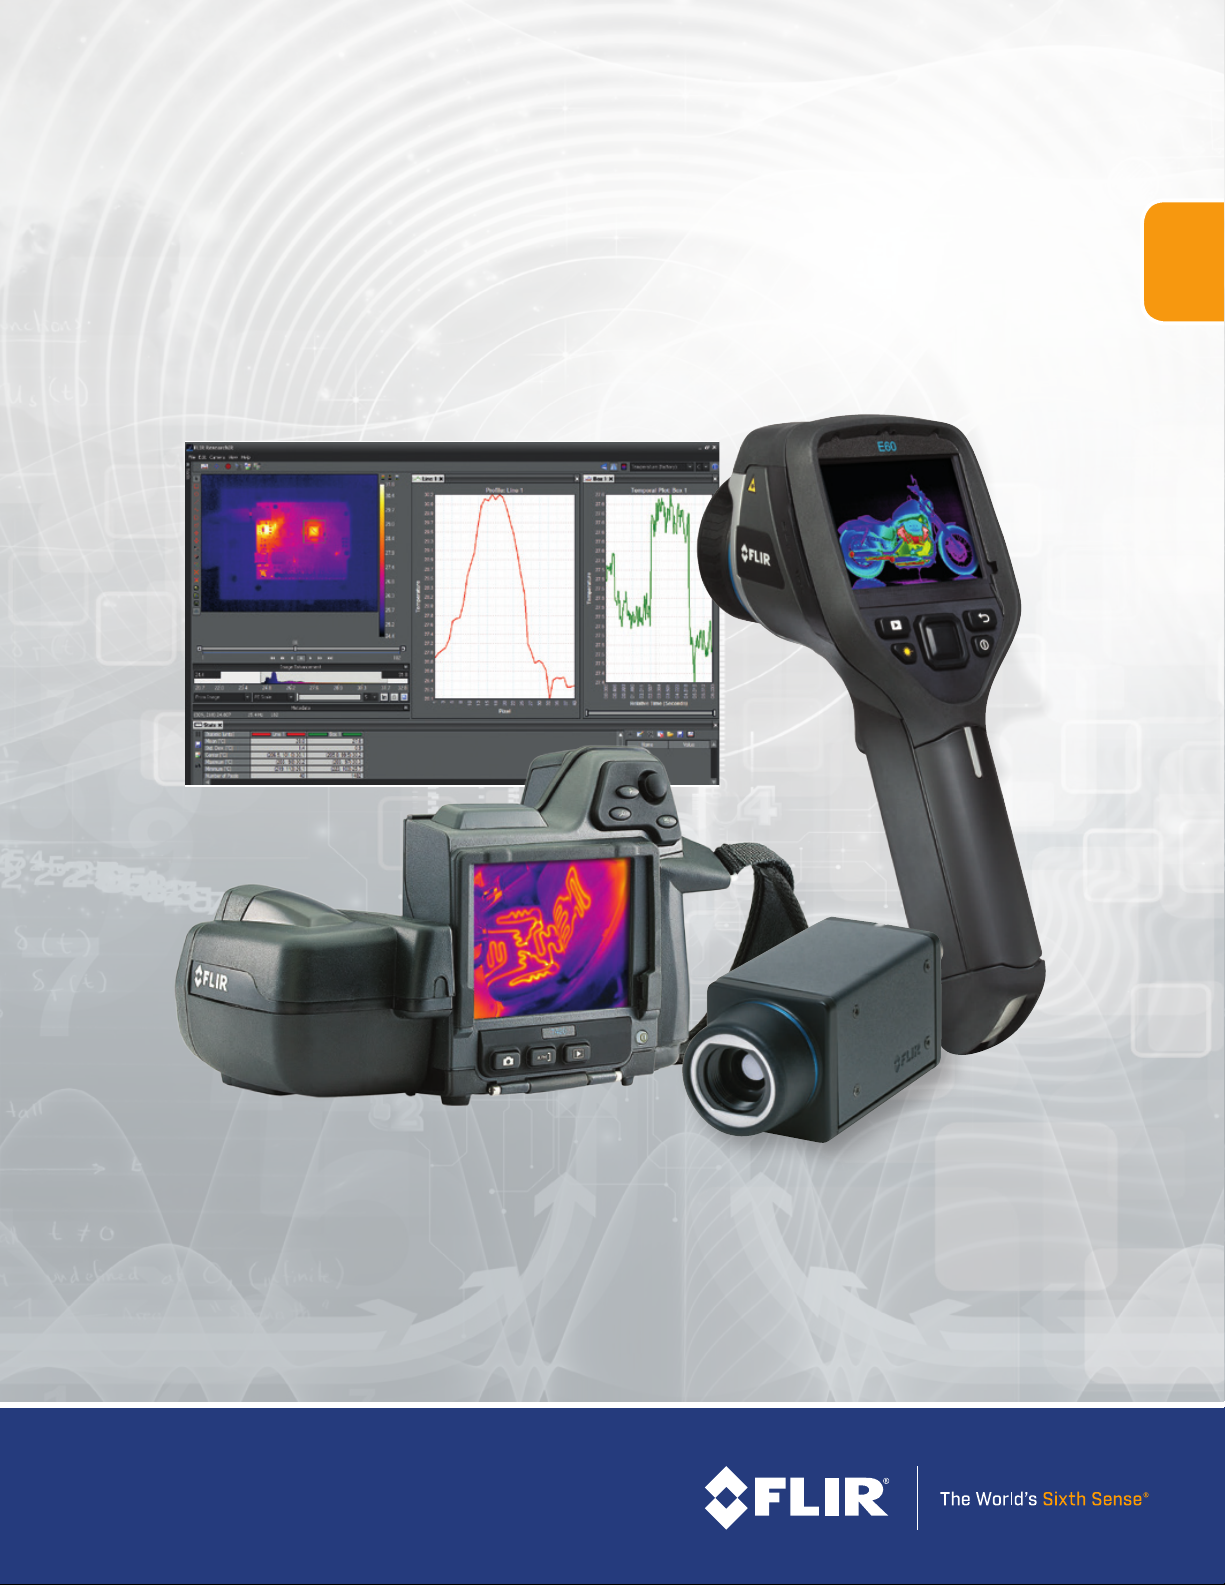
THERMAL IMAGING CAMERA
BENCH TOP TEST KIT
IR Camera, Optics and Software for
• Entry Level R&D
• Industrial Labs
• Education
• PCB and Circuit-Board Analysis
Page 2

FLIR THERMAL CAMERA BENCH TOP TEST KITS
No one can afford costly product recalls and do-overs caused by inadequate temperature
measurement devices. So FLIR developed an innovative alternative that you can’t afford
to pass up.
Throw out the rat’s nest of thermocouples, the painstaking IR thermometer guns, and all the questionable results that go with them. Know exactly
where to measure, trust your ndings every time, and become far more productive with the FLIR Bench Top Test Thermal Kits.
Thermocouples are limited to a best guess of where the right measurement points might be and often create undesirable heat sinks that alter a
target’s thermal properties. A spot pyrometer isn’t very effective either. Like a thermocouple, it only measures one point at a time. Worse, it merely
senses the average temperature of an area, and the farther away from the object, the greater the discrepancy.
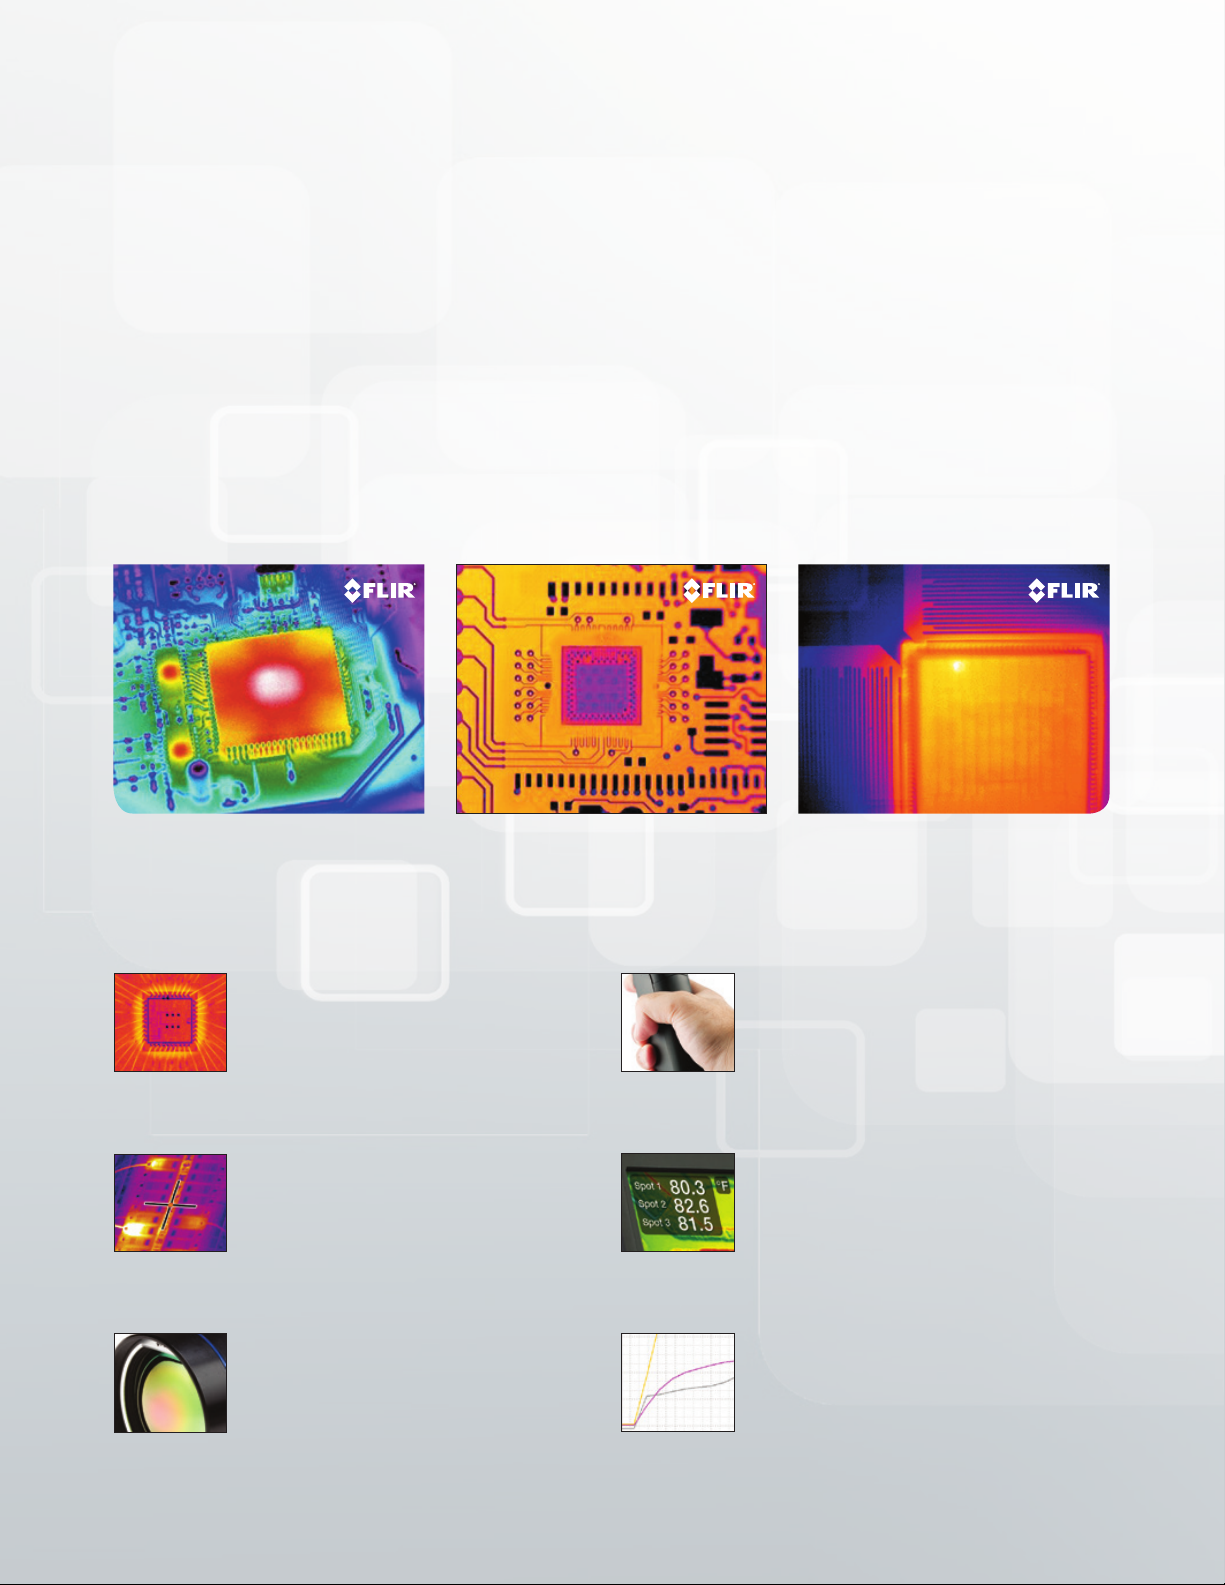
But with the thermal imaging camera in a FLIR Bench Top Test Thermal Kit, you can detect thousands of measurement points in
each thermal image and get reliable data in seconds. Together with the kit’s lens choices and advanced IR analysis software for use in Industrial and
R&D labs, FLIR now offers the most dependable thermal imaging solution to help paint the complete picture and get it right the rst time.
Features
Thermal images making
the difference
Eliminat e risky guesswork with instant non-contact
readings that deliver up to 3 27,680 repeatable, accurate
temperature measurements in each thermogr aphic image.
Spot-on Detection
FLIR’s high accuracy of up to ±2% (or ± 2°C) of reading
with down to <0.030°C sensitivity lets you see the ne
thermal variations necessary for critical documentation.
Optics Options
View an entire printed cir cuit board from a distance
or zoom in to a 50 µm spot size wit h additional close
focus lens. (valid for T430sc model).
Portable & Easy-to-Operate
Compact at les s than 1 kg for E40 and T430sc, and less t han
300 gram for A35 and A6 5 models, t he camera takes up little
bench space and can be easily moved t o other test stations.
On-Camera Measurement Analysis
Spot and area measurement tools ar e built into the touchscreen
of both the T430 sc and E4 0 camera’s providing quick temperature
analysis on live thermal imagery or recorded snapshots.
Movie Recording & Data Logging
Stream to a PC via USB from an E40 or T430sc, or over Gigabit
Ether net from an A35, A65 to display, record, and further
analyse images. Chart time vs. temperature for spot and area
measurements with the kit’s real-time IR analysis software
ResearchIR.
Page 3

COMPLETE VALUE PACKS!
FLIR A65/35 Thermal Camera Bench Top Test Kit
• A65 or A35 thermal camera
• Manual focus 48° on A35 and 45º on A65
• ResearchIR: Real-time image/data logging and plotting software
• Camera tripod adapter for locked-down targeting
• PoE injector (Power over ethernet)
FLIR E40 Thermal Camera Bench Top Test Kit
• E40 thermal camera
• 19,200 pixels/spots per image
• 25° lens in the package
• Measurements down to 50µm with optional close-up lens
• ResearchIR: Real-time image/data logging and plotting software
• Possible to attach to a tripod.
FLIR A 35sc 60 Hz Bencht op Test Kit: 73 309-0 102
FLIR A 65sc 7.5Hz B enchtop Test K it: 73513- 0102
FLIR A 65sc 30 hz Benchto p Test K it: 73413-0 102
FULL PRODUCT
WARRANTY*
* After product registration on www.flir.com
DETECTOR
WARRANTY*
FLIR T430sc Thermal Camera Bench Top Test Kit
• T430sc thermal camera
• 76,800 pixels/spots per image
• 25° lens in the package
• Remote and auto focus
• Optional close-up lenses for measurement at 50μm and 100μm exist
• ResearchIR: Real-time image/data logging and plotting software
• Possible to attach to a tripod
FULL PRODUCT
WARRANTY*
* After product registration on www.flir.com
DETECTOR
WARRANTY*
Optio nal close-u p lenses avail able
FLIR E 40 Bench Tes t Thermal Ki t camera:
Optio nal close-u p lenses avail able
FLIR T4 30sc The rmal Camer a Bench Top Test Ki ts: 62104 -2204
64501-0114
Page 4

R&D - SCIENCE SOFTWARE,
TURNING TOOLS INTO SOLUTIONS
At FLIR, we recognize that our job is to go beyond producing the best possible thermal imaging
camera systems. We are committed to enabling all users of our thermal imaging camera systems
to work more efciently and productively by providing them with the most professional camerasoftware combination.
FLIR ResearchIR
FLIR ResearchIR is aimed at R&D / Science users of thermal imaging cameras with a cooled or uncooled
detector. FLIR ResearchIR takes the most out of your thermal imaging camera and allows high speed recording
and advanced thermal pattern analysis. ResearchIR is the perfect tool for industrial R&D labs.
FLIR ResearchIR key features:
• View, record and store images at high speed
• Post-processing of fast thermal events
• Generate time-temperature plots from live images
or recorded sequences
• Advanced Start /Stop recording conditions
• Unlimited number of analysis functions (Spot, Line, Area)
• File organizer
• Zoom & Pan allows a closer look
• Multiple user-congurable tabs for live images, recorded images or plot
Specifications A35 A65 E40 T430sc
Resolution 320 x 25 6 640 x 512 160 x 120 320 x 240
Sensitivity/NETD <0.0 5°C @ +30°C / 50 mK <0.0 5°C @ +30°C / 50 mK <0.07°C @ + 30°C / 70 mK <0.030°C
Accuracy ±5°C or ±5% of reading ±5°C or ±5% of reading ±2°C or ±2% of re ading ±2°C or ±2% of r eading
Temperature Range
Built-In Digital Camera NA NA 3.1 Mpi xel 3.1 Mpi xel
On-Camera Analysis NA NA
Digital Data Str eaming to PC Gigabit Ethernet Gigabit Ethernet via USB via USB
ResearchIR Software Included Yes Yes Yes Yes
FLIR Commercial Systems
Luxemburgstraat 2
B-2321 Meer
Belgium
Tel. : +32 (0)3 665 51 00
Fax : +32 (0)3 303 56 24
e-mail: ir@ir.com
www.ir.com
Specifications are subject to change without notice
©Copyright 2017, FLIR Systems, Inc. All other brand and product names are trademarks of their respective owners.
The images displayed may not be representative of the actual resolution of the camera shown. Images for illustrative purposes only. Updated (01/24/17)
-25°C to +135°C (-13°F to +275°F)
-40 °C to +550°C (-40°F to +1022 °F)
FLIR Systems, Inc.
9 Townsend West
Nashua, NH 06063
USA
PH: +1 866.477.3687
PH: +1 603.324.7611
research@ir.com
-25°C to +135°C (-13°F to +275°F)
-40 °C to +550°C (-40°F to +1022 °F)
-20°C to 120°C (– 4°F to +248°F)
0°C to 6 50°C (+32°F to +1202°F )
Center spot
Hot spot
Cold spot
3 spots
Difference temperature
(two versions)
Authorized FLIR dealer:
-20°C to 120°C (– 4°F to +248°F)
0°C to 6 50°C (+32°F to +1202°F )
Center spot
Hot spot
Cold spot
3 spots
Difference temperature
(two versions)
www.flir.com
T820579{EN-NL}_A
 Loading...