

Flightcom Denali Aviation, Denali User Manual
Denali
®
Aviation Headset
User Guide for Passive & Active Noise Canceling Models
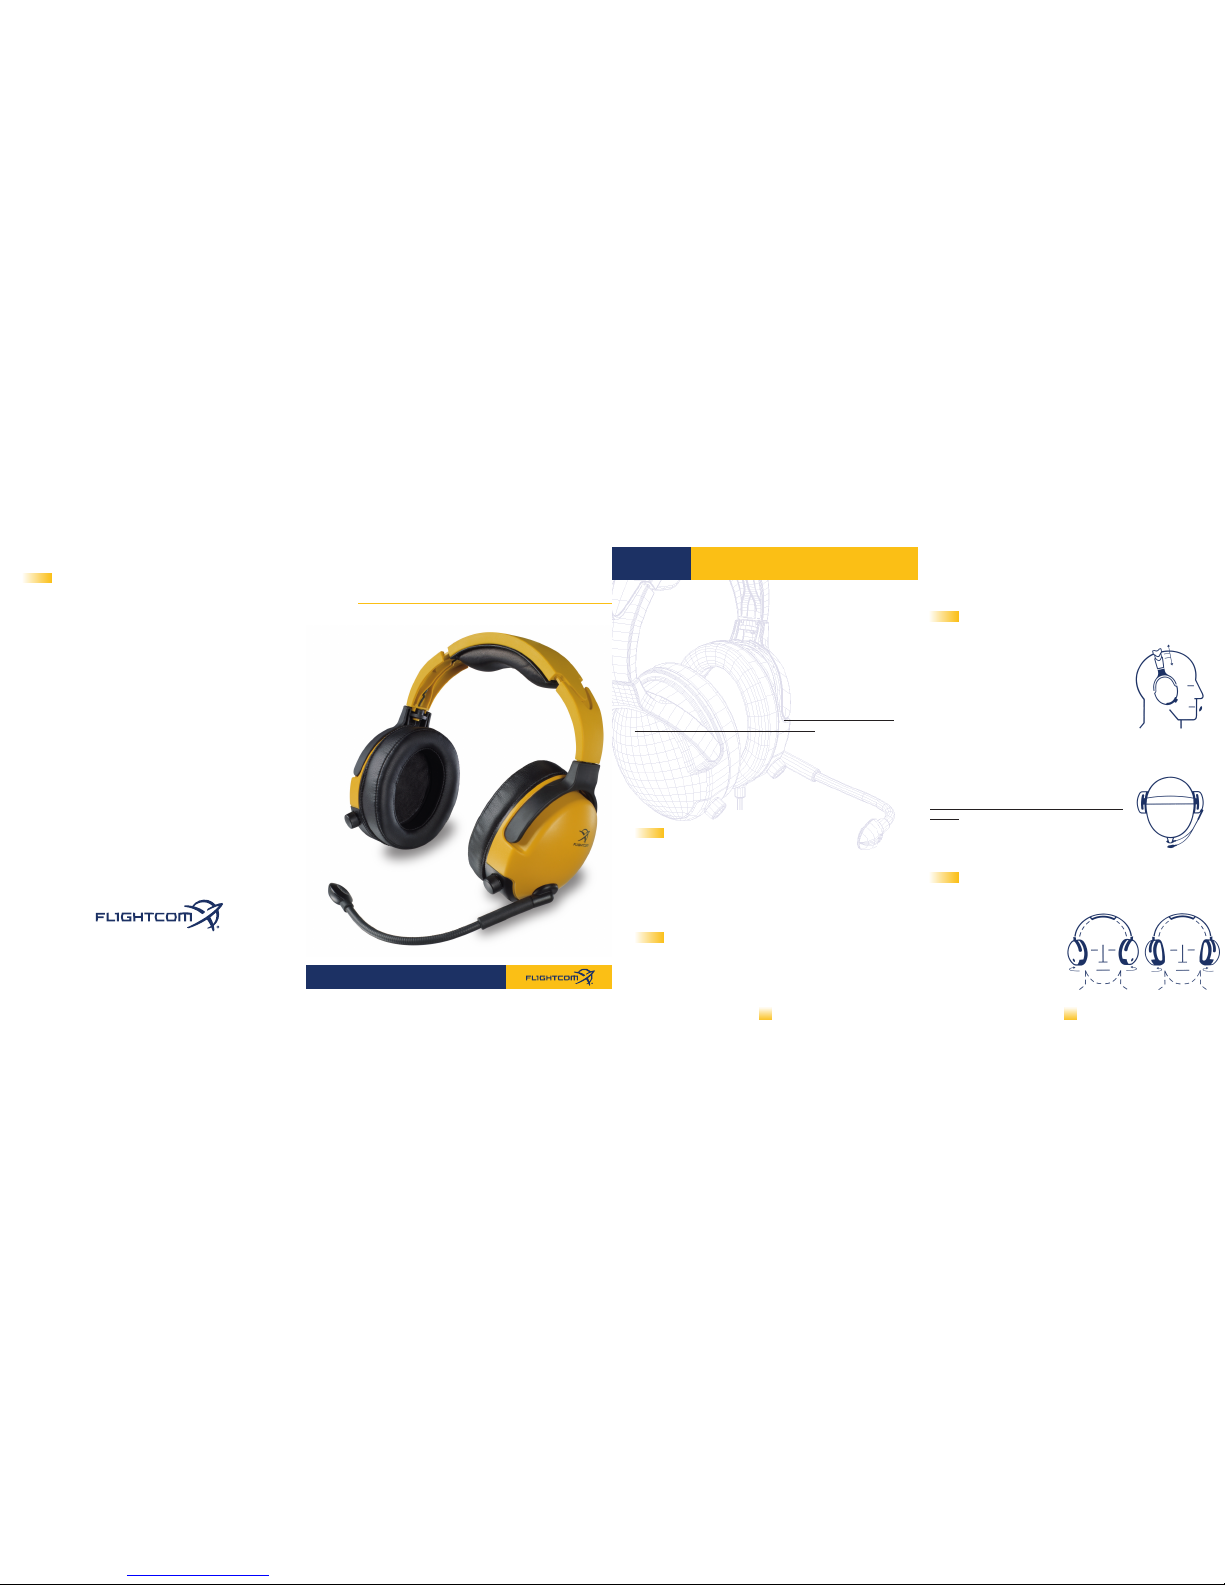
Congratulations on your purchase of the Flightcom Denali aviation headset. Our extremely
lightweight headset offers exceptional active and passive noise attenuation, a secure and
comfortable fit, and extremely reliable performance.
Denali’s Active Noise Reduction (ANR) model also comes factory direct with our Sure
Power System (SPS), a digital power management circuit. The SPS conserves battery life
by shutting off the ANR circuit when not in use.
The Denali is engineered to fit unlike any other aviation headset, providing excellent
passive and active noise attenuation, a secure and comfortable fit, and extremely reliable
performance. Because Denali offers such unique fitting adjustments, especially in the
gimbal rotation of each of the canted ear domes, it is extremely important to take the
time to review the fitting instructions outlined in this guide. By reading the fitting
instructions carefully, it will ensure that the headset fits you and your passengers properly
every time you take off.
Good flying!
Your Flightcom Crew
Important User Information
WARNING: Do not store your Denali headset in temperatures that exceed 156° Fahrenheit.
Do not leave it in the sun, or hanging on the yoke of your aircraft, or exposed in conditions
where the surface area of the headset might exceed this high temperature.
Under certain conditions, a mic muff might be necessary. A mic muff is provided for your
convenience.
We also recommend that in the interest of hygiene, you replace your ear seals at least
annually.
Fitting Instructions
Denali headsets accommodate the differences in head shapes and sizes of the pilot
population through angled ear domes, the shape and surface area of the ear seal, low
side force and a lightweight design. When worn properly, you will feel very little pressure
on top of the head, which is a refreshing departure from the traditional fit and feel of
an older style aviation headset.
Additionally, personalized fit adjustments can be made in the length of the headband,
the rotation of each ear cup, both side-to-side and up and down, and the placement of
the boom and microphone.
Personalized Headband Adjustments
• Hold the Denali headset in front of you. Place the dome that holds the mic boom in
your left hand.
• Extend the headband to at least its midpoint to full extension.
When you have reached the maximum headband extension, the
headband slider will stop. Make sure you have extended the
headband equally on both sides.
• Place the headset on your head. If the domes feel as if they’re
sitting too low on your ears, starting on one side of the headset,
move the headband slider to a smaller position, ensuring both
sides are adjusted equally.
IMPORTANT: While wearing the Denali, you should feel very little pressure on top of your
head. THIS IS NORMAL AND OPTIMAL.
If you’re an experienced headset wearer, you may have a tendency
to reduce the headband size until you feel a familiar pressure on
the top of your head or at the top of your jawbone. For Denali,
this indicates you’ve actually r
educed the size o
f the headband
too much. Extend the headband in a downward direction, on both
sides, until the top of the headset seems to "disappear." Check for
a secure fit by shaking your head from side to side. Denali should
remain firmly in place—without creating undue pressure on the top
of the head.
Individual Ear Dome Adjustments
Denali’s ear domes rotate not only in an up and down direction, but also from side-to-side.
This allows for maximum adjustment around the ear and jaw area.
• Once the headset is in place, and the
headband is adjusted properly, you may
want to individually rotate the dome or
ear cup around each ear, to determine
the most comfortable position.
• If during an extended flight you start
to feel a bit of a pressure point, adjust the
ear cup or the length of the headband
to restore comfort.
1 2
outward dome rotation
inward dome rotation
Warranty
Your Denali headset comes with a warranty registration card. To help ensure that headset warranty is
registered with us, locate the serial number under the black stirrup that holds the right side ear cup.
This would be the "non-boom" side of the headset. Make sure the number is preceded by a “s/n.” Write
the serial number on your warranty card and return it to us, or register online at www.flightcom.net.
Flightcom Corporation warrants to the original purchaser of this product that it will be free from
defects in materials and workmanship, under normal and proper use, for the period of three years from
date of purchase (excluding ear seals which are warranted for one year). Flightcom Corporation will
repair or replace, at its sole option, any parts showing factory defects during this warranty period,
subject to the following provisions. This warranty applies only to a new product, which has been sold
through authorized channels of distribution. All work under warranty must be performed by Flightcom
Corporation. All returned products must be shipped to our address, freight prepaid, accompanied by a
dated proof of purchase. SAVE YOUR SALES SLIP!
The purchaser voids this warranty if he, she or others attempt to repair, service or alter the product
in any way. This warranty does not apply in the event of accident, abuse, improper installation,
unauthorized repair, tampering, modification, fire, flood, collision or other damage from external
sources, including damage which is caused by user replaceable parts (leaking batteries, etc.). This
warranty does not extend to any other equipment or aircraft to which this product may be attached
or connected. The foregoing is your sole remedy for failure in service or defect. Flightcom Corporation
shall not be liable under this or any implied warranty for incidental or consequential damages, nor for
any installation or removal costs or other service fees. This warranty is in lieu of all other warranties,
express or implied, including the warranty of merchantability or fitness for use, which are hereby
excluded. To the extent that this exclusion is not legally enforceable, the duration of such implied
warranties shall be limited to three years from date of purchase. No suit for breach of express or
implied warranty may be brought after three years from date of purchase.
7340 SW Durham Road • Portland, Oregon 97224 USA
800-432-4342 • 503-684-8229 • fax: 503-620-2943
e-mail: sales@flightcom.net • web: www.flightcom.net
Copyright ©2006. Denali is a registered trademark of Flightcom Corporation.
Flightcom is a registered trademark of Flightcom Corporation. All rights reserved.
Printed in U.S.A. Specifications subject to change without notice.
600-0033-20 RevC.
For the fun of flying.
User Guide for Passive & Active Noise Canceling Models
Denali
®
Aviation Headset

INSTALLATION
Lay the gasket (for ANR models only) flat on the ear seals backing plate. The gasket must
have no wrinkles. Carefully position the backing plate (with the gasket)o n the ear cup and
apply even pressure with your fingers spaced around the circumference of the ear seal/backing plate and then snap on to the ear cup. Note: the backing plate must not have any space
between it and the ear cup.
Denali Headpad Removal and Installation
Your new Denali headpad is permanently attached to the backing plate. Do not remove the
headpad from the backing plate.
To remove the headpad, pull on each side of the headpad and it will snap out of position
on the headset. To install the headpad, line it up to the top of the headset and then snap
into position.
Replacing the Battery
To install or replace the ANR battery, open the battery door by sliding the door in a downward
motion until it unlatches and lift up as shown in diagram A.
Slide the 9-volt battery in with the larger battery contact on the bottom. If you put the
battery in upside down, it will not activate. See diagram B.
Battery life is dependent on the ambient noise in the aircraft, but should provide a
minimum of 20 hours of continuous use.
CAUTION: Bias voltage supplied to the microphone must come from voltage and resistance
ranges specified below. Voltages supplied in excess of those stated in the specifications
can cause microphone failure and void the warranty. The mic audio signal is present between
the ring and barrel of the mic plug; tip is reserved for transmit keyline.
larger contact
on bottom
A
B
Specifications
5
6
Denali
Shielding Full floating Full floating
w/independent ground w/independent ground
Weight 11.0 ounces 12.9 ounces
Temperature Sensitivity Not to exceed 156° F Not to exceed 156° F
Battery Life Not applicable 20 hours of continuous use
Origin Made in USA Made in USA
Sensitivity(@1mW in dBspl) 104dB
Frequency Response 90Hz—20kHz
Impedance 300 ohms stereo/ch.—150 ohms mono
Total Harmonic Distortion (@1kHz) <.15%
Maximum Power Input 250 mW
Noise Reduction Rating 21dB
Type Noise canceling electret condenser
w/constant-gain preamp
DC Bias Voltage 8-16 volts
Supply Source Resistance 220-2200 ohms
Frequency Response (± 6dB) 420Hz-6.4kHz
Sensitivity (@ 114dBspl*) 1.3V
Noise Rejection Ratio (@1kHz) -46dB
Total Harmonic Distortion (@ 1kHz) <0.3%
Impedance 500 ohms
Maximum Speech Level 112 dBspl*
Maximum Ambient Noise Level 132 dBspl*
*Sensitivity measurements referred to 0.0002 ubar (dynes/cm2) @ 1kHz. Microphone measurements made
with 10-volt supply with a 1000 ohm resistor.
Contact Flightcom for the most current ANR specifications.
Speakers
Headset
Microphone
Denali Passive Denali ANR
Plug Connection Chart
headphone
.206" phone plug
microphone
ground
microphone hot
no connection
program audio ground (headphone)
microphone
ground and shield
microphone hot
left on stereo (300Ω)
program on mono (150Ω)
headphone
.25"phone plug
ground
and shield
right on stereo (300Ω)
ground on mono
Microphone and Boom Adjustments
• Adjust the mic boom for proper fit and comfort. Place the microphone no more than 1/8" from lips, at the corner of the mouth.
This is critical to the performance of the noise-canceling electret
microphone.
IMPORTANT: All Denali mic booms are shipped from the factory for
wearing on the left side of the head only. Because the domes are
canted to match the angle of the ears, the boom can ONLY be worn
on the left side.
CAUTION: Rotating the boom beyond the “stop” will cause non-warranty damage to the boom.
INSTALLATION
• Insert the larger headset plug into the jack marked "headphone" or "phone" (on your
aircraft com panel, intercom or radio).
• Insert the smaller headset plug into the jack marked "microphone" or "mic."
• Set the stereo/mono switch on the cable splitter box to the "M" position. If connecting
to a stereo intercom, set the switch to the "S" position.
• If you are not sure about the type of intercom in the aircraft, test the headset by selecting the "S" position and talking into the headset. If you hear sidetone out of one ear
only, you have a mono intercom. Move the switch to "M."
• For the ANR model: The stereo/mono switch is located on the
back of the in-line battery box, near the clip.
• Adjust the headband sliders for proper fit and comfort, making
sure the boom is being worn on the left side of the head.
• Individual volume controls are located on the front of each ear
dome to reduce or adjust the level of audio in each headset ear cup.
• For the ANR model: Once the 9-volt battery is installed, turn the ANR power to the
ON position, indicated with the symbol "|." The OFF position is indicated with an "o."
A blinking green LED indicates the active noise cancellation circuit is ON. A blinking
red LED indicates low battery life. (For proper battery installation, see the diagram in
the Care and Maintenance section of this guide.)
If the aircraft does not have a built-in push-to-talk (PTT) switch, a portable PTT switch
must be installed in order to use the radio.
An avionics technician should optimize the master gain control located in the aircraft
radio whenever adding a new model microphone to the system.
Sure Power System(SPS): To conserve battery life, ANR models will automatically shut off
the ANR circuit if no audio is sensed by the headset for a period of 28 minutes. Full passive
performance is maintained. ANR operation is reactivated by turning the ANR power switch to
the OFF position and back to the ON position, indicated with the symbol "|."
Care and Maintenance
GENERAL CARE
As with most electronic equipment, it’s important to protect your Denali headset from exposure
to the elements. Do not leave the headset on the seat of the plane, car, or in intense, direct
sunlight exceeding 156° F. Do not leave the headset out in the rain or in freezing temperatures.
Return the headset to its carrying case and store in a cool, dry area.
IMPORTANT: Contrary to popular belief, wrapping the headset cords around the headband is
not a proper storage method. In fact, by doing so you risk damaging the com cable, splitter,
or battery box. Instead, loosely loop the headset cord in your hand and place the cable in
the headset bag, next to the headset.
GENERAL CLEANING
To clean the Denali headset, earseals, or headpad, dampen a non-abrasive cloth with water and
mild soap. After cleaning, wipe dry with a soft cloth. Note: do not allow any water to seep into
the ear dome.
IMPORTANT: Do not immerse the headset in water. Never use bleach on ear seals, headpad, or
any other part of the Denali headset.
Denali Ear Seal Removal and Installation
REMOVAL
Your new Denali ear seals are permanently attached to
the hard plastic backing plate. Do not attempt to remove
the ear seal from the backing plate.
To remove the ear seal assembly, look inside the ear seal
opening, half way down either side of the ear cup. You
will notice a small cut-out just large enough to place your
finger tip under the backing plate. Pull the backing plate
(with the ear seal) away from the ear cup. Note: it will
take a bit of force and the ear seal will pop off of the
ear cup.
3 4
0-1/8" from lips
stereo/mono switch
Cut-out
ear seal
backing plate
ear cup
 Loading...