

Page 1
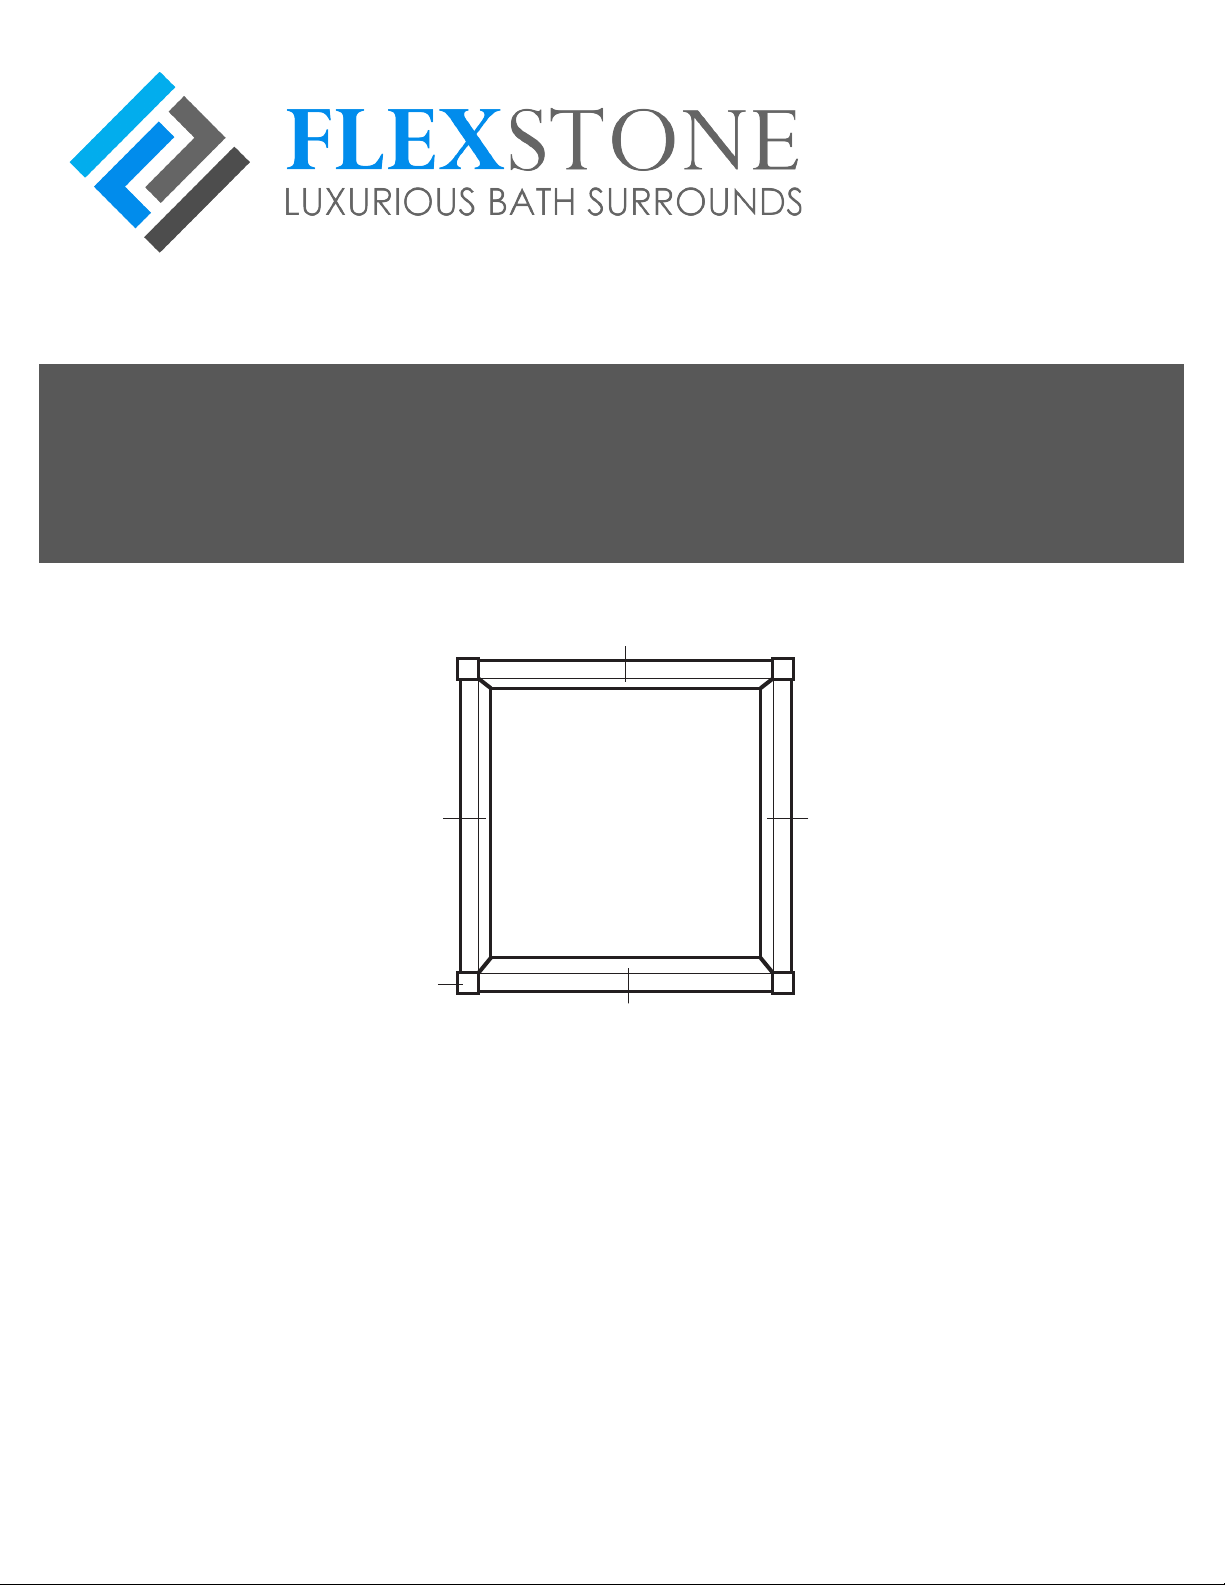
Corner Block (Rosette)
Window Sill Frame Trim
Install Instructions
Header
JambJamb
Sill
*Read all instructions before starting*
For missing items or returns do not return to store.
Please call 877-941-3662
(Monday – Friday 8:00 a.m. – 5:00 p.m MT)
For additional information and resources, visit:
www.FlexstoneProducts.com
V.2 - 2/28/2019
Page 2
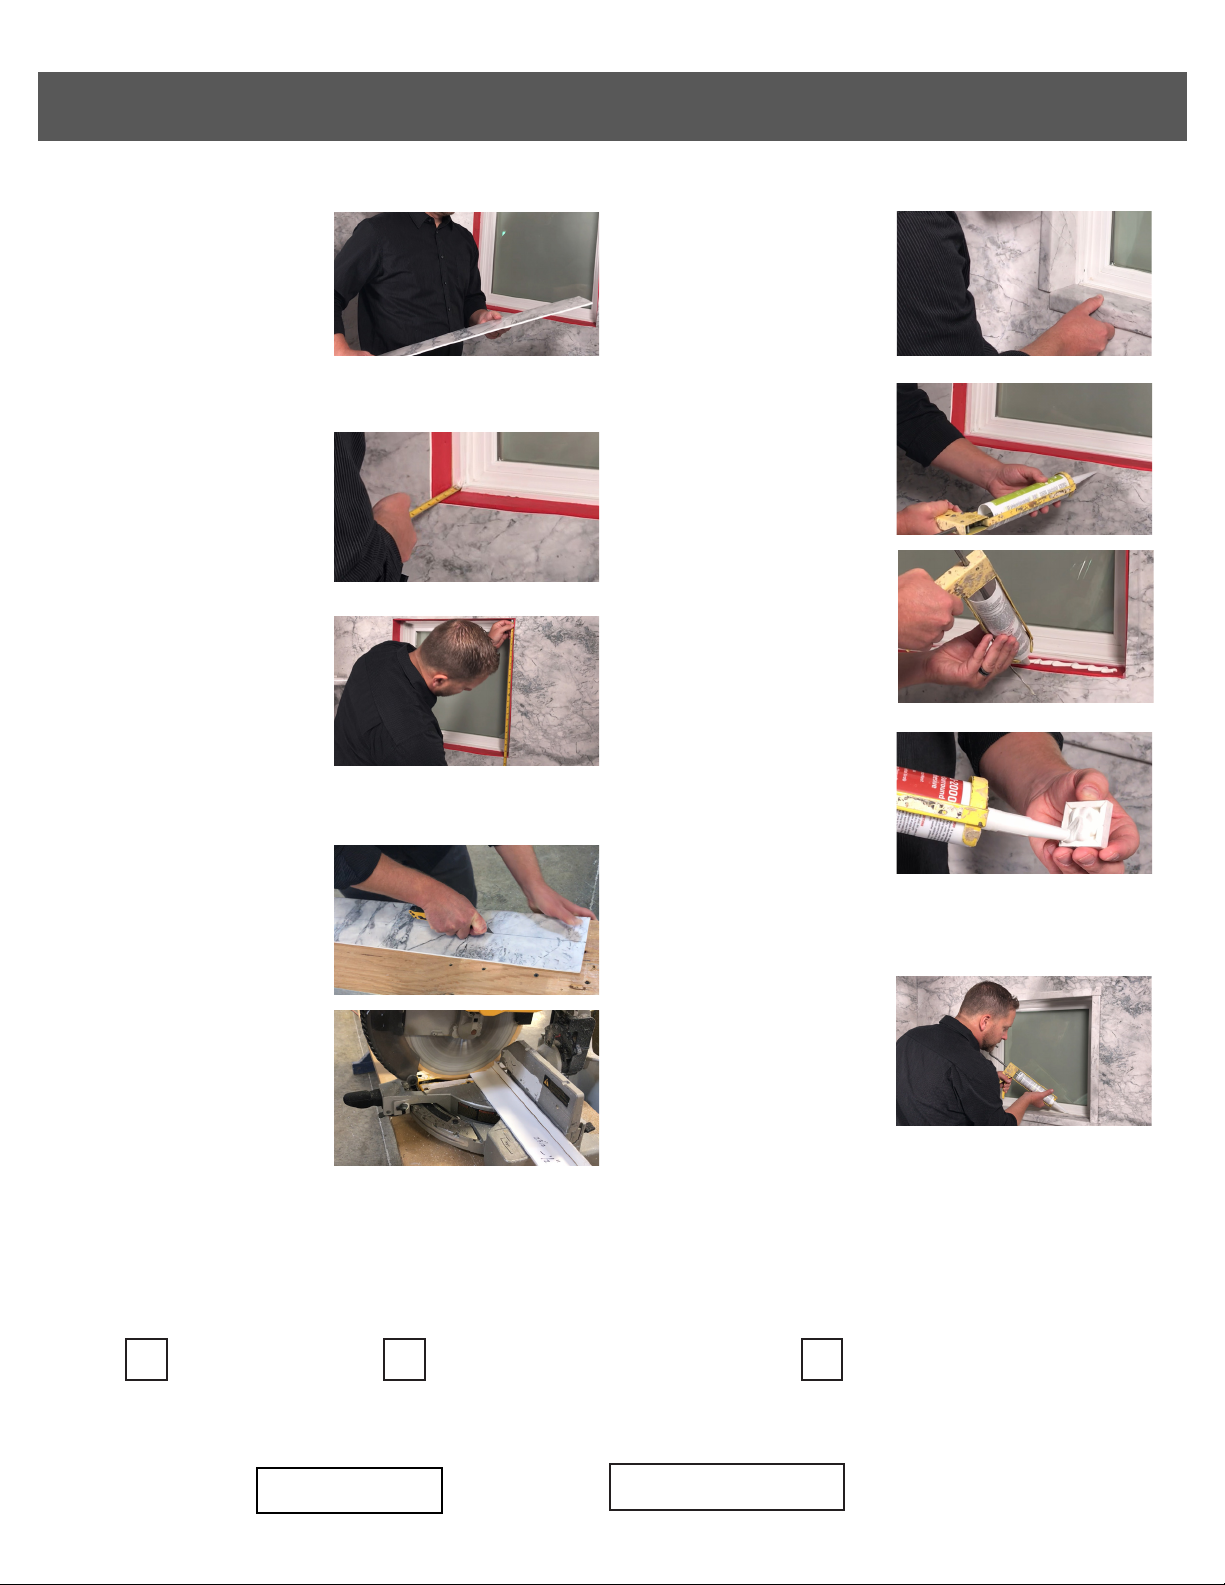
Window Trim Instructions
NOTE: The Window Sill Frame
Trim can easily be cut down
to size to precisely frame the
window in your bath surround.
Before installing the window
sill frame, make sure to waterproof the window sill with a
waterproof membrane, such as
RedGard.
1. Measure Depth
For each piece of trim, measure
from the window sash to the
outside of the wall panel in 3
locations —left, center & right.
2. Measure Length
Measure both the inside
and outside length of the
sill, jambs and header. For
each piece, use the shortest
measurement of the two and
subtract ½" to allow room for
the corner blocks.
3. Cut Trim Pieces
Cut the trim pieces according
to the depth and length measurements. Remember to cut
o an additional ½" from the
length measurements to allow
room for the corner blocks.
3. Dry-Fit
Dry-t each piece and check for
plumb and level.
4. Install Trim Pieces
Apply silicone to the joints
where sills and jambs meet the
window. Next, apply a bead of
silicone on the wall panel ½"
from the edge all around the
window. Apply adhesive to sill,
jambs and header. If any piece
is out of square, add more
adhesive to compensate and
install each piece.
5. Install Corner Blocks
Install each corner block by
applying adhesive into the
hollow back and placing the
corner block in each corner of
the window sill frame. To avoid
a messy cleanup, be careful to
not overll.
6. Finish with Silicone
To nish up the installation, use
color matching silicone and
seal both the entire outside
perimeter as well as all inside
seams of your window trim kit.
Contents:
Trim Pieces Corner Blocks (Rosettes) Adhesive with Tip
Packaged Date:
Packaged By:
V.2 - 2/28/2019
 Loading...