

Page 1

Page 1
Flex EX2 Charging Instructions
1) DC power cord input 7) AC power cord input
2) “AA” rechargeable battery slot-A 8) “AA” rechargeable battery slot-B
3) Battery slot-A LED charging indication 9) Battery slot-B LED charging indication
4) Transmitter LED charging indication 10) External light indicator NO/NC switch
5) Rubber safety belt attachment slot 11) External light indicator output
6) Mounting bracket attachment slot 12) External light indicator table
Page 2
Page 2
1) The transmitter is designed to accept any off-the-shelf Ni-MH rechargeable
batteries. When charging both transmitter and individual batteries at the same time the
priority always goes to the transmitter charging. The individual battery charging begins
only after the transmitter charging is completed. Depending on the battery capacity the
average charging time is approximately 3 hours from completely drained to fully charged.
Constant red on the LED represents charging in progress, constant green represents
batteries fully charged, and LED off represents no batteries detected. Please do not use
any rechargeable lithium ion batteries as it will damage both the transmitter and the
charging station.
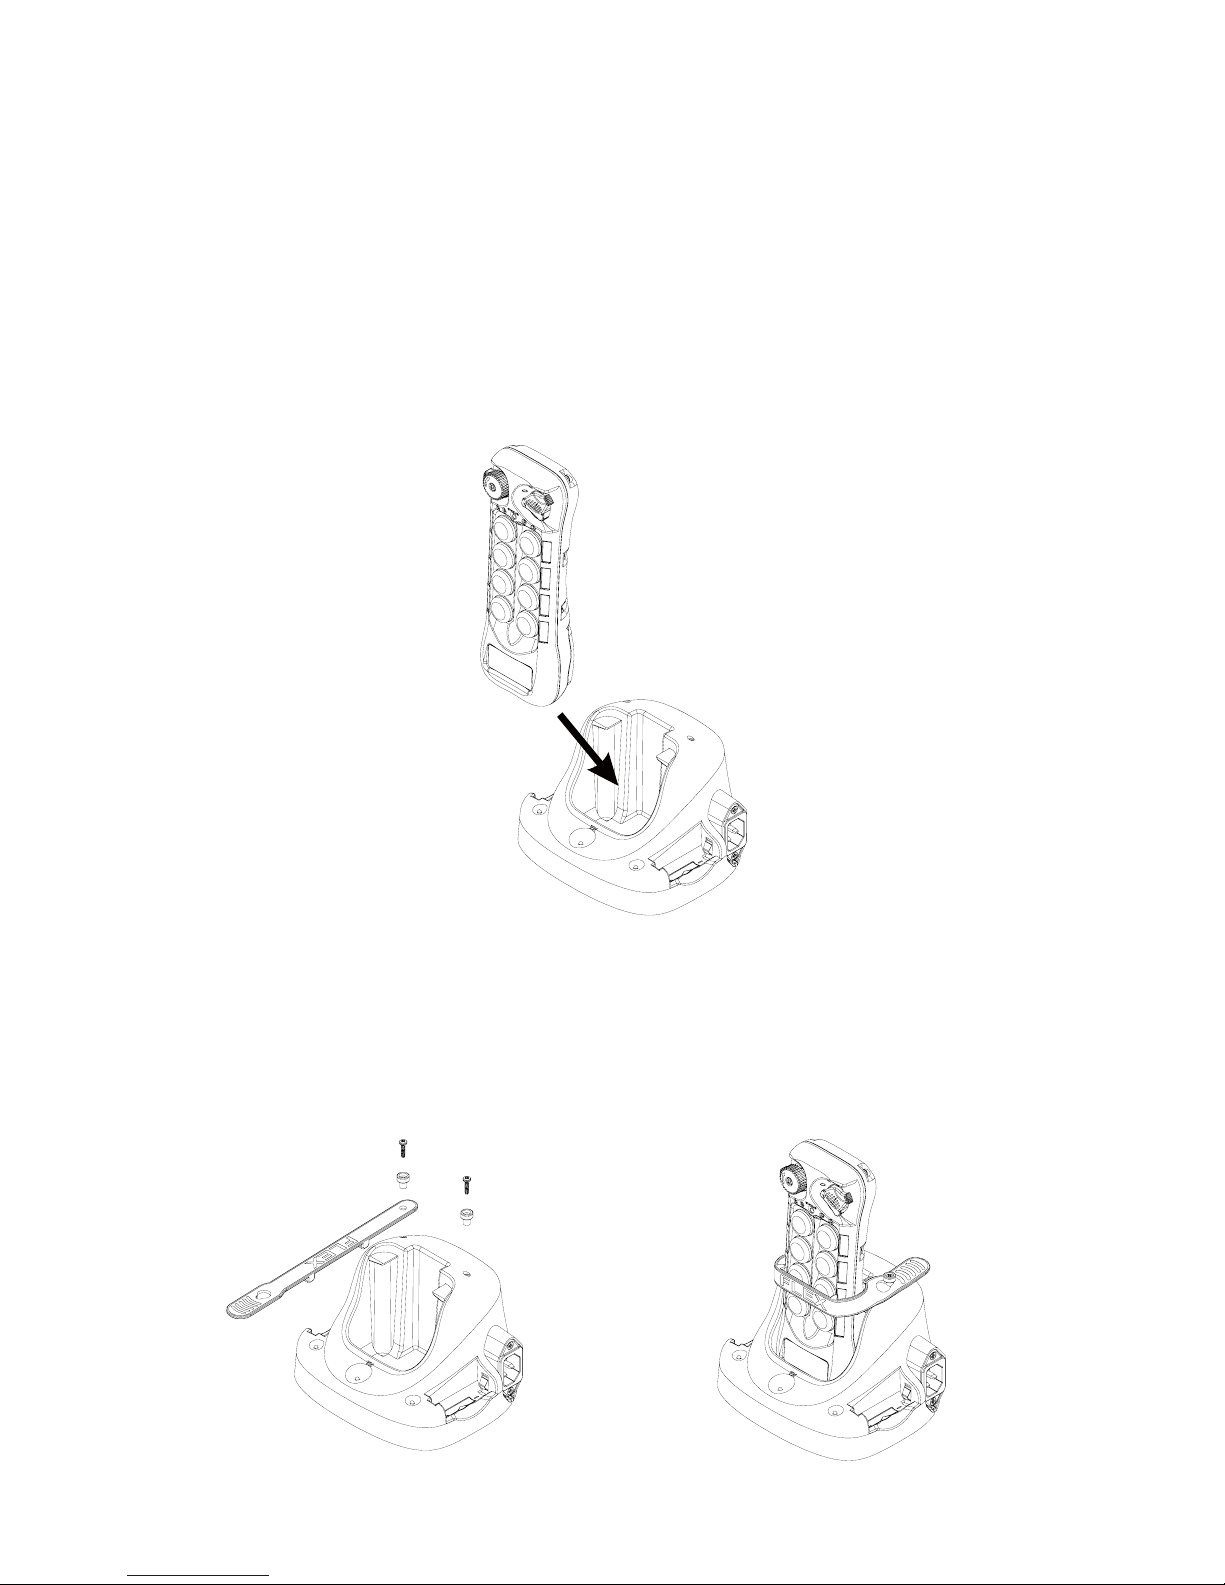
2) For mobile application the optional rubber safety belt can be used to prevent
transmitter from dropping out of the charging station when the vehicle encounters bumpy
road condition (optional).
Page 3

Page 3
3) If mounting bracket is used (optional), slide down the charging station along the
guided track to secure the charging station to the mounting bracket. Remove the
charging station by pressing down the bracket release and pull the charging station
upward until it clears the guided track.
4) External light indication can be used to remind the user whether the transmitter is
situated on the charging station or not. Connect the two wires from the external light
indicator to the “+” and “-“ screw-type connectors. The charging station feeds 12VDC
through this external light indicator output with 12VDC power input, feeds 24VDC with
24VDC power input and feeds 12VDC with 110~240VAC power input. Make sure the
required voltage of the external light indicator used is same as specified. Set to normal
open (NO) for lights ON when transmitter is situated on the charging station and normal
close (NC) for lights ON when transmitter is not situated on the charging station.
 Loading...