

Page 1
PS 206
Instruction manual
Bedienungsanleitung
Manual de instrucciones
Manuel d’utilisation
Gebruikshandleiding
Bruksanvisning
FLEX
PORTER+tllBlE
Page 2
SAFETY RULES FOR PROFILE SANDER
1. ALWAYS DISCONNECT the sander cord plug from the power circuit before changing
accessories or abrasives.
2. USE PROPER SAFETY EQUIPMENT. Wear safety goggles to protect your eyes and wear a
protective mask to minimize breathing in the fine dust created while sanding. NOTE: Some
wood contains preservatives which can be toxic, Take extra care to prevent inhalation and skin
contact when working with these materials. Request, and follow, any safety information
available from your material supplier.
3. SANDING OF LEAD-BASED PAINT IS NOT RECOMMENDED. Lead-based paint should only
be removed by a professional.
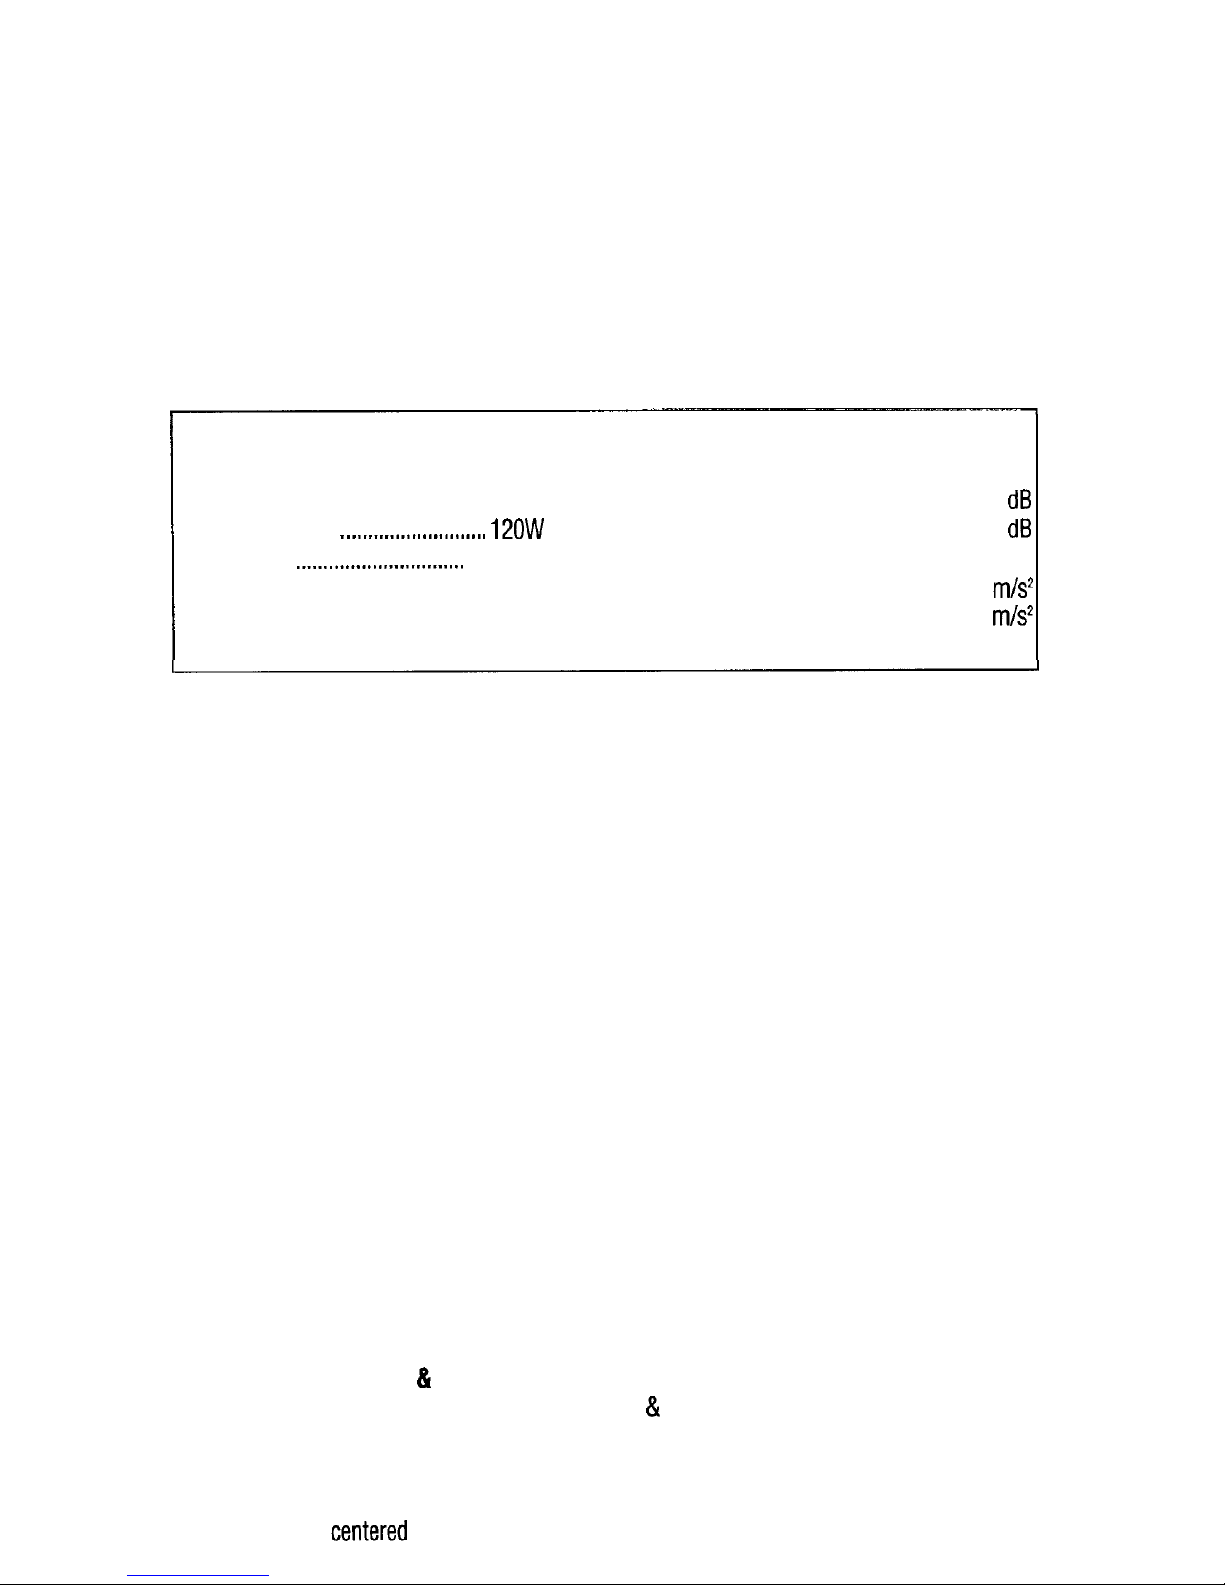
TECHNICAL SPECIFICATIONS
Voltage
supply . . . . . . . . . . . . . . . . . . . . . . . . . . . . . . . . .
230V
A-weighted
noise
levels
Power consumption
. . . . . . . . . . . . . . . . . . . . . .
210W
Sound pressure
level . . . . . . . . . . . . . . . . . . . . . . . . . . . . . . . . .
80.7
dB
Power output . . . . . . _
._...____.................
12OW
Sound power
level . . . . . . . . . . . . . . . . . . . . . . . . . . . . . . . . . . . . .
93.7
dB
Frequency . .
..__...........................
50-60 Hz
WEAR EAR PROTECTION!
Strokes per minute (max.).... 6,000 RPM Typical Mean effective Acceleration (Front).. 5.6
m/s2
Typical Mean effective Acceleration (Back) . ..1.4
m/s2
Weight w/case and
accessories . . . . . . . . . . . . . . . . . . . 1.7
kg
REPLACEMENT PARTS
When servicing use only identical replacement parts.
OPERATING INSTRUCTIONS
FOREWORD
The FLEX Profile Sander provides an “in-line” sanding motion that permits sanding of corners,
profiles, and other areas that are inaccessible to other power sanders. A wide variety of pads,
profile holders, profiles, and abrasives are available to meet the requirements of various
applications (see FLEX Catalog).
PREPARATION FOR SANDING
NOTE:
There is a wide variety of accessory pads, profile holders, and profiles available
to fit the FLEX Profile Sander. Please refer to your FLEX Catalog to determine which of
these items are supplied as standard equipment with each particular Profile Sander
Package. All of these items are available as Accessories, and they may be used with any
FLEX Model PS 206 Profile Sander.
SELECTING A PAD OR PROFILE MOUNTING PLATE
Select the Sanding Pad or Profile Holder that best fits your application:
A.
Diamond Pad for Hook & Loop Abrasives:
The pointed tip of this pad is used for sanding into
corners and intricately shaped areas. Precut, Hook & Loop Abrasives with dust extraction holes
are used with this pad. The 259.593 Dust Wand (and an external vacuum source), can also be
used with this pad to provide dust collection.
B. Single Profile Mounting Plate: This plate is used to mount any one of the profiles, in a
vertical position,
centered
under the Profile Sander, Special PSA Abrasives are available in rolls
that can be cut-to-fit the various profiles.
Page 3

C.
Angled Profile Mounting Plate:
This plate is used to mount any one of the profiles, at a 30”
outward angle, on either the right or left side of the Profile Sander. This plate permits the profiles
to be used in areas that are inaccessible with the Single Profile Mounting Plate. Special PSA
Abrasives are available in rolls that can be cut-to-fit the various profiles.
D.
Offset “Shutter” Pad:
This pad permits access to recessed surfaces, such as those found
on louvered shutters.
SELECTINGAPROFILE
Individual Profiles are available in three basic styles. Several sizes are available in each style (see
FLEX Catalog). The three basic styles are:
Convex Profiles
Used to sand concave surfaces. Available in several radii to match common
configurations.
Concave Profiles
Used to sand convex surfaces. Available in several radii to match common
configurations.
Angled Profiles
Used to sand the bottom and sides of slots or grooves. Available in several
angles to match common configurations.
SELECTINGTHEABRASIVE
By selecting the proper type of abrasive, the finest finishes can be attained. In general, coarser
grit sizes will remove the most material and finer grit sizes will produce the best finishes.
Best results will be obtained if you select the proper size and type of abrasives. Start the work
with an abrasive grit just coarse enough to remove the high spots and excessive roughness.
Follow with a second sanding using a grit one or two grades finer. Continue with successively
finer grits until the desired finish is obtained (see FLEX Catalog). Cut, do not tear, the abrasive
rolls to size.
ATTACHINGPAD
OR
PROFILEMOUNTINGPLATE
All of the accessory pads
and
profile mounting plates are attached to the Profile Sander in the
same way. Each pad or mounting plate has two posts (A) Fig. 7, that are used to attach it to the
Profile Sander.
One pad post fits into a pocket (B) Fig. 7, in the Profile Sander and the other post is locked into
place by a tab (C) Fig. 7. The mounting post area (of all the pads and mounting plates), is
symmetrical: the pad (or mounting plate), can be attached to the Profile Sander with either end
forward. This allows the use of both pointed ends of each sheet of pad abrasive, and permits
the profile holders to be mounted in the best position for each particular application.
To attach a pad or mounting plate to the Profile Sander:
1. CAUTION:
DISCONNECT SANDER FROM POWER SOURCE.
2. Position one of the pad (or mounting plate), posts (A) Fig. 7, into the pocket (B) Fig. 7, of
the Profile Sander (see Fig. 8).
3. Depress latch button (D) Fig. 9, seat pad to sander and release latch button to secure the
pad in place as shown in Fig. 10.
4. To remove pad (or mounting plate): Depress latch button (D) Fig. 9, and pull pad away
from sander.
Page 4

AllACHING
PROFILE TO MOUNTING PLATE
Individual profiles may be mounted to either the Single Profile Mounting Plate, or the Angled
Profile Mounting Plate. The individual profiles are simply pressed into the slot on the mounting
plate by hand. They can be removed from the mounting plate by pulling outward on one end of
the profile to loosen it from the slot.
AllACHING
ABRASIVES
There are two different types of abrasives that can be used with the Profile Sander:
HOOK
&
LOOP SHEETS: Precut sheets with hook & loop backing and dust extraction holes.
This abrasive is used with the diamond shaped Hook & Loop Pad (No. 259.591). Align the
abrasive with the sander pad and press into place with the palm of your hand; use a light
twisting motion to lock the hooks into the loops. To remove abrasive: lift a corner of the
abrasive with your fingernail and peel it off. These abrasives may be removed and reattached
several times.
PSA ROLLS:
63.5mm
wide rolls with pressure sensitive adhesive. This abrasive is used with
the individual profiles and with the extended “shutter” pad. Unroll a strip of abrasive to fit the
particular profile (or pad), and cut to length with scissors.
NOTE:
For best results, the abrasive
should cover all of the profile that is exposed below the profile holder. Firmly press the
abrasive in place on the profile (or pad). To remove abrasive: lift a corner of the abrasive with
your fingernail and peel it off. Dispose of the removed abrasive; it is not reusable.
NOTES:
PSA Pads and Profiles must be clean for the abrasives to adhere properly. The pads
and profiles may be cleaned with soap and water as necessary.
PSA Rolls must be stored in a dust-free environment to prevent contamination of the
adhesive.
ATTACHING DUST WAND
NOTE:
There is a wide variety of accessories, including a dust wand, available to fit the
FLEX Profile Sander. Please refer to your FLEX Catalog to determine if the dust wand is
supplied as standard equipment with your particular Profile Sander Package. The dust
wand is available as an Accessory, and may be used with any FLEX Model PS 206
Profile Sander.
The 259.593 Dust Wand is used with the Model PS 206 Profile Sander, the 259.591 Hook
&
Loop Pad and corresponding Abrasives. The dust wand requires an external vacuum source
(shop
vat
or dust collection system). To assemble dust wand to sander:
1.
Insert dust wand pin (A) Fig. 13, into hole (B) Fig. 13, (in the Profile Sander).
2. Thread knob (C) Fig. 14, into sander, and tighten firmly.
3.
Connect the dust wand to your vacuum source with a 25.4mm vacuum hose.
TO START AND STOP SANDER
The Profile Sander is equipped with a “rocker” type switch. The front end of the switch button
is
labeled
0, and the rear end of the button is
labeled
I.
1.
Depress the front (0), end of the switch button to make sure the switch is OFF. Make sure
the power circuit voltage is the same as shown on the specification plate on the Sander.
2.
Connect Sander to power circuit.
3.
While holding Sander firmly, and off of work surface, depress the rear (I), end of the switch
button to start the Sander.
4. When you are finished sanding, lift the Sander off the work and depress the front (0), end
of the switch button to stop the Sander.
Page 5

USING THE SANDER
SANDING PROCEDURE
The FLEX Profile Sander has been designed for one-hand operation (Fig. 15). The sander can
be easily guided over the work surface with one hand. The normal weight of the machine is
sufficient for efficient sanding. Do not put additional pressure on the machine. This would only
slow down the speed of the pad, reducing the sanding efficiency and put an additional burden
on the motor. In addition, it might cause the sander to jump on the work. Let the sander do the
work.
The Profile Sander uses an “in-line” sanding motion. The best surface finish will be achieved
while operating the sander “in-line” with the wood grain. Faster removal rates can be achieved
by operating the sander across the grain while working out rough areas, and then finishing by
sanding with the grain.
FINE FINISHING
The action of the FLEX Profile Sander causes thousands of tiny abrasive grits to move against
the work at high speed. Each grain moves in the same direction at a constant speed so the
cutting action is uniform over the entire pad surface. Start the work with an abrasive grit just
coarse enough to remove the high spots and excessive roughness. Follow with a second
sanding using a grit one or two grades finer. Continue with successively finer grits until the
desired finish is obtained. DO NOT GO FROM A COARSE GRIT TO A VERY FINE GRIT IN ONE
STEP.
l
:
Going from a coarse grit to a very fine grit in one step could make it difficult to remove marks
that might have been made by the coarse grit abrasive. Use the finest grits practical for the
roughing operation and then finish by using successively finer grits.
REMOVING PAINT AND VARNISH
Your sander will do a good job of removing old paint and varnish if two precautions are taken.
First, be sure to use a coarse, open coat abrasive to avoid the usual clogging of the abrasive
surfaces. Second, keep the machine moving over new areas to avoid heating and softening the
material being removed. Try to work the entire surface down at the same time by working in
wide, overlapping arcs. Do not concentrate on small areas. If liquid removers or heaters are
used to speed the work, be sure the surface is cool and dry and the excess material has been
scraped away with a putty knife or other suitable scraping tool before applying the sander.
DOORS AND MOLDINGS
The “in-line” motion of the Profile Sander is ideally suited for use in the recessed corners and
on the intricate profiles found on moldings and raised-panel doors. The diamond shaped pads
make sanding the recessed corners easy, while the wide variety of available sanding profiles
allow you to exactly match each detail of intricate molding configurations.
Page 6

FLEX
PORTEMmLE
D-7171 1
Steinheim/Murr -
Tel. (0 71 44) 8 28-O - Fax (0 71 44) 2 58 99
887602-792
 Loading...