

Fizz Creations Slush Puppie Instructions For Use Manual
SLUSH PUPPiE® MACHINE
Instructions For Use
Product Ref: 9041_v7 Voltage: 220-240V 50/60Hz. Power: 20 Watts.

2 SLUSH PUPPiE
®
– Instructions For Use
slushpuppie.fizzcreations.com
Scan me for the instruction video and top tips
for the perfect SLUSH PUPPiE!
Instructions For Use – SLUSH PUPPiE
®
3
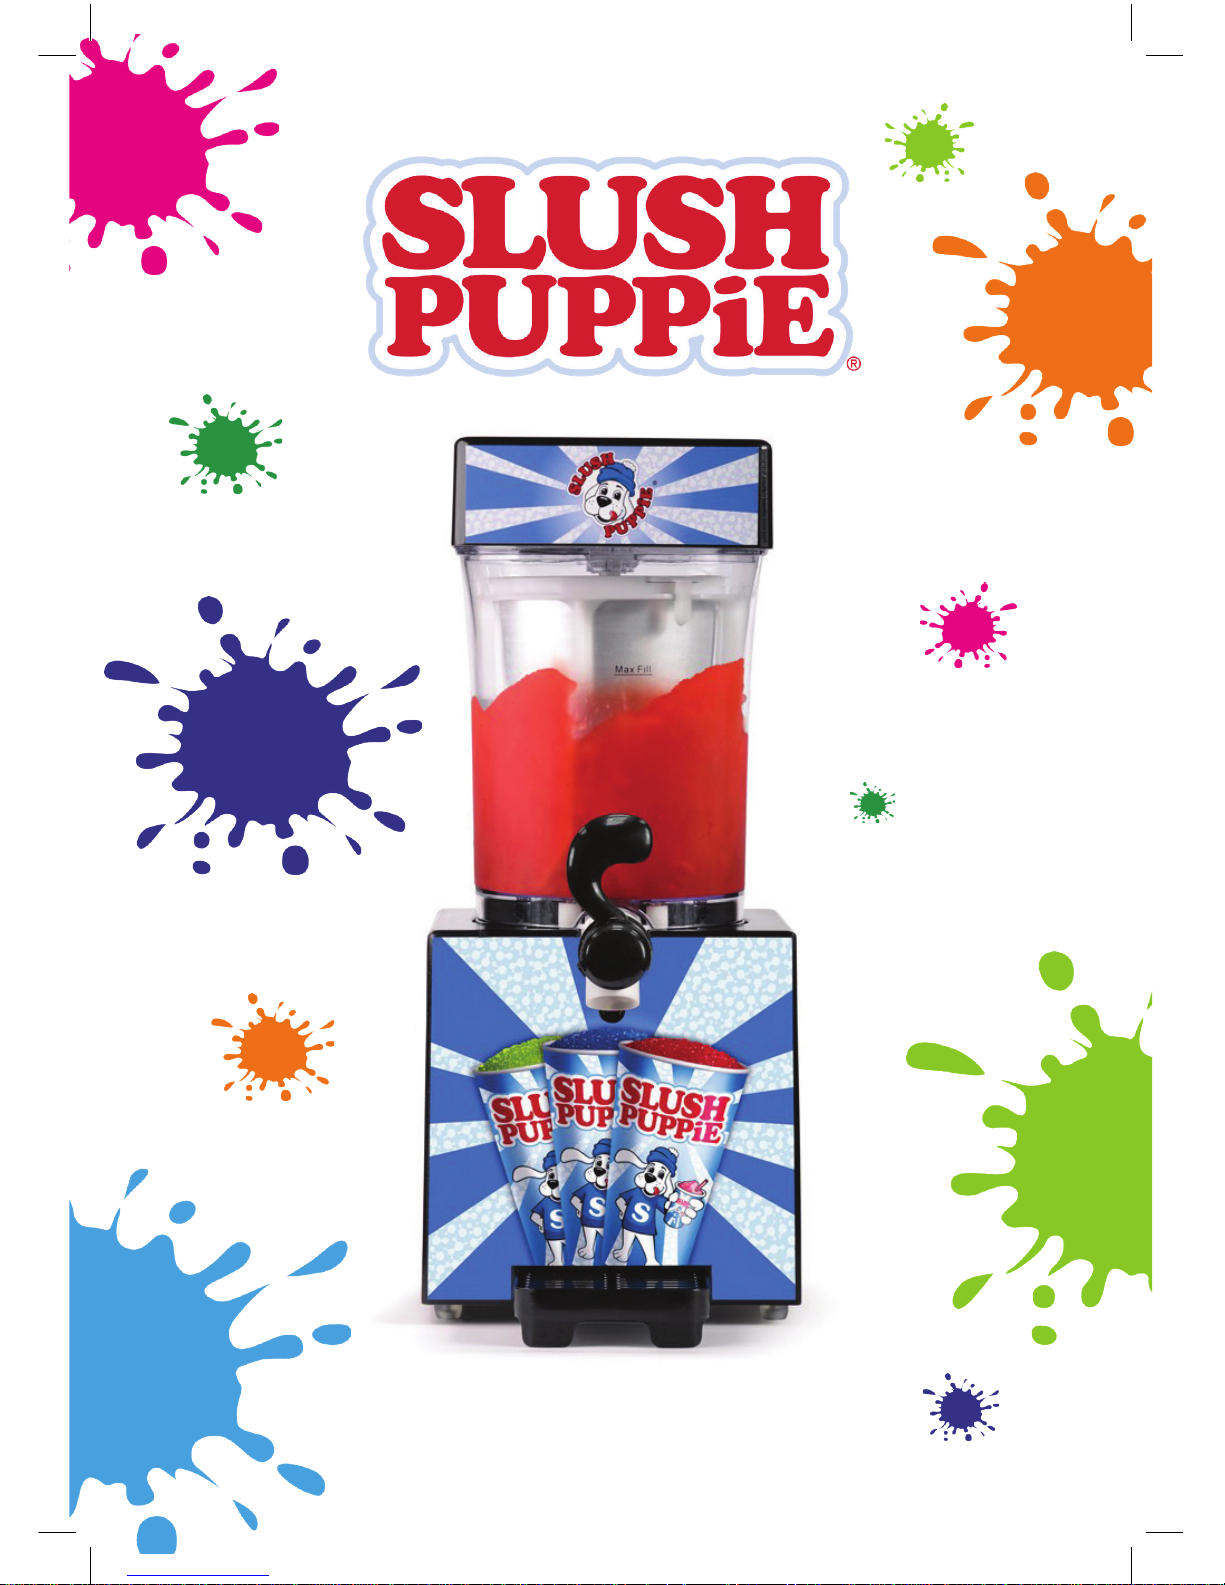
Thank you for purchasing the iconic SLUSH PUPPiE® Machine
Slush Puppies have been enjoyed by millions of people for
generations and now you can easily make your own with this specially
designed machine that looks just like the real thing.
Please take the time to read these instructions carefully and keep
them for future reference. They have been written to ensure you’ll
be making perfect Slush Puppies in no time at all.
You’ll soon have that famous coloured tongue look!

4 SLUSH PUPPiE
®
– Instructions For Use
Safety Information ...............................................................5-8
Before You Begin ................................................................. 9-14
– Remove Packaging
– What’s in the box
– What you will need
– Tips on using your SLUSH PUPPiE Machine
Assembly ......................................................................... 15-20
Using the Machine ...........................................................21-28
– Making Slush Puppies
– Dispensing Slush Puppies
Storage and Maintenance ...............................................29-33
– Cleaning and Care
– Storage
– Servicing
– Troubleshooting
– Helpful Hints and Tips
– Technical Specication
Contents

Instructions For Use – SLUSH PUPPiE
®
5
Safety Information

6 SLUSH PUPPiE
®
– Instructions For Use
Safety Information
Please read these instructions carefully before assembling and using your
SLUSH PUPPiE Machine. We recommend you keep these instructions in a safe
place for future reference.
8 NEVER use any attachments or tools
not included with the SLUSH PUPPiE
Machine. The use of these attachments
may cause, re, electric shock or injury.
8 NEVER use the SLUSH PUPPiE
Machine for anything other than its
intended use. The appliance is for
household use only. This appliance is
used indoors only. This appliance is
intended to be used in household and
similar applications: staff kitchen areas
in shops, ofces and other working
environments; farm houses; by clients
in hotels, motels and other residential
type environments; bed and breakfast
type environments.
8 NEVER allow children to use the
SLUSH PUPPiE Machine, close
supervision is necessary when this
appliance is in use near children.
8 NEVER let the power cord hang over
the edge of the worktop, touch hot
surfaces, become knotted, trapped or
pinched.
8 NEVER place on or near a heat source.
8 NEVER leave the SLUSH PUPPiE
Machine unattended during use.
8 NEVER touch the exposed metal parts
of the appliance during use as they will
become very hot.
8 NEVER operate the SLUSH PUPPiE
Machine by means of an external timer
or separate remote control system.
8 NEVER immerse the power cord or
plug into water or any other liquid. This
is to protect against electric shock.
4 ALWAYS ensure the SLUSH PUPPiE
Machine is only used by a responsible
adult.

Instructions For Use – SLUSH PUPPiE
®
7
Safety Information
4 ALWAYS use the SLUSH PUPPiE
Machine on a stable level surface.
4 ALWAYS ensure that hands are dry
before handling the plug or switching
on the SLUSH PUPPiE Machine.
4 ALWAYS unplug this unit when not in
use and before cleaning.
4 ALWAYS allow the SLUSH PUPPiE
Machine to fully cool down before
cleaning or storing.
4 ALWAYS carry out regular checks
on the SLUSH PUPPiE Machine and
power cord. In order to avoid hazard,
should there be any sign of damage,
do not attempt to use or repair. If
the supply cord is damaged, it must
be replaced by the manufacturer, its
service agent or similarly qualied
persons in order to avoid a hazard. The
SLUSH PUPPiE Machine has no user
serviceable parts.
The SLUSH PUPPiE Machine can be used by children aged 8 years and above and
persons with reduced physical, sensory or mental capabilities or lack of experience and
knowledge if they have been given supervision or instruction covering use of the appliance
in a safe way and understand the hazards involved. Children shall not play with the SLUSH
PUPPiE Machine. Cleaning and user maintenance shall not be made by children unless
they are supervised — keep the appliance and its cord out of reach of children less than
8 years. This appliance is intended for domestic use only.

8 SLUSH PUPPiE
®
– Instructions For Use
Safety Information
Please read these instructions thoroughly before using the SLUSH PUPPiE
Machine or connecting it to the mains electricity supply.
Electrical Safety
• A 3 amp BS1362 ASTA approved fuse
must be tted.
• There are no user serviceable parts
inside the SLUSH PUPPiE Machine.
In order to avoid hazard always
refer servicing to a qualied service
personnel.
• Do not allow the SLUSH PUPPiE
Machine to be exposed to rain or
moisture during use or storage.
• Before switching on, make sure that
the voltage of your electricity supply
is the same as that indicated on the
SLUSH PUPPiE Machine's rating
plate. Connecting it to any other power
source may cause damage.
• The mains lead of the SLUSH PUPPiE
Machine is not replaceable by the
user. If the mains lead is damaged,
the entire SLUSH PUPPiE Machine
should be replaced by a suitable
qualied person in order to avoid
hazard. In order to avoid hazard if the
plug has to be changed because it is
not suitable for your socket, or due
to damage, it should be cut off and
a replacement tted by a qualied
person. The old plug must be disposed
of safely because inserting it into a 13
amp socket could cause an electrical
hazard.

Instructions For Use – SLUSH PUPPiE
®
9
Before You Begin

10 SLUSH PUPPiE
®
– Instructions For Use
Before You Begin
You’re almost ready to start making Slush Puppies. There a few small things to do before you begin…
What’s in the box
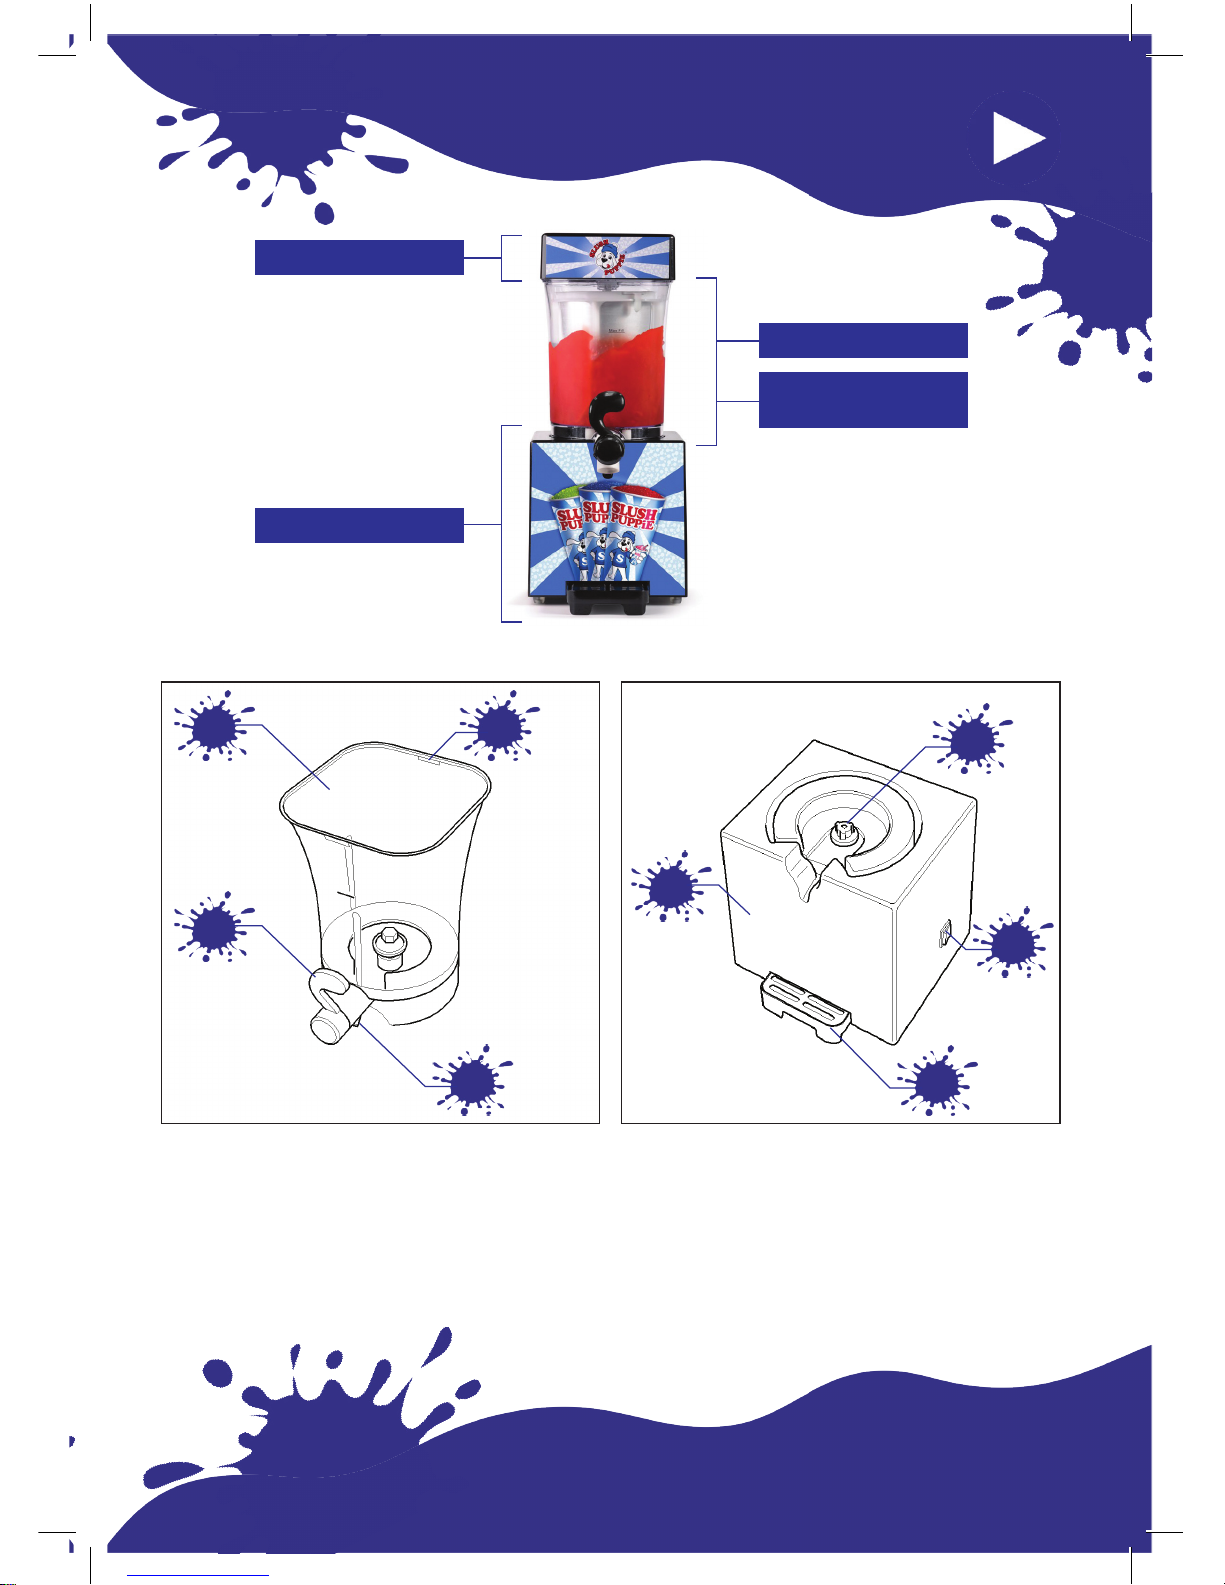
In the box you will nd...
Canister Lid Ice Canister
Remove Packaging
Carefully remove all packaging material and promotional labels from the SLUSH PUPPiE Machine.
1. Ice/Salt Inlet Cap
2. Ice/Salt Inlet
3. Canister Lid
4. Locking Catch
5. Syrup Inlet
6. Ice Canister Cage with Ice Paddle Locking Clips
7. Ice Canister
8. Ice Paddle Assembly
9. Slush Puppie Blades
2
4
9
8
5
1
7
6
3
Instructions For Use – SLUSH PUPPiE
®
11
Before You Begin
Slush Puppie Container Motor Base
10. Slush Puppie Container
11. Locking Notch
12. Tap Handle
13. Tap
14. Motor Base
15. Drive Sprocket
16. Mix/Off/Dispense Switch
17. Drinks Tray
10
14
15
16
17
11
12
13
Canister Lid
Motor Base
Ice Canister
Slush Puppie
Container
 Loading...