

Page 1

R8931
R8931R8931
Product features and decoration may vary from the photograph above.
www.fisher-price.com
Page 2
CONS
ASSISTANCE
Consumer Information
• Please keep this instruction sheet for future reference, as it
contains important information.
• Adult assembly is required.
• Tool required for assembly: Phillips Screwdriver
(not included).
• Water or sand to fill base (not included).
IMPORTANT! Rim height should be adjusted only by an adult.
• This toy includes an inflatable ball. If the ball becomes soft,
inflate it with a standard, hand-operated air pump with a
standard air needle (both not included).
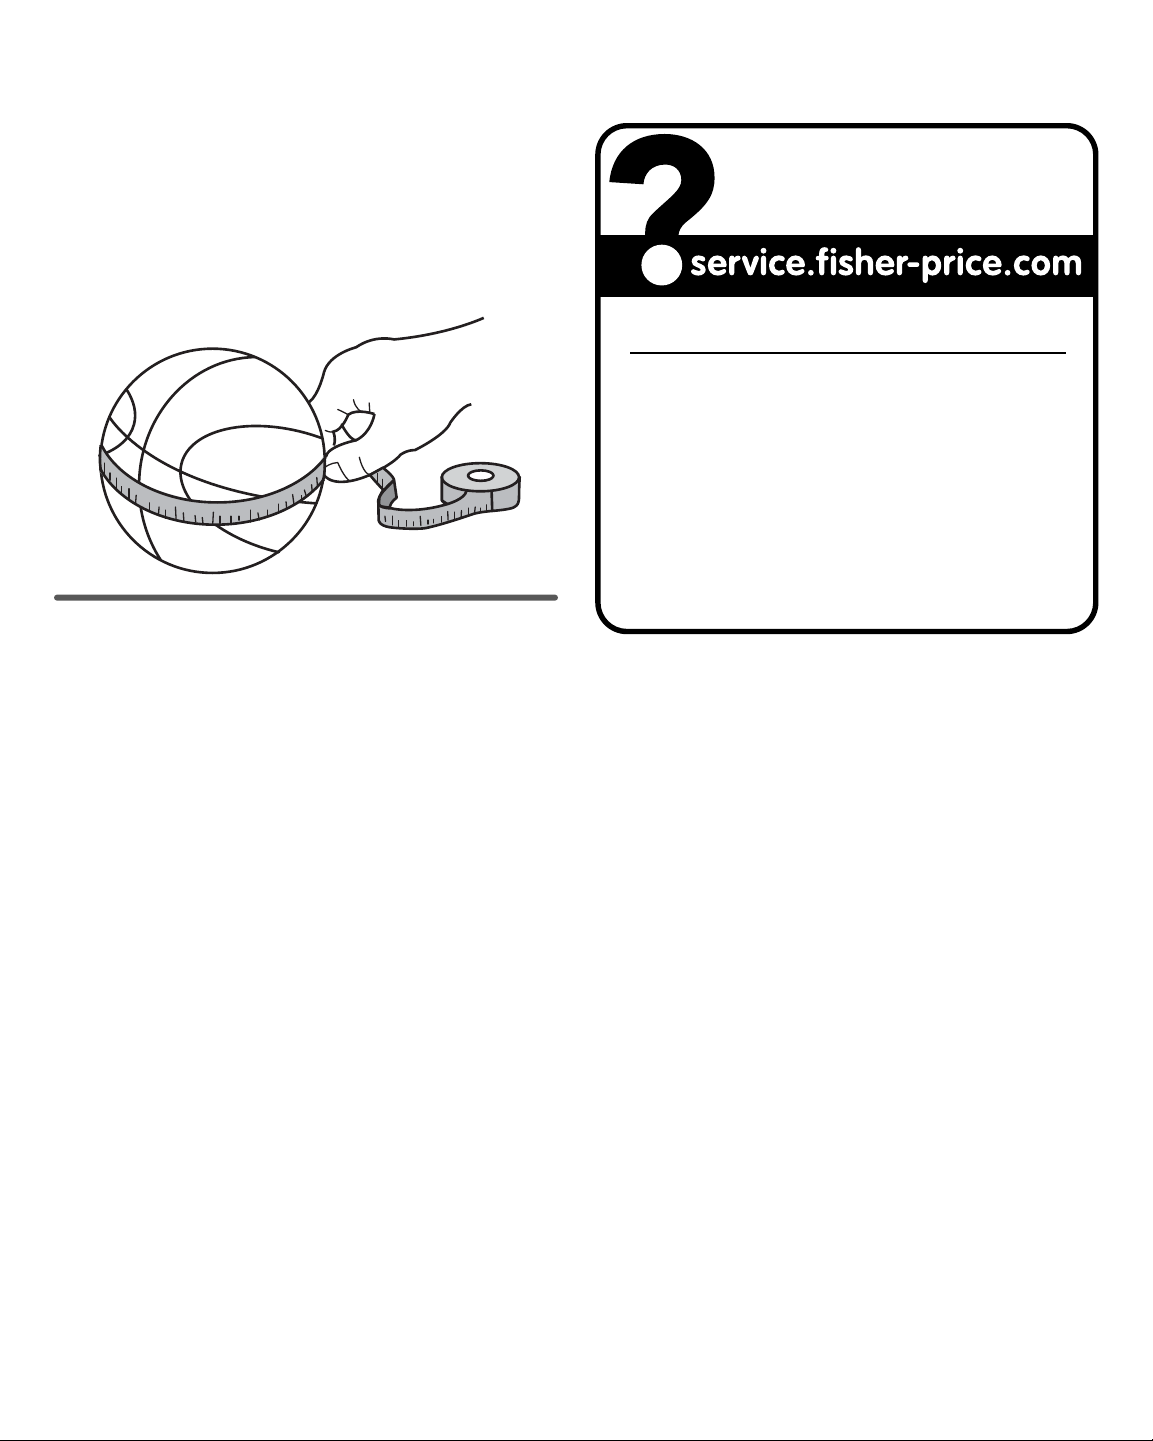
• The ball will contain the correct amount of air when its
circumference measures 21 to 22 inches. Measure the
circumference of the ball with a tape measure or with a piece
of string cut 21 to 22 inches long. Do not over-inflate the ball.
UMER
1-800-432-5437 (US & Canada)
1300 135 312 (Australia)
Fisher-Price, Inc., 636 Girard Avenue, East Aurora, NY 14052.
Hearing-impaired consumers: 1-800-382-7470.
Outside the United States:
Canada: Mattel Canada Inc., 6155 Freemont Blvd.,
Mississauga, Ontario L5R 3W2; www.service.mattel.com.
Great Britain: Mattel UK Ltd, Vanwall Business Park,
Maidenhead SL6 4UB. Helpline: 01628 500303.
www.service.mattel.com/uk
Mattel Europa, B.V., Gondel 1, 1186 MJ Amstelveen, Nederland.
Australia: Mattel Australia Pty. Ltd., 658 Church Street,
Locked Bag #870, Richmond, Victoria 3121 Australia.
New Zealand: 16-18 William Pickering Drive,
Albany 1331, Auckland.
Care
• To clean, use a mild soap and water solution and clean cloth.
Rinse clean with warm water to remove soap residue.
• Be sure to drain water from the base before extended
storage. If water freezes in the base, it could cause damage.
• Check all fasteners regularly to be sure they are tight. If the
fasteners are not tight, tighten them as necessary.
• Check plastic parts regularly and if broken or cracked,
dispose of them properly.
Fisher Price, Inc., a subsidiary of Mattel, Inc., East Aurora, NY 14052 U.S.A.
©2010 Mattel, Inc. All Rights Reserved. ® and ™ designate U.S. trademarks of Mattel, Inc.
PRINTED IN MEXICO R8931a-0920
2
Page 3

Assembled Parts
Hint: Some parts were placed inside the lower post for shipping.
Backboard
Rim Assembly
Lower PostUpper Post
CAUTION
This product contains small parts
in its unassembled state.
Adult assembly is required.
Base
Note: Label sheet not shown.
#8 x 3/4" Screw - 4
SHOWN ACTUAL SIZE
Note: Tighten all screws with a Phillips
screwdriver. Do not over-tighten the screws.
3
Page 4

5
Assembly
1
3
2
Upper Post
Latch
Lower Post
1
• Carefully peel a label from the label sheet and apply it to
the backboard, as shown.
• Smooth out the label to remove any air bubbles.
• Repeat this procedure to apply the remaining labels to
the backboard.
Hint: The labels are designed to overlap.
Lower Post
4
3
• Flip down the latch on the lower post.
• Insert the upper post into the lower post.
Backboard
Rim Assembly
Base
2
• Insert and "snap" the lower post into the base.
• Pull up on the post to be sure it is secure in the base.
BACK VIEW
4
• Fit the rim assembly to the backboard as shown.
• Insert four screws into the holes on the back of the
backboard. Tighten the screws.
4
Page 5

Assembly Setup
• After assembly is complete, fill each base with water or
approximately 20 lbs of sand (water or sand not included) to
keep this product stationary.
• Simply lift the plug, fill the base and then replace the plug.
Plug
5
• Slide the backboard onto the post until it "snaps" into place.
• Pull up on the backboard to be sure it is secure on the post.
5
Page 6

Adjusting Rim Height
IMPORTANT! Rim height should only be adjusted by an adult.
Also, make sure children are not standing below the rim when
adjusting the rim height.
Upper Post
Grooves
Adjusting Rim Size
Lower Post
Latch
• To lower the rim height: While holding the upper post, flip
the latch on the lower post down. Lower the upper post and
flip the latch into the grooves to secure in place.
• To raise the rim height: Simply lift the upper post and flip
the latch into the grooves to secure in place.
• After adjusting the rim height, gently push down on the
backboard to be sure it is secure.
TOP VIEW
• Make the rim larger for beginners or smaller for "pros"! Turn
the knob on the rim counter-clockwise for a smaller rim;
clockwise for a larger rim.
6
 Loading...