

Page 1
Please keep this instruction sheet for future
Please keep this instruction sheet for future
reference, as it contains important information.
Adult assembly is required. No tools are
required for assembly.
The blasters shown in the photographs and
illustrations may be different than the one
you purchased. Each sold separately and
subject to availability.
reference, as it contains important information.
Adult assembly is required. No tools are
required for assembly.
The blasters shown in the photographs and
illustrations may be different than the one
you purchased. Each sold separately and
subject to availability.
www.fi sher-price.com
Page 2
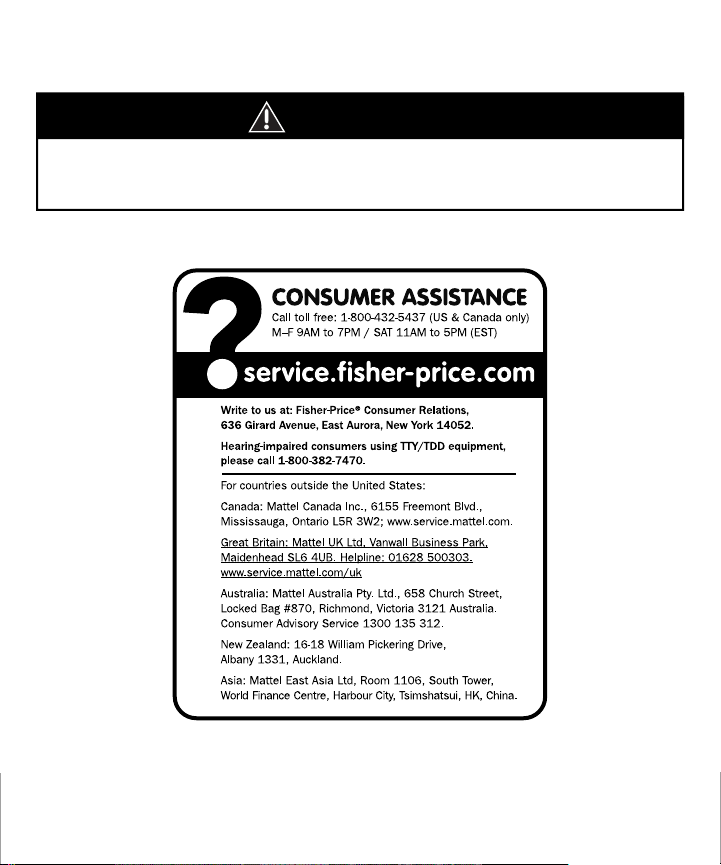
Consumer Information
WARNING
CHOKING HAZARD – Small parts.
Not for children under 3 years.
©2008 Mattel, Inc. All Rights Reserved.
PRINTED IN CHINA
Fisher Price, Inc., a subsidiary of Mattel, Inc., East Aurora, NY 14052 U.S.A.
®
and ™ designate U.S. trademarks of Mattel, Inc.
N6022pr-0920
Page 3
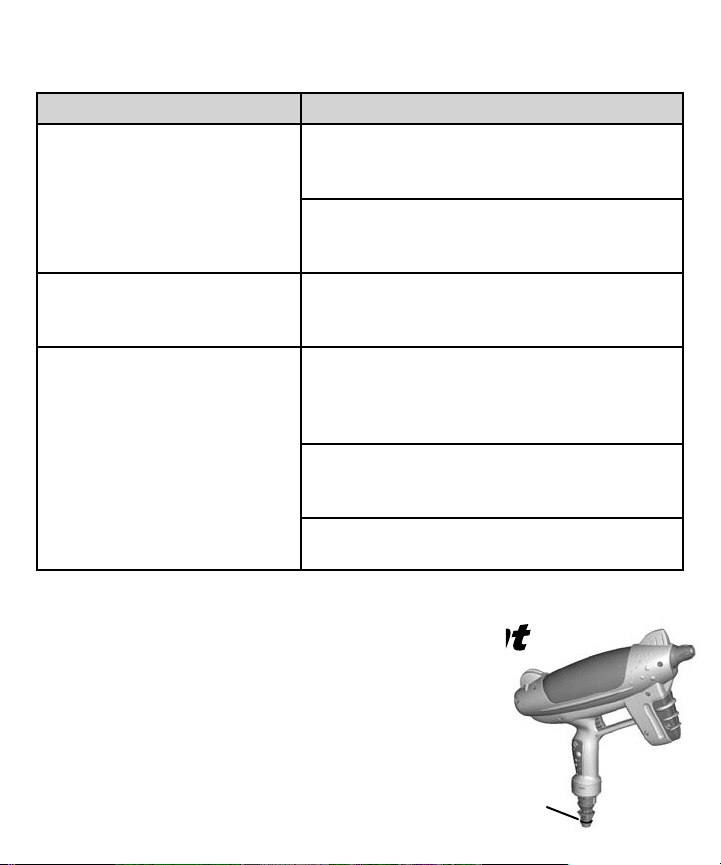
Troubleshooting
Problem Cause
Water is leaking from base
Water is leaking from
the blaster
Blaster is not working The blaster is upside down or pointing
Water will leak from base if the water pressure from your hose is too high. Leaking prevents the build-up of pressure in the base.
When the blaster is removed from the base,
extra water will drain out of the bottom of
the base.
Occasionally, the O-rings on the blaster will
need to be replaced. We’ve included extra
O-rings for your convenience.
straight up. The blaster only works when
level. Snap the blaster back into the base to
repressurize the blaster.
The blaster is still attached to the base.
Remove the blaster from the base and pull
the trigger.
The blaster is empty. Snap the blaster into the
base to refill.
O-ring Replacement
• If the O-ring on your blaster is missing or worn you
will need to replace it. Fit an O-ring (extra O-rings
included with your product) onto the grooved area on
the blaster as shown.
O-ring
Page 4

One Time Assembly
• Insert and “snap” each leg into the sockets in the base.
Page 5

Step
1
CAUTION
Water left inside the product or garden hose for an extended
period of time in direct sunlight can become very hot and
harm your child. Drain the product and garden hose after
each use and store them in a cool, shaded area.
IMPORTANT! Before an adult attaches a garden hose (not included) to the base,
turn the water on for 30 seconds to clear debris from the garden hose.
Step
• Insert the end of a garden hose (not included) into the connector on the base.
Turn the connector to secure the garden hose to the base. Do not over-tighten.
• Turn the water on slowly.
1Step 1
Page 6

Step
Step
2
• Insert and “snap” the blaster into the base. The blaster fills with water in less
than 15 seconds (varies based on water pressure)!
2Step 2
Page 7

Step
3
A
B
PRESS
• First, press the latch on the base A.
C
• Then, lift the blaster off the base C.
RELEASE
• Next, release the latch B.
LIFT
Step
3Step 3
Page 8

Step
Step
4
• Pull the trigger to shoot water up to 30 feet!
• Water toys sometimes get messy. Do not play with this toy on surfaces that
can be damaged by water. Protect these play surfaces.
• When finished playing with this toy, turn off the water.
• After each use, drain, clean and rinse this toy. Dry thoroughly before storing.
4Step 4
 Loading...