

Page 1
N1416
1
www.fisher-price.com
Page 2
Fisher-Price, Inc., a subsidiary of Mattel, Inc., East Aurora, NY 14052 U.S.A.
N1416pr-0920
©2008 Mattel, Inc. All Rights Reserved. ® and ™ designate U.S. trademarks of Mattel, Inc.
PRINTED IN MEXICO
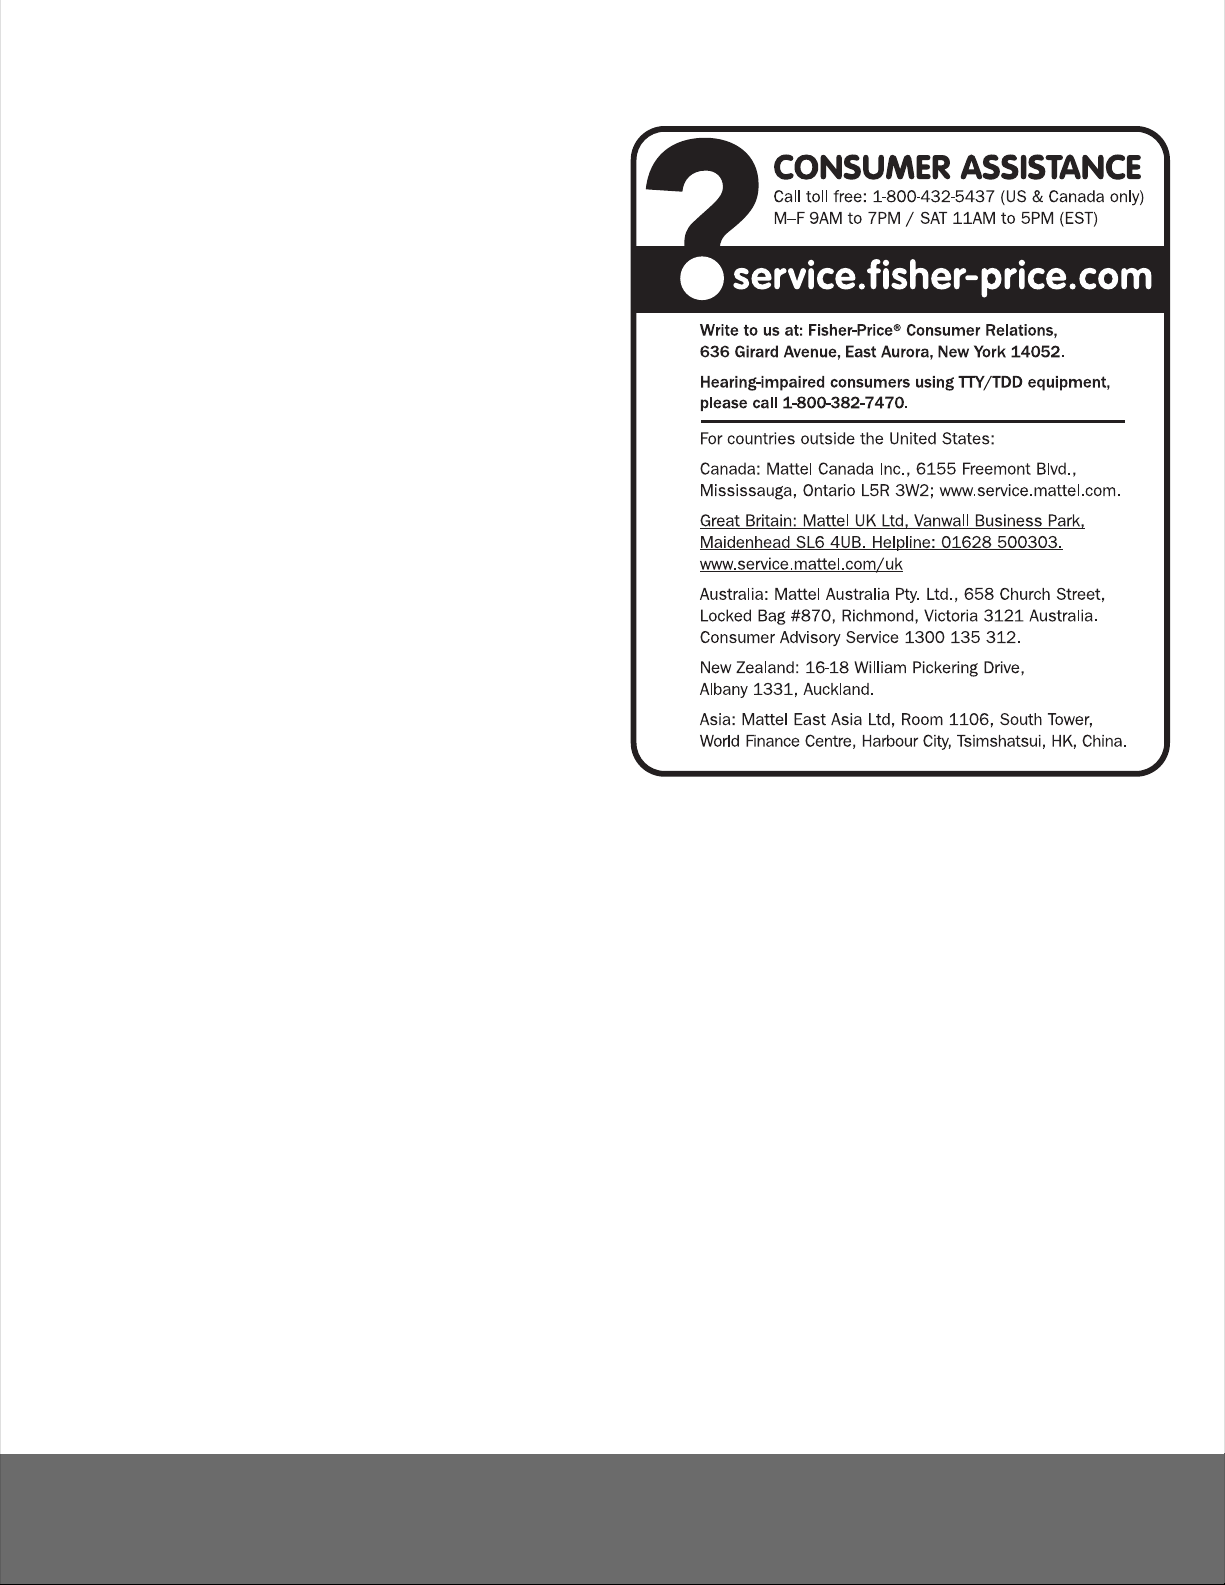
Consumer Information
• Please keep this instruction sheet for future reference, as it
contains important information.
• Tools required for assembly: Phillips screwdriver (not included)
and wrench (included).
• Adult assembly is required.
•
Adult supervision is required.
•
For children ages 12 - 36 months.
•
Weight limit: 40 lbs (18 kg).
•
Periodically inspect the pony for damage or wear.
•
Before each use check to make sure all fasteners are
securely tightened.
Fisher-Price, Inc., a subsidiary of Mattel, Inc., East Aurora, NY 14052 U.S.A.
Fisher-Price, Inc., a subsidiary of Mattel, Inc., East Aurora, NY 14052 U.S.A. N1416pr-0920
©2008 Mattel, Inc. All Rights Reserved. ® and ™ designate U.S. trademarks of Mattel, Inc.
©2008 Mattel, Inc. All Rights Reserved. ® and ™ designate U.S. trademarks of Mattel, Inc. PRINTED IN MEXICO
2
N1416pr-0920
PRINTED IN MEXICO
Page 3
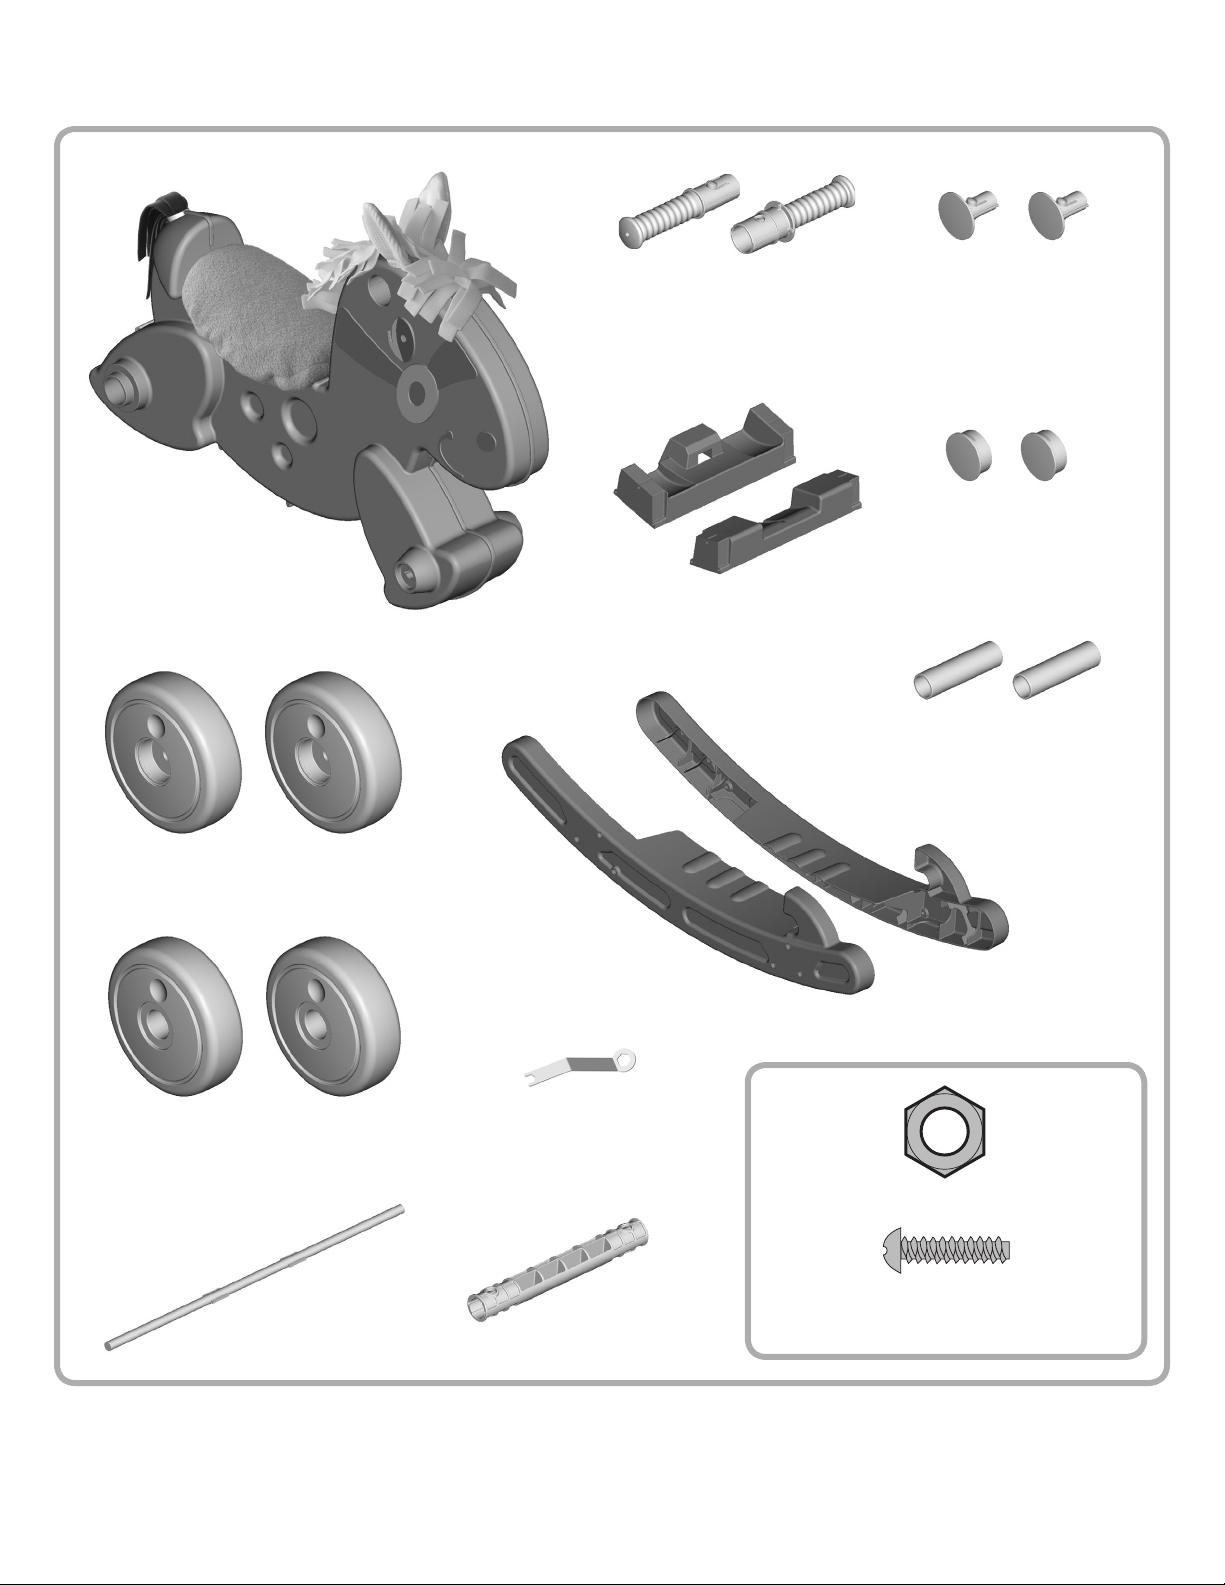
Parts
Pony
2 Handlebars
2 Crossbars
2 Rear Hubcaps
2 Front Hubcaps
2 Spacers
2 Front Wheels
2 Rear Wheels
Front Axle Rear Axle
2 Rails
Wrench
Lock Nuts - 2
#8 x ¾” Screws - 12
Fasteners Shown Actual Size
3
Page 4

Pony Assembly
Handlebars
CAUTION
This product contains small parts in its
unassembled state. Adult assembly is required.
Rear Axle
Handlebars
Rear Wheel
Rear
Hubcap
2
• Slide a rear wheel onto the rear axle.
Note: The indented side of the rear wheel should be facing out.
• “Snap” a rear hubcap into the rear wheel.
Rear Axle
1
• Insert a handlebar into the hole on the pony head.
• Insert the other handlebar on the other side of the pony head.
• Push to “snap” the handlebars together.
3
• Slide the rear axle through hole in the pony's back legs.
4
Page 5

4
Pony Assembly
Rear
Hubcap
Rear Wheel
• Slide the other rear wheel onto the rear axle.
Note: The indented side of the rear wheel should be facing out.
• “Snap” the remaining rear hubcap into the rear wheel.
Front Axle
6
Spacer
• Slide a spacer onto one side of the front axle.
• Slide a front wheel onto the front axle.
Note: The indented side of the front wheel should be facing out.
• Fit a lock nut onto the end of the front axle. Make sure the
rounded side of the lock nut is facing out. Tighten with the
wrench (included).
• Repeat this procedure to assemble the remaining spacer,
front wheel and lock nut.
Front Wheel
Lock Nut
Wrench
5
• Slide the front axle through the pony’s front legs.
Front
Hubcap
7
• “Snap” the front hubcaps into each front wheel.
5
Front
Hubcap
Page 6

Rocker Assembly
Crossbar
4
Rail
1
• Match the end of the crossbar labeled 4 into the end of the
rail labeled 4.
• Insert three screws into the holes in the outside of the rail and
tighten with a Phillips screwdriver.
Crossbar
Rail
3
• Fit the remaining rail onto the ends of the crossbars.
Note: The ends of the rail are labeled 1 and 2. Match these
numbers to the ends of the crossbars labeled 1 and 2.
• Insert six screws into the rail and tighten with
a Phillips screwdriver.
3
2
• Match the end of the other crossbar labeled 3 into the end of
the rail labeled 3.
• Insert three screws into the holes in the outside of the rail and
tighten with a Phillips screwdriver.
6
Page 7

Rock ‘n Ride
Rock ‘n Roll
Pony
Rocker
Assembly
• Fit the front axle on the pony into the grooves on the
rocker assembly.
• Push the pony to "snap" it into place.
Grooves
Latch
Rocker
Assembly
• Push the latch on the back of the pony.
• Lift the pony off the rocker assembly.
• Store the rocker assembly for future use.
7
Page 8

Seat Pad
Mane
Ta b
Care
Pony and Rocker Assembly
• Wipe with a clean cloth dampened in a mild soap and water
solution. Do not use bleach.
• The ears and tail are surface washable.
Mane and Seat Pad
• Push the tab on the back of the pony’s head and slide the
mane up and off of the pony.
• To re-attach the mane, fit the end of the mane into the top of
the slot in the pony head. Pull the mane down into place.
• Remove the seat pad from the pony.
• Machine wash the mane and seat pad in cold water on the
gentle cycle. Tumble dry on low heat. Do not use bleach.
8
 Loading...