

Page 1

J5250
Trike
Bike
www.fisher-price.com
Page 2
Warnings and Caution
Important Safety Information
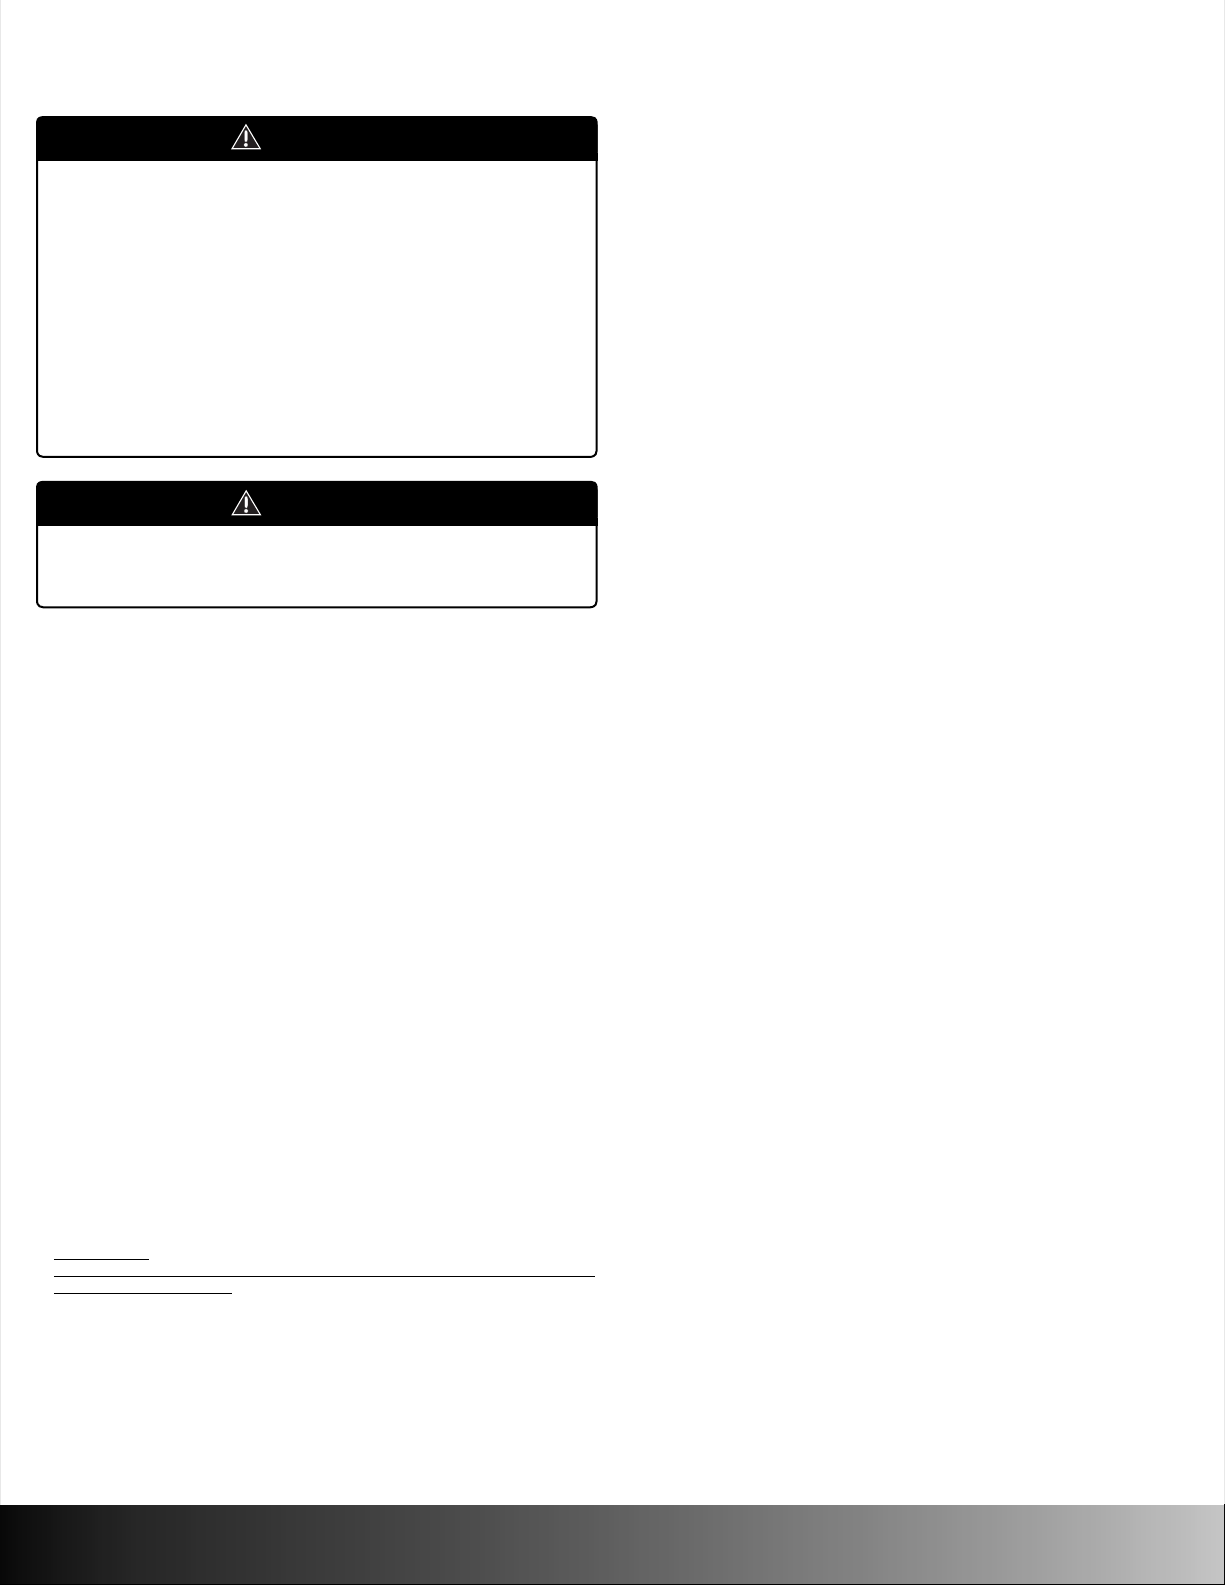
WARNING
To avoid serious injury:
Protective equipment should be worn. Use
•
a bicycle helmet when in the bike mode.
•
Adult supervision is required.
•
Never use near cars and other motor vehicles,
near streets, steps, sloped driveways, hills,
roadways, alleys, swimming pools or other
bodies of water.
•
Always wear shoes.
•
Never allow more than one rider.
CAUTION
This product contains small parts in its
unassembled state. Adult assembly is required.
Consumer Information
• Please keep this instruction sheet for future reference, as it
contains important information.
• Adult assembly is required.
• Tools needed for assembly: Phillips Screwdriver, Hammer and
Scrap Block of Wood (all not included).
• Age: 2 years and up.
• Weight Limit: 50 lbs (23 kg).
Visit us on line at www.service.fisher-price.com
Call Fisher-Price® Consumer Relations, toll-free at 1-800-432-5437,
9 AM – 7 PM EST Monday through Friday and 11 AM – 5 PM EST
Saturday. Hearing-impaired consumers using TTY/TDD equipment,
please call 1-800-382-7470. Write to us at: Fisher-Price® Consumer
Relations, 636 Girard Avenue, East Aurora, New York 14052.
• Please use this product with caution, as it requires skill to operate
safely to avoid falls, collisions, and injuries to yourself and others.
• This product is intended for outdoor use on smooth, paved surfaces.
• Never ride at night.
• Make sure your child learns how to stop safely.
•
It is a good practice to start training children very young regarding
the importance of helmet use. When children are older and riding
bicycles and faster vehicles, it is important that they use a helmet
each and every time they ride. For this reason, even while riding
a tricycle, it is a good idea to familiarize your child with helmet use,
so that it becomes a habit for life. Choose a helmet that complies
with requirements of the applicable certfiying agency for bicycle
helmets.
• Your child must always wear a bicycle helmet when using this
product in the bike mode. Helmets reduce the energy of some
impacts, minimizing or preventing head injuries. Make sure your
child’s helmet has a label stating/certifying conformance with
the applicable certifying agency and includes the intended age
requirement for use with a child. In addition, children ages 1 to
5 years require helmets specifically designed and labeled for
younger children. These helmets cover a larger portion of the
head and provide more protective coverage than other helmets
for older persons.
For maximum protection during an impact, the helmet must be
•
properly secured to your child’s head. The helmet must have a
strap that goes under the chin with a buckle that stays securely
fastened. The helmet should be worn level/low on the forehead,
not tilted back. The chin strap should be adjusted so there is
no slack and it is firmly buckled (please refer to the helmet
manufacturer’s instructions). After securing the helmet to your
child’s head, test to be sure that the strap stays tight, the buckle
remains secure and the helmet cannot be removed from your
child’s head by twisting or pulling the helmet.
• Remind your child to remove the helmet when playing on any
kind of playground equipment or any place where the helmet
may present a risk of strangulation.
• If the helmet is involved in a crash, replace it or have it examined
by the manufacturer before reuse.
Care
For countries outside the United States:
CANADA
Questions? 1-800-432-5437. Mattel Canada Inc., 6155 Freemont Blvd., Mississauga,
Ontario L5R 3W2; www.service.mattel.com.
GREAT BRITAIN
Mattel UK Ltd, Vanwall Business Park, Maidenhead SL6 4UB. Helpline: 01628 500303;
www.service.mattel.com/uk.
AUSTRALIA
Mattel Australia Pty. Ltd., 658 Church Street, Locked Bag #870, Richmond,Victoria 3121
Australia. Consumer Advisory Service 1300 135 312.
NEW ZEALAND
16-18 William Pickering Drive, Albany 1331, Auckland.
ASIA
Mattel East Asia Ltd, Room 1106, South Tower, World Finance Centre, Harbour City,
Tsimshatsui, HK, China.
• Periodically check the plastic parts and if broken or cracked,
dispose of them properly. Contact Fisher-Price® Consumer
Relations for replacement information.
• Check all fasteners before every ride to be sure they are tight.
If the fasteners are not tight, tighten them as necessary.
• To clean, use a mild soap and water solution and clean cloth.
Rinse clean with water to remove soap residue.
2
Page 3

Parts
Handlebar
Frame
Fork
Lower Steering Stop
Upper Steering Stop
Front Axle
2 Retainers
2 Wheel Bushings
• Please save all packaging material until assembly is complete
to ensure that no parts are discarded.
• Please wipe each part with a clean, dry cloth before assembly.
2 Rear Wheels
Seat
Front Wheel
Seat Pin
#8 x
” Screw – 6
.354 Cap Nut – 2
#8 x 2
” Screw - 1
• All fasteners shown are actual size.
• Tighten and loosen all screws with an Phillips screwdriver.
Do not over-tighten the screws.
• We’ve included extra fasteners for your convenience!
3
Page 4

Assembly
Screws
Press
Press
1
• Press the rear axle release levers on the back end of the frame.
Rear Axle Release Levers
3
• Locate the four screws on each rear wheel. These screws should
face out when assembling the rear wheels to the frame.
• Make sure the gear in the center of each rear wheel is flush with
the outside surface of the rear wheel.
Rear Axle
Gear
2
• Lower the rear axle assembly.
Rear Axle
Assembly
4
Hint: After assembly is complete, the Trike2Bike will be ready to
ride as a Trike.
• Fit and slide the rear wheels onto the ends of the rear axle.
4
4
Rear Wheels
Page 5

Assembly
.354"
Grooves
5
• Lift and “snap” the rear wheel assembly into the grooves in the
back end of the frame.
• Pull down on the rear wheel assembly to be sure it is secure.
Rear Wheel
Assembly
Wheel Bushings
7
• Fit a wheel bushing into the center hole in each side of the
front wheel.
Front Wheel
Pedal
6
• Check to be sure you have assembled the rear wheels to the
frame properly. First, turn the pedals. If one of the rear wheels
turns, you have assembled them correctly. If not, please remove
the rear wheels and follow assembly steps 3-6.
Front Axle
Cap Nut
8
• Place one end of the front axle into a cap nut. Tap the end of
the front axle with a hammer. Make sure the cap nut is securely
attached to the front axle.
Hint: You may want to place a scrap block of wood underneath
the cap nut to protect the assembly surface.
5
Page 6

9
.354"
Assembly
Front Axle
Front Wheel
• Slide the front axle through the center hole in the front wheel.
Fork Grooves
10
Front Axle
11
• Fit the retainers over the ends of the front axle and onto
the fork.
• Insert two #8 x ” screws into each retainer and tighten.
Retainers
Cap Nut
Front Axle
• Fit the ends of the front axle into the grooves in the fork.
12
•
Turn the fork assembly on its side with the front axle facing up.
• Place the remaining cap nut onto the end of the front axle.
• Tap the cap nut with a hammer to secure it in place. Pull on the
cap nut to be sure it is secure.
• Set the fork assembly aside.
Hint: You may want to place a scrap block of wood underneath the
assembly to protect the assembly surface.
6
Page 7

Upper Steering Stop
Assembly
Ta b
13
Frame Neck
• Fit the upper steering stop to the top of the frame neck.
Frame Neck
14
Lower Steering Stop
Fork
15
• Position the fork so that the tab faces forward.
• Fit the fork up through the hole in the frame neck.
Handlebar
• Fit the lower steering stop to the bottom of the frame neck.
Fork
16
• Fit the handlebar to the front of the fork.
7
Page 8

3/4
#8 x
#8 x 2
Handlebar Cover
” Screw
” Screw
Assembly
”
#8 x
Screw
Seat Stem
19
17
• Fit the handlebar cover to the back of the fork and the handlebar.
• Fit two #8 x
handlebar cover. Tighten the screws.
• Fit the #8 x 2
handlebar cover. Tighten the screw.
3/4” screws through the outside holes in the
” screw through the hole in the center of the
OK
No Gap
Ta b
18
• Fit the seat stem into the large hole in the top of the frame.
Seat Pin
20
• Slide the seat pin into the hole on one side of the frame, and
through a hole in the seat stem.
Hint: The seat is designed to be adjustable to your child’s size.
Have your child sit on the seat and check the foot to pedal
distance. Adjust the seat up or down for your child’s comfort!
• Check to be sure you have assembled the fork to the frame
properly. When assembled correctly, the tab faces forward and
there are no gaps between the handlebar and the handlebar
cover. If the tab faces the rear of the assembly and there are no
gaps between the handlebar and handlebar cover, remove the
screws and review assembly steps 15 - 17.
8
Page 9

Convert to Bike
Rear Axle
Release Levers
1
• Press the rear axle release levers on the back end of the frame.
Rear Axle
Assembly
2
• Lower the rear axle assembly.
9
Page 10

Convert to Bike
Grooves
3
• Push the rear wheels together.
Rear Wheels
Gear
4
• Lift the rear wheels until the gears on the outside of rear wheels
“snap” into the grooves in the frame.
• Check to be sure the rear wheels are secure, by pulling down
on them. If they are not secure, review these instructions
carefully and try again.
10
Page 11

Convert to Trike
Rear Axle
Release Levers
1
• Press the rear axle release levers on the back end of the frame.
Rear Axle
Assembly
2
• Lower the rear axle assembly.
11
Page 12

3
Convert to Trike
Grooves
Rear Wheels
Gears
4
• Slide the rear wheels out.
• Lift the rear wheels until the gears on the inside of the rear
wheels “snap” into the grooves in the frame.
• Check to be sure the rear wheels are secure, by pulling down
on them. If they are not secure, review these instructions
carefully and try again.
Fisher-Price, Inc., a subsidiary of Mattel, Inc. East Aurora, New York 14052, U.S.A. PRINTED IN MEXICO
©2006 Mattel, Inc. All Rights Reserved. ® and ™ designate U.S. trademarks of Mattel, Inc. J5250a-0920
 Loading...