

Page 1

EYEPIECE – When you press your eye
against the EYEPIECE, you’ll be asked to
enter your Eye Code using the flashing lights
you’ll see inside. Just make sure your eye
stays firmly pressed against the EYEPIECE
while you enter your code.
SET NEW CODE – With the Eye-Lock Room
Guard open, you can enter a new Eye Code
by pressing your eye against the EYEPIECE,
then press this button.
SECURITY SWITCH – This switch is
activated if the Eye-Lock Room Guard is
removed from the door. If the correct code
wasn’t entered before Eye-Lock Room Guard
is removed from the door, the alarm sounds
and one intruder will be recorded.
RESET BUTTON - Using a pointed object,
press this button to reset the Eye-Lock Room
Guard and delete your old Eye Code.
GETTING STARTED
Once you remove your Eye-Lock Room
Guard from it’s package, you will need to
install the batteries. NOTE: Eye-Lock Room
Guard requires three (3) AA batteries.
INSTALLING YOUR EYE-LOCK ROOM
GUARD
Helpful Hint: Before attaching your Eye-Lock
Room Guard permanently, try holding your
room guard into place and close the door to
make sure that you have not placed it too far
to the right or left side.
First place the Eye-Lock Room Guard over
the door knob/handle to see how it will fit on
your door. You will attach your Eye-Lock
Room Guard to the door by placing it over the
doorknob, using the special tape attached to
the back. All you have to do is remove the
paper backing from the special tape, allowing
the adhesive to be exposed. Line the oval
opening of your Eye-Lock Room Guard even
with the top of the door knob or handle.
Firmly press your Eye-Lock Room Guard to
the door and finally, privacy is yours!
NOTE: Your Eye-Lock Room Guard will work
on most door knobs or door handles and the
special tape allows for removal in an
emergency.
SETTING YOUR EYE CODE
After you install the Eye-Lock Room Guard,
the next thing you need to do is create your
very own Eye Code. This is really easy!
Press your eye firmly against the EYEPIECE.
The Eye-Lock Room Guard will then ask for
your Eye Code.
When you look inside the EYEPIECE you’ll
see a small yellow light. Beside it, another
light will blink in a looping series of orange,
red and green. To set your Eye Code, all you
have to do is wink when a certain color
flashes. Your code will consist of three
different winks.
It can be: “ red, red, green,” or “red, orange,
green,” or “green, green, green,” or any other
combination of three winks.
NOTE: Make sure you keep your eye firmly
against the EYEPIECE. Sometimes, when
you move your eye away from the
EYEPIECE, it will cause an error and you will
be asked to try again.
After you’ve entered your code, the Eye-Lock
Room Guard will ask you to enter it again to
confirm your code.
USING YOUR EYE CODE
Entering your special Eye Code is even easier
than creating it! All you do is press your eye
firmly against the EYEPIECE, and the EyeLock Room Guard will ask for your Eye Code.
Wink in the code you created, and the EyeLock Room Guard will let you know if it has
been accepted. Once your code has been
accepted, the Eye-Lock Room Guard will
open without sounding the alarm.
NOTE: The Eye-Lock Room Guard gives you
three chances to enter the correct code. If
you don’t enter the correct code after three
Protect your stuff as well as your
privacy!
Hi! I want to tell you all about this great new
room guard I found. It’s called the Eye-Lock
Room Guard and it’s the latest in bedroom
security! What? You find it hard to believe
that a 12 year-old girl would need such a
high-tech piece of equipment? Well, if YOU
have a snoopy little brother who always
messes around in your room when you’re not
there, you would need a room guard too!
Hey, desperate times call for desperate
measures!!!
FEATURES
First let me show you some of the Eye-Lock
Room Guard’s cool features!!
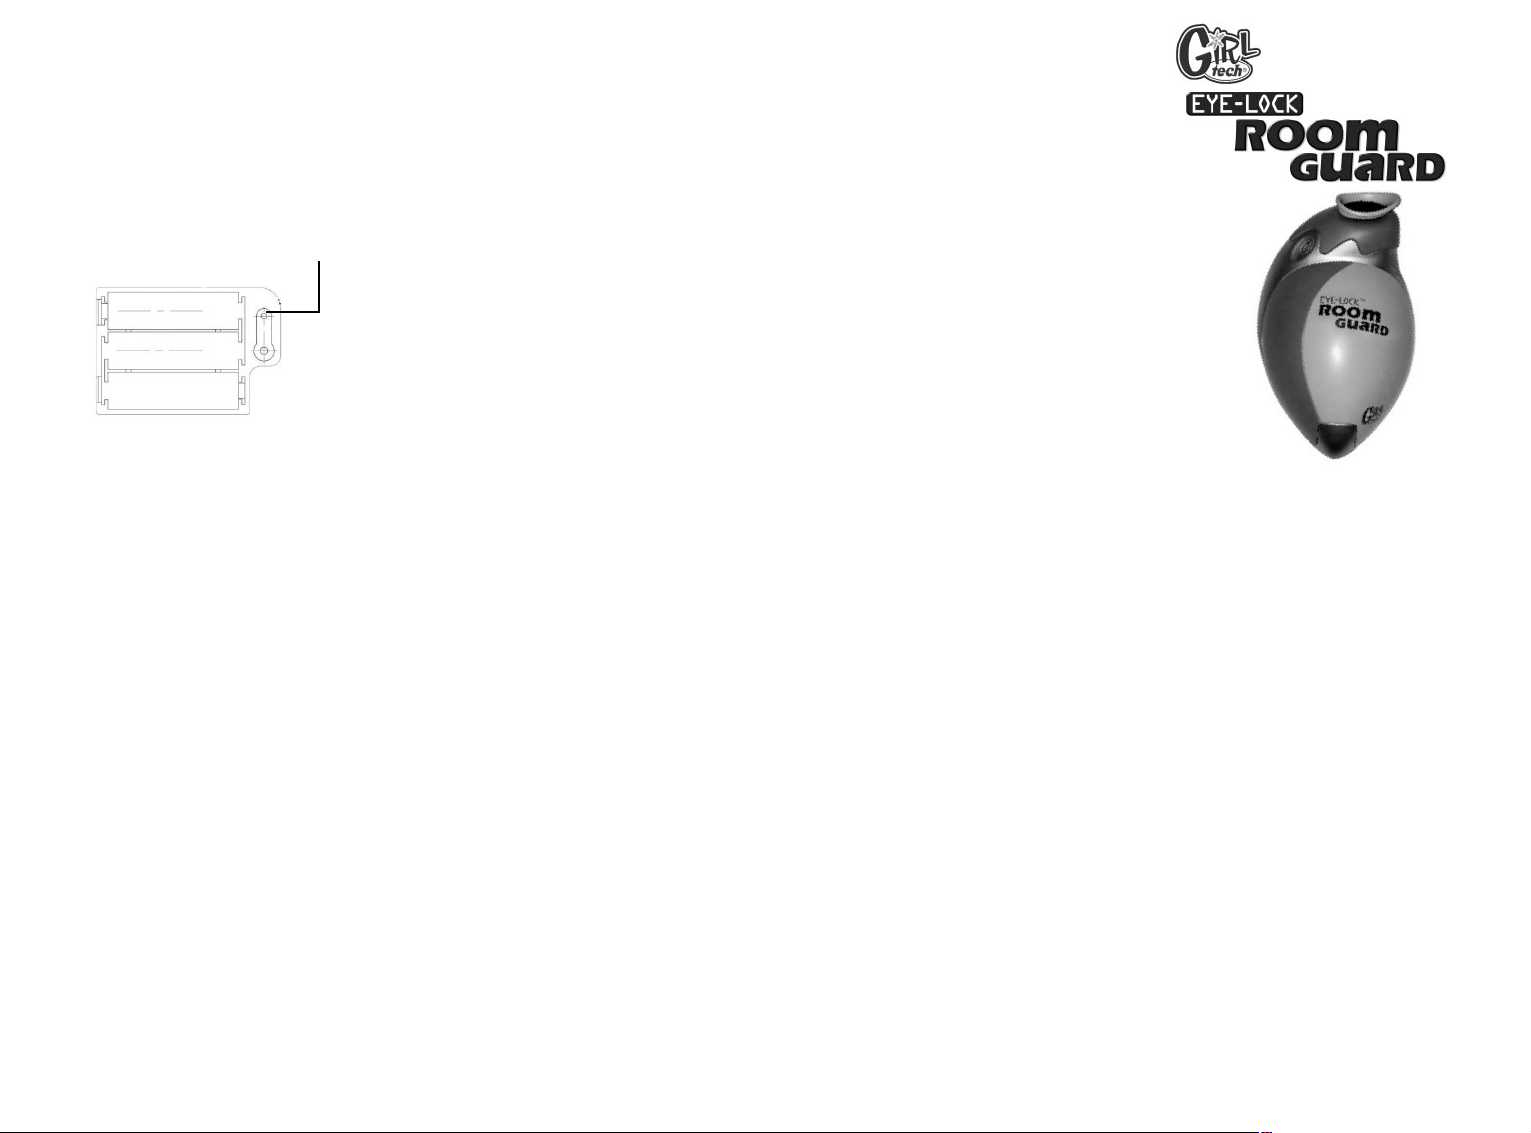
BATTERY
COMPARTMENT
SPECIAL TAPE
DOOR
KNOB/HANDLE
OPENING
SPECIAL TAPE
SECURITY
SWITCH
RESET BUTTON
Back View of Eye-Lock Room Guard
EYEPIECE
SET NEW CODE
Front View of Eye-Lock Room Guard
Door Knob
Installation
Left Handle
Installation
Right Handle
Installation
tries, the alarm will sound and the Eye-Lock
Room Guard will record one intruder. If you
are having trouble entering your Eye Code, try
to make your blink more definite so your EyeLock Room Guard will recognize your choice.
CHANGING YOUR EYE CODE
Let’s face it, little brothers are nosy so you
may need to change your Eye Code. EyeLock Room Guard makes it really easy! All
you have to do is press your eye against the
EYEPIECE and press the SET CODE button.
INTRUDERS
The Eye-Lock Room Guard does something
else really cool besides keeping out unwanted
guests (or little brothers). The Eye-Lock
Room Guard will automatically let you know if
anyone has tried to enter a code or if anyone
has removed the Eye-Lock Room Guard from
your door.
After you enter your correct code, the EyeLock Room Guard will tell you if there have
been one to five intruders since you last
entered your code. If someone has tried to
access the Eye-Lock Room Guard more then
five times, the Eye-Lock Room Guard will tell
you there have been more than five intruders.
NOTE: If someone enters a wrong Eye Code
more than three times, an alarm sounds and
the Eye-Lock Room Guard records one
intruder. The alarm also sounds and is
recorded as one intruder, if someone removes
the Eye-Lock Room Guard from the door
without using the correct code.
3 COLOR CODE LIGHT
RUBBER EYEPIECE
Page 2
Model G72028
For 1 player / Ages 8 and up
INSTRUCTION MANUAL
P/N 82364900 Rev.A
™
E
RESETTING YOUR EYE-LOCK ROOM
GUARD
To reset your Eye-Lock Room Guard, open
the battery compartment door located on the
back. Using a pointed object press the
RESET button. This will clear any previously
entered Eye Codes and will allow you to set a
new Eye Code.
Helpful Hint: If your Eye-Lock Room Guard is
not working correctly or you have forgotten
your code, press the RESET button and
reenter your Eye Code. If your Eye-Lock
Room Guard is still not working correctly, you
might need to change the batteries.
BATTERY INSTALLATION
This device is powered by three (3) AA
batteries.
• Using a screwdriver, loosen the screw until
the battery compartment door on the back
can be removed.
• Insert three (3) AA batteries (we recommend
alkaline) as indicated inside the battery
compartment.
• Replace the battery compartment door and
tighten the screw with a screwdriver. Do not
over-tighten.
ADULT SUPERVISION IS
RECOMMENDED WHEN CHANGING
BATTERIES.
CCAA UUTTIIOONN::
• As with all small batteries, the
batteries used with this device
should be kept away from small
children who might still put things in
their mouths. If a battery is
swallowed, consult a physician
immediately.
• Be sure you insert the battery
correctly and always follow the
device and battery manufacturer’s
instructions.
• Do not dispose of batteries in fire.
• Batteries might leak if improperly
installed, or explode if recharged,
disassembled or heated.
MAINTENANCE:
• Handle this device carefully.
• Store this device away from dusty or dirty
areas.
• Keep this device away from moisture or
extreme temperature.
• Do not disassemble this device. If a
problem occurs, press the RESET button, or
remove and replace the batteries to reset the
device, or try new batteries. If problems
persist, consult your warranty card for
replacement instructions.
• Use only the recommended battery type.
• Do not mix old and new batteries.
• Do not mix alkaline, standard (carbon-zinc)
or rechargeable (nickel-cadmium) batteries.
• Do not use rechargeable batteries.
• Do not attempt to recharge nonrechargeable batteries.
• Remove any exhausted batteries from the
device.
• Do not short-circuit the supply terminals.
• Insert batteries with the correct polarity.
Please retain this for future
reference.
This device complies with Part 15 of the FCC
Rules. Operation is subject to the following
two conditions: (1) this device may not cause
harmful interference and (2) this device must
accept any interference received, including
interference that may cause undesired
operation.
WARNING: Changes or modifications to this
unit not expressly approved by the party
responsible for compliance could void the
user’s authority to operate the equipment.
NOTE: This equipment has been tested and
found to comply with the limits for a Class B
digital device, pursuant to Part 15 of the FCC
Rules. These limits are designed to provide
reasonable protection against harmful
interference in a residential installation. This
equipment generates, uses and can radiate
radio frequency energy and if not installed and
used in accordance with the instructions, may
cause harmful interference to radio
communications. However, there is no
guarantee that interference will not occur in a
particular installation. If this equipment does
cause harmful interference to radio or
television reception, which can be determined
by turning the equipment off and on, the user
is encouraged to try to correct the interference
by one or more of the following measures:
• Reorient or relocate the receiving antenna.
• Increase the separation between the
equipment and receiver.
• Connect the equipment into an outlet on a
circuit different from that to which the
receiver is connected.
• Consult the dealer or an experienced radio
TV technician for help.
RADICA:
®
GIRL TECH ®
EYE-LOCK IS ATRADEMARK OF RADICA GAMES LTD.
© 2001 RADICA GAMES LTD.
PRODUCT SHAPE
TM
ALL RIGHTS RESERVED
U.S. Customer Support Line: 1-800-803-9611
www.girltech.com
RESET BUTTON
Battery Compartment
 Loading...