

Page 1
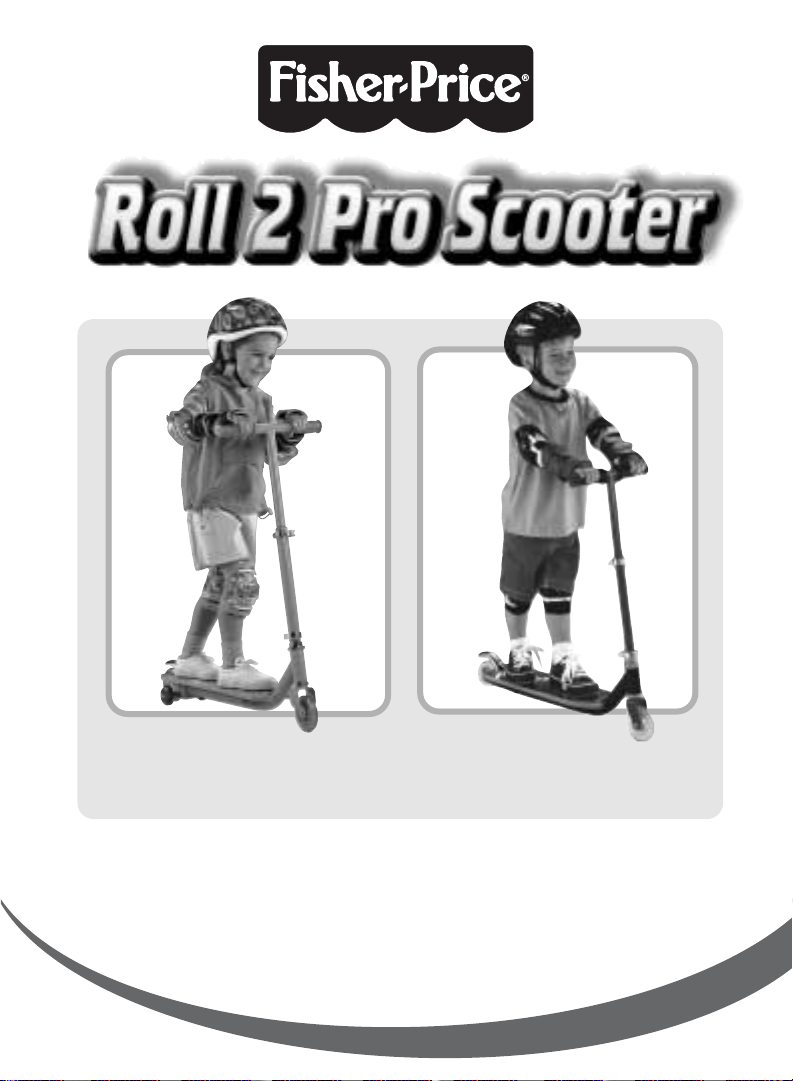
Product Numbers: 78558, 76927
w
w
w
.
f
i
s
h
e
r
-
p
r
i
c
e
.
c
o
m
Please keep this instruction sheet for future reference,
as it contains important information.
Adult assembly is required.
Tool needed for assembly: One Allen Wrench (included)
and a Phillips Screwdriver (not included).
Tool needed for removal of training wheels
Two Allen Wrenches (included).
Ages 5+. Weight Limit: 150 lbs. (68 kg).
Advanced
without training wheels
Beginner
with training wheels
(Helmet, wrist guards and protective pads not included.)
Page 2
2
WARNING
To prevent injury:
•Keep away from cars and streets.
• Protective equipment should be worn, including helmet,
wrist guards, knee pads and elbow pads.
•Never allow more than one rider.
IMPORTANT! Please take a few moments to review the following safety
tips with your rider.
• Rider should wear shoes or sneakers that provide good support.
• Rider should not wear open-toe shoes.
• Rider should wear a helmet, knee pads, elbow pads and wrist guards to
guard against bumps and bruises.
• Keep loose laces and pant legs away from the wheels.
• Adults must assist children in the initial adjustment procedures to the
handlebar for proper height.
• Adults should supervise beginners.
• Choose areas for riding that are free of obstacles.
• Ride on smooth, paved surfaces away from motor vehicles.
• Avoid surfaces with water, sand, gravel, dirt, leaves, and other debris. Wet
weather impairs traction, braking and visibility.
• Avoid sharp bumps, drainage grates, and sudden surface changes.
Scooter may suddenly stop.
• Avoid excessive speed associated with downhill rides.
• Never ride on streets, roadways and driveways which enter vehicle
traffic routes.
• Towing riders with bicycles or cars is unsafe.
• Never ride at night.
• Avoid colliding with pedestrians.
Page 3
3
3
Assembly
Assembly
• Fit the handle tube onto the
board tube.
IMPORTANT! Make sure the
colored dot on the board tube
is visible through the slot in the
handle tube.
Handle Tube
Board Tube
Slot
Dot
1
2
Handlebar
• While pressing the button on the
handlebar, insert it into the end of
the handle tube.
• Push the handlebar into the handle
tube until the button "clicks" into
the hole in the handle tube.
• Pull on the handlebar to be sure it
is secure.
• Position the board upright on a
flat surface.
• Position the front wheel so that it
is aligned with the board.
Hint: Note the location of the colored
dot on the board tube.
Front
Wheel
Board
Hole
Press
Button
Dot
Board Tube
Handle
Tube
Page 4

4
Assembly
Assembly
• Align the hole in the clamp and
the handle tube.
•Insert the screw through the hole
in the clamp and into the handle
tube. Tighten the screw with a
Phillips screwdriver.
4
M5 x 7mm Screw
SHOWN ACTUAL SIZE
• Tighten the bolt in the clamp with
an Allen wrench.
• Pull the handle tube up to be sure it
is secure. If it is not secure, please
review assembly steps 3-5.
Assembly is now complete.
5
Clamp
Clamp
Page 5

5
Handle Height Adjustment
Handle Height Adjustment
1
2
• Open the handle tube clamp to
unlock the handle tube.
• Lift or lower the handle tube so
that the handlebar is at a
comfortable height for your child.
• Close the handle tube clamp to
lock the handle tube in place.
IMPORTANT! If the handle tube
clamp does not lock the handle tube
in place, or, you cannot close the
handle tube clamp to lock the
handle tube in place, you may need
to tighten or loosen the handle
tube clamp. With the clamp opened,
rotate the thumb nut, as necessary,
to tighten or loosen the clamp. Or,
tighten the clamp by inserting an
Allen wrench (included) into the
thumb nut and tighten. Be sure to
close the handle tube clamp to lock
the handle tube in place.
• Push down on the handlebar to
be sure the handlebar tube is
locked in place.
IMPORTANT! If the handlebar tube
moves, please refer back to step 1
on this page to be sure you lock the
handle tube in place.
Handlebar
Clamp
Handlebar
Thumb
Nut
Page 6

Beginner
Beginner
6
WARNING
To prevent injury:
•Keep away from cars and streets.
• Protective equipment should be worn, including
helmet, wrist guards, knee pads and elbow pads.
•Never allow more than one rider.
Rear
Brake
• To stop the scooter, your child
should press down with one foot
on the rear brake, as shown.
• Make sure your rider stands in the
middle of the board.
Page 7

7
Advanced
Advanced
For advanced use, remove the
training wheels!
• While holding one training wheel
in place with an Allen wrench,
loosen the other training wheel
with another Allen wrench.
Remove the training wheels and
all hardware: (2) wheel bushings,
(2) spacers, (1) barrel nut and
(1) barrel screw.
• Store the training wheels and
hardware in a safe place for
future use.
Rear
Brake
• To stop the scooter, your child
should press down with one foot
on the rear brake, as shown.
Training Wheel
• Make sure your rider stands in the
middle of the board.
Spacer
Page 8

Car
Caree
Consumer Infor
Consumer Infor
mation
mation
Questions? We’d like to hear from you!
If you have any questions about this product, please call Fisher-Price®Consumer
Relations, toll-free at 1-800-432-KIDS (5437), 8 AM - 6 PM EST Monday through Friday.
Hearing-impaired consumers using TTY/TDD equipment, please call 1-800-382-7470. Or,
write to: Fisher-Price
®
Consumer Relations, 636 Girard Avenue, East Aurora, New York
14052.
For countries outside the United States:
CANADA Questions? 1-800-567-7724. Mattel Canada Inc., 6155 Freemont Blvd., Mississauga, Ontario L5R 3W2.
GREAT BRITAIN Mattel UK Ltd, Vanwall Business Park, Maidenhead SL6 4UB. Helpline: 01628 500302.
AUSTRALIA Mattel Australia Pty. Ltd., 658 Church Street, Locked Bag #870, Richmond, Victoria 3121 Australia.
Consumer Advisory Service 1300 135 312.
NEW ZEALAND 16-18 William Pickering Drive, Albany 1331, Auckland.
ASIA Mattel East Asia Ltd, Room 1106, South Tower, World Finance Centre, Harbour City, Tsimshatsui, HK, China.
Fisher-Price, Inc., a subsidiary of Mattel, Inc., East Aurora, NY 14052 U.S.A. PRINTED IN CHINA
©2004 Mattel, Inc. All Rights Reserved. ® and ™ designate U.S. trademarks of Mattel, Inc. 78558d-0920
• Periodically inspect this product for wear or damage. Check all nuts and bolts
and tighten as required.
• Check the plastic parts regularly and if broken or cracked, dispose of
them properly.
• To clean, use a mild soap and water solution and clean cloth. Rinse clean
with water to remove soap residue.
 Loading...