

Page 1
Instructions
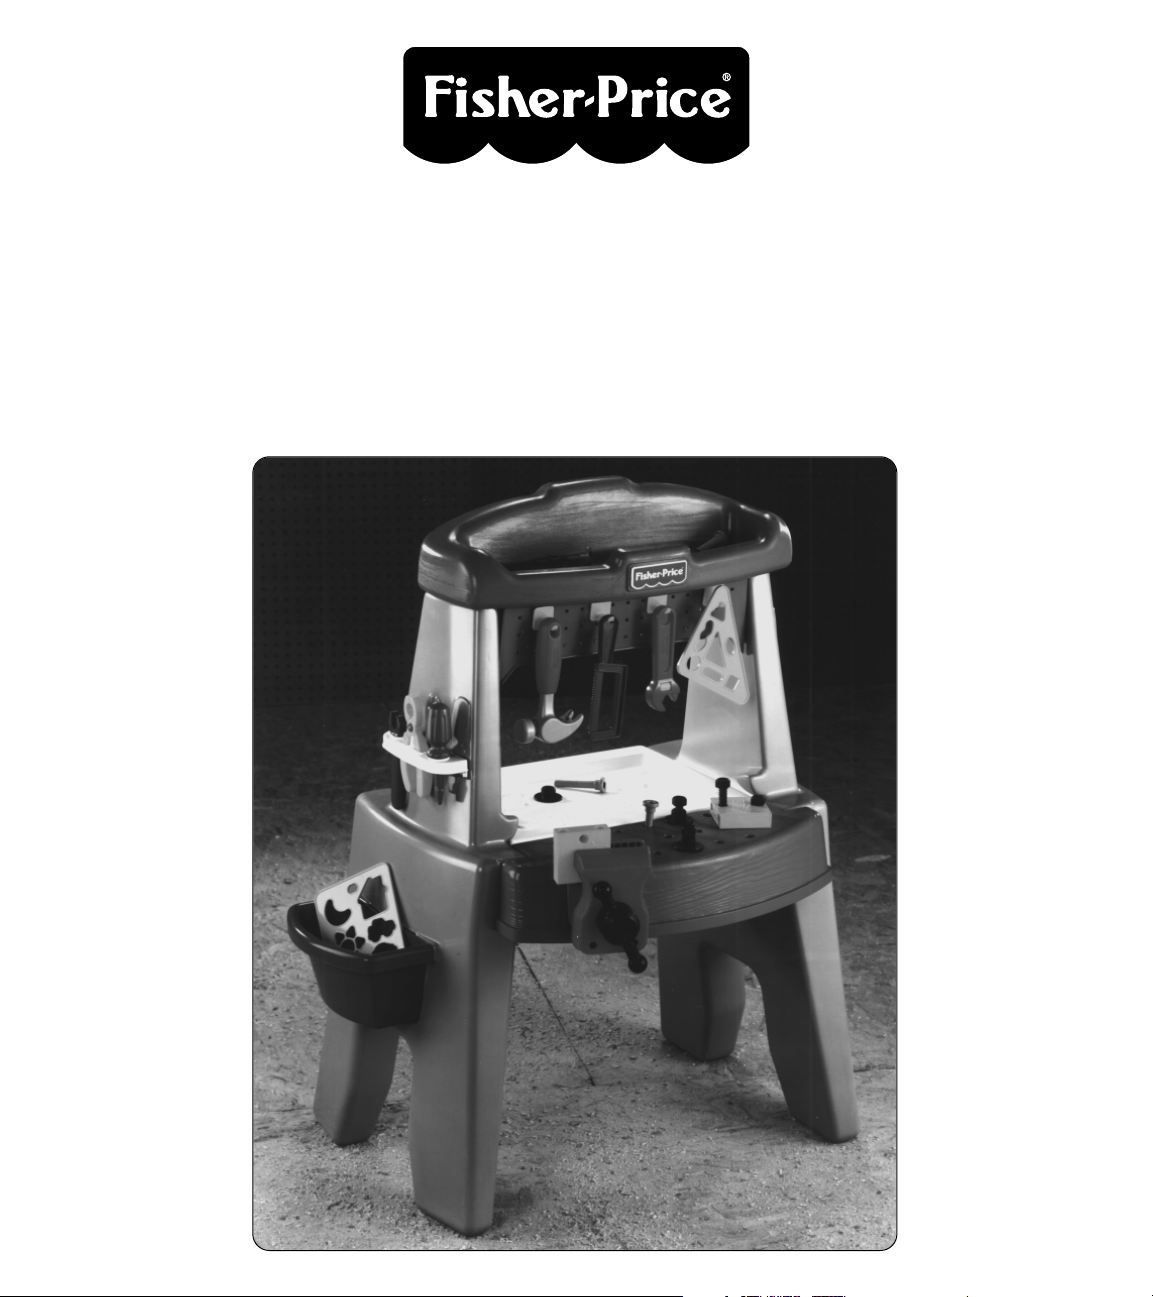
All-In-One Workshop
Model Number: 77171
Please save these instructions for future reference.
Adult assembly is required.
No tools needed for assembly.
Page 2

Thank you for purchasing the Fisher-Price All-In-One
Workshop for your child.With tools and other accessories
that are just the right size for growing hands, a vise that really
works, and lots of work surfaces, the All-In-One Workshop
was designed for hours of fun and imaginative play.
Questions? We’d like to hear from you.
Call Fisher-Price Consumer Affairs, toll-free at
1-800-432-KIDS, 8 AM - 6 PM EST Monday through Friday.
Hearing-impaired consumers using TTY/TDD equipment,
please call 1-800-382-7470. Or, write to: Fisher-Price
Consumer Affairs, 636 Girard Avenue, East Aurora,
New York 14052.
Message to Parents Parts List
1 Top Shelf 1
2 Right Leg 1
3 Stencil Hook 2
4 Peg Board 1
5 Tool Hook 4
6 Table Top 1
7 Left Leg 1
8Tray 1
9 Vise 1
10 Vise Handle 1
11 Storage Bucket 1
12 Tool Holder 1
13 Stencil 2
14 Screwdriver 1
15 Wrench 1
16 Pliers 1
17 Hammer 1
18 Adjustable Wrench 1
19 Hacksaw 1
Not Sho
wn
“Wood” Block 2
Nail 4
Screw 4
Nut 4
• Please wipe each part with a clean, dry cloth before
assembling the All-In-One Workshop.
• Please save all packaging material until assembly is
complete to ensure that no parts are discarded.
No. Description Qty.
2
Please keep plastic bags out of children’s
reach. Dispose of them properly.
CAUTION
Page 3

Important Note: Please read the next step carefully,
before assembling the pegboard and tool hooks to the
top shelf. Make sure you assemble the inner tool hooks
before assembling the outer tool hooks.
• Align the large holes in the pegboard with the holes in
the top shelf.
• Insert each of the four tool hooks through the large
holes in the pegboard and into the top shelf in the
order shown above.
3
9
10111213141516
19
Right Leg
(Inside)
Stencil
Hooks
Top Shelf
Pegboard
Tool Hooks
Left Leg
(Outside)
Assembly
Parts Diagram
• Snap a stencil hook into the holes in the inside of the
right leg.
• Snap the remaining stencil hook into the holes in the
outside of the left leg.
1
2
2
4
1
3
5
17
3
8
6
7
18
4
2
1
3
Page 4

• Stand the right leg upright, with the inside of the leg
facing you.
• Fit the rib at the top of the right leg into the groove in
the bottom of the top shelf as shown.
• Push the right leg in the direction of the arrow to slide
the rib into the top shelf groove.
Right Leg
(Inside)
Top Shelf
Groove
Arrow
Rib
4
• Place the tray on the floor.
• Position the right leg with top shelf on top of the tray,
as shown.
• With the tray supporting the right leg and top shelf,
push down firmly on the top shelf to slide the rib on the
right leg completely into the groove in the top shelf.
Tr ay
Top Shelf
Right Leg
3
4
• Stand the right leg with top shelf upright.
• Stand the left leg upright, with the outside of the leg
facing you.
• Fit the rib at the top of the left leg into the other groove
in the bottom of the top shelf, as shown.
• Push the left leg in the direction of the arrow to slide
the rib into the top shelf groove.
Left Leg
(Outside)
Groove
Top Shelf
Rib
5
• With the tray on the floor, position the legs with top
shelf assembly on top of the tray as shown.
• With the tray supporting the left leg and top shelf, push
down firmly on the top shelf to slide the rib on the left
leg completely into the groove in the top shelf.
Left Leg
Top Shelf
Tr ay
6
Page 5

Vise
Vise Handle
• Lay the workshop on the floor, with the pegboard
facing up.
• Fit the rear tabs on each side of the tray into the
rectangular recesses on the inside of the legs.
• Hold the workshop legs together while pushing down
on the front of the tray. Make sure the front tabs on the
sides of the tray are aligned with the front grooves in
the workshop legs.
Note: You may want the help of another person to hold
the workshop legs together while sliding the tabs on the
sides of the tray into the grooves in the legs.
• Push the tray in firmly to secure it between the
workshop legs.
• Stand the workshop upright.
7
5
• Insert the end of the vise handle through the hole in
the front of the vise.
• Position the vise handle on a flat surface.
• Push firmly on the back of the vise to snap the vise
handle into the vise. Be careful to keep your fingers out
of the way!
8
9
Vise Handle
• Insert the end of the vise handle through the opening in
the front of the tray.
• Fit the tabs on the back of the vise into the slots in the
tray.
• Push down firmly on the vise to attach it to the tray.
Vise
Tabs
Right Leg
Opening
Tr ay
Vise Handle
Slots
10
• Fit the pegs on the toolholder into the holes in the
outside of the right leg.
• Insert the tabs on the storage bucket into the grooves
in the outside of either leg.
• Slide the storage bucket down to secure it on the leg.
Storage
Bucket
Right Leg
Toolholder
11
Side View
Front
of Tray
Rectangular
Recess
Front Groove
Page 6

Tool Time!
• With the workshop surface face up, slide the table top
over the tray area from the back of the workshop. Make
sure the table top slides under the table top supports.
The dual-sided table top adjusts to two positions:
workshop surface or drafting table.
Table Top Supports
Ta ble Top
• To convert the workshop surface to a sloped drafting
table, flip the table top over and place the edge of the
table top in the groove in the tray.
• Lay the sides of the table top on the table top supports
on the legs.
Ta ble Top
Groove
• Hang the wrench, pliers and screwdriver in the toolholder.
• Hang the hacksaw, hammer and adjustable wrench
from the tool hooks under the top shelf.
• Hang the stencils from the stencil hooks on the legs.
• Arrange the nuts, bolts, and nails on the top shelf.
• Store the blocks of “wood” in the storage bucket on the
side of the All-In-One Workshop, or in the tray area.
• The storage bucket can be attached to either workshop
leg, and can be easily moved from one leg to the other!
• Turn the vise handle clockwise to close the vise.
• Turn the vise handle counter-clockwise to open the vise.
• Hang your carpentry plans from the paper holder for
quick and easy reference. Simply slide the edge of your
paper under the paper holder.
• Keep your miscellaneous supplies in the tray area
under the tabletop.
If you have any questions about this product: In Canada, call 1-800-567-7724, or
write to: Mattel/Fisher-Price, 6155 Freemont Blvd., Mississauga, Ontario L5R 3W2.
In Great Britain, telephone 01734 770488. In Australia, call the Fisher-Price
Australian Consumer Advisory Service toll-free at 1-800-800-812, or write to:
Fisher-Price, Mattel Pty. Limited, 461 Plummer Street, Port Melbourne,
Victoria 3207.
©1996 Fisher-Price, Inc., East Aurora, New York 14052 77171 1 77171-0920
Back View
Workshop Surface
Back View
Sloped Drafting Table
To
Open
To
Close
 Loading...