

Fisher Engineering
49900
50 Gordon Drive, Rockland, Maine 04841-2139 • www.fi sherplows.com
February 15, 2010
Lit. No. 48685, Rev. 00
CONTROL KIT
XLS™ and XtremeV™ Joystick Control with
SECURITY GUARD™ Snowplow Anti-Theft System
OPERATING INSTRUCTIONS
CONTROL OVERVIEW
The SECURITY GUARD feature was developed as an
electrical anti-theft system for snowplows. The system
provides a deterrent from theft and/or non-permitted
use by allowing you to electronically lock the
snowplow's hydraulic functions.
To use this function, you must complete the
"Activation" process.
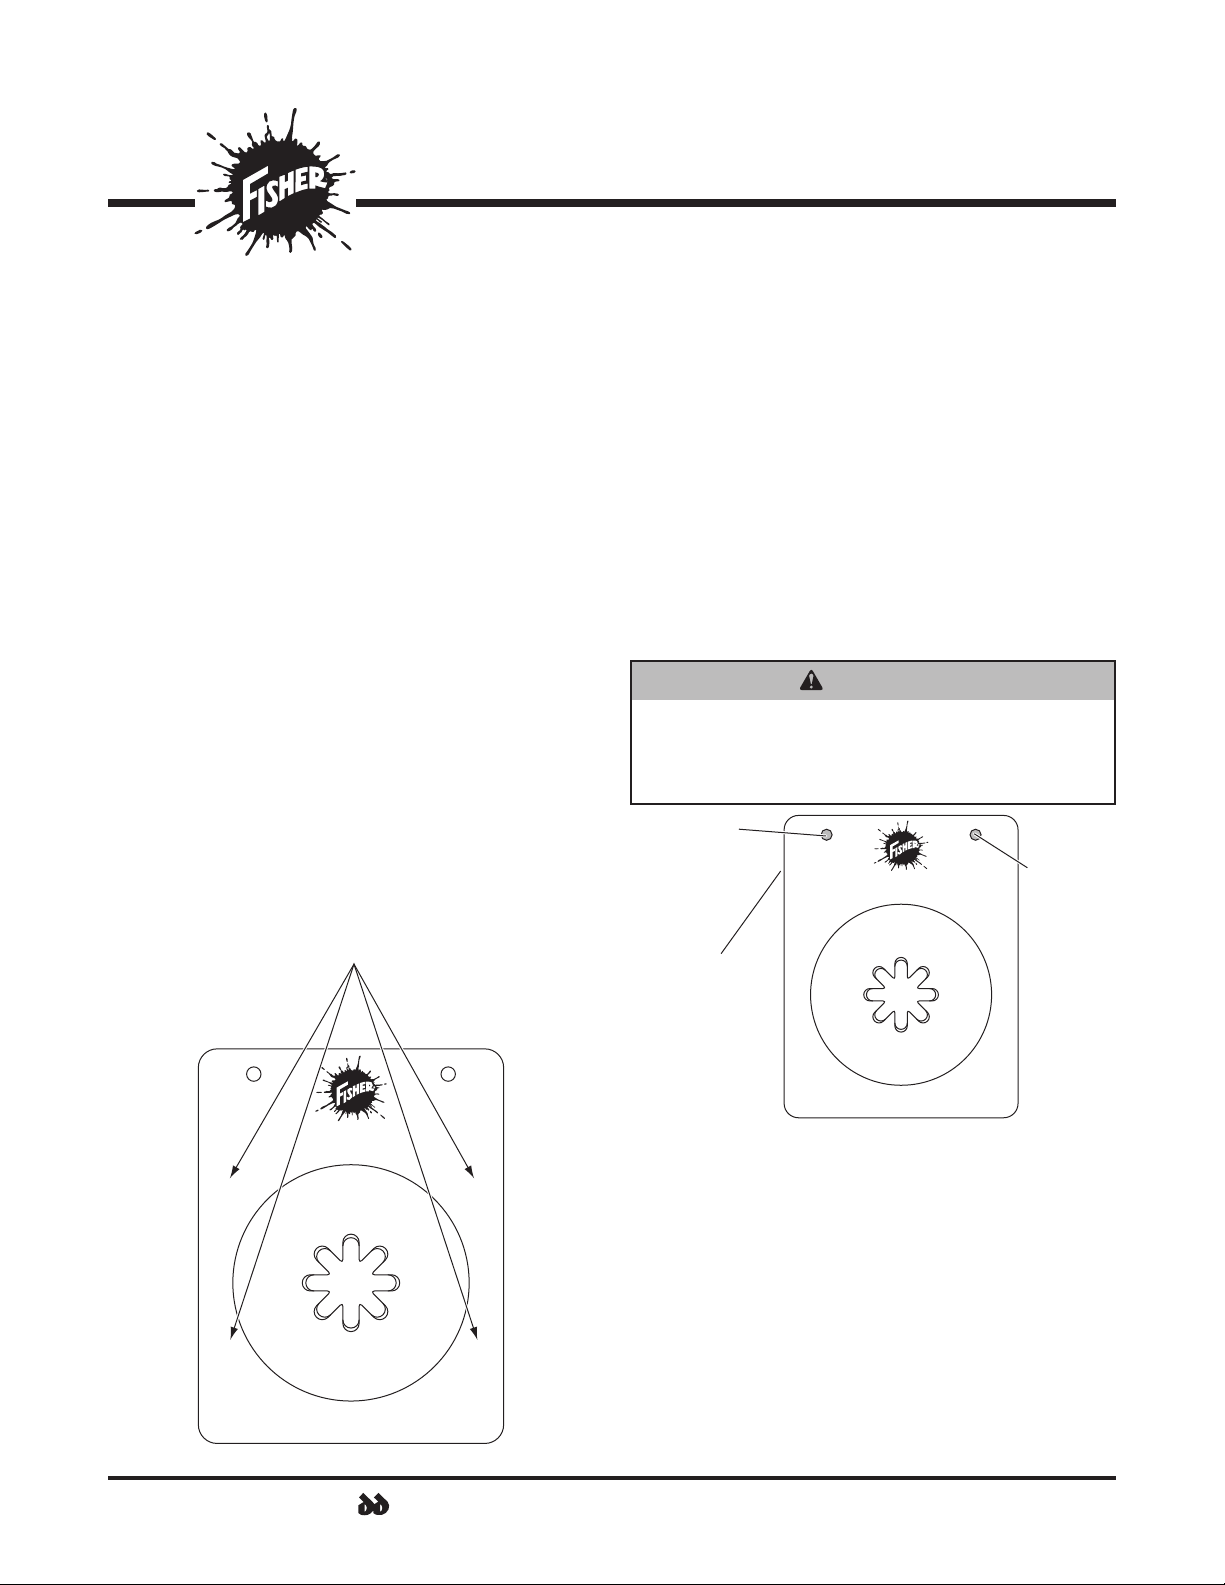
Each control is equipped with an ON/OFF switch and
an indicator light to show when the control is powered
ON or OFF. The controls are powered by the vehicle's
battery, so your vehicle ignition (key) switch must be
ON to use the controls.
SECURITY GUARD System Enabled Controls Have
Numbers 1 Through 4 on the Faceplate.
ON/OFF
FLOAT
Before Activating the SECURITY GUARD
System:
Install the control as stated in the Joystick Control Kit
Installation Instructions, and check all plow functions
as described below.
WARNING
To prevent accidental movement of the
blade, always turn the ON/OFF switch to OFF
whenever the snowplow is not in use. The
control indicator light will turn off.
Power
Indicator
Light (red)
ON/OFF
Switch
(Emergency
Stop)
ON/OFF
SCOOP
L
3
WING
IN/OUT
U.S. PAT. 4,999,935
RAISE
LOWER
FLOAT
RETRACT
21
R
4
WING
IN/OUT
Float
Light
(green)
SCOOP
L
3
WING
IN/OUT
U.S. PAT. 4,999,935
RAISE
LOWER
OPERATING INSTRUCTIONS
RETRACT
21
R
4
WING
IN/OUT
A SUBSIDIARY OF DOUGLAS DYNAMICS, L.L.C.
1. Turn the vehicle ignition switch to the ON or the
ACCESSORY position.
2. Move the slide switch on the side of the control to
the "ON" position. The control indicator light glows
red, indicating the control is ON. The indicator light
glows red whenever the control and the vehicle
ignition switch are both ON and the electrical
connections to the plow are completed.
The ON/OFF switch operates as an emergency stop if
required.
49900
Function Time-Outs
All control functions, except LOWER/Float, time out
(stop) automatically after a period of time. This is to
limit the amount of electrical energy required from the
vehicle.
While the operation of the XLS™ and XtremeV™
controls are the same, the time-outs vary.
Note: If control function times out before desired
blade movement is complete, release the lever
to the center position, then move back into the
desired function.
Automatic Shutdown
The control will automatically turn OFF after being
idle for 20 minutes. To reactivate the control after a
shutdown, move the ON/OFF switch to OFF, then back
to ON.
Smooth Stop
The control automatically allows the blade to coast to
a stop when the lever returns to center position. This
results in smoother operation, reduces shock to the
hydraulic system and increases hose and valve life.
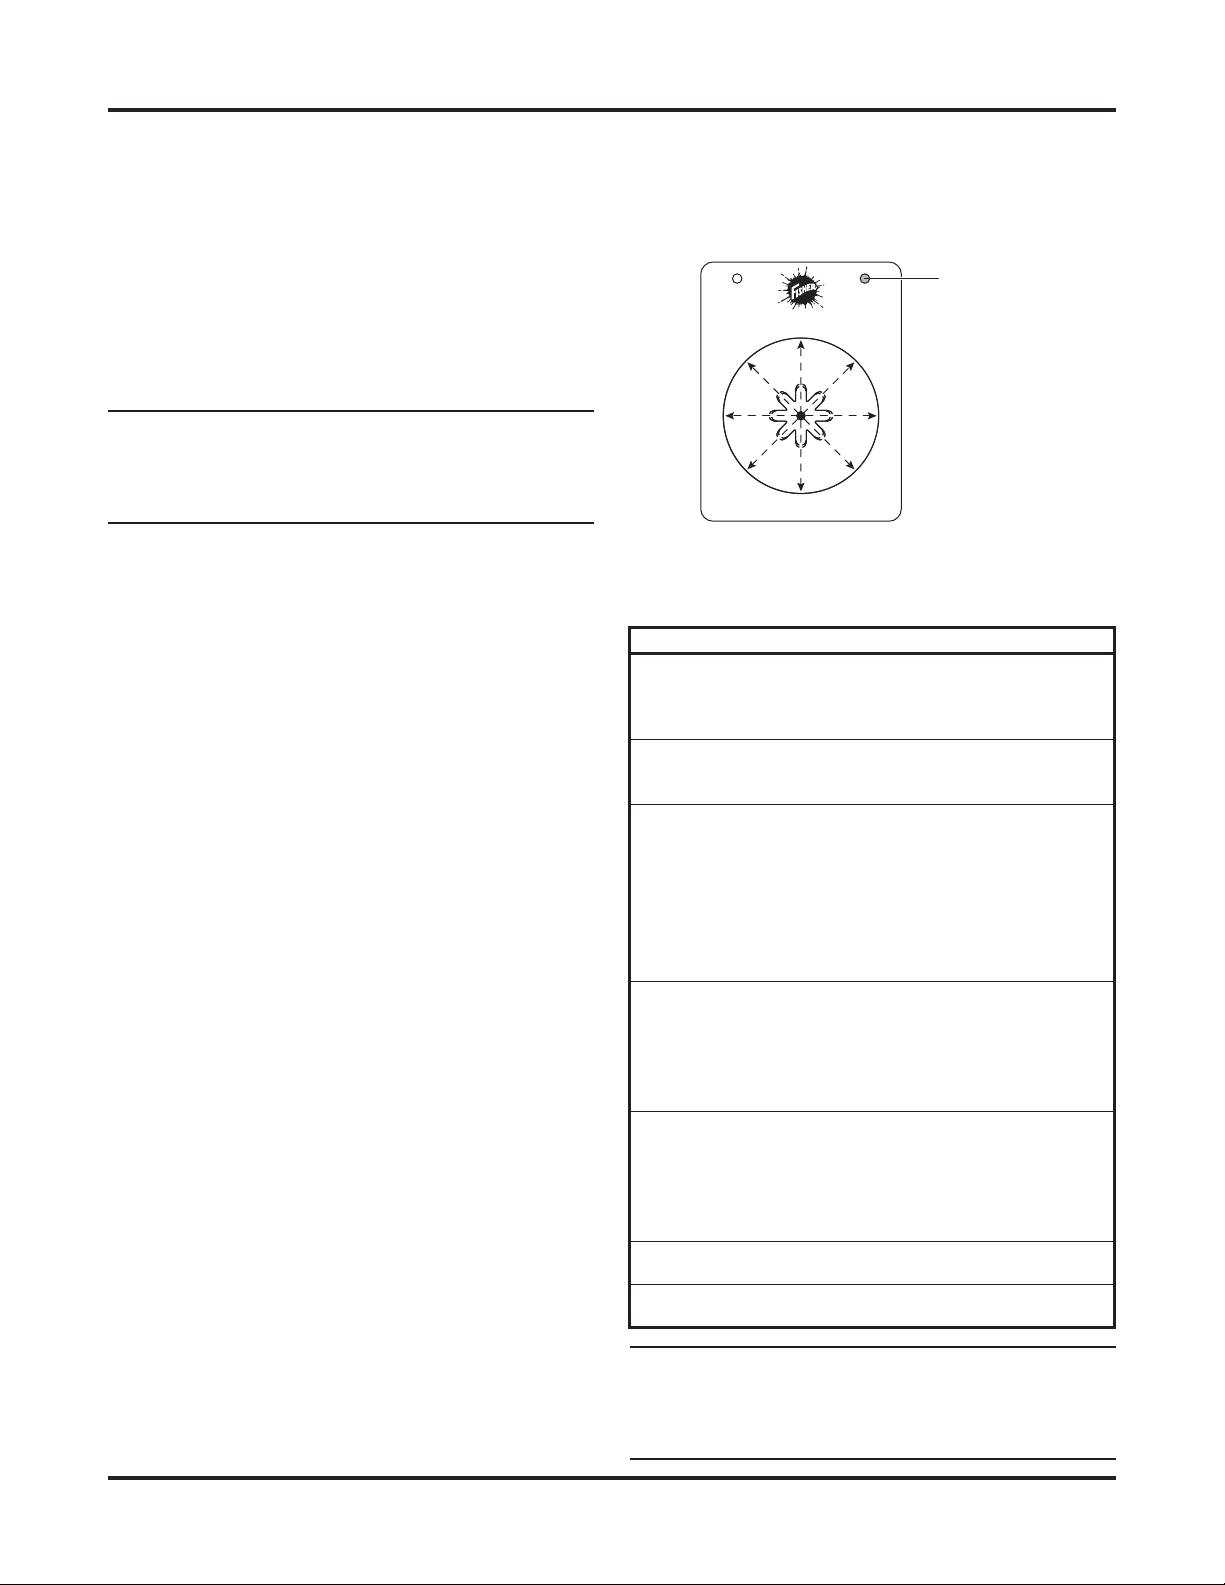
Control Lever Movement
From the center position, the control lever can be
moved in one of eight (8) directions to control various
movements of the snowplow blade. To change from
one movement of the blade to another, the control
lever must be moved back to the center position
before selection the desired function. Whenever the
lever is released, it should spring back into the center
position to stop any blade movement.
Control Functions
Raise, Lower, Float, Angle
ON/OFF
SCOOP
L
3
WING
IN/OUT
U.S. PAT. 4,999,935
RAISE
LOWER
FLOAT
RETRACT
WING
IN/OUT
21
R
4
Moving the control lever in straight lines up and down
or from side to side on the control body will result in
the following blade movements:
Function Description of Operation
Move control lever toward top of control
RAISE
LOWER
FLOAT
L
(Angle
Left)
R
(Angle
Right)
1 & 4
2 & 3
body to raise snowplow and cancel FLOAT
mode. Function times out after 3.5 (XLS) or
4.0 seconds (XtremeV).
Move control lever toward bottom of control body
to lower snowplow. Release the lever to stop
blade at desired height.
Move control lever to LOWER position and hold
for 3/4 second to activate this mode. FLOAT
indicator light in upper right corner of control face
will illuminate. Blade will lower to ground surface
and follow contour of surface as it dips or raises.
Function does not time out; however, control will
shut down after 20 minutes of nonuse.
Press RAISE button momentarily to cancel FLOAT.
With wings in a straight line, move control
lever straight to the left to move both wings
to angle left position. Left wing retracts while
right wing extends to cast snow to driver's left
side. Function times out after 3.25 (XLS) or
3.0 seconds (XtremeV).
With wings in a straight line, move control
lever straight to the right to move both wings to
angle right position. Right wing retracts while
left wing extends to cast snow to driver's right
side. Function times out after 3.25 (XLS) or
3.0 seconds (XtremeV).
Used to access the SECURITY GUARD™
system activation mode.
Used to clear the SECURITY GUARD™ system
activation mode.
Float Light
(green)
Note: If control function times out before desired
blade movement is complete, release the lever
to the center position, then move back into the
desired function.
Lit. No. 48685, Rev. 00 2 February 15, 2010
 Loading...