

Page 1
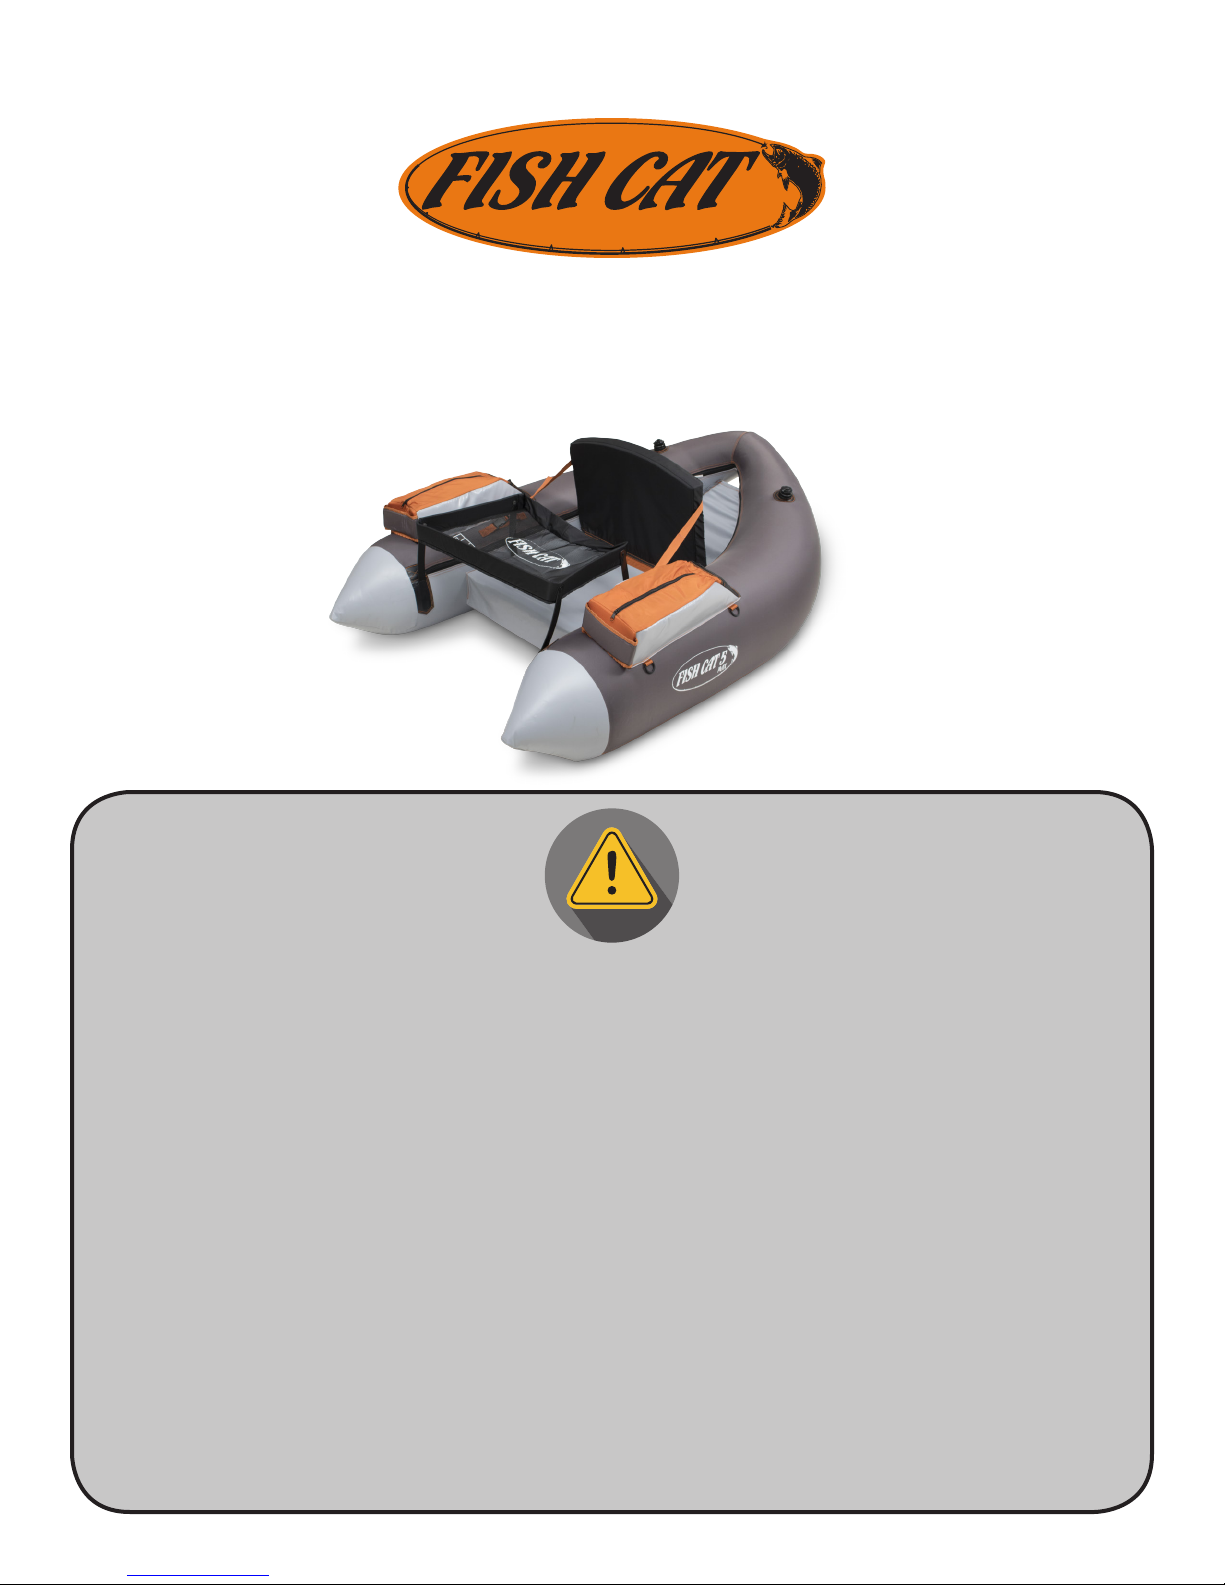
FISH CAT 5 MAX OWNER’S MANUAL
ALWAYS WEAR A COAST GUARD APPROVED FLOTATION DEVICE
WHEN OPERATING THE FISH CAT 5 MAX.
Know the limits of your abilities and the limits of your equipment.
Changes in air temperature and elevation may cause the air inside the Fish Cat
5 Max to expand, which could cause a tube to burst. Always release some air
when these conditions occur.
Never leave your boat sitting in direct sunlight when it is out of the water.
This owner’s manual will help you with initial set-up of your new float tube, provide basic safety information and
maintenance tips, and cover simple field repair.
Page 2
BEFORE YOU BEGIN,
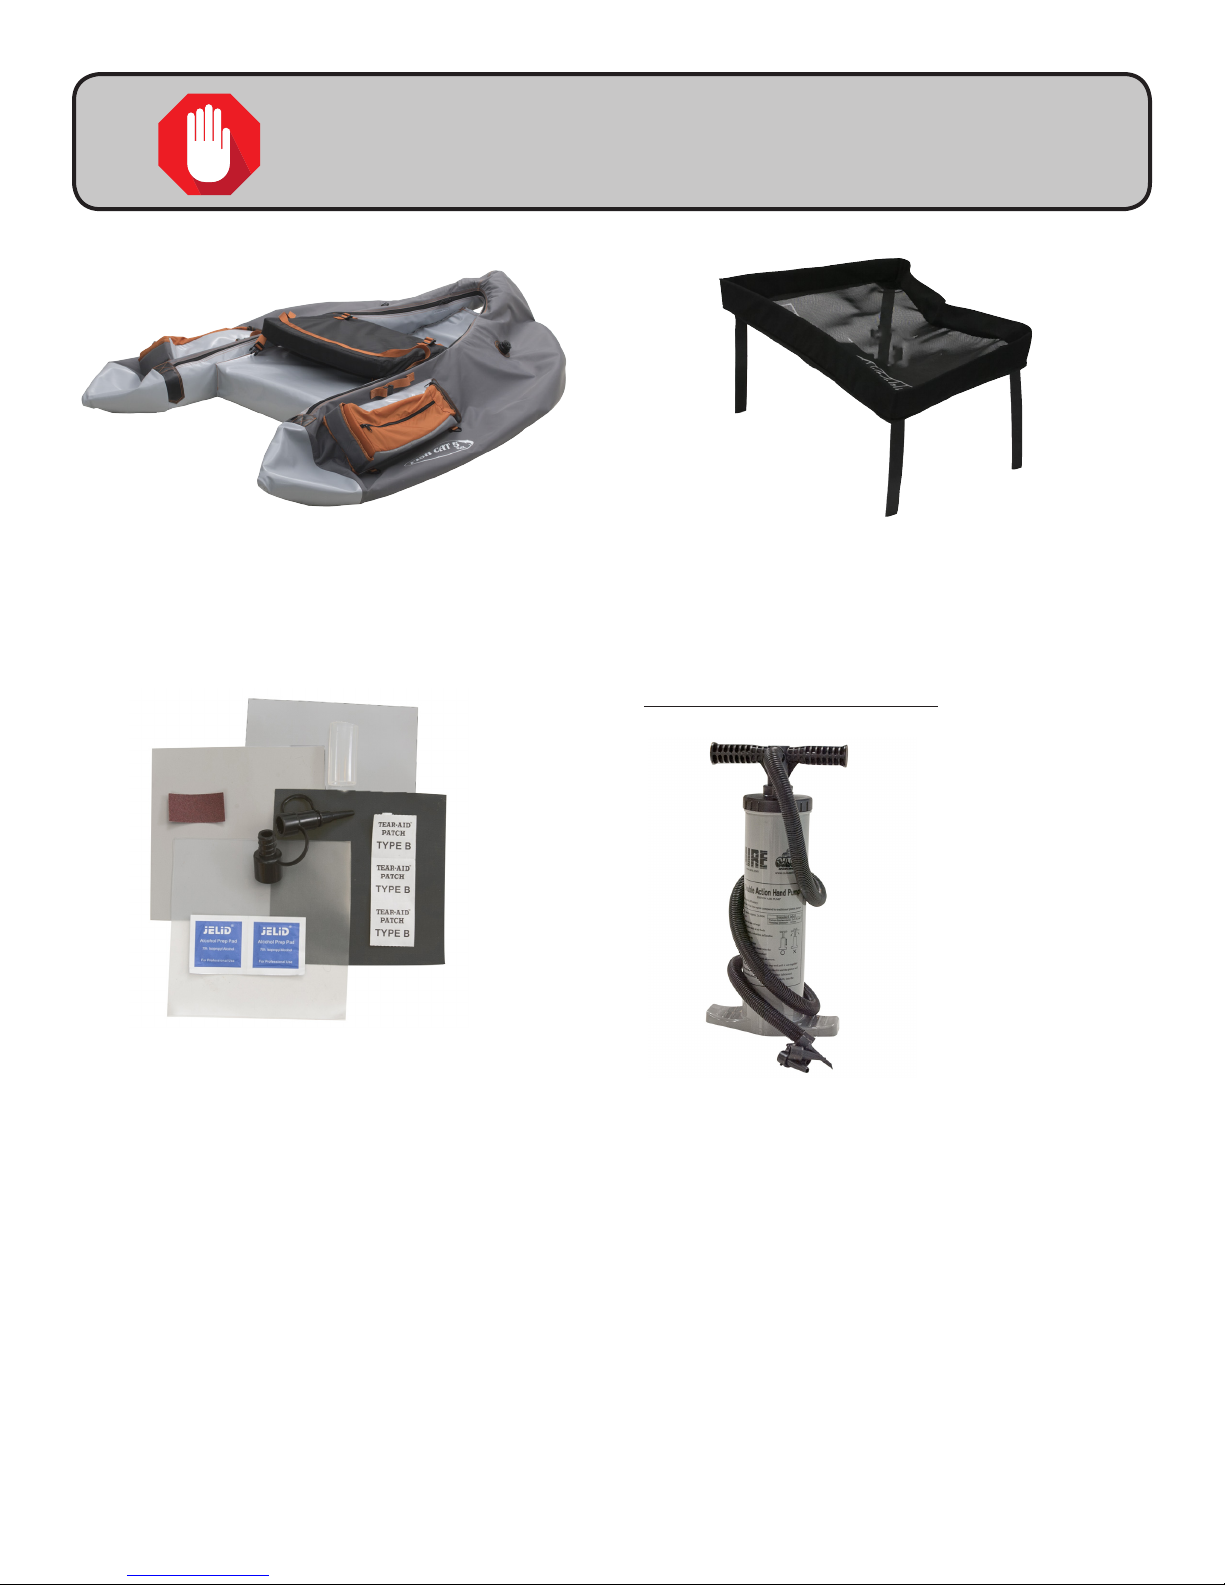
Check for damaged or missing parts.
1 - Fish Cat 5 Max 1 - LCS Apron
Items needed for assembly (NOT included)
Repair kit
2 - Gray PVC
1 - Gray pack cloth
1 - Vinyl
2 - Alcohol prep pads
3 - Type B tear-aid patches
1 - Vinyl valve adapter
1 - Boston valve adapter
1 - Sandpaper
Inflation Pump
Page 3
Step 1: Inflation
Items needed:
Fish Cat 5 Max
Inflation pump
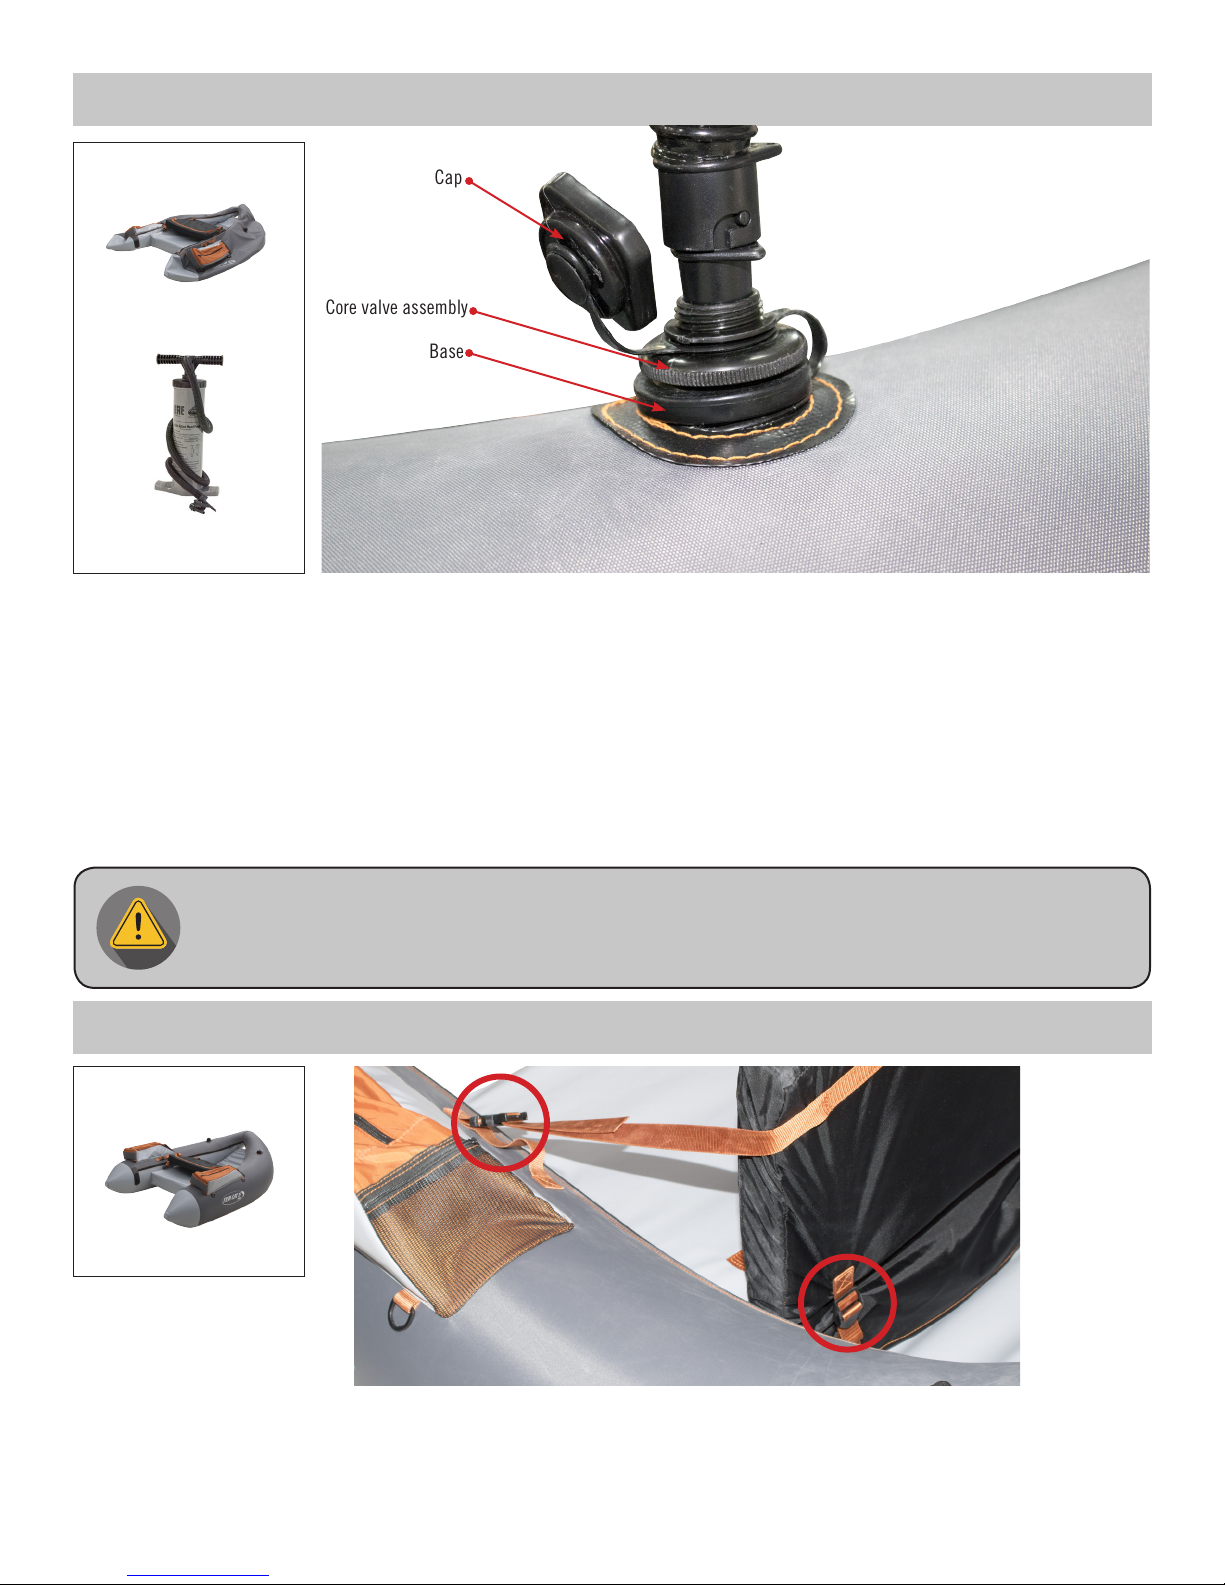
Core valve assembly
Cap
Base
1. Close core valve assemblies and open valve cap.
2. Inflate the Fish Cat 5 Max to about 2.0 PSI using the hand pump. Depending on the brand of pump you are using, you can
use either the adapters that come with the pump, or the vinyl tubing and Boston valve adapter to attach the pump to the
valve.
3. A good rule to gauge the proper pressure is to push with your thumb at the center of the tube, when you can deflect about
3/4” from the top surface of the tube, it will be close to 2.0 psi.
4. The air chambers should be evenly inflated to prevent disfiguration of the float tube.
5. Cap the valves
Changes in air temperature and elevation could cause the air inside the float tube to expand which could cause
damage to the AIREcells. Never leave your fully inflated tube sitting in direct sun light out of the water.
Always release some air when these conditions occur.
Step 2: Adjust the Seat
Items needed:
Fish Cat 5 Max
1. Clip the seat straps to the side release buckles on the float tube.
2. Tighten the straps through the ladder lock buckle in the back of the seat.
3. Adjust the seat straps for most comfortable fit.
Page 4
Step 3: Install the LCS Apron
Items needed:
Fish Cat 5 Max
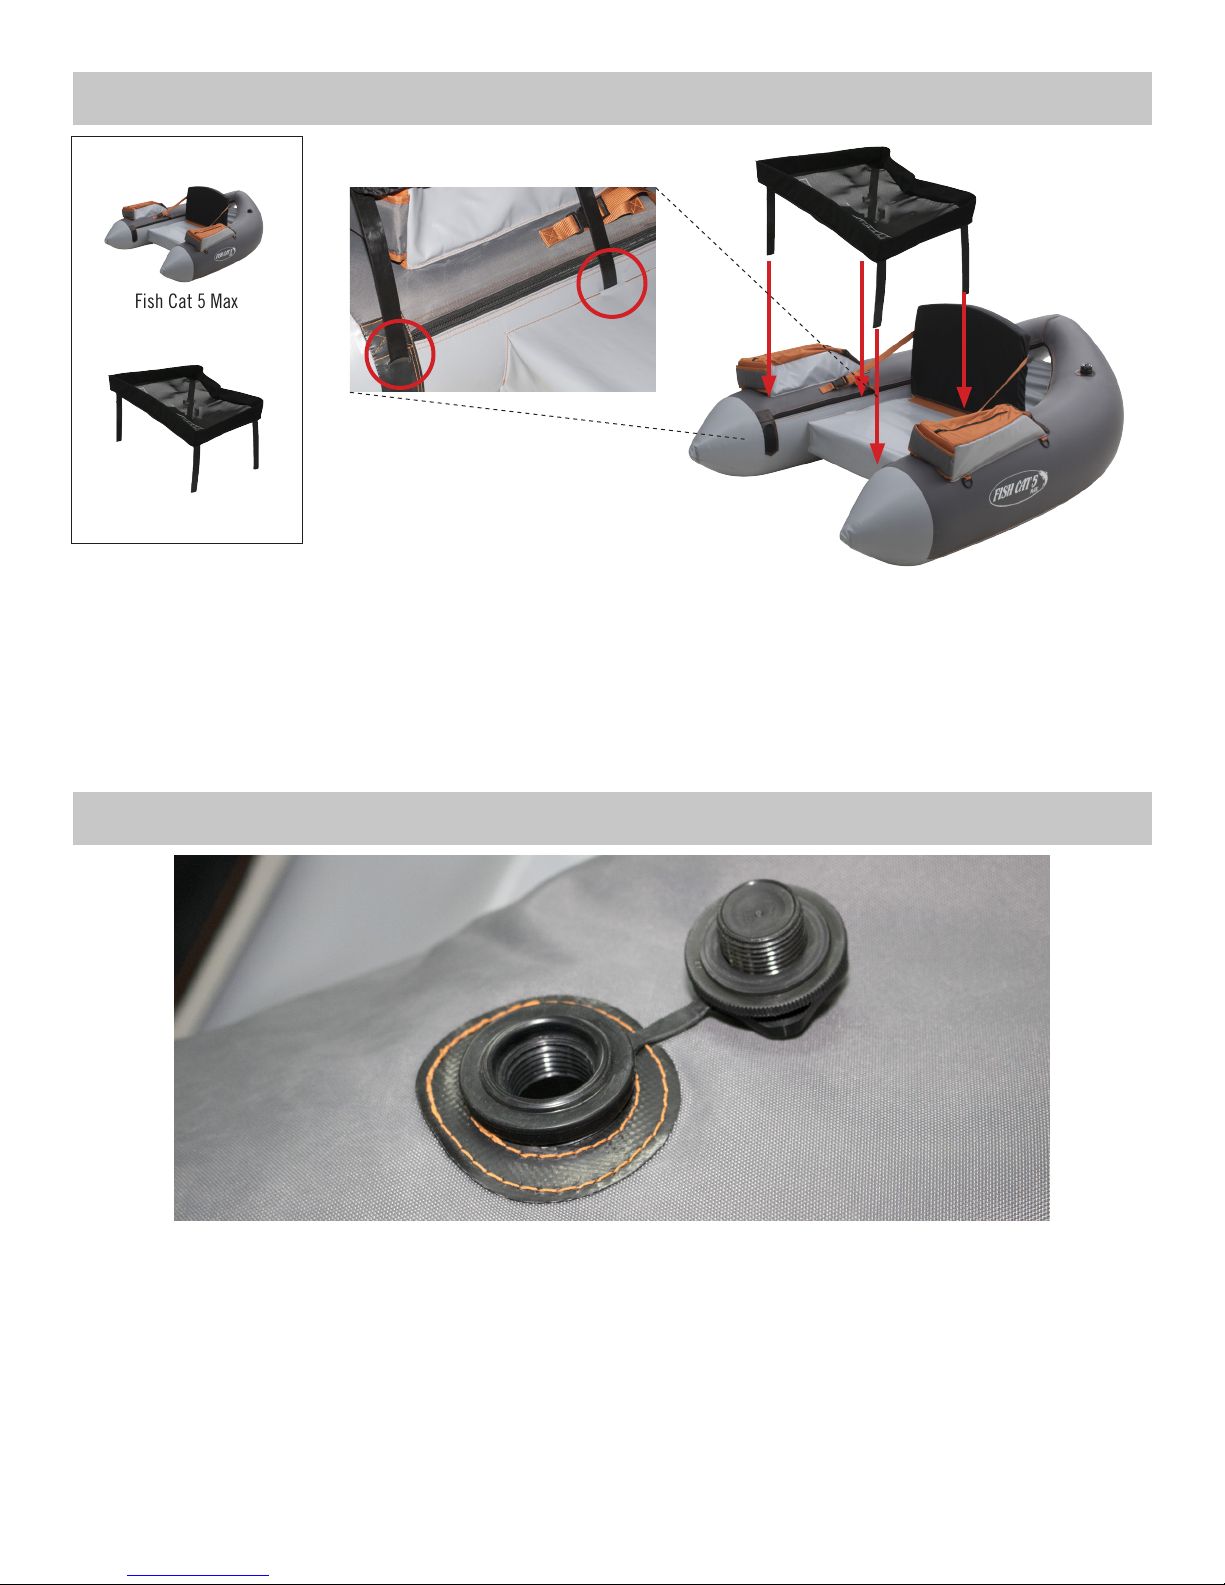
LCS Apron
1. Secure left side apron stays into the stay pockets on the Fish Cat 5 Max. The rear apron stay pocket is located 5” from the
front edge of the seat.
2. Once seated in the Fish Cat5 Max, insert right side of apron stays.
3. The apron stays come extra long, trim stays so the Stripping Apron is 2” above your thighs.
Deflation
1. To deflate the Fish Cat 5 Max, loosen the core assembly of the Boston valve.
Page 5

The D-Rings on the bottom of the float tube are for backpack straps only.
Storage
Short Term Storage - Allow to air dry, deflate and roll loosely.
Long Term Storage - Store your float tube dry and clean. After use, rinse off all debris and allow the tube to air dry on soft
pressure and out of direct sunlight. Residual water inside the bladders/AIREcells will not damage the tube. Store in a cool,
dry place out of sunlight and away from exhaust fumes. If you store your tube inflated you should be able to pinch an inch of
material.
TransportTransport
To avoid excessive wear and extend the life of this float we recommend transporting this craft in a Outcast Sporting Gear boat
bag or cover with clean, dry tarp. Do not load other equipment, particularly heavy or sharp objects, on top of the craft. If you
transport your boat in an open truck bed please make sure all sharp objects are removed because more boats are damaged in
transport than on the water.
Valve caps should always be in place whenever transporting an inflated boat.
Cleaning and Maintenance
Your float tube is constructed with high quality materials and superior workmanship however, as with all outdoor equipment
proper cleaning and maintenance will extend the use of the product and allow it to perform better. Most damaging to your
inflatable tube are extended UV exposure, insect repellents, mold and mildew.
To keep your float tube performing at its best, please following these simple instructions.
• Do not set your boat on sharp objects.
• Do not over inflate your boat.
• Keep the zippers clean.
• Clean the boat with soap and water.
• Allow the boat to dry before rolling.
• Close the lid on fish attractants when in float tube pockets as they can cause damage to the AIREcell.
Page 6

Basic Troubleshooting
1. Valve does not retain air when pump is removed.
• Clear any debris that might be preventing the valve from sealing. This can be accomplished by either pumping quick
bursts of air into the valve or removing the core valve assembly and cleaning the valve with a cotton swab and
denatured alcohol.
• Make sure that the core valve assembly is tight. Tighten valve if necessary.
2. Tube becomes soft after inflation process.
• Determine which air chamber is soft. Make sure the valve is functioning correctly, with no signs of leaking.
• Thermal contraction is normal, be sure to top off the float tube after sitting in cold water.
• Find the hole in the AIREcell and patch with the Tear Aid patch.
3. Tube is puckered or shows a void when inflated.
• The AIREcell might be misaligned. Deflate the tube(s) and as they are brought back up to pressure, manipulate the
tube(s) to free the AIREcell as it inflates. If this does not fix the problem, deflate the boat, open the zipper and adjust
the AIREcell.
4. Zipper is difficult to operate.
• Use a combination of soap, water and an old toothbrush to clean and clear the zipper of debris.
5. Tear Aid patch does not stick to AIREcell.
• Make sure the area to be patched is dry and clean. Use the alcohol pad to prep the area.
Recommended Items for Repair Kit
This boat contains a starter repair kit that includes equipment for basic repair. Here is a list of items (not included) which you
should strongly consider keeping with your repair kit at all times.
• *1/4 pint Stabond 2-part adhesive
• Scissors or knife
• Small paintbrush
• Roller
• Rag
• Duct tape
• Old toothbrush
• Popsicle stick
• Standard Screwdriver
• Extra AIREcell is the ultimate extended trip repair item
(*It’s recommended to replace the glue every year or after use.)
Type B Adhesive Patch Repair
Items Needed:
Rag
Type B adhesive patch
Alcohol prep pad
Tear Aid instruction sheet
1. For most repairs, the airecell does not need to be removed completely.
2. Locate the hole in the boat and access that area of the airecell and outer skin by opening the zipper.
3. Using a rag, dry the area to be worked on.
4. Clean the area with alcohol prep pad and let the area air dry.
5. Peel backing paper off Type B adhesive patch and apply patch over punctured area. (See Tear Aid instruction sheet for more
details.)
6. Press and rub patch so that the patch seals completely, without bubbles.
Page 7

Extensive Repairs
If you have a major rip or tear in your boat that is beyond your abilities to repair, please contact Outcast at 844-556-5730 for a
Return Authorization (RA) number. Please put a brief note with your contact information and a detailed description of the repairs
necessary inside the box and ship the package to the address below with the RA number clearly written on the outside of the
box. Please ship the boat with a service that provides a tracking number.
Warranty
5 YEAR LIMITED WARRANTY
What this Warranty Covers: The Five (5) year limited warranty covers retail purchases against manufacturing defects in
materials and workmanship. This warranty covers the tubes, D-ring patches, AIREcells, valves and zippers to be functional and
water worthy.
What this Warranty Does Not Cover: The 5 year limited warranty does not cover the frame, damage caused by normal boat use,
cosmetic wear, excessive UV damage, abnormal abuse, neglect and/or inappropriate storage. This warranty can be void if the
boat is structurally altered or used commercially.
The Period of Coverage: Your boat is covered from the original purchase date for a period of five years.
Outcast Sporting Gear ~ 844-243-2473 ~ 2021 E Wilson Lane. Meridian, ID 83642 ~ [email protected]
Page 8

Thank you for choosing Outcast and Fish Cat products!
 Loading...