

Page 1

INSTRUCTION
MANUAL
31065 Gears Grandfather Clock
Page 2
2
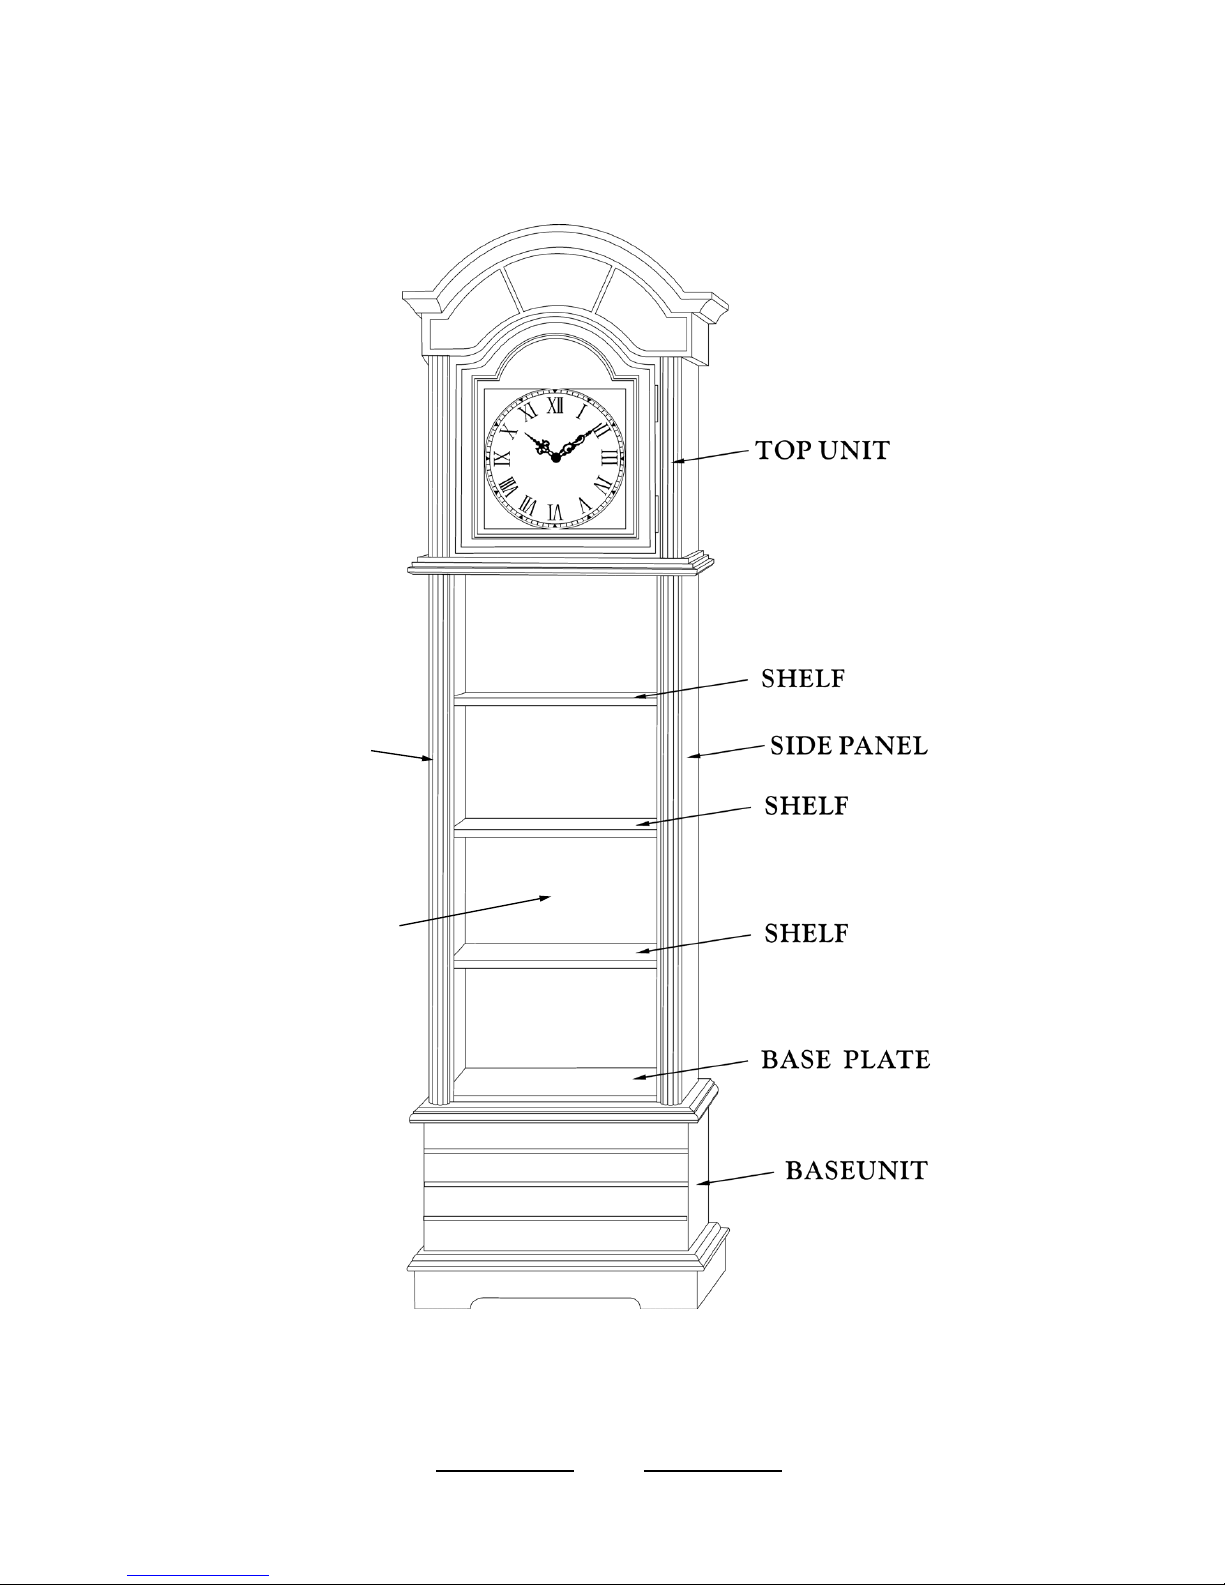
(A)
SIDE PANEL(B)
BACK PANEL (D)
(C)
(E)
(E)
(E)
(F)
(G)
Page 3

3
carefully designed and crafted to give you years of dependable operation. Read
this booklet thoroughly before assembling and operating your clock in order to
become familiar with its many features and assure proper performance. Keep
these instructions in a safe place for future reference.
ATTENTION
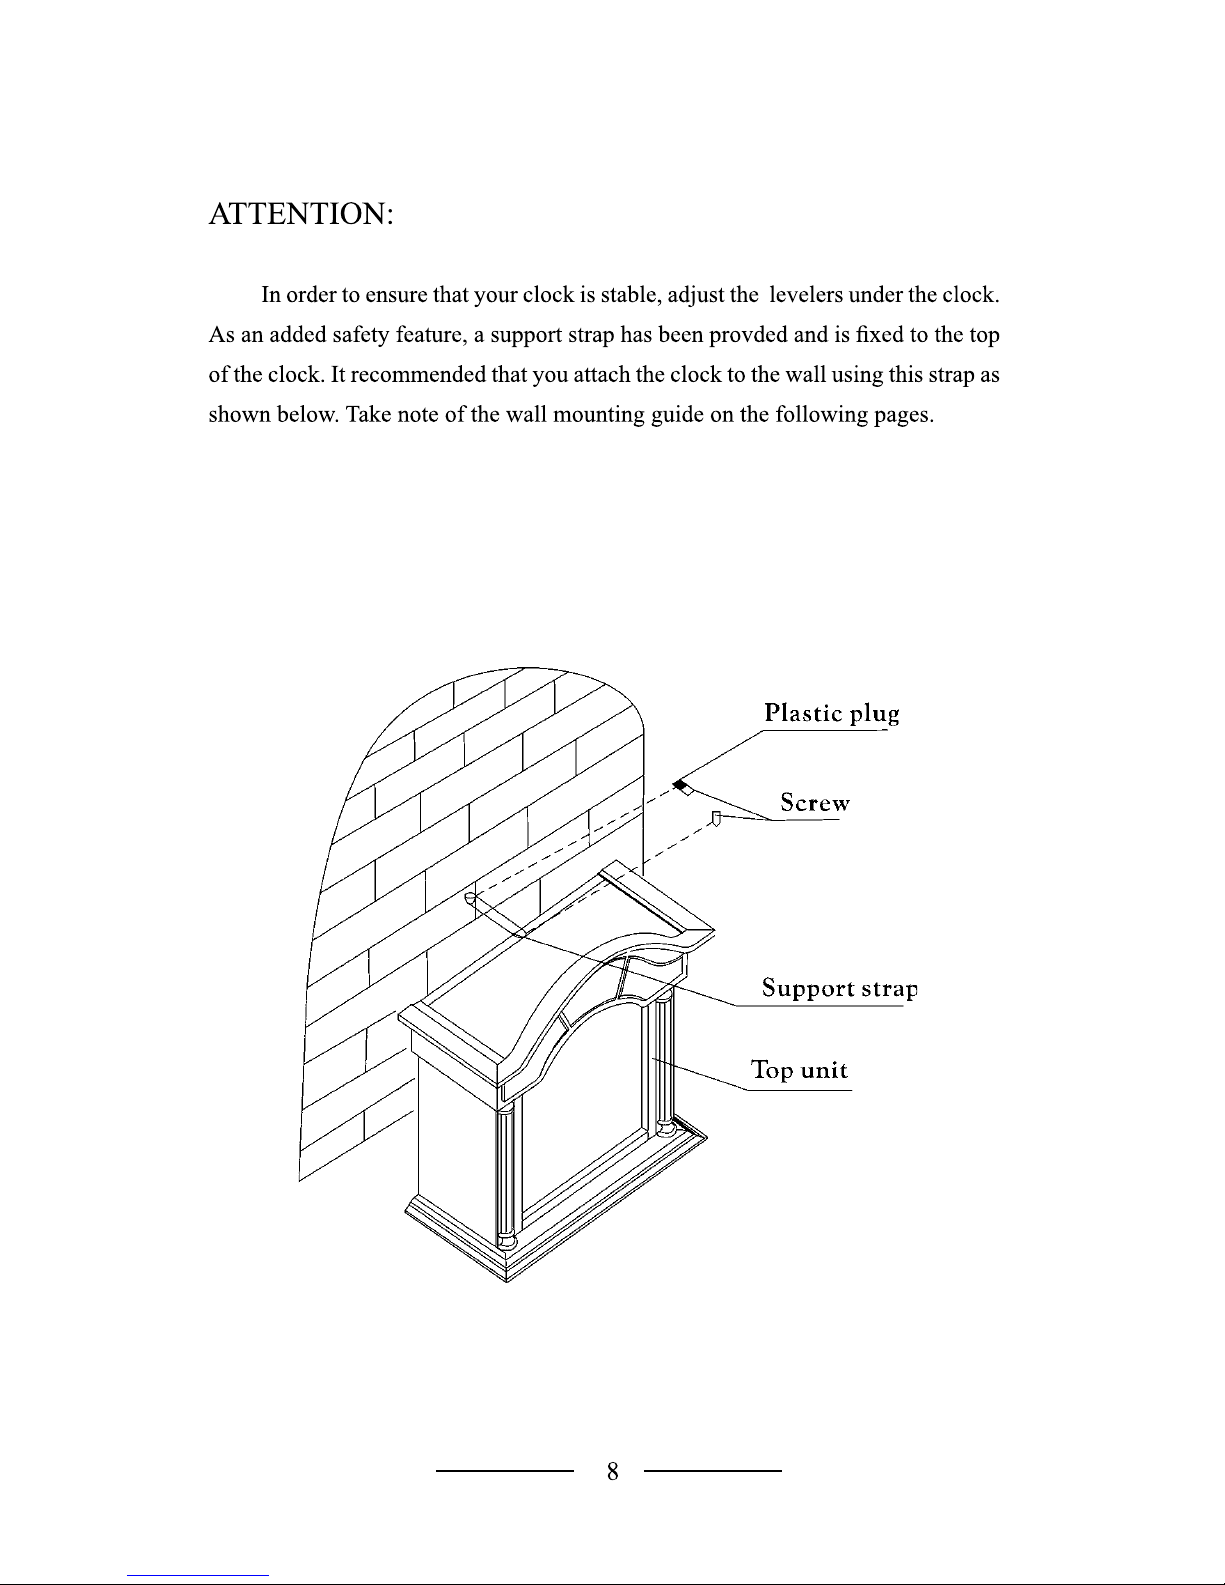
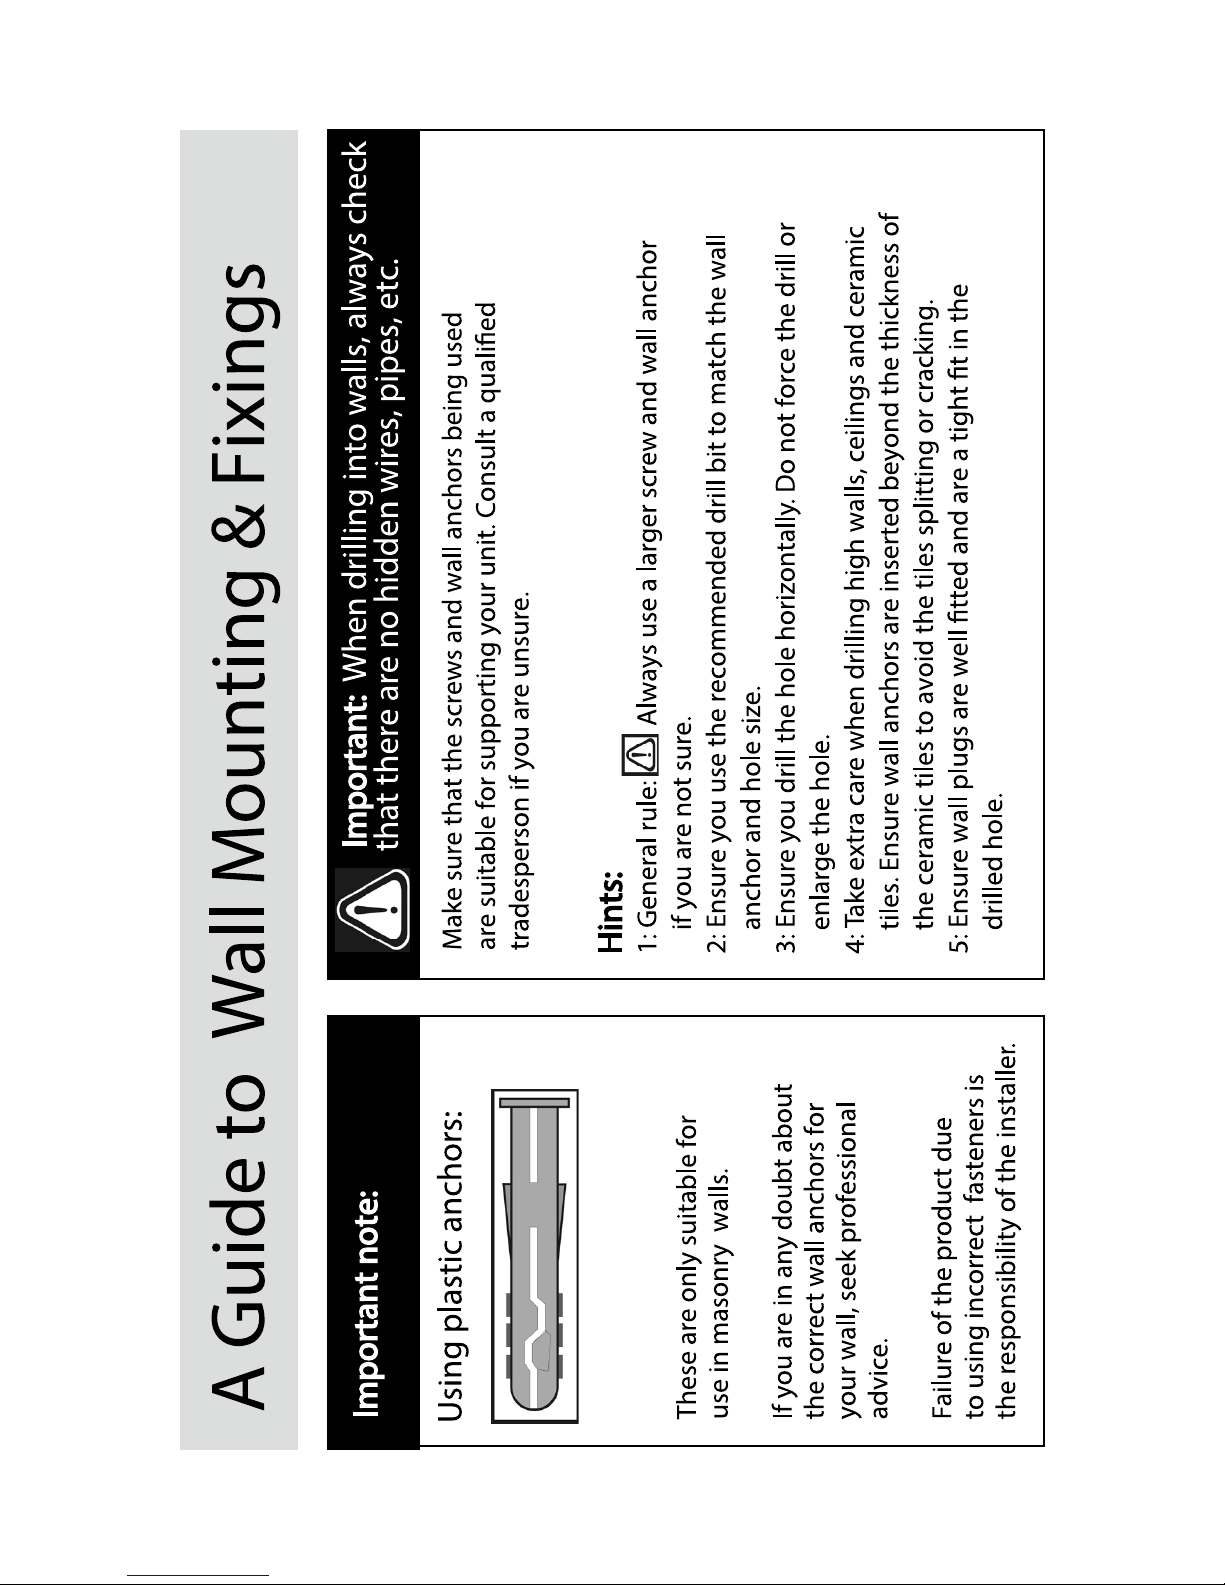
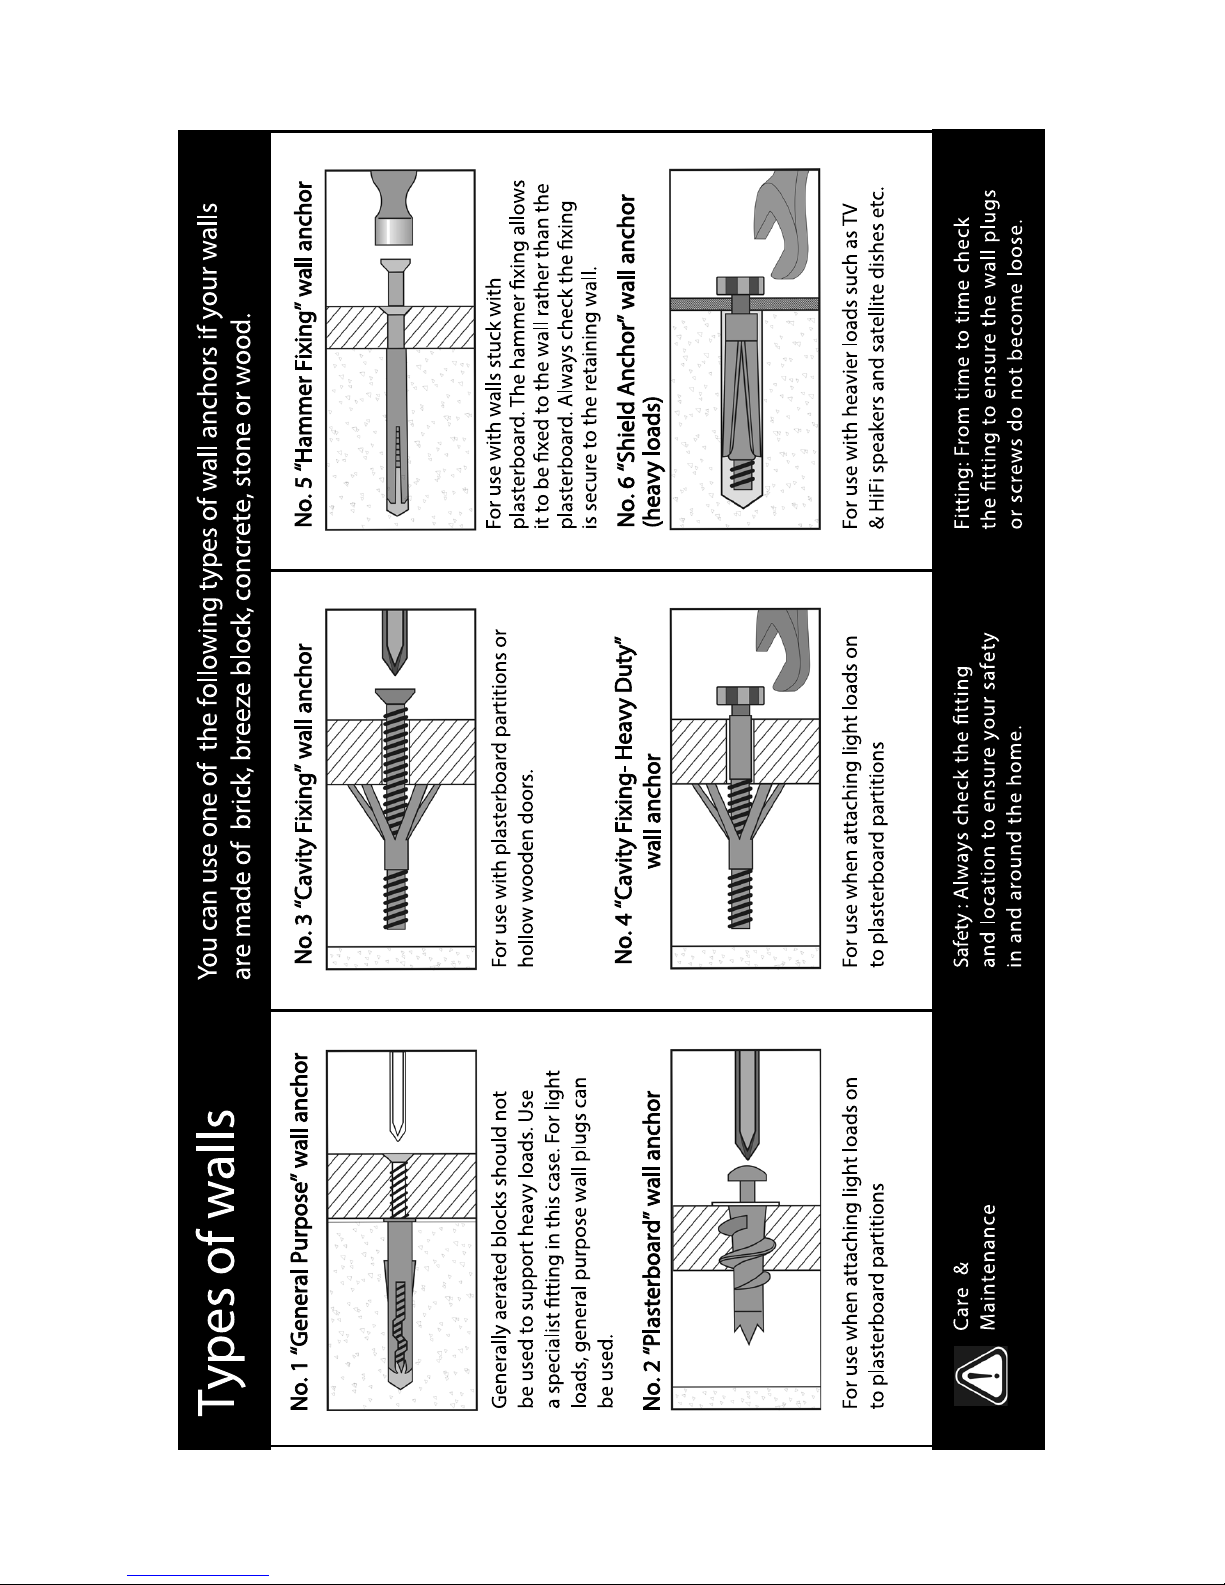
In order to ensure that your clock is stable, adjust the levelers at the bottom of the
to the top of the clock and must be attached to the wall. It is recommended that
you do so.
HOW TO ASSEMBLE YOUR CLOCK CABINET
1. Carefully unpack all parts and compare each item to the following list
to be sure you have everything required.
QUANTITY DESCRIPTION
1 Top Unit (A)
2 Side Panels (B,C)
1 Base Unit (G)
8 Washers
1
Base Plate (F)
3 Shelf (E)
1 Back Panel (D)
8 Screws(Phillips head)
2. Place the BASE UNIT (G) near its final position but leave it away from
the wall until the assembly is finished.
Page 4
4
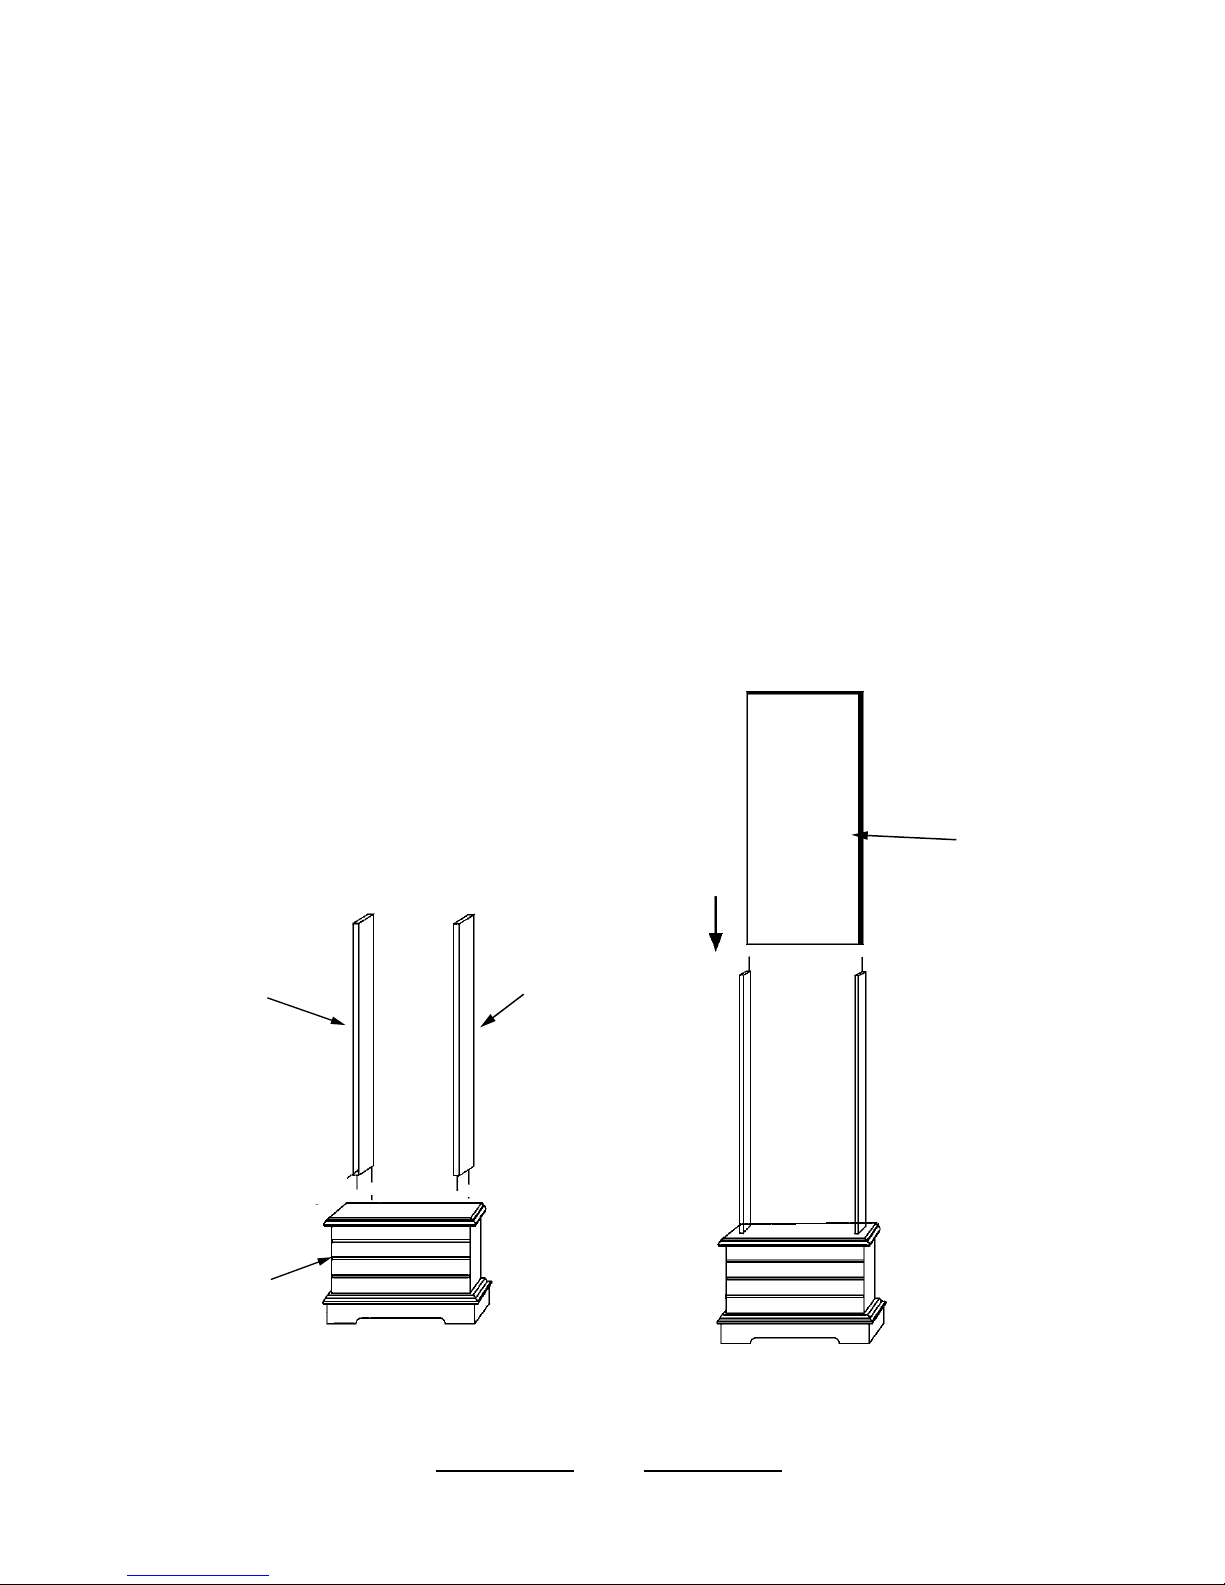
3. While facing the front of the BASE UNIT (G), fit SIDE PANEL B into the
grooves on the left side of the clock base and attach it from the inside with
SCREWS and the FLAT WASHERS using a Phillips head screwdriver. See
Figure 1. Repeat the process using SIDE PANEL C on the right side of the base.
4. Fit the BACK PANEL (D) into the grooves of the side panels at the back of the
cabinet and the base unit (Figure 2).
FIGURE 1
G
BASE
CABINET
B
LEFT
SIDE PANEL
FIGURE 2
C
RIGHT
SIDE PANEL
D
BACK PANEL
Page 5
Page 6

6
TIME AND CHIME SETTING:
This timepiece plays a Westminster chime melody on the hour and has an
automatic shut-off. The clock does not chime between 10:00 pm and 6:00 am.
To ensure that your clock functions correctly, please follow the time and chime
setting precisely. The clock will chime during the day and will automatically turn
off at night.
1. Pull upwards the back panel of the Top Unit.
2. Before inserting batteries, set the clock at 6:05 am ( 5 minutes past 6:00 ) with
knob A. See Figure 4.
3. Insert 1 AA alkaline battery into the clock battery chamber, according to the
positive (+) and negative (-)symbols.
4. Insert 2 AA alkaline batteries into chime battery chamber, according to the
positive (+) and negative (-) Symbols. Make sure the batteries are secure in
the holder. The clock will chime automatically and toll 6 times.
5. Now turn hands (using knob A) slowly to the present hour in a clockwise
direction. Remember that the clock started at 6:05 in the morning.
If setting at night, lets say 9:20 pm, then the hands will be turned thus-
7,8,9,10,11,12,1,2,3,4,5,6,7,8,9 then 9:20. The last strike you hear
will be 9 times.
NOTE:When moving hands to the present time, the clock will begin chiming. Do
not be concerned about this. The last strike you hear after setting the clock at the
appointed time will be the correct one.
Figure 4
Page 7

7
6. When replacing batteries remember that all the prior must be repeated from
point one. i. e. the clock must be started again at 6:05 am. Therefore, please
do not throw these instructions away as by the time the batteries have to be
replaced, you may have forgotten how to set the clock.
7. To eliminate chimes completely, remove the two batteries from the Chime
Battery Chamber.
8. Never turn clock hands counter-clockwise as it will interrupt the chime
sequence and damage the clock.
NOTE: When the batteries are low, the chimes may not remain coordinated
with the time on the clock. When this happens replace with new alkaline batteries
and reset the clock as above.
Page 8
Page 9
Page 10
 Loading...