

Page 1
Manual # M08-0457-006
Operation & Installation Guide
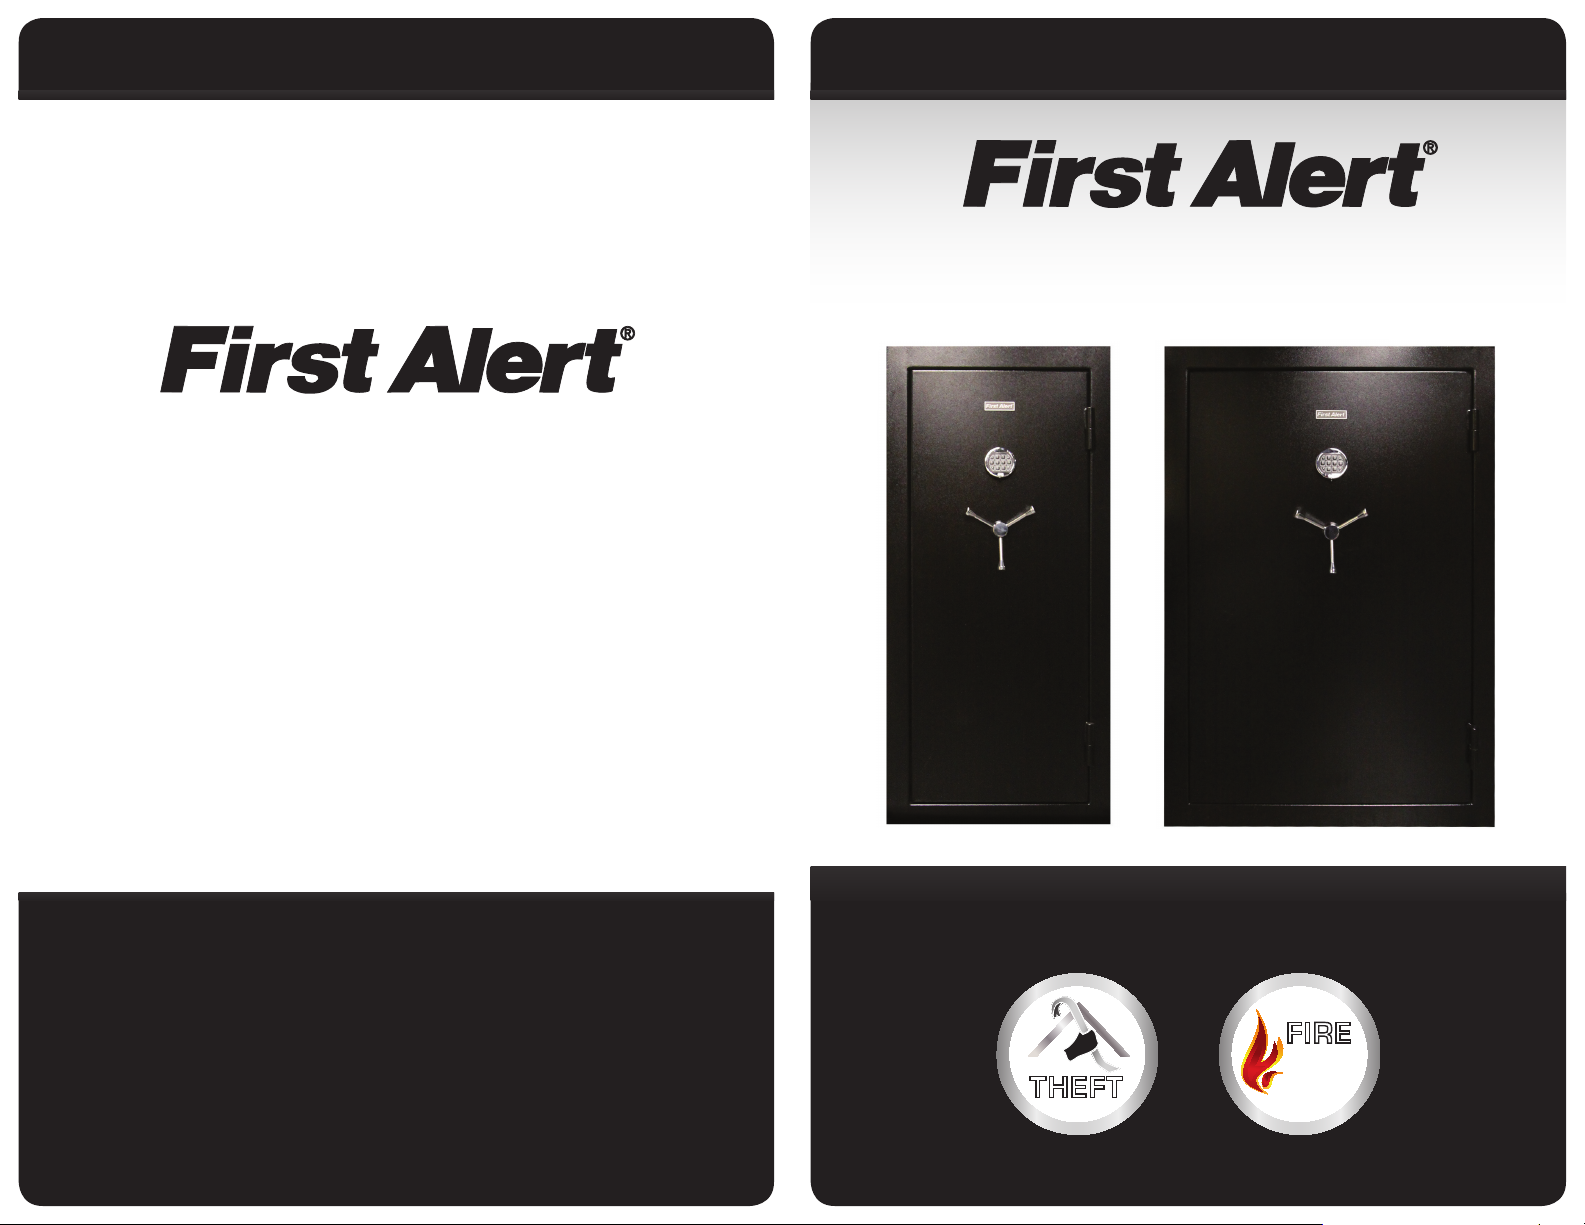
7319DFB / 7334DFB
www.FirstAlert.com
FIRE RESISTANT GUN SAFE
FIRE
30minutes
º
F
/1400
THEFT
Manual # M08-0457-006
RATED
Page 2
Operation & Installation Guide
index
Overview of Your Safe - Package Contents ....................................................................1-2
Diagrams ..................................................................................................................................... 3-4
Removing the Safety Interlock Screw - Battery Installation ...................................5-6
Opening Safe for the First Time .............................................................................................. 7
Installing the Handle Spokes - Programming the Lock ............................................ 8-9
Shelf Installation - Bolting your Safe to the Floor .................................................. 10 -11
Trouble Shooting Guide - Use, Care & Maintenance .............................................12-13
Consumer Aairs ........................................................................................................................ 14
Safe Identication Record ....................................................................................................... 15
Limited Warranty ........................................................................................................................ 16
For Your Protection
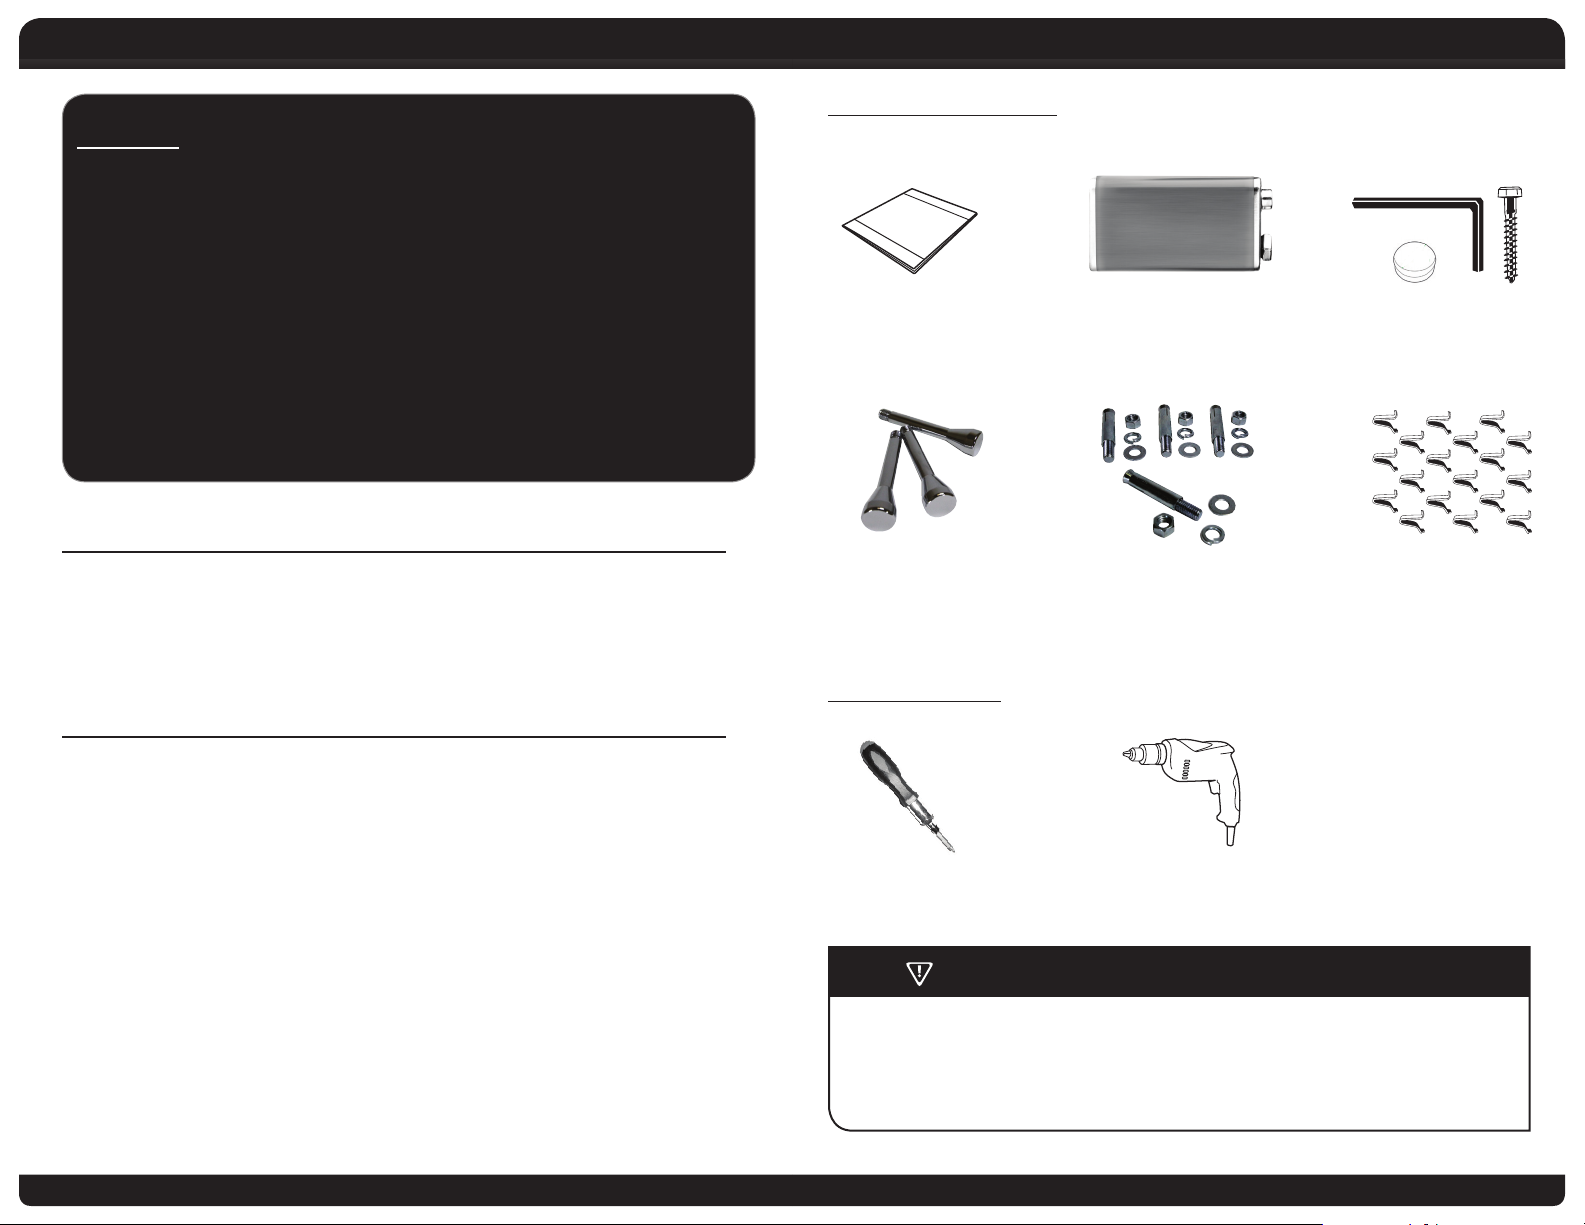
PACKAGE CONTENTS
MANUAL
(1) Manual (1) 9V Alkaline Battery
(1) Allen Wrench
(1) Screw
(1) Black Plastic Cap
a Do not remove the serial number tag from the safe.
a Record all safe identication numbers on Safe Identication Record (page 15).
a Save this manual and NEVER keep it inside the safe.
overview oF Your SaFe
Congratulations!
Your new First Alert® Gun Safe will provide secure protection for your rearms,
ammunition and documents. All First Alert® safes are designed and built using the
highest manufacturing standards to ensure maximum user satisfaction under a
variety of conditions. With proper care, your First Alert® safe will provide peace of
mind for many years to come.
SecuritY ratinG
- UL listed Residential Security Container
- Veried to meet the standards set forth by section
4100 of the California Code of Regulations
Fire ratinG
- ETL veried re resistance rating of 1400°F for 30 minutes
(3) Handle Spokes
(1) inside bag (2 inside safe)
(4) Bolts Concrete Bolts
(inside safe)
(18) Metal Shelving
YOU WILL NEED
(1) Phillips Screwdriver (1) Power Drill with a 5/8" drill bit
IMPORTANT: DO NOT RETURN SAFE TO STORE
If you are missing parts or have any other questions pertaining to its proper
use and care, DO NOT RETURN your safe to the store. Please contact
Consumer Aairs at 1-800-323-9005, 7:30 a.m. – 5 p.m. Central Standard
Time, Monday through Friday. To assist us in serving you, please have the
model number and date of purchase available when calling.
Clips
1 2
Page 3
diaGraM exterior MODEL 7319DFB
diaGraM exterior MODEL 7334DFB
Serial Number
(Back, top left corner)
Safe Body
SIZE OF SAFE, GRAPHICS AND COLOR MAY VARY ON SOME MODELS
Electronic Lock
Handle Single Lever,
3 Spoke
Safe Door
External Hinges
Serial Number
(Back, top left corner)
Safe Body
SIZE OF SAFE, GRAPHICS AND COLOR MAY VARY ON SOME MODELS
diaGraM interior MODEL 7319DFB diaGraM interior MODEL 7334DFB
Heat Expandable
Door Seal
Top Shelf
Safe Interior Walls
Gun Rack
Side Shelf (3)
(Varies based on model)
Divider (1)
(Varies based on model)
Bolt Down Hole Cap (4)
Fire Resistance Label,
UL RSC Label,
Serial Number Label
Locking Bolts (10)
Safety Interlock
Screw
Door Back Panel
Heat Expandable
Door Seal
Top Shelf (2)
Safe Interior Walls
Gun Rack
Side Shelf (2)
(Varies based on model)
Divider (2)
(Varies based on model)
Bolt Down Hole Cap (4)
Electronic Lock
Handle Single Lever,
3 Spoke
Safe Door
External Hinges
Fire Resistance Label,
UL RSC Label,
Serial Number Label
Locking Bolts (14)
Safety Interlock
Screw
Door Back Panel
INTERIOR CONFIGURATION, LOCKING BOLTS AND BOLT WORK MAY VARY ON SOME MODELS INTERIOR CONFIGURATION, LOCKING BOLTS AND BOLT WORK MAY VARY ON SOME MODELS
43
Page 4

reMovinG tHe SaFetY interLocK Screw
batterY inStaLLation
IMPORTANT: Your safe may have a “Door Lock Override Device” installed.
This device is to prohibit the lock from locking and it must
be removed before the safe can be used properly.
1
Locate the handle spoke in the plastic bag and remove the
protective cover.
Screw in the handle spoke at the bottom of the handle hub.
2
Locate the Allen Wrench and the black cap in the plastic bag.
3
Locate the screw in the center of the Consumer
Warning label on the side of the door.
4
Loosen the screw with the Allen Wrench.
Keypad cannot be removed from door.
1
Locate the 9V Alkaline
Battery in the plastic bag.
2
Remove the Phillips head screw
from the battery cover located
on the bottom of the keypad.
3
Connect the battery and
gently insert the battery
up inside the keypad and
replace the battery cover.
IMPORTANT
5
After the screw is removed, discard it and cover the hole with the black cap.
WARNING
The Safety Interlock Screw must be removed before
BATTERY INSTALLATION AND PROGRAMMING THE LOCK.
4
Re-install the Phillips head
screw in the battery cover.
DO NOT OVER TIGHTEN!
65
Page 5

oPeninG SaFe For tHe FirSt tiMe
inStaLLinG tHe HandLe SPoKeS
Follow REMOVING THE SAFETY INTERLOCK SCREW and BATTERY INSTALLATION on
pages 5-6 before proceeding.
1
Turn handle counter-clockwise until it stops.
2
Enter the six (6) digit factory preset
passcode 1-2-3-4-5-6. (The lock will
beep two (2) times).
3
Within four (4) seconds, turn the handle clockwise.
4
Pull door open.
5
With the door open, turn handle counter-clockwise
and lock door bolts in open position.
6
Test passcode 1-2-3-4-5-6 several times before closing and locking door.
Follow OPENING SAFE FOR THE FIRST TIME on page 7 before proceeding.
1
Locate two (2) additional spokes inside
safe and remove protective covers.
2
Screw spokes into the handle hub.
WARNING
The lock will beep three (3) times if an incorrect passcode is entered.
If a mistake is made, wait thirty (30) seconds and repeat steps 1-6.
OPTIONAL
To prevent loosening, apply one drop of Thread Lock on the threads of each spoke.
NOTE: Thread Lock is not included. Purchase from your local hardware store.
87
Page 6

ProGraMMinG tHe LocK
SHeLF inStaLLation
oPen tHe SaFe door
1. Enter your existing six (6) digit
passcode and open the door.
NOTE:
If you are changing the passcode
for the rst time, your existing
passcode will be 1-2-3-4-5-6.
2. With the door open, turn the handle
counter-clockwise to lock the door bolts.
ProGraMMinG
1. Write down your new six (6) digit passcode before you proceed.
2. Enter “zero” six (6) times 0-0-0-0-0-0. (The lock will beep two (2)
times indicating that you are in the programming mode).
3. Within four (4) seconds, enter your existing six (6) digit passcode
one (1) time. (The lock will beep two (2) times).
4. Within four (4) seconds, enter your NEW six (6) digit passcode.
(The lock will beep two (2) times).
5. Enter your NEW six (6) digit passcode again. (The lock will beep two (2)
times). NOTE: Three beeps indicates that the old passcode is still valid).
6. If a mistake is made, wait thirty (30) seconds and repeat steps 1-4.
NOTE: Determine desired height and layout of shelves before you begin installation.
1. Locate Metal Shelf
Clips inside the safe.
2. Insert the top
of the clip into
the notch.
3. Push the bottom
of the clip into
the lower notch.
IMPORTANT
Four (4) clips are required for each shelf. Make sure all four (4)
clips are in alignment before moving on to step 4.
4. Carefully place shelf on top of the clips.
7. Test your new passcode several times before closing and locking the safe.
CAUTION
When selecting a passcode, do not use a birthday or other predictable data that
could give correlation between the user and passcode. Keep the passcode secret.
LO CK OUT PE NALT Y:
• Entry of four (4) consecutive incorrect passcodes starts a ve (5) minute
lock-out period. (LED ashes red at ten (10) second intervals).
• At the end of the lock-out period, two (2) more consecutive incorrect
passcodes will restart an additional ve (5) minute lock-out period.
• Th e batter y must remain connected. Rem ov ing the bat te ry will n ot
override the lock-out period.
5. To remove clips, squeeze the clip with your hand or pliers and lift up.
109
Page 7
boLtinG Your SaFe to tHe FLoor
troubLe SHootinG Guide
1
Locate the four (4) Concrete Bolts inside the safe.
2
Remove interior shelving and four (4) Bolt Down Hole Caps.
3
Place the safe where you want it bolted down and mark
the oor through the holes in the bottom of the safe.
4
Move the safe and drill holes in the oor with a 5/8 inch masonry bit.
5
Reposition the safe over the holes and install the four (4) Concrete Bolts.
6
To prevent heat from entering the safe during re, ll the holes with a
high temperature silicone caulk.
NOTE: Caulk is not included. Purchase from your local hardware store.
7
Replace the four (4) Bolt Down Hole Caps and interior shelving.
ProbLeM SoLution
For your pro tection, the mo st important a spect of this pro cess
I lost the combination to my safe. What do I do?
What kind of battery do I use
in my electronic lock?
How do I remove the pallet from my safe? Visit the FAQ se ction on www.rstalert.com.
How do I replace the battery
in my electronic lock?
is for us to ver ify the true ow nership of the saf e. Please
go to www.rstalert.com and cl ick on the COMBINATION
/ KEY REQUE ST page and follow th e instructio ns. Once
complete d, fax or mail the for ms to us for process ing.
High secu rity elect ronic safe lock s are very sensit ive to
batter y power. All of our safe lo cks require a 9 -Volt ALK ALINE
ENERGIZER or DUR ACELL. Most likely, your l ock will not
operate p roperly if a bat tery other than th is is used.
Please re fer to Pg. 6 BATTERY INSTALLATION. Make sure you
use only a 9 -Volt ALK ALINE ENERGIZER or DURACE LL battery.
How do I change the combination
in my electronic lock?
I enter my code in the electronic lock and I get
(3) three “beeps”, and the lock will not open.
Please re fer to Pg. 9 PROGRAMMING THE LOCK.
The (3) three “be eps” indicates t hat the lock does no t
recogni ze the code you entere d as being valid. Verif y your
code and ent er it again. If the lock s till does not open, p lease
go to www.rstalert.com and go t o the COMBINATION
/ KEY REQUE ST page and follow th e instructio ns. Once
complete d, fax or mail the for ms to us for process ing.
1211
Page 8

uSe, care and Maintenance
Safe Identification Record
Digital Passcode Record - Model 7319DFB, 7334DFB
Your Passcode must be 6 digits.
Model Number
Serial Number
Passcode
3 4
5
3 4
5
4
5
3 4
5
3 4
5
conSuMer aFFairS
When properly maintained, your safe will continue to operate and accurately read
the authorized passcode for many years. In order to ensure optimum performance of
your safe, please follow these simple precautions:
Battery Maintenance
1
Always purchase and use the batteries as specied by this User’s manual.
2
Always replace all batteries at the same time. It is recommended to replace all
batteries at least once a year or sooner depending on amount of use.
3
Always clean the battery contacts in the battery compartment and on the
batteries before installing new batteries.
4
Always make sure all batteries match the polarity (+ and -) signs in the open
battery compartment.
5
If your safe will not be used for an extended period of time, it is recommended
that you remove the batteries.
6
Always promptly remove and properly discard of all used batteries.
BATTERY REPLACEMENT AND LOW WARNING
• Repeated LED ashing and beeping indicates that the battery is low and needs
immediate replacement.
• Use one (1) 9-Volt alkaline battery only. (Example: Duracell™ or ENERGIZER™
alkaline batteries.)
• It is recommended that batteries be replaced at least once a year.
YOUR SAFE’S UNIQUE IDENTIFICATION NUMBERS
When contacting Consumer Aairs, you should be prepared to supply some
important information that specically identies your safe. This information is
extremely important to assuring prompt and accurate customer assistance.
MOdEL NUMbER SERIAL NUMbER PASScOdE
1 2 3
It is strongly recommended that you identify and record the following information
in the Safe Identication Record form located on page 15.
221
2
221
2
3
Clean Hand – Never attempt to operate the digital keypad if your hands have
excessive dirt, debris or liquids on them.
Clean Safe – To clean the surface of your safe, it is recommended that you use a mild
cleaner (e.g., window cleaner) to avoid scratching or discoloring the surface. Always
wipe dry and NEVER use abrasive cleansers on the safe or digital keypad.
Moisture – We recommend that you place delicate items such as pictures or intricate
jewelry into an air-tight container before storing them in your safe. Avoid placing
your safe in areas of high humidity. For optimum performance, the safe should be
opened and aired out for at least 20 minutes every two weeks.
For future reference, store this Operation and Installation Guide
in a secure area away from the safe. DO NOT DISCARD!
iMPortant
DO NOT REMOVE TAGS
In case your safe becomes inoperable these identication numbers
will be needed to correct the problem. It is recommended that the
number tags remain in place on the safe. If removal is necessary,
then they should be attached to the inside back cover of this
manual. Store in a safe and secure place for future reference.
1413
Page 9
SaFe identiFication record
!
Model Number
Serial Number
LIMITED WARRANTY
BRK Brands, Inc., (“BRK”) warrants that for a period of ve (5) years from the date
of purchase, this product will be free from defects in material and workmanship.
BRK, at its sole option, will repair or replace this product or any component of the
product found to be defective during the warranty period. Replacement or repair
will be made with a new or remanufactured product or component. If the product
is no longer available, replacement may be made with a similar product of equal or
greater value. This is your exclusive warranty.
Passcode
HOW TO OBTAIN WARRANTY SERVICE
If you have any questions that cannot be answered by reading this manual, call
Consumer Aairs at 1-800-323-9005. Please have the model number, serial number
and date of purchase available when calling. If service is required, Consumer Aairs
will advise where the product should be returned.
This warranty is only valid for the original retail purchaser from the date of initial
retail purchase and is not transferable. You must keep the original sales receipt. Proof
of purchase is required to obtain warranty performance. BRK dealers, service centers,
or retail stores selling this product do not have the right to alter, modify or in any way
change the terms and conditions of this warranty.
This warranty does not apply to the nish on the product. This warranty does not
cover normal wear and tear of parts or damage resulting from any of the following:
negligent use or misuse of the product, use contrary to the operating instructions,
disassembly, repair or alteration by anyone other than BRK or an authorized service
center, improper installation, or exposure to extremes of heat or humidity. Further,
the warranty does not cover Acts of God, including natural disasters.
BRK shall not be liable for any incidental or consequential damages caused by the
breach of any express or implied warranty. BRK is also not responsible for: costs
associated with removing or installing the product; opening or repairing the product
due to lost or forgotten passcode; damage or loss of the contents of the product; nor
for the unauthorized removal of the contents; or damages incurred during shipment.
Except to the extent prohibited by applicable law, any implied warranty of
merchantability or tness for a particular purpose is limited in duration to the
duration of the above Warranty Period. Some states, provinces or jurisdictions
do not allow the exclusion or limitation of incidental or consequential damages
or limitations on how long an implied warranty lasts, so the above limitations or
exclusion may not apply to you. This warranty gives you specic legal rights, and you
may also have other rights that vary from state to state, or province to province, or
jurisdiction to jurisdiction.
If you have any questions that cannot be answered by reading this manual, call
Consumer Aairs at 1-800-323-9005.
© 2013 BRK Brands, Inc., a Jarden Corporation company (NYSE: JAH)
3901 Liberty Street Road, Aurora, IL 60504-8122
All rights reserved. www.FirstAlert.com
1615
 Loading...