

Page 1
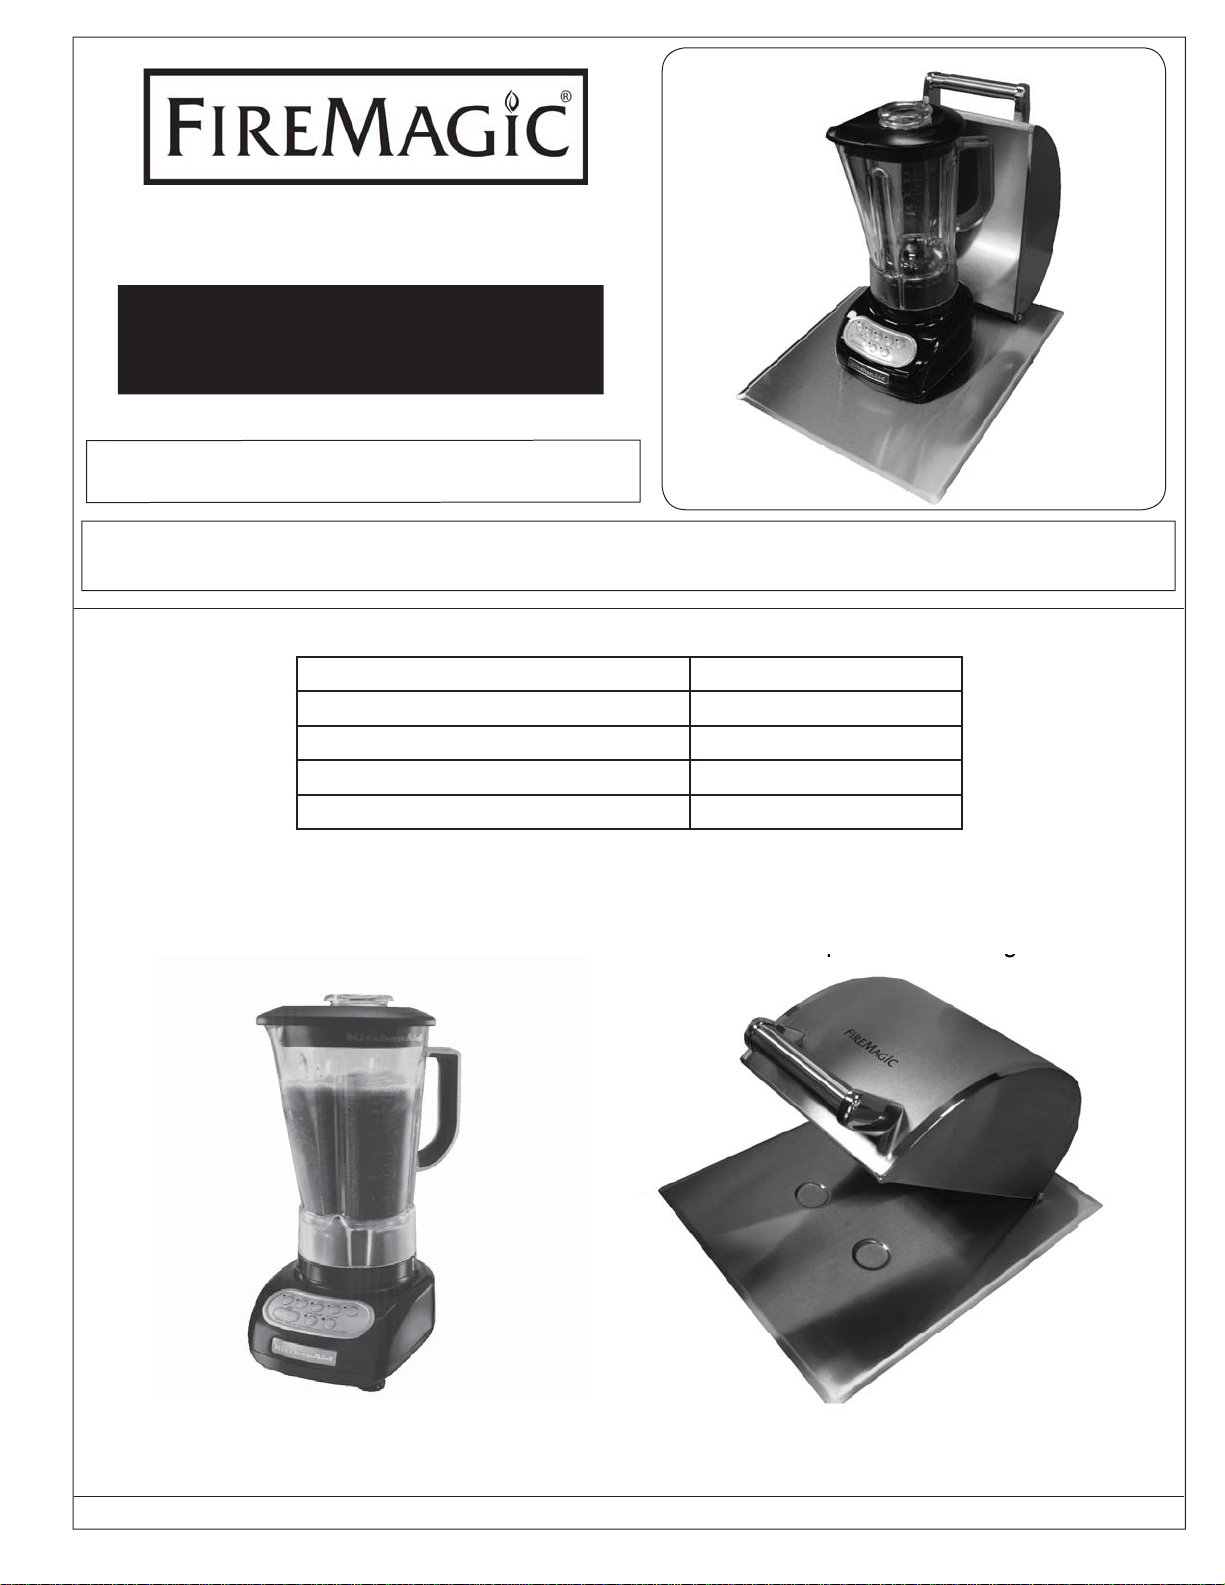
ISLAND BLENDER
pp
gg
INSTALLATION
INSTRUCTIONS & OWNER’S
MANUAL
INSTALLER: Leave these instructions with consumer.
CONSUMER: Retain for future reference.
IMPORTANT: READ ALL INSTRUCTIONS, INCLUDING THE INSTRUCTIONS PROVIDED WITH YOUR
BLENDER, CAREFULLY BEFORE STARTING INSTALLATION OR OPERATION.
Table 1 - Model Specifi cations Table
Specifi cation Value
3
/
Counter opening width
Counter opening depth
Vert. clearance below counter*
8-
14-
" (21 cm)
4
1
/
" (35.8 cm)
4
4" (15.2 cm)
Vert. clearance above counter*
Blender
25" (63.3 cm)
* minimum dimension
Countertop blender housing
REV 1 - 0808011517
ROBERT H. PETERSON CO. • 14724 East Proctor Avenue • City of Industry, CA 91746
1
NO.L-C2-30708
Page 2
INSTALLATION
PREPARING FOR INSTALLATION
A grounded 110-volt GFI receptacle is required within 2' of
the desired blender location.
INSTALL THE BLENDER HOUSING
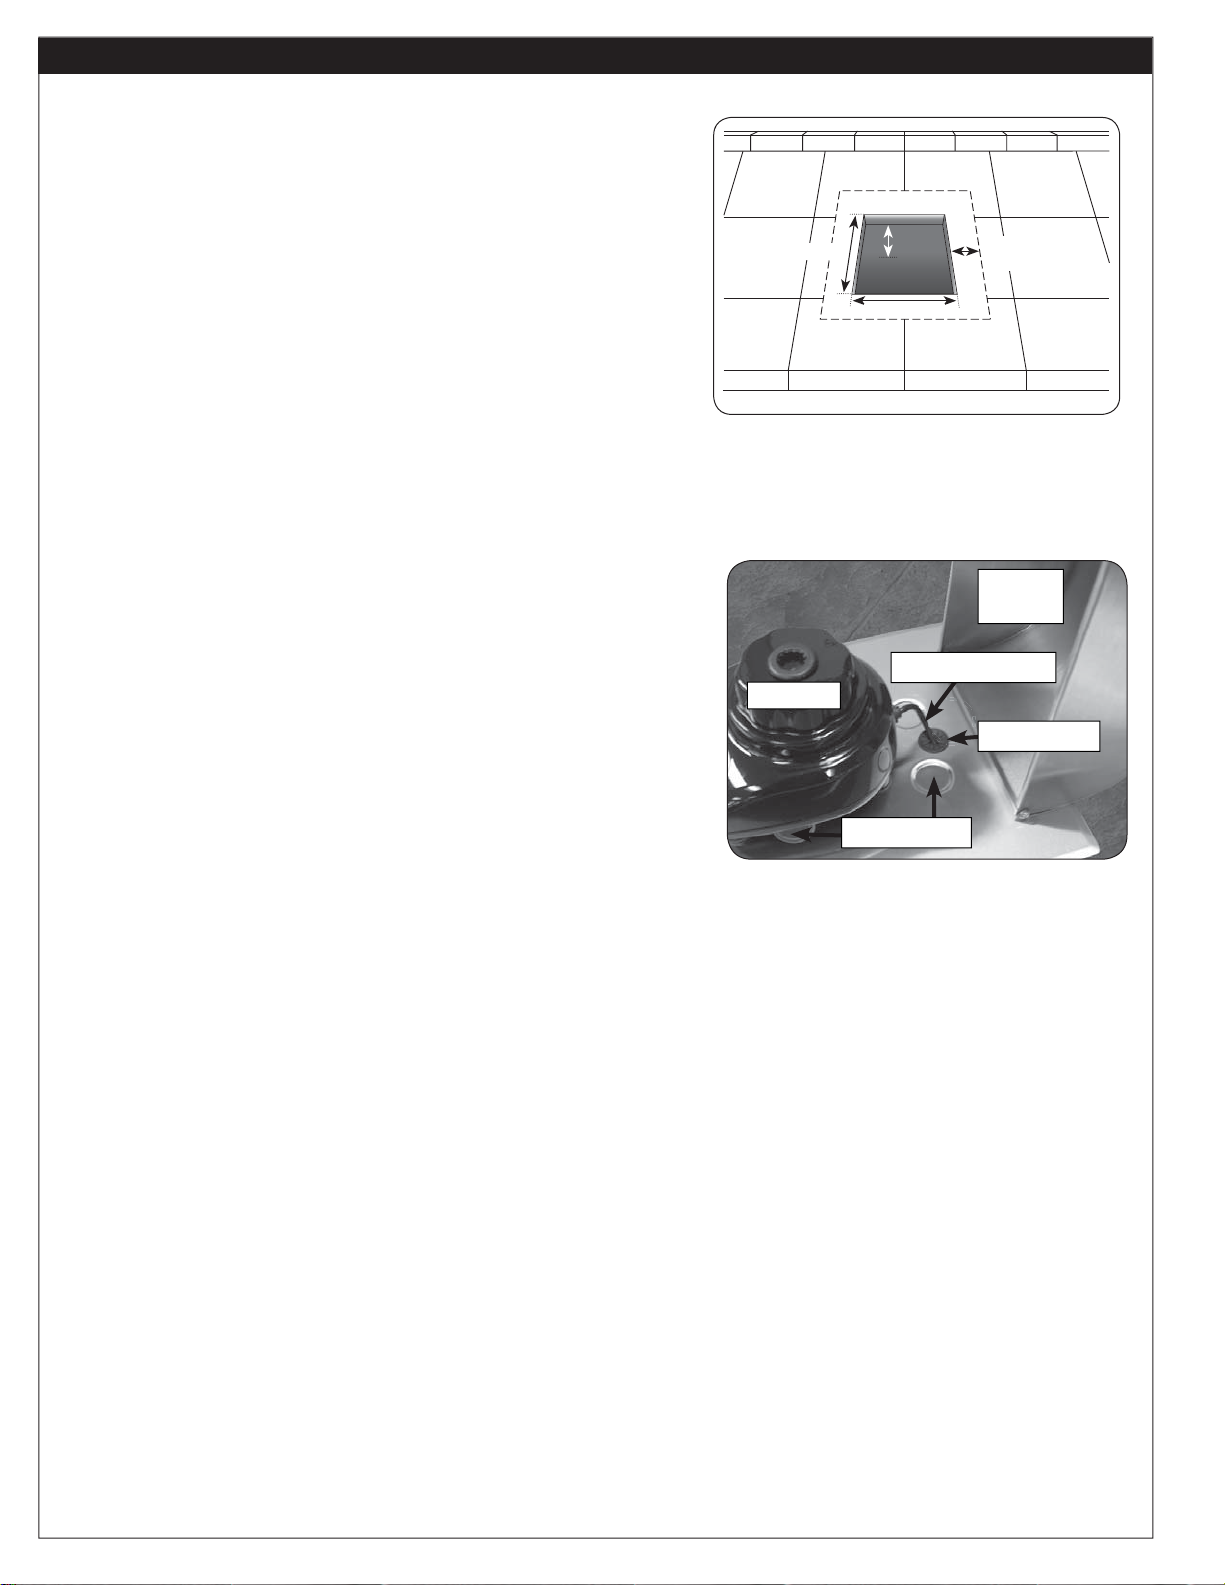
Prepare a cut-out in the countertop as specifi ed in Table 1 and
1
shown in Fig. 2-1. There must be a minimum of
/4" overlap of
the stainless-steel housing plate on all sides of the opening.
The countertop must be completely level for safe and effective
operation of this appliance.
Have a qualifi ed professional install a grounded 110-volt GFI
receptacle beneath the countertop so that the blender can
be plugged into it.
Silicon sealant may be applied around the top edge of the
countertop cut-out to create a barrier between the housing
and countertop capable of keeping fl uids out.
PLACE THE BLENDER IN THE BLENDER HOUSING
Open the domed lid. Unpack the blender and read the
instructions.
Attach the plastic plug to the three-pronged electrical cord.
Feed the cord through the cutout that is located on top of the
housing in front of the domed lid. Be sure to snap the plastic
plug in place. (See Fig. 2-2). From there, plug the cord into
the grounded electrical outlet.
14-1/4"
4"
8-3/4"
Fig. 2-1
Blender placement (side view)
Cord into cutout
Blender
depressions
Fig. 2-2
4" clearance all
the way around
Domed
lid
plastic plug
Place the blender base carefully onto the blender feet
depressions that are located on top of the housing in front
of the domed lid.
REV 1 - 0808011517
2
NO. L-C2-30708
Page 3
CARE AND CLEANING
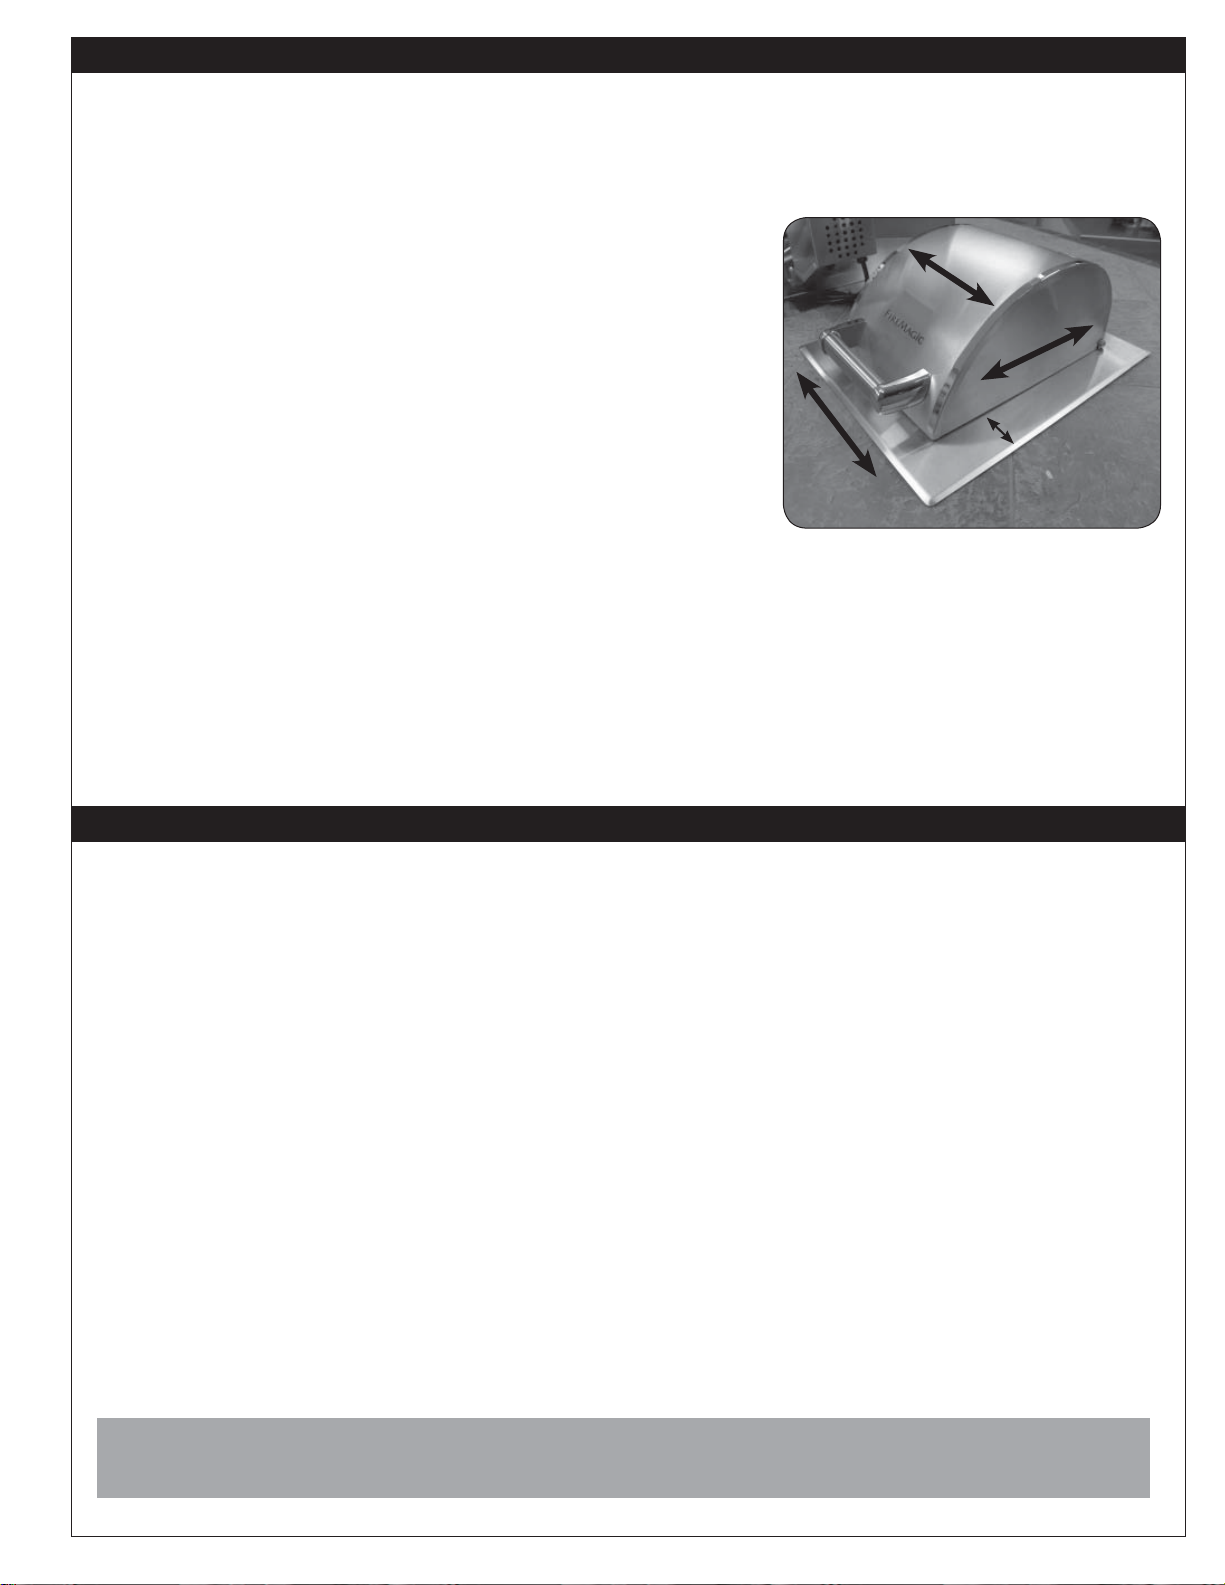
Clean the unit with a quality stainless-steel cleaner at least
once a month, following the instructions on the cleaner. Always
rub stainless steel in the direction of the grain (see Fig. 3-1).
You may fi nd it useful to fi rst remove the blender from the
stainless-steel housing.
In a humid environment, due to the nature of stainless steel,
iron oxide deposits may appear. Such deposits are removable
using Fire Magic
Cover your blender when not in use.
Note: Refer to the instructions provided with your blender for
its care and cleaning.
®
stainless-steel cleaner.
Always wipe with grain
Fig. 3-1
WARRANTY
LIFETIME WARRANTY - Fire Magic® cast stainless-steel burners, stainless-steel rod cooking grids, and stainless-steel housings are
warranted for as long as you own your Fire Magic® grill.
FIFTEEN-YEAR WARRANTY - Fire Magic® cast brass burners, brass valves, backburner assemblies (except ignition parts), and
manifold assemblies are warranted for 15 years from the date of purchase of your Fire Magic® grill.
THREE-YEAR WARRANTY - Fire Magic
parts) are warranted for three (3) years from the date of purchase of your Fire Magic
Fire Magic
warranted for one (1) year from date of purchase.
This warranty applies to the original purchaser and to single family residential use only. It commences from date of purchase, and is valid only with
proof of purchase.
This warranty does not cover parts becoming defective through misuse, accidental damage, electrical damage, improper handling, storage, and/or
installation. Product must be installed (and gas must be connected) as specifi ed in the instructions or operator’s manual, by a qualifi ed professional
installer. Accessories, parts, valves, remotes, etc., when used must be Peterson Co. product.
This warranty does not apply to rust, corrosion, oxidation, or discoloration, unless the affected component becomes inoperable. It does not cover
labor or labor-related charges.
This warranty specifi cally excludes liability for indirect, incidental, or consequential damages. Some states do not allow the exclusion or limitation of
incidental or consequential damages, so the above exclusion may not apply to you. This warranty gives you specifi ed legal rights, and you may have
other rights that may vary from state to state.
For additional information regarding this warranty, or to place a warranty claim, contact the R.H. Peterson dealer where the product was purchased.
®
ignition systems (excluding batteries), electronic components (including lights and thermometers), and accessories are
PLEASE KEEP A COPY OF YOUR SALES SLIP FOR PROOF OF PURCHASE
®
sideburners and all other Fire Magic® grill components (except ignition and electronic
®
grill.
TO REGISTER YOUR PRODUCT ONLINE GO TO: WWW.RHPETERSON.COM,
AND CLICK ON PRODUCT REGISTRATION. THANK YOU FOR YOUR PURCHASE.
REV 1 - 0808011517
3
NO.L-C2-30708
Page 4

ISLAND BLENDER NOTES PAGE
Please use this page to record any information about your Island Blender that you may want to have at hand.
REV 1 - 0808011517
4
NO. L-C2-30708
 Loading...