

Page 1
English
®
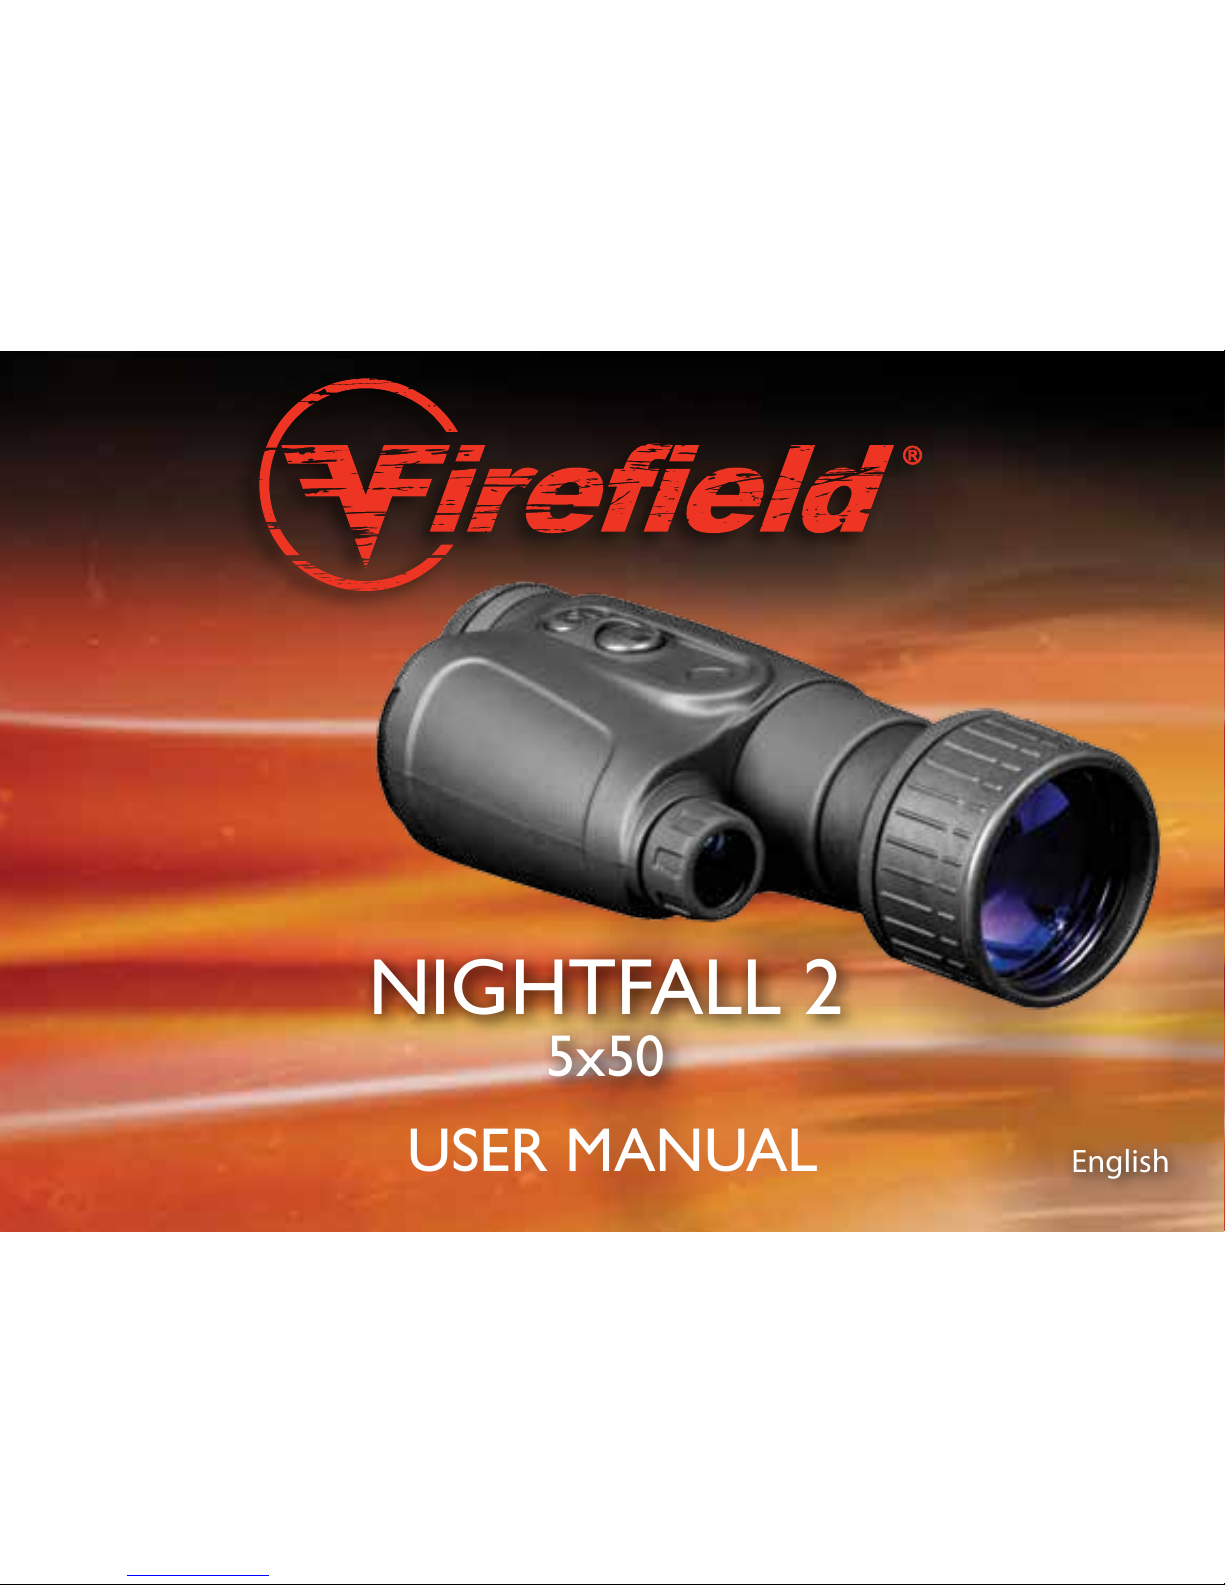
NIGHTFALL 2
5x50
USER MANUAL
Page 2

www.re-eld.com
Whether you are in a fast- paced combat situation or defending yourself and your home,
Fireeld
®
will be by your side, preparing you for victory. Fireeld® offers quality products
with outdoor enthusiasts and paintball fanatics in mind. Whether your weapon of choice is
paintball, airsoft, AR15, shotgun or pistol, Fireeld
®
can accommodate your preference.
Fireeld
®
will provide you with high quality and durability for a fraction of competitor
pricing. Fireeld
®
products consist of boresights, ashlights, laser sights, reex sights, rails,
mounts, magazines, binoculars and other shooting accessories.
VICTORY JUSTIFIES EVERYTHING
®
Page 3

NIGHTFALL 2 5x50 ................................................................ 1- 8
English
To view this manual in different languages other than the ones provided visit
www.re-eld.com
Page 4
Maintain superior visibility in the darkest of conditions with the Fireeld Nightfall 2 5x50
Night Vision Monocular. Featuring a high power, built-in, infrared (IR) illuminator, the Fireeld
Nightfall 2 Monocular produces a crisp, clear image. The IR illuminator acts as an invisible
ashlight, producing a beam that is only visible through a night vision device. The Nightfall 2
is perfect for hunting, security or any nighttime recreation.
The Fireeld Nightfall 2 5x50 Night Vision Monocular features a water resistant, modern
ergonomic design, with a rugged body and lightweight frame. The quality and value of the
Nightfall 2 exceeds any other night vision monocular on the market. Fireeld—Victory
Justies Everything!
1
NIGHTFALL 2 5x50
Page 5
2
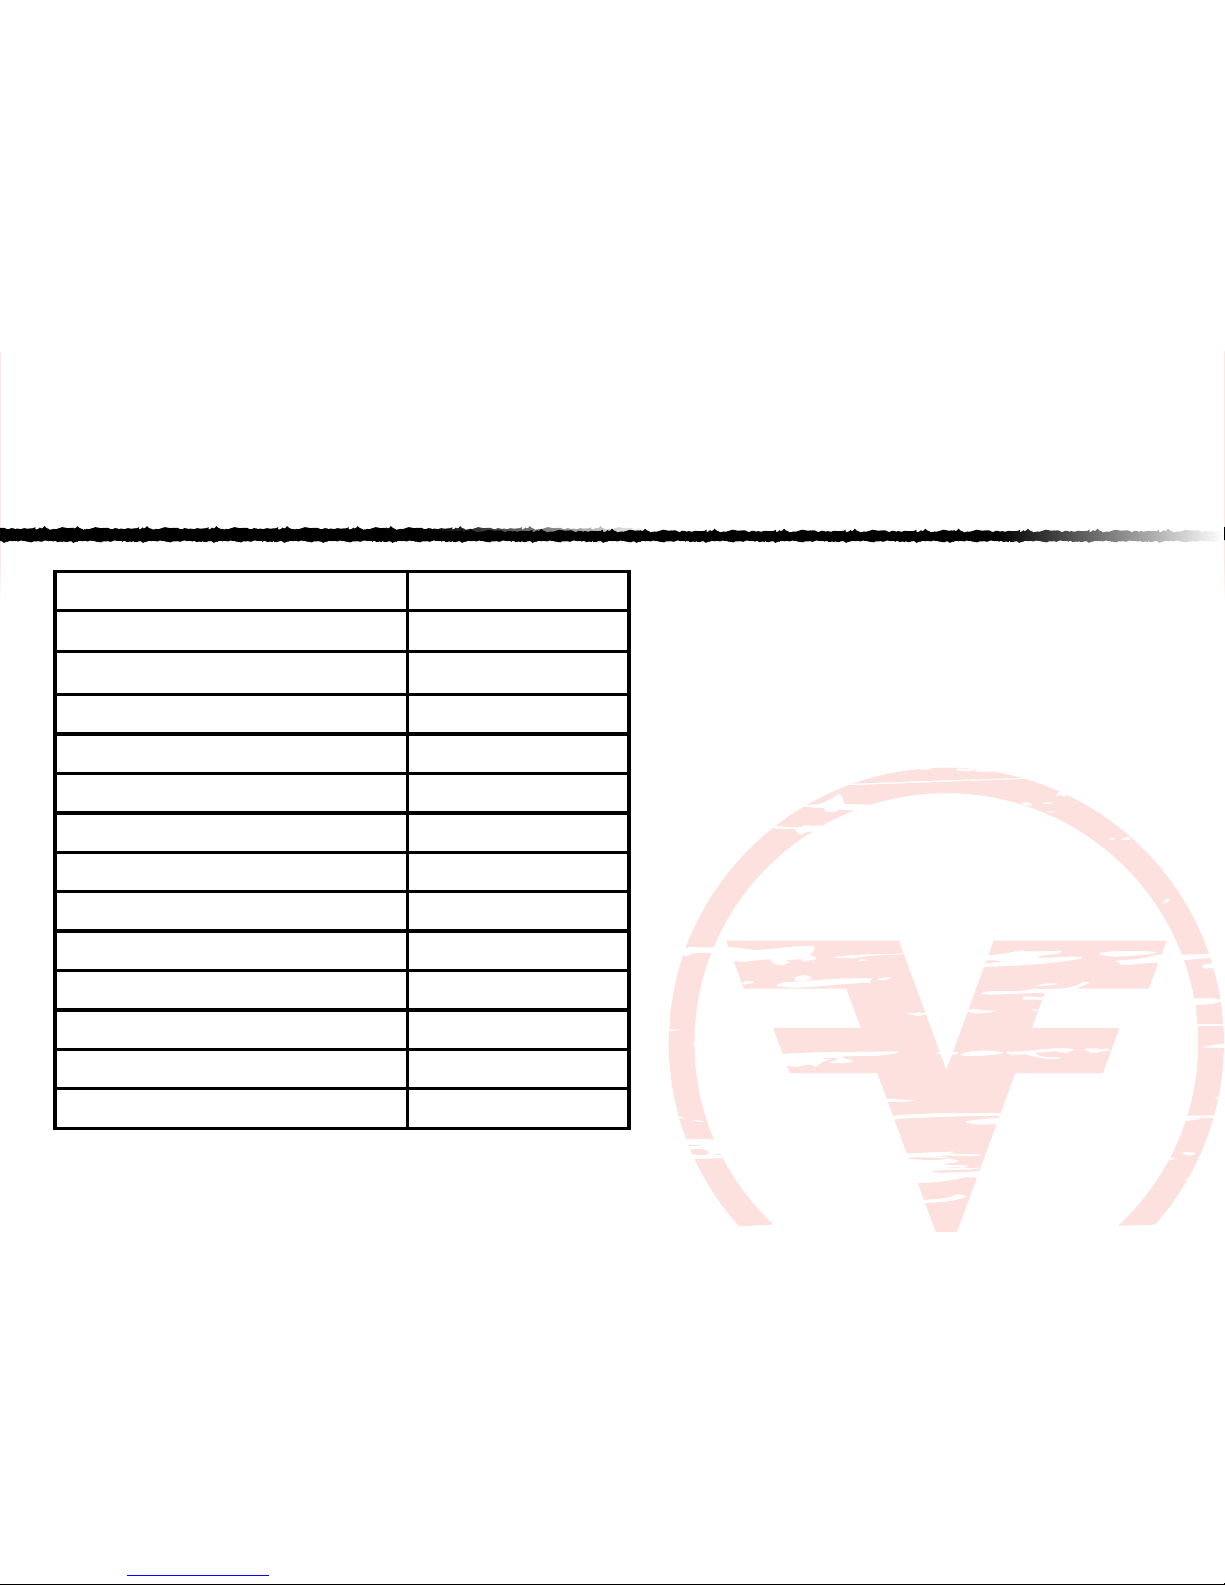
Generation 1
Magnication 5x
Objective lens diameter 50mm
Resolution, lines/mm 36mm
Angular eld of view 15º
Exit pupil 5mm
Eye relief 12mm
Power supply 3V
Diopter adjustment ±5
Battery type 2xAA
Operating Temp -20...+40ºC
IR wavelength 805nm
Dimensions 205x95x60mm
Weight 15.2oz
Features:
• High quality image and resolution
• 5x magnication and large objective lens
• Close focus range
• High power built-in infrared illuminator
• Ergonomic design and quick power up
FF18066
Includes
• Carrying case
• Hand strap
• Cleaning cloth
Page 6
3
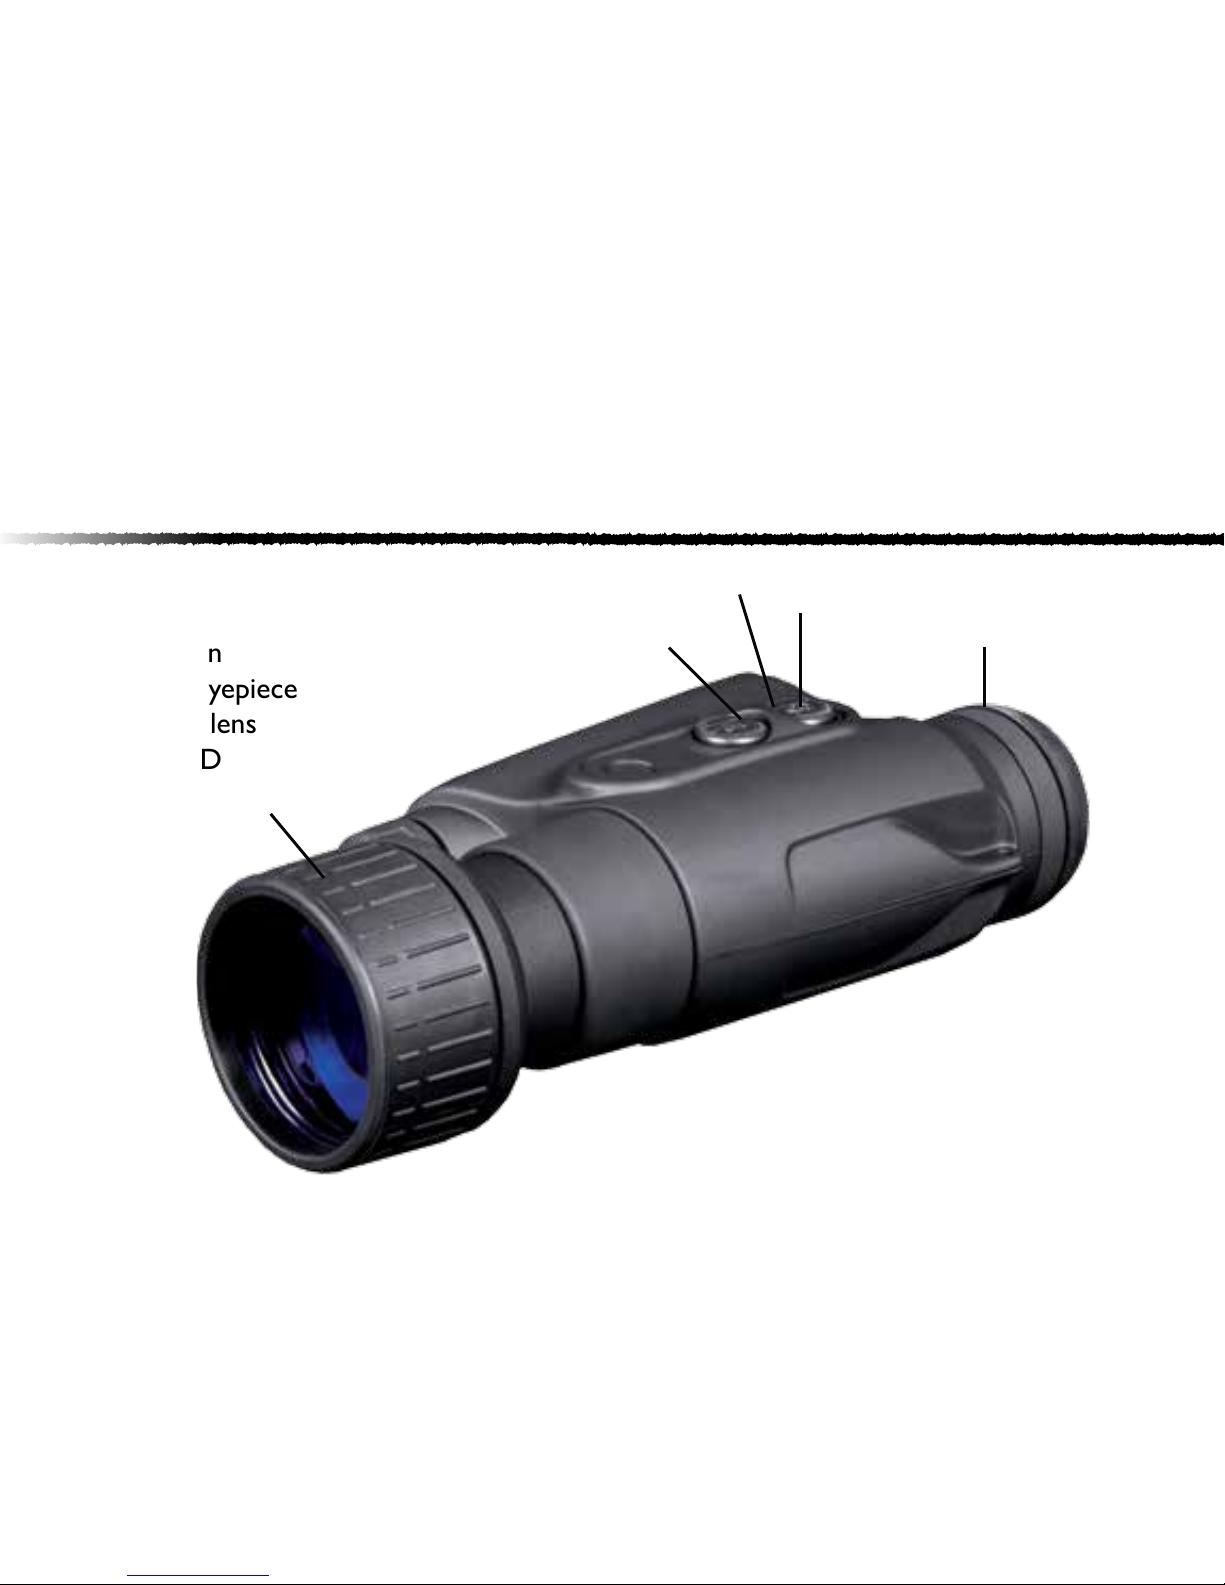
DIAGRAM
1. Objective Cap (not shown)
2. IR illuminator button
3. ON button
4. Rotating eyepiece
5. Objective lens
6. Green LED
2
3
4
5
6
Page 7

PECULIARITIES OF USE
Your night vision device is designed to provide many years of reliable service. To ensure high performance you
should adhere to the following rules:
• Do not direct the unit in the “on” position at intense sources of light, such as a car’s headlights or burning re.
This may disable the unit for an unknown length of time or cause a dark spot in the center of the eld of view.
Do not turn the unit on in daylight without the protective cap rmly secured over the objective lens, as this may
damage the unit.
• Any such damage may void the warranty.
• Never leave the unit in the “on” position over an extended length of time in an area with a light level exceeding
1-10 lux (twilight - 1lux, deep twilight - .001 lux). Please keep the protective cap on the objective under greater
light level.
• Your device was designed to be self-contained. Do not open the body of the unit or otherwise attempt to
service this device. If such need arises return the unit for replacement or repair.
• Protect the device from exposure to direct sunlight and extreme temperatures.
• Avoid dropping the unit. The device incorporates a sophisticated optical system which could be damaged in
extreme cases of misues.
• Clean optical parts (lenses) with professional lens cleaning supplies designed for use with multi-coated optics.
4
Page 8

USE AND TESTING
Make sure the batteries have been installed according to instructions found in the battery installation section of this manual.
• Enter a dark area before turning on the device.
• Remove the objective cap (1).
• Activate the device by pushing the “ON” button (3). The green LED (6) will light up.
• You can test your device in a light area without removing the protective cap. This will not damage your unit.
• If the subject to be viewed is in a completely dark area, including lowlight shadow areas; activate the infrared
illuminator by pressing the “IR” button (2). The LED will light up red.
• Direct your device at an object at a distance of approximately 100m. Adjust the eyepiece and objective lens
diopter setting to focus the unit by rotating the eyepiece (4) and objective lens (5).
• After the adjustment, do not rotate the eyepiece irrespective of the distance and other conditions.
• Direct your device at the subject to be viewed and adjust the nal focus by rotating the objective lens (5)
focusing ring until the image quality is optimal.
• When you are nished using the device, turn the unit off pushing the “ON” (3) button. Put the cap back on the
objective lens and place the unit in the carrying case.
5
BATTERY INSTALLATION
Your device runs on two AA batteries. To install, slide back the battery compartment cover, insert the
batteries into the battery compartment so that the positive (+) and negative (-) terminals of the batteries
match the markings inside the compartment, close the battery cover carefully.
Page 9

6
CAUTION!
Your device can be used in extreme cold. However, when the unit is brought back into a warm environment, please
wait for about 2-3 hours before using the unit again. Failure to do so may result in damage as a result of condensation
accumulating on the internal circuitry of the unit.
MAINTENANCE
• Clean the lens with professional lens cleaning supplies intended for use with multi-coated optics.
• Blow any dust or dirt off the lenses using dry, compressed air.
• Clean the unit housing with petroleum jelly applied by a soft, clean cloth.
STORAGE
Always store the unit in its case in a dry, well-ventilated area away from heating/air conditioning vents (or other heating
devices). Remove the batteries if the device is to be stored for longer than two months.
TROUBLESHOOTING
The unit will not turn on.
Check that the batteries are installed properly. Check the battery contacts to ensure they are clean and free of
corrosion. Make sure that the external contact lugs are not broken. If necessary, replace the batteries. Also, be sure
that the power is in the “ON” position when trying to turn on the unit.
Page 10

7
Distinct black dots appear on the screen.
These dots are minor cosmetic blemishes resulting from tube production processes and do not interfere with the
reliability or performance of the unit.
The unit ickers, ashes or “snows”.
The unit may icker or ash when used in a bright environment; to correct this, place the cap over the objective
lens and enter a dark environment. The unit will restore itself to a natural fuctioning state in several minutes or hours,
depending on how long the unit was exposed to the light.
The unit may icker for the rst several seconds of use, even when in a dark environment, before the unit corrects
itself and funtions properly.
The unit may “snow” for several minutes after being exposed to a bright light source (daylight, car’s headlights, re, ect.)
even if being operated in complete darkness.
The image is not focused.
Adjust the focus of the eyepiece and the objective (see “Use and Testing” section). Check that the lenses are not foggy
or dusty; if they are, carefully clean the external surfaces of lenses with a soft cotton fabric. Replace the batteries if the
total battery charge is less than 2.2V.
When the unit is brought into a warm environment from a cold one, condensation may appear on the internal lenses;
you must wait two hours before using the unit.
Page 11

8
Visibility decreases or disappears.
Bright light sources, such as headlights, may cause visibility to decrease or disappear and the image to icker.
Turn the power off and turn the scope away from the light source; visibility will restore itself in several minutes.
WARRANTY
Please visit www.re-eld.com for warranty information and details.
Page 12

www.re-eld.com
 Loading...