

Page 1
07/24
, Rev.
-
Nr.:
5,5
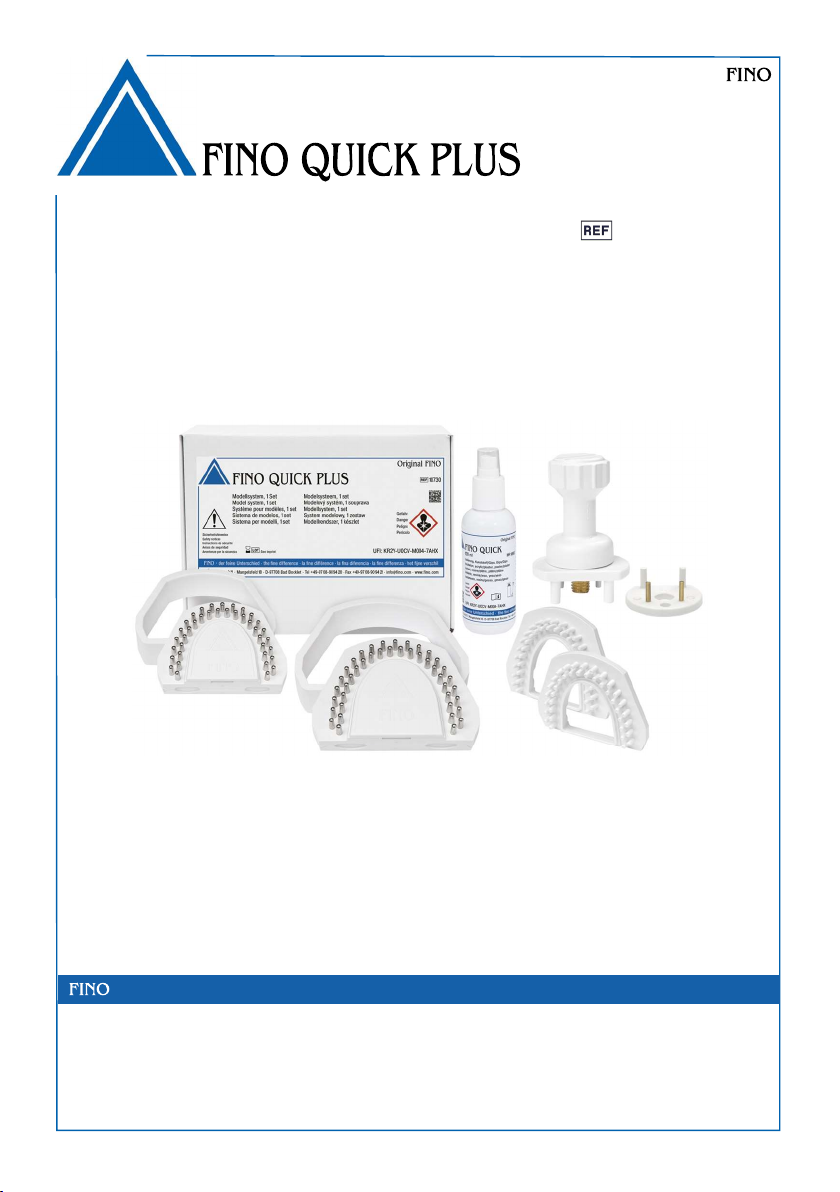
Model
• der feine Unterschied • the fine difference •
la fine différence • la fina dif
erencia • la fine differenz
a
system
Original
User Information
10730
Page 2

ENG
Important:
Please read carefully before use Keep for referral purposes
Please read the entire document before using the model system.
CONTENTS
1 In t e n de d p u r p o s e 3
2 In d i c a t i o n 3
2.1 Contraindication ....................................................................................... 3
3 Fi e l d s o f a pp l i c a ti on 3
3.1 General .................................................................................................. 3
3.2 Target group ............................................................................................ 3
4 Sa f et y p r e c a u t i on s 3
4.1 Prevention .............................................................................................. 3
4.2 Response ............................................................................................... 3
5 P r o c e s s i n g i n s tr uc t i on s 4
5.1 Components ............................................................................................ 4
5.2 Preparation of impression ............................................................................ 4
5.3 Placement of putty ..................................................................................... 4
5.4 Preparation of the pin base plate .................................................................... 4
5.5 Pour ...................................................................................................... 5
5.6 Lifting of the tooth arc ................................................................................. 5
5.7 Trimming of the tooth arc ............................................................................. 5
5.8 Finishing ................................................................................................ 6
5.9 Cleaning ................................................................................................. 6
5.10 Troubleshooting ...................................................................................... 6
6 St o r ag e 7
7 P h y si c a l d a t a 7
7.1 Composition ............................................................................................ 7
8 De l i v er y f o rm s 7
9. Ac c es s o r i e s 8
10 G u a r a n t ee 8
11 . E x c l us i on of l i a b i l i t y 8
12 D i sp o s a l 8
12.1 EWC waste code product ............................................................................ 8
13 S y mb o ls e x pl a na ti o n 8
13.1 Manufacturing ........................................................................................ 8
13.2 Application ............................................................................................ 9
13.3 Storage ................................................................................................ 9
2
Page 3
ENG
1Intended purpose
High precision, reusable model system, which supersedes drilling of pin holes, placing of pins and the creation
of a split-cast.
2Indication
Processing of saw models in the crown and bridge technique.
2.1 Contraindication
Not known.
In case of allergic reactions to product components, sensitive individuals cannot be excluded.
3Fields of application
3.1 General
Only for processing in the dental technology according to the intended use.
In the event of use other than intended, all warranty and liability claims become void!
3.2 Target group
The target user groups for model system are:
Dentists
Dental technicians
The patient target group for model system includes patients receiving as part of dental treatment.
4Safety precautions
The national legal regulations must be observed during use, in particular:
the applicable health and safety regulations
the applicable accident prevention measures
Separating agent:
Danger
H304 May be fatal if swallowed and enters airways.
P102 Keep out of reach of children.
4.1 Prevention
P280 Wear protective gloves/eye protection.
4.2 Response
P301+P310 IF SWALLOWED: Immediately call a POISON CENTER or doctor/physician.
P331 Do NOT induce vomiting.
Further safety-relevant data is given in the safety data sheet.
EUH 066 Repeated exposure may cause skin dryness or cracking.
3
Page 4
ENG
5Processing instructions
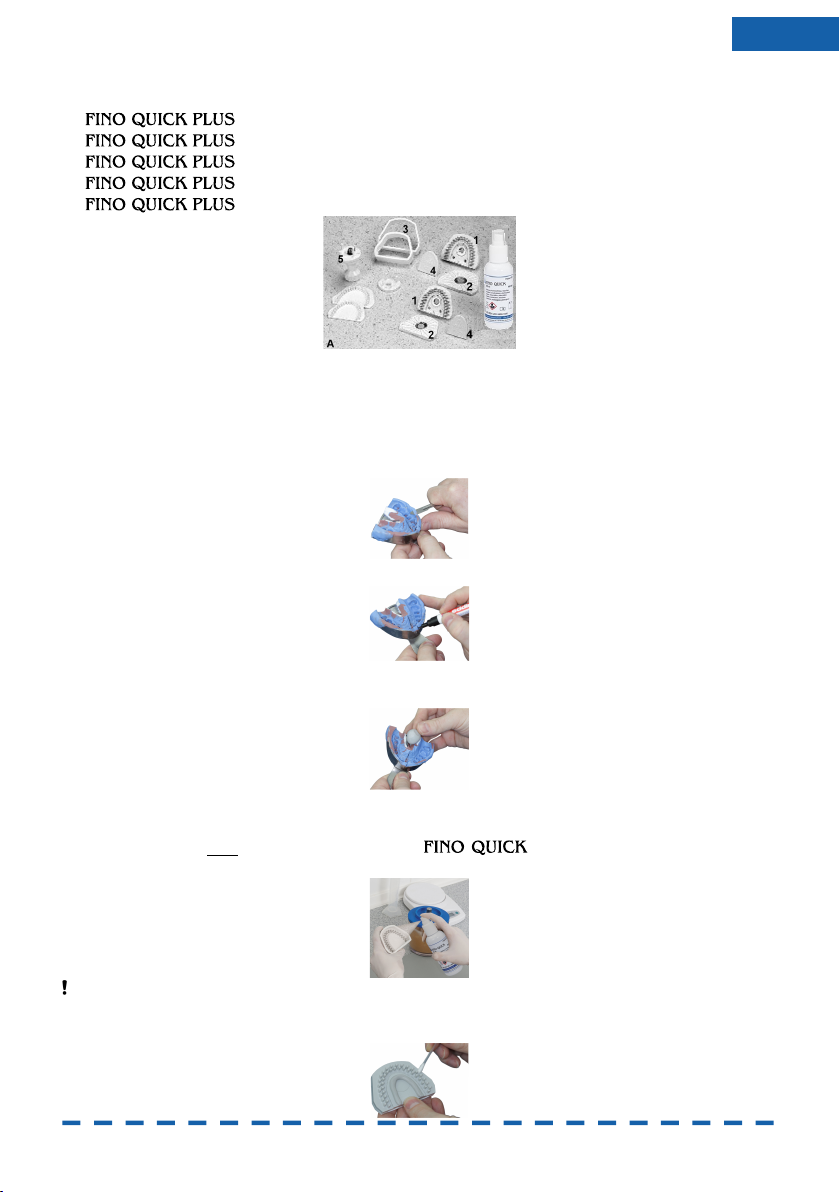
5.1 Components
1. , pin base plate large and small
2. , splitcast plate (included in each pin base plate large and small)
3. , sleeves large and small
4. , ejection plate (included in pin base plate large and small)
5. , detaching tool
5.2 Preparation of impression
First of all the correct size of the pin base plate is selected according to the impression. Take care of correct
fitting.
In order to obtain a flat die arch and to facilitate the later removal, the impression is trimmed in the vestibular
area and in the palatal area in a way that deep undercuts are bevelled. The surface treatment of the impression
is done according to the directions of the manufacturer.
Mark middle of model and other possible reference lines for later positioning.
5.3 Placement of putty
Substitute missing areas or air bubbles in the impression with putty.
5.4 Preparation of the pin base plate
The fitting sleeve is placed on the pin base plate.
The pin base plate is only insulated with the included separating agent by spaying on a thin
even film.
Important:
After drying, carefully wipe off the separating agent from the outer edge and carefully remove the excess with
compressed air.
4
Page 5
ENG
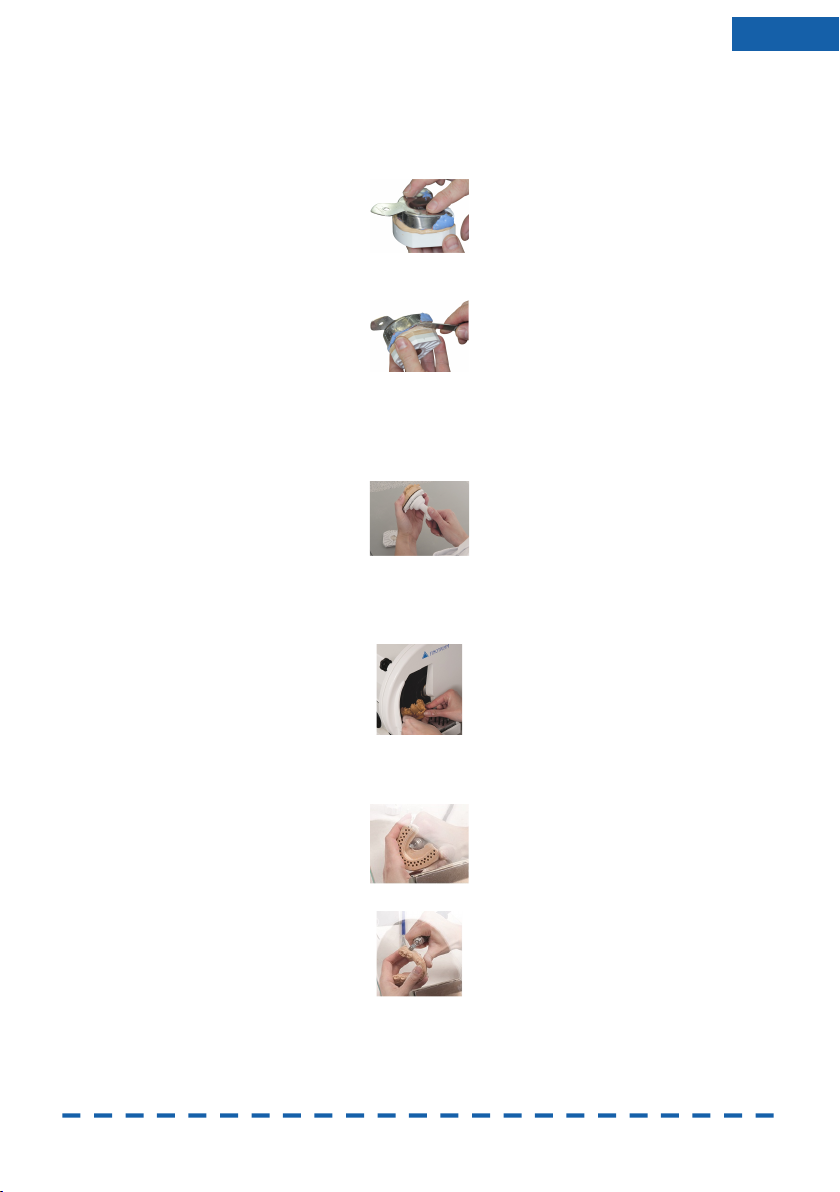
5.5 Pour
The impression is poured as usual.
Fill the isolated pin base plate with plaster until the pins are completely covered.
Place impression on the pin base plate and position according to the reference markings.
Adjust occlusal surface parallel to the pin base plate if possible.
Remove excessive plaster.
5.6 Lifting of the tooth arc
After setting of the plaster the impression is divested and the white sleeve is removed.
The white sleeve is removed and the pin base plate is taken off the splitcast plate to get access to the holes for
the detaching device.
The detaching device is placed into the holes on the bottom of the pin base plate designed for this purpose.
By screwing at the detaching device the die arch is carefully taken off, whereby the lid of the model system
comes loose. Please pay attention that canting of the die arch must be avoided.
5.7 Trimming of the tooth arc
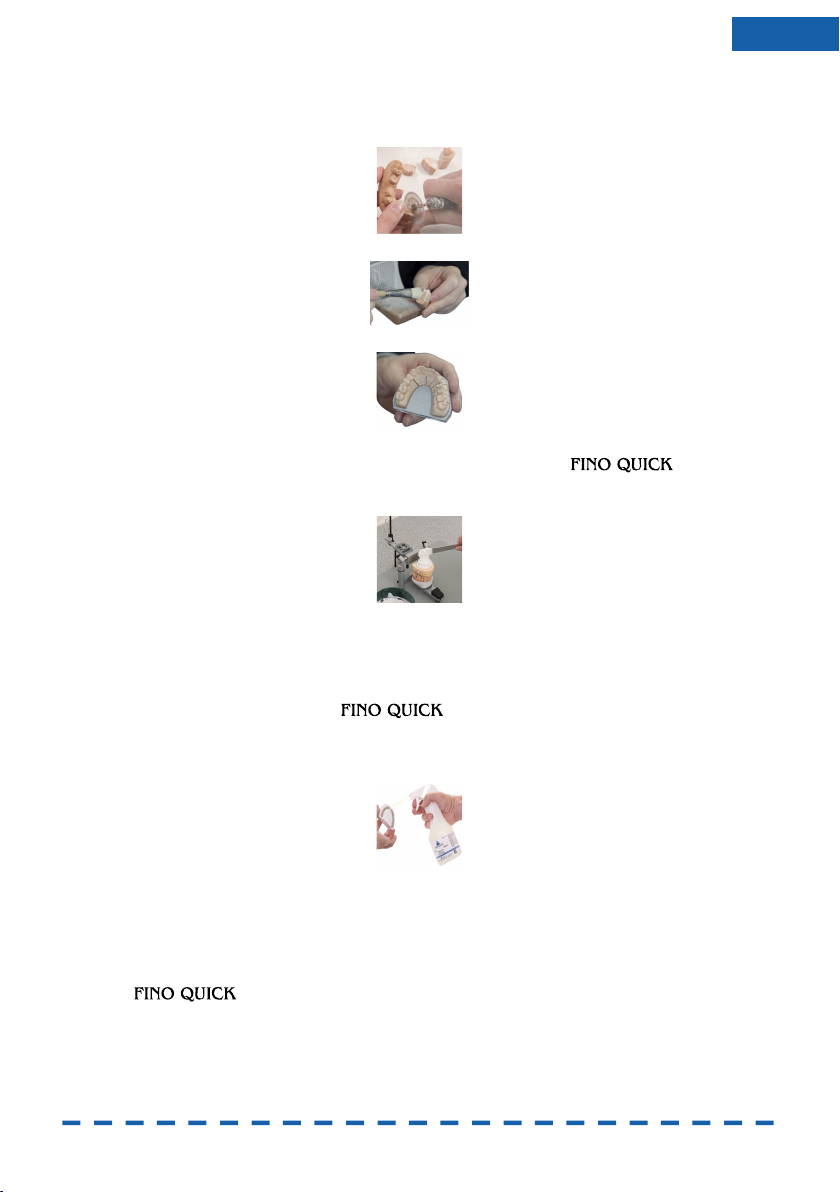
The vestibular aspect of the die arch is ground with a dry or wet model grinder. If a wet model grinder is used
any plaster sludge should immediately be removed from the pinholes before the model is again placed onto the
pin base plate.
For the preparation of the oral aspect a die arch pointed cutter are best suitable.
In any case it is important that the die arch is only reduced up to the boundary line, which is marked on the
ejection plate as little groove. It is designed to take off the separate segments.
Finish the die arch as required.
5
Page 6
ENG
5.8 Finishing
Saw die arch. You do not care about the position of the pin holes. The segments always have enough retention
on the plate.
For larger segments, make one or more additional saw cuts depending on the expansion of the plaster.
Remove plaster dust thoroughly with compressed air and a brush.
The model is now finished. The marking of the preparation margin can now begin.
Before the non-sawn die arch is repositioned, the pin base plate must be cleaned thoroughly agents.
A soft hand brush with plastic bristles is best suitable for this purpose and the cleaning spray.
Make sure that the pin base plates are not mixed up!
Because the split-cast base already belongs to the pin base plate subsequently the articulation can start.
We recommend delivery of the dental arch on the pin base plate. The dental arch can also be switched to the
archiving plate for delivery, but then there is no option for checking.
5.9 Cleaning
Please note:
Please clean the pin base plates only with cleaning spray (item-no. 10782).
Do not clean in an ultrasonic bath or with other caustic cleaning agent.
By using other cleaning agents or separating agents the pin base plates as well as split-cast plates may get
cracked or crumbly.
5.10 Troubleshooting
5.10.1 Model does not detach from the pin base plate
Possible cause:
- Insufficient or incorrect isolation.
Solution:
- Only use separation agent.
- Allow isolation to dry before casting plaster.
6
Page 7
ENG
500 ml
10864
100 ml
10863
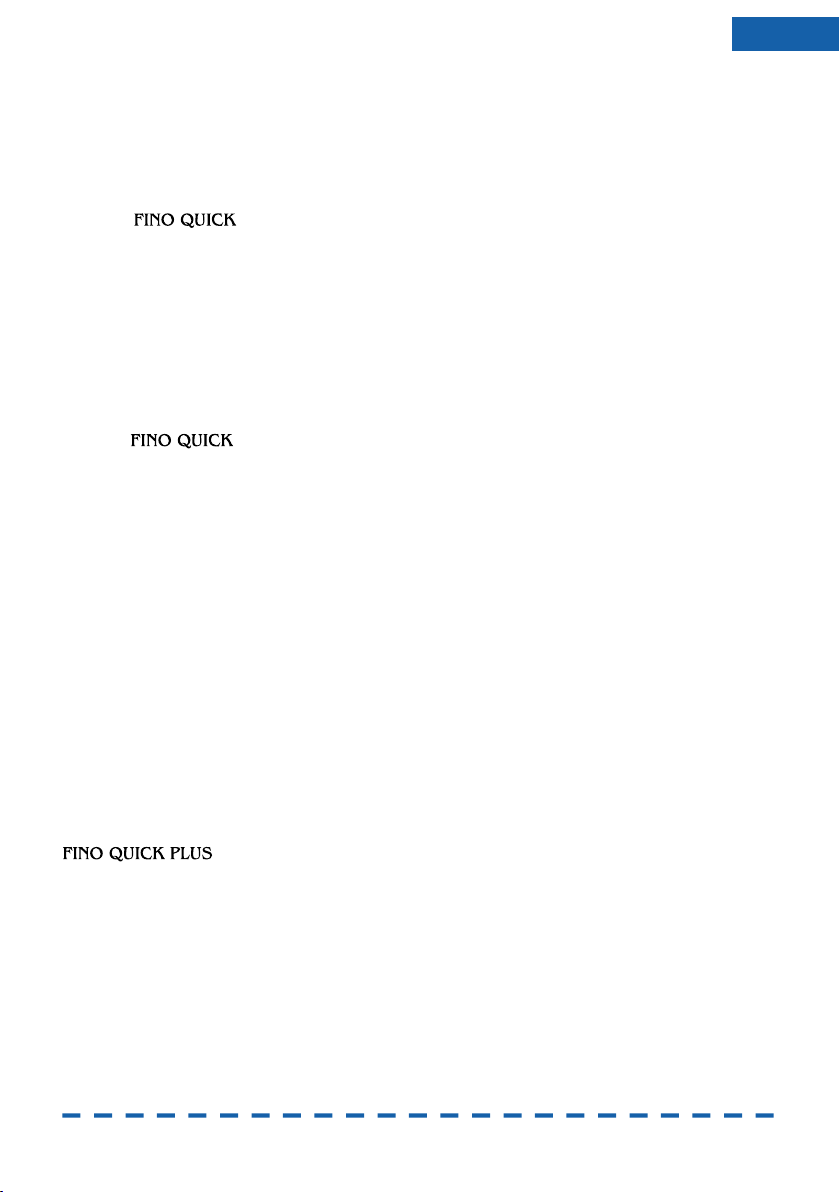
model system
Contents
of introduction kit:
10730
large 2x 10731
small 3x 10732
large 1x 10733
small 2x 10734
Detaching tool
1x
10737
Separating agent
100 ml
1x 10863
large 2x 10740
small 3x 10741
5.10.2 Segments/ stumps no longer fit correctly on the pin base plate
Possible cause:
- Insufficient or incorrect isolation.
- Contamination
- Expansion
- Pin base plates mixed up
Solution:
- Only use separation agent.
- Remove residual isolating agent from the pin base plate.
- Clean the soiled pinhole.
- Replace the dental arch on the pin base plate immediately after trimming and sawing.
- Segments should not be greater than 3 teeth.
- Mark the plates and do not mix them up.
5.5.11 Cracks in the pin base plate
Possible cause:
- Unsuitable cleaning agents or ultrasonic bath used.
Solution:
- only use cleaning spray and a soft brush.
6Storage
Separating agent
P405 Store locked up.
P411 Store at temperatures not exceeding 25 °C.
7Physical data
No further data.
7.1 Composition
Separating agent:
Contains isoalkanes
8Delivery forms
Packaging units for model system are:
Model system
User Information
The scope of delivery of each individual product consists of:
Pin base plate
Sleeve
Archiving plate
7
Page 8
ENG
large 10731
small 10732
large 10733
small 10734
Separating agent
500 ml
10864
large 10737
small 10738
Separating agent
100 ml
10863
large 10740
small 10741
large 10742
small 10743
Cleaning pin
10748
Cleaning spray
500 ml
10782
Shelf life
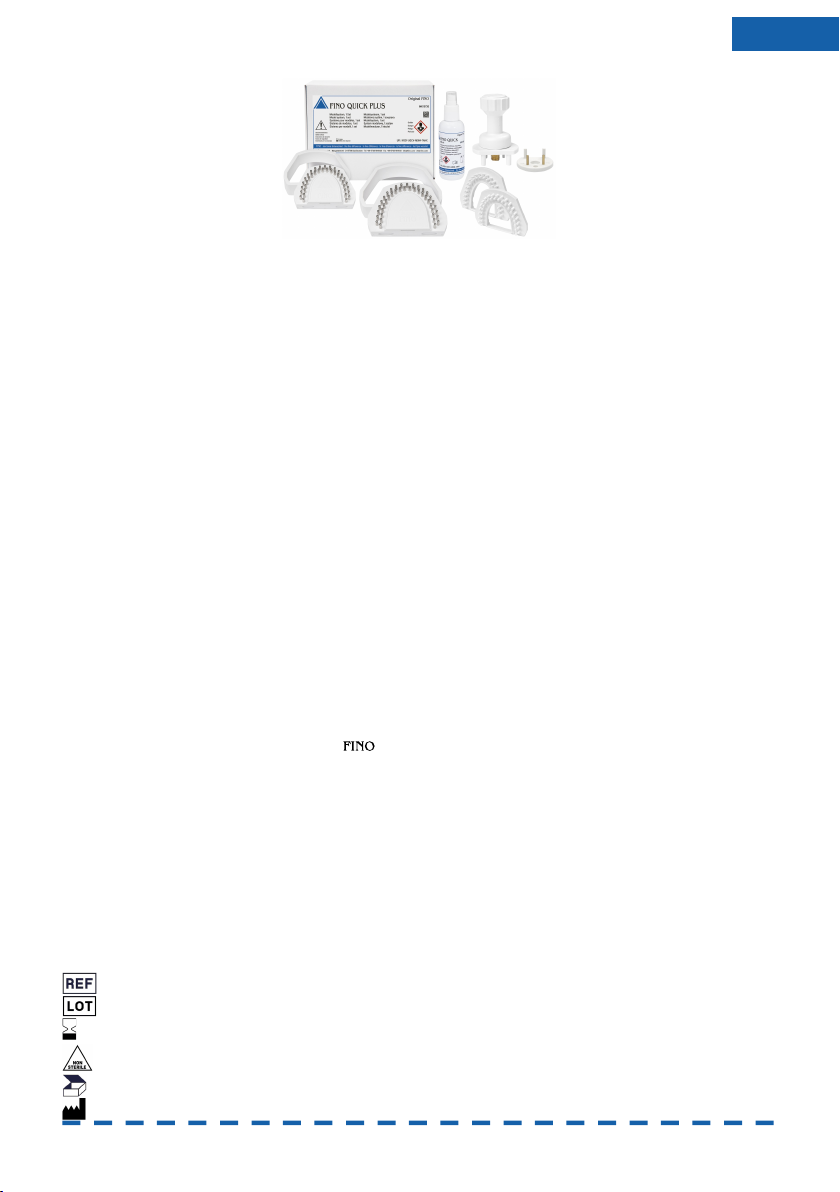
Model system are shown in the illustration:
9. Accessories
Pin base plate
Sleeve,
Detaching tool complete
Archiving plate
Archiving plate de luxe,
10Guarantee
Our technical recommendations of application are based on our own experiences and tests and should only be regarded as guidelines. It rests
with the skills and experience of the user to verify that the products supplied by us are suitable for the intended procedures. Our products are
undergoing a continuous further development. We reserve the right of changes in construction and composition. It is understood that we
guarantee the impeccable quality of our products.
11. Exclusion of liability
All rights reserved. This document may not be reproduced, transmitted, transferred, distributed, modified, summarised or translated into any
other language graphically, electronically or mechanically, including but not limited to photocopying, recording, information storage and processing in systems, without the prior written consent of GmbH. Copies of the system software are not permitted.
12Disposal
P501 Dispose of contents/container in accordance with local/regional/national/international regulations.
12.1 EWC waste code product
070704 WASTES FROM ORGANIC CHEMICAL PROCESSES; wastes from the MFSU of fine chemicals and
chemical products not otherwise specified; other organic solvents, washing liquids and mother liquors; hazardous waste
13Symbols explanation
13.1 Manufacturing
Item numbers
Lot code
non-sterile
Unit in the packaging
Manufacturer
8
Page 9
ENG
General
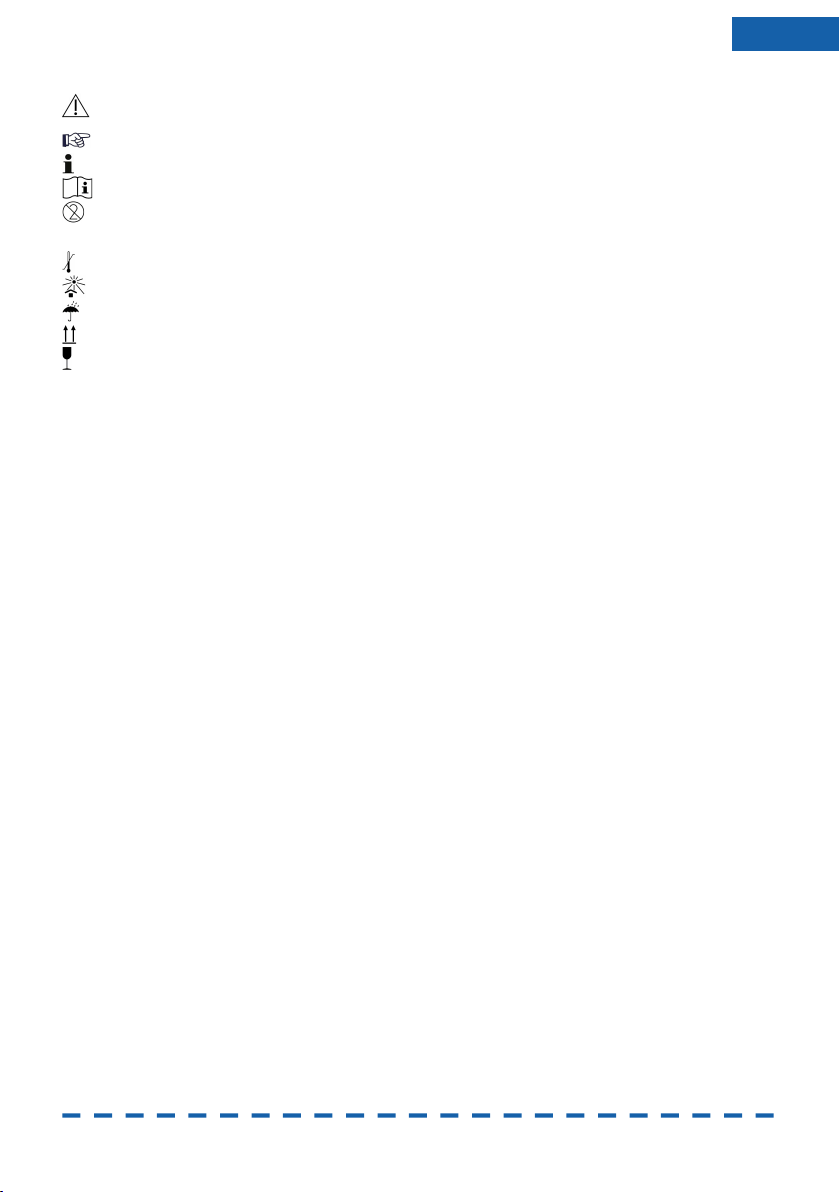
danger symbol warns of the risk of serious injury in conjunction with the warning
Notes
Important information
top -
store upright
13.2 Application
13.3 Storage
words CAUTION, WARNING or DANGER
Please read carefully before use Keep for referral purposes
Do not reuse
Temperature limit
Keep away from direct sunlight
Protect against moisture
Caution fragile
9
Page 10
ENG
GmbH
Mangelsfeld 18
D-97708 Bad Bocklet
Tel +49-97 08-90 94 20
Fax +49-97 08-90 94 21
[email protected] · www.fino.com
10
 Loading...