

Page 1
2
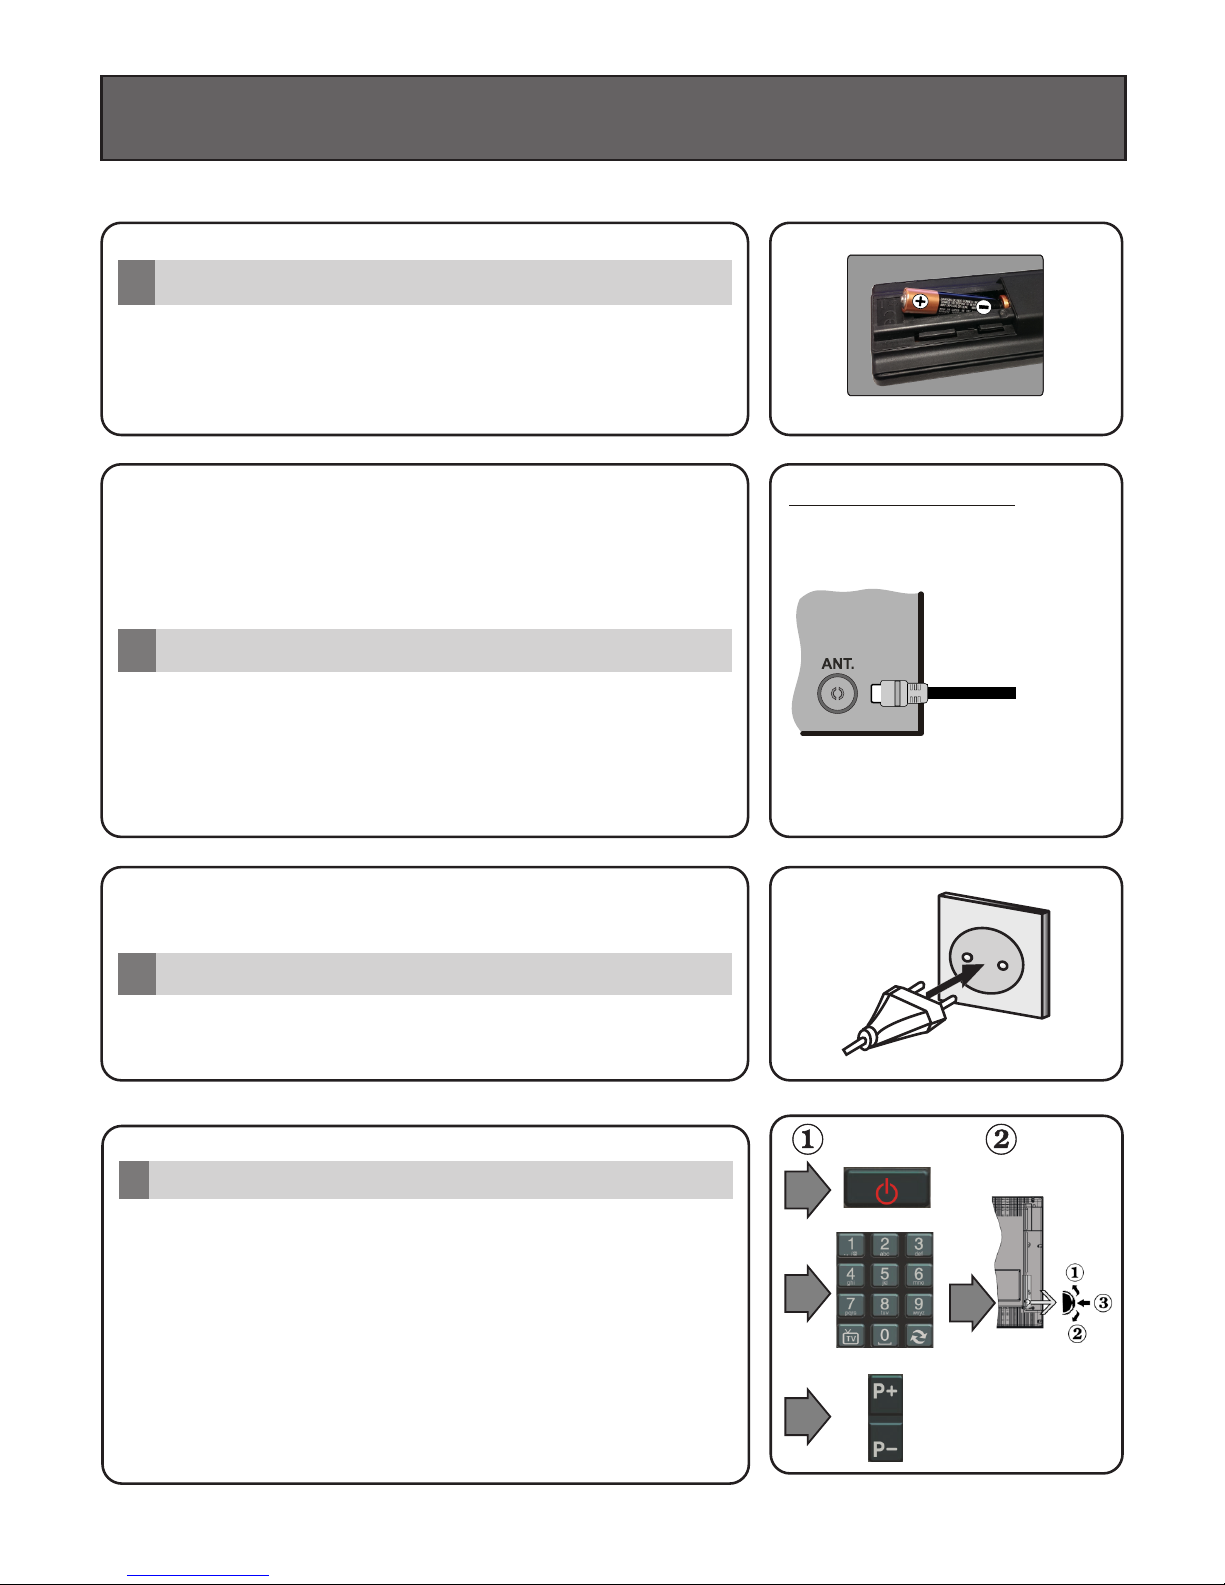
Connect the antenna to your TV
3
Connect the TV to the mains socket
Insert the batteries into the Remote Control
1
Insert two AAA/R3 or equivalent type batteries inside.
Observe the correct polarity (+/-) when inserting batteries
and replace the battery cover.
Quick Start Guide
REAR SIDE OF THE TV
Aerial
or
Cable
To switch the TV on
4
Connect the power cord to a power source such as a wall
socket (220-240V AC, 50 Hz).
To switch on the TV from standby mode either:
Press the “Standby” button, Programme +/- or a numeric
button on the remote control.
Press the side function switch on the TV until the TV comes
on from standby.
Page 2
SOURCESOURCE
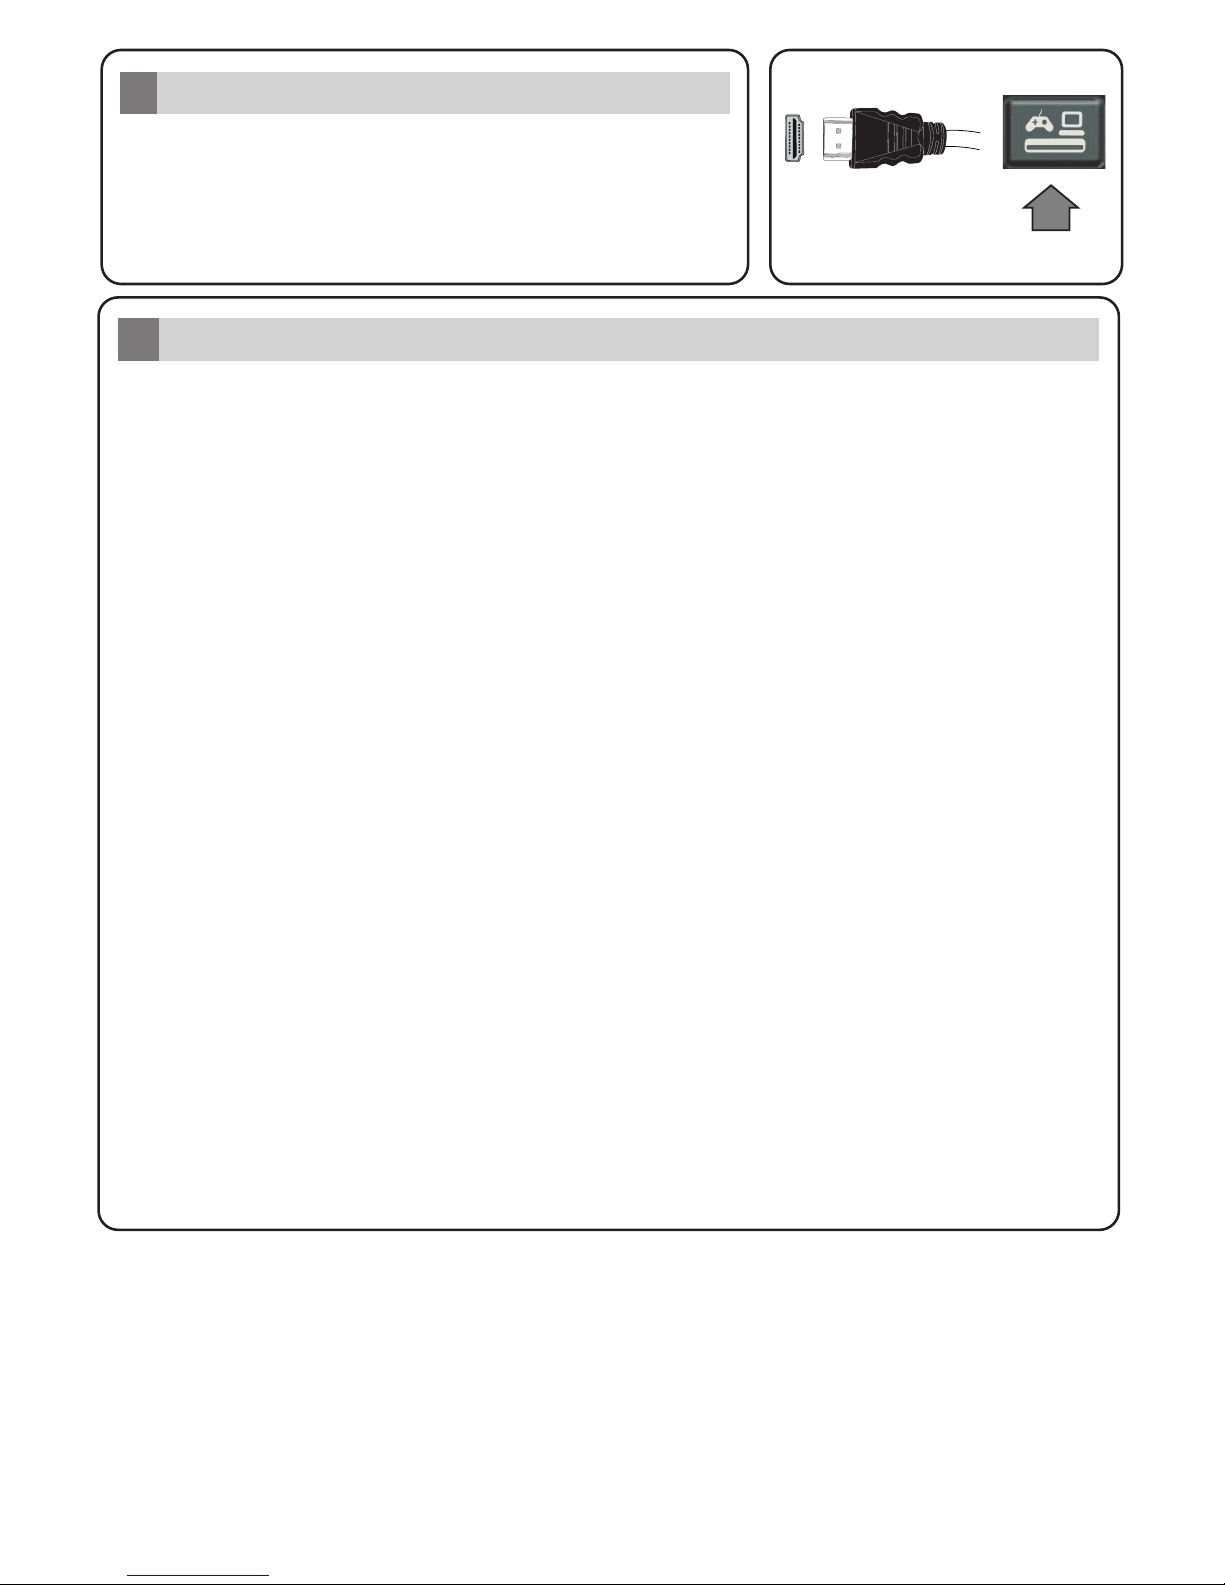
Auto Setup procedure
6
PLEASE ENSURE BOTH UNITS ARE SWITCHED OFF
BEFORE CONNECTING. Use a HDMI to HDMI cable to
connect the two units together. To select the HDMI input,
press the Source button on the remote control. Each time it is
pressed the on-screen menu confirms your selection.
HDMI input
5
To HDMI connection
on the device
When the TV is operated for the first time, installation wizard will guide you through the process.
First, language selection screen will be displayed. Select the desired language and press OK.
On the following screens, set your preferences using the directional buttons.
About Selecting Broadcast Type
Digital Aerial: If this broadcast search option is turned on, the TV will search for digital terrestrial
broadcasts after other initial settings are completed.
Digital Cable: If this broadcast search option is turned on, the TV will search for digital cable
broadcasts after other initial settings are completed. According to your other preferences a
confirmation message may be displayed before starting to search. Select Yes and press OK to
proceed. To cancel operation, select No and press OK. You can select Network or set values such
as Frequency, Network ID and Search Step. When finished, press OK button.
Note: Searching duration will change depending on the selected Search Step.
Analogue: If Analogue broadcast search option is turned on, the TV will search for analogue
broadcasts after other initial settings are completed.
Additionally you can set a broadcast type as your favourite one. Priority will be given to the selected
broadcast type during the search process and the channels of it will be listed on the top of the
channel list. When finished, press OK to continue.
You can activate Store Mode (optional) option at this point. This option is intended only for store
use. It is recommended to select Home Mode for home use.
After the initial settings are completed TV will start to search for available broadcasts of the selected
broadcast types.
After all the available stations are stored, scan results will be displayed. Press OK to continue. The
Edit Channel List menu will be displayed next. You can edit the channel list according to your
preferences or press the Menu button to quit and watch TV.
Note: Do not turn off the TV while initializing first time installation.
Page 3

Connect your TV to the Internet
7
Connectivity feature allows you to connect your TV to the home network wired or wirelessly. You can
use this networking system to connect to the Portal or to access photo, video and audio files that are
stored on a Media server connected to the network and play/display them on the TV.
However, if your TV does not have Wireless USB dongle or doesn’t support internal Wi-Fi feature,
you should use wired connection type. Add your TV to your home network by connecting it to the
modem/router via an LAN cable (not supplied) as illustrated.
To use your TV with your wireless network, you may need a Wireless USB dongle. You should
connect it to one of the USB inputs on the TV. If your TV supports internal Wi-Fi feature you won't
need any additional wireless adaptors.
Press the Menu button to open the main TV menu. Select System>Settings by using the
directional buttons and press OK to enter. Highlight Network/Internet Settings and press OK.
While Network Type is highlighted, press Left or Right buttons to select connection type. Wired
connection will be established automatically. If wireless connection is selected TV will search for the
available wireless networks and list them when finished. Select one and press the OK button to
connect. If the wireless network is password protected you should enter the correct code to access
the network. Once you have established a wireless connection, this will be saved and you shouldn’t
enter the password to connect to the same wireless network again. You can delete the saved wifi
profile any time. If a First Time Installation is performed, this profile will be deleted as well.
Press the Internet button on the remote to access internet portal, while your TV is connected. You
can access a wide range of applications and services, using the internet portal feature of your TV.
Note: Portal page content is subject to change at any given time without prior notice.
Nero MediaHome software download link: http://www.nero.com/mediahome-tv.
Refer to the instruction manual for more details.
Wired Connection
Wireless Connection
LAN (ethernet) cable
or
USB input/s on the rear
left side of the TV
LAN input on the rear side
of the TV
Broadband
ISP
connection
Broadband
ISP
connection
TV with internal Wi-Fi
50347273
 Loading...