

Fimco LG-5-P Assembly Manual And Operating Instructions
5300250
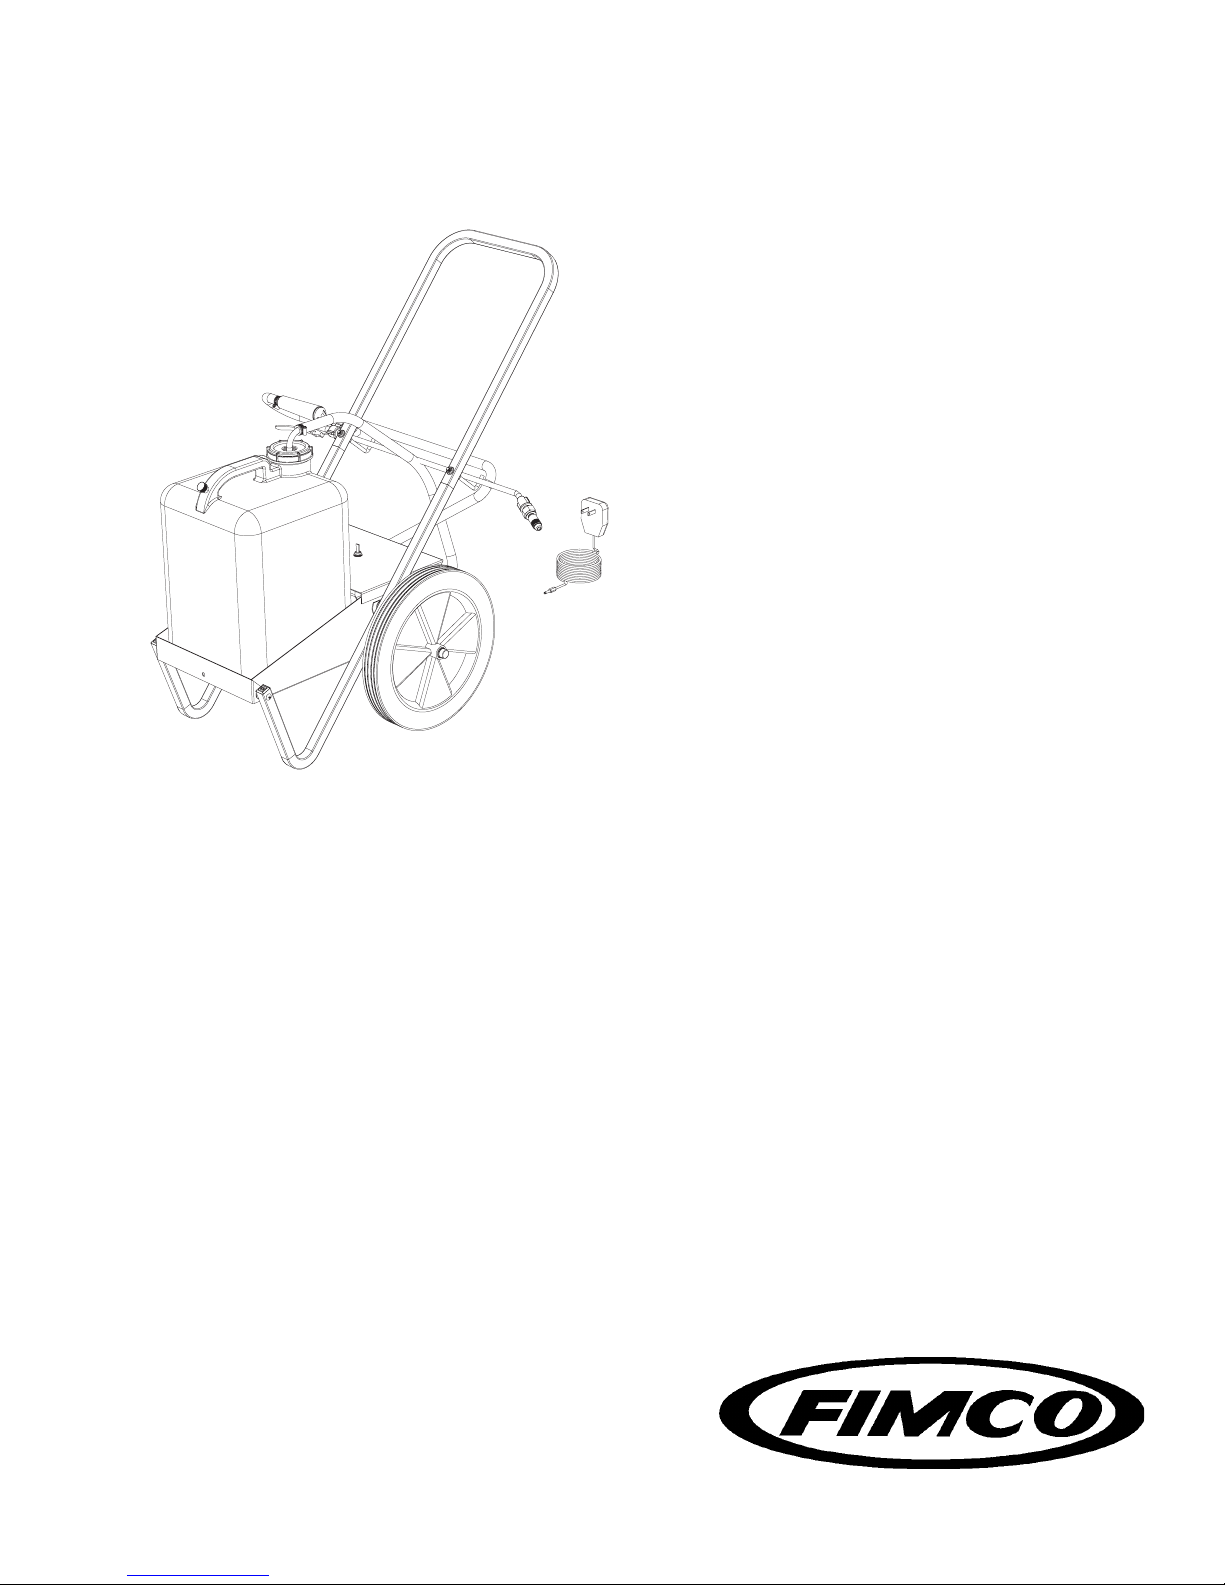
MODEL NO. LG-5-P
12 Volt Electric Sprayer With Battery Charger
Assembly / Operation Instructions/ Parts
Turn the switch “on” and squeeze the lever on the handgun
to spray.
After spraying rinse and clean the equipment both inside
and out. Flush the pumping system with water.
BATTERY CHARGING
It is a good idea to charge the battery for 8-10 hours before
using the sprayer. Especially if you plan to spray for a long
period of time. This will insure that the battery is fully charged.
Charging the battery may be accomplished as follows:
1. Plug the charger into a 110 volt A.C. electric receptacle.
2. Insert the plug (which is molded onto the end of the charger
wire) into the jack which is located on the rear of the
sprayer.
3. Disconnect the plug from the jack and the charger from
the electrical outlet when the charging operation is
completed.
INTRODUCTION
Read all of the instructions before starting the unit. Mistakes
can be avoided when you understand the sprayer. Refer to
the exploded view drawing and parts list to familiarize yourself with the unit. Assembly tells you how to put your sprayer
together. Operation tells you how to use your sprayer correctly and safely.
ASSEMBLY
Most of the sprayer has been assembled by the factory . The
remaining parts may be put together by following these
directions.
1. Remove the unit from the carton, locate the small parts
bag, and remove the parts.
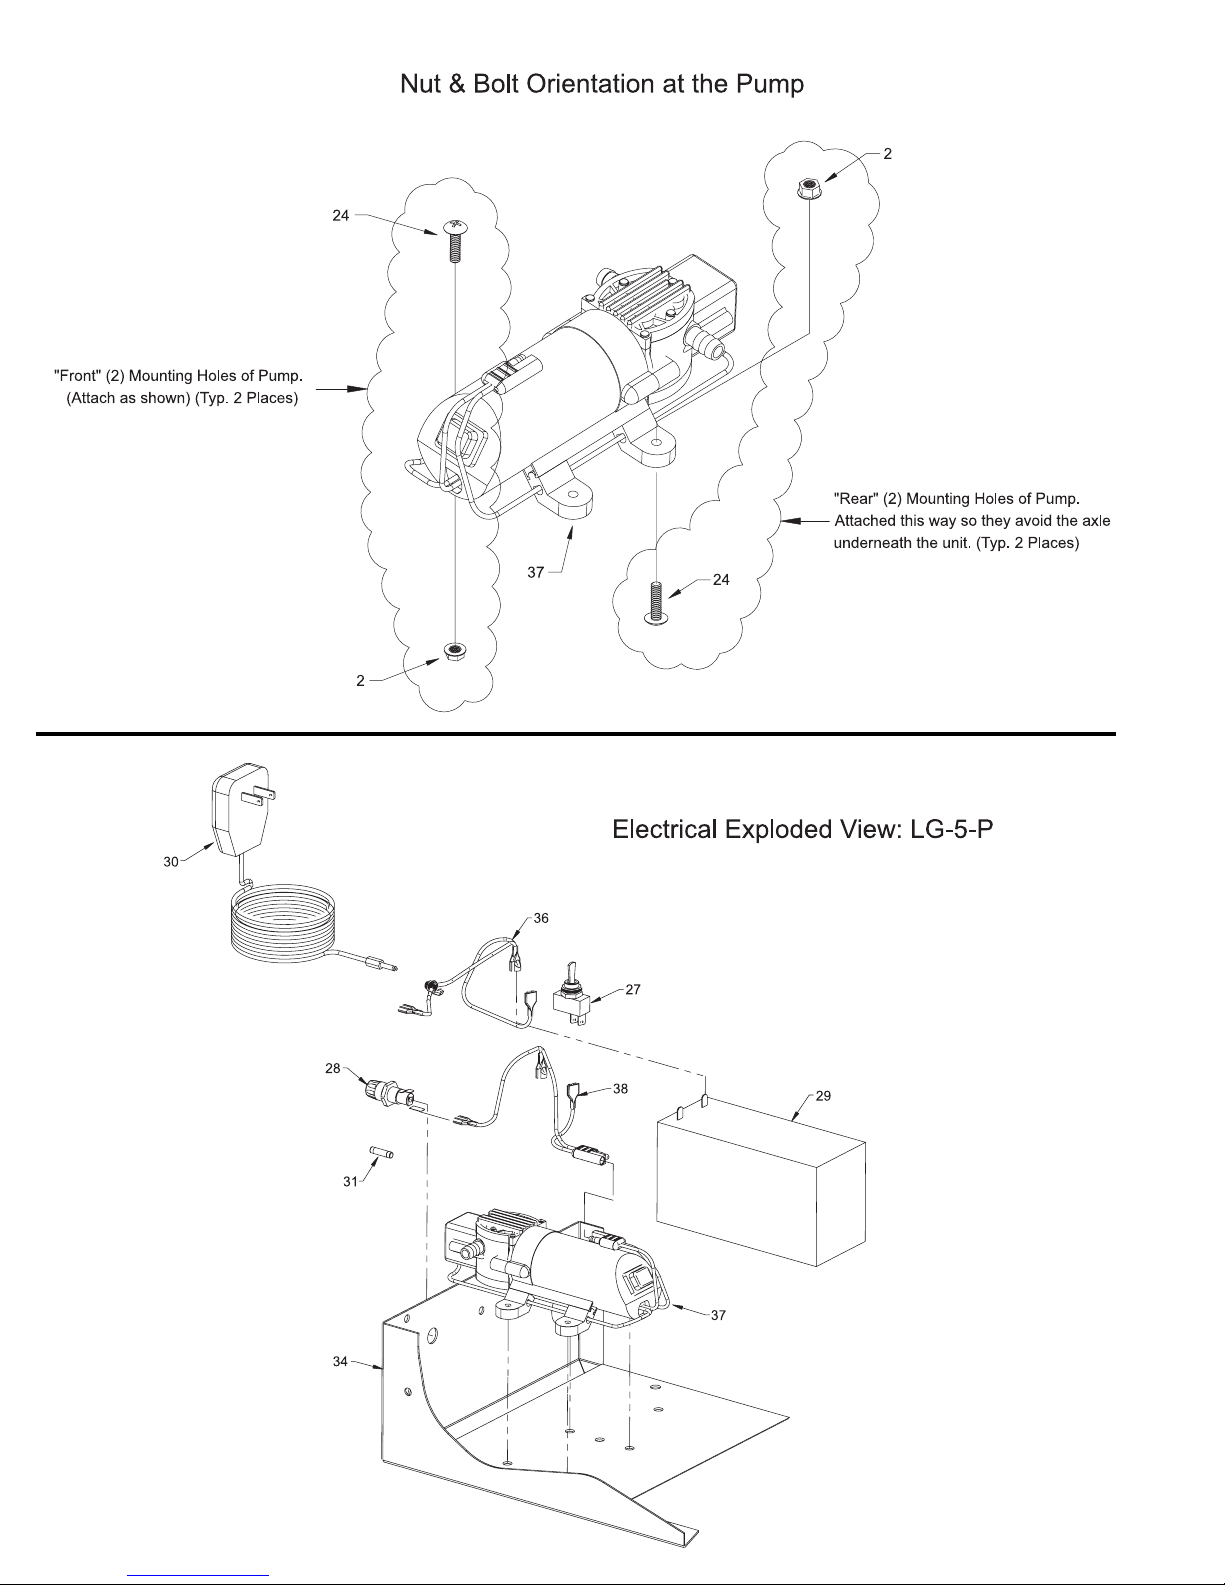
2. Thread a 1/4" flange locknut all the way onto each hook
bolt, upsidedown.
3. Slide the handle onto the square inserts on the frame.
Insert a hook bolt into the lower holes in the handle as
shown on the exploded view drawing. Tighten another
1/4" flange locknut onto the hook bolts.
4. Remove the cap on the 5 gallon container handle.
Puncture a small hole in the membrane. This is the
breather opening and should be open when the pump is
working. Thread the cap in place for storage only.
CAUTION: Do not leave charger connected to battery for
longer than 20 hours as it may cause premature battery
failure.
AFTER SPRAYING
After use fill the sprayer part way with plain water, start the
sprayer and allow clear water to be pumped through the
plumbing system and out through the handgun.
Follow the chemical manufacturers disposal instructions of
all wash or rinsing water.
WINTER STORAGE
Drain all water out of the sprayer paying special attention to
the pump & handgun. These items are especially prone to
damage from chemicals and freezing weather.
The sprayer should be winterized before storage by
pumping RV anti-freeze through the entire plumbing.
Proper care and maintenance will prolong the life of the
sprayer.
OPERATION
Fill the container with solution (water and chemical) then stir
to mix. Mixing can also be accomplished by sticking the handgun nozzle into the container and spray into the solution.
1000 FIMCO LANE • P.O. BOX 1700 • NO. SIOUX CITY, SD 57049
Form No. 5004309 (200 8/05) Printed In U.S.A.
Page 1
Page 2
Page 3
 Loading...