

Fimco LG-30-TRL Owner's Manual
OWNER’S MANUAL
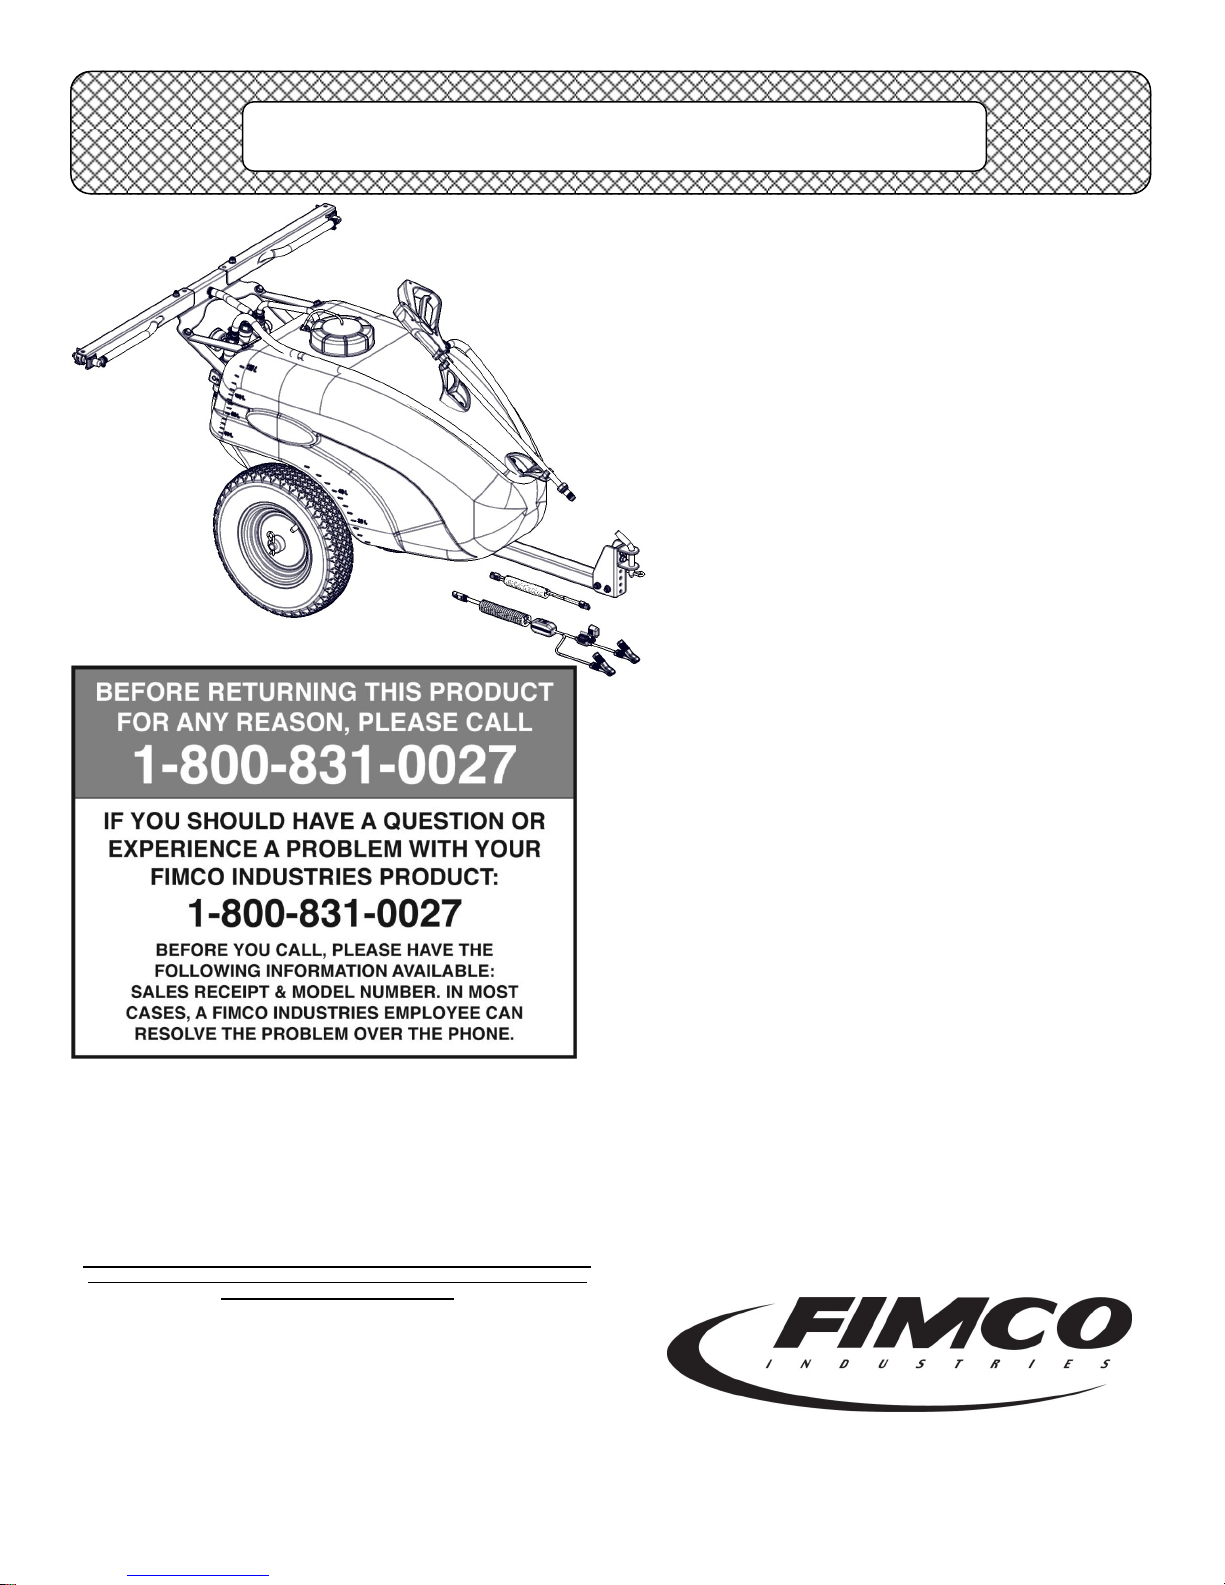
Model: LG-30-TRL (5302317)
(30 Gallon Lawn & Garden Trailer Sprayer)
30 Gal. Corrosion-Resistant Polyethylene Tank
12 Volt Diaphragm Pump, 2.1 g.p.m.—60 psi
15 Ft. Handgun Hose
25 Ft. max. vertical throw, 35 Ft. horizontal throw
Pressure Gauge (0-100 psi)
2-Nozzle Steel Boom Assembly
Corrosion-Resistant Nylon Nozzles
Bypass (recirculation) Line w/ON/OFF Control
Heavy Duty 16” tires
Easy access drainage port
Front forward gun and hose wrap for easier
access from transport vehicle
Technical Specifications
(80” Spray Coverage)
General Information
Thank you for purchasing this product. The purpose of this
manual is to assist you in operating and maintaining your
lawn & garden/ATV sprayer. Please read it carefully, as it
furnishes information which will help you achieve years of
trouble-free operation.
Warranty
Products are warranted for one year from date of purchase against
manufacturer or workmanship defects for home owner usage and
For technical assistance, visit our website @ www.fimcoindustries.com
Our Technical Support Representatives will be happy to help you.
To obtain prompt, efficient service, always remember to give the
Part descriptions and numbers can be obtained from the illustrated
90 days for commercial usage.
or call: TOLL FREE @ 1-800-831-0027
following information…
Correct Part Description and/or part number
Model #/Serial # of your sprayer
parts list section(s) of this manual.
Breakaway Boom Design
Complete drain out tank
Streamlined tank design for compact storage and shorter
turning radius.
Caution: Always check the vehicle load rating before
using the sprayer. The loaded weight of this sprayer
and boom assembly is approx.: 270 lbs. when the tank
is full.
Assembly Instructions
Make sure the contents of the sprayers carton match the
items shown on page 2 of the manual.
Follow the steps on pages 3 & 4 to properly assemble the
sprayer.
www.fimcoindustries.com
1000 FIMCO Lane, P.O. Box 1700, North Sioux City, SD 57049
Toll Free Phone: 800-831-0027 : Toll Free Fax: 800-494-0440
[5008450 (02/15)]
Page 1

Contents of your sprayer’s carton (LG-30-TRL)
Owner’s Manual
Tank/Plumbing Pre-Assembly
Breakaway Boom
Tires & Axle
Tongue Assembly
Contents of Parts Bag (#5278364)
Tank Supports
Page 2
Boom
Top Straps
Your tank comes pre-assembled with the pump,
manifold, bypass, intake assembly, lid w/lanyard,
handgun, handgun hose, handgun hose quick connect
and loom clamp already aached.
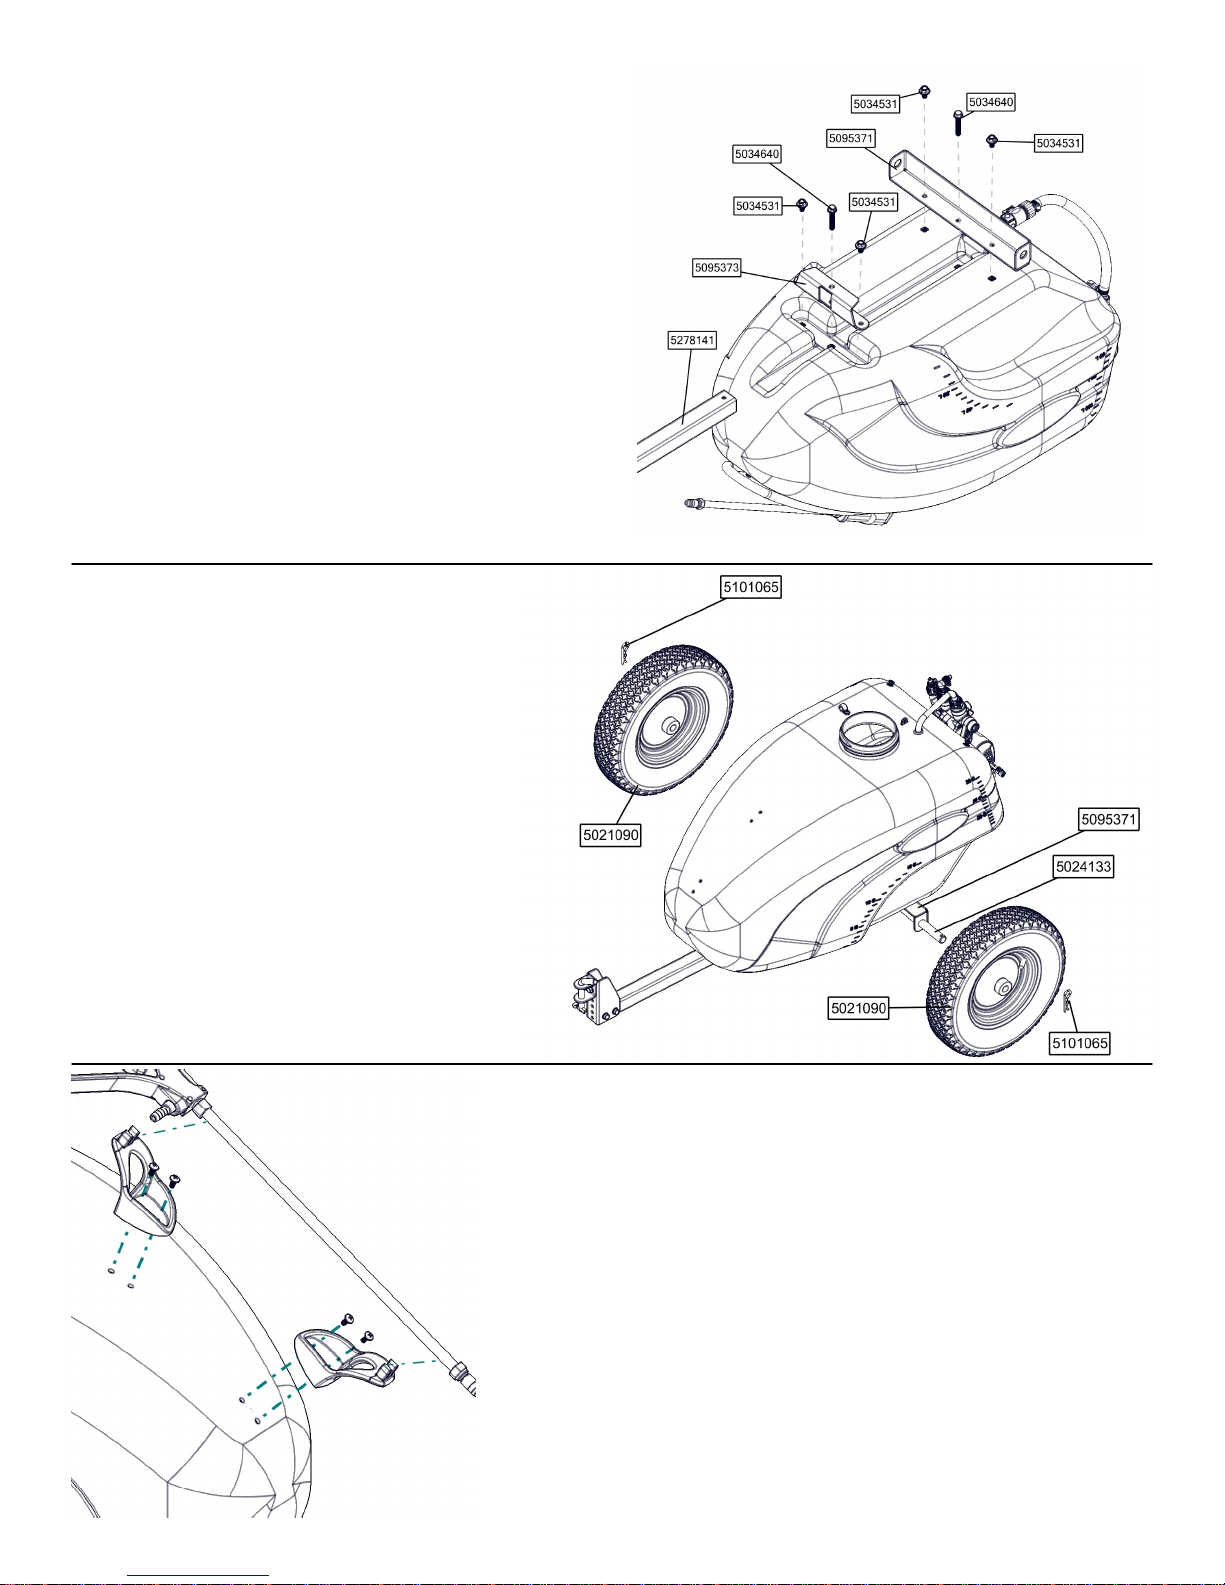
To assemble the tongue and frame to the tank. Locate
the (4) 5/16”x5/8” anged bolts (5034531), (2)
5/16”x2” anged bolts (5034640), tank
support (5095373), axle support (5095371) and the
preassembled tongue (5278141).
Turn the tank upside down and aach the tank
support with (2) 5034531 bolts, aach the axle
support with (2) 5034531 bolts. Just start the bolts,
do not ghten on either support. Then slide the
tongue assembly into place and using the (2) 5034640
bolts, aach to the tank and ghten. Then ghten the
(4) 5034531 bolts down. Do Not Overghten.
Remove the axle (5024133) and (2) wheels
(5021090) from the carton.
Remove the (2) Hitch Pins (5101065) from the
parts bag.
Slide the axle through the hole in one side of the
axle mount (5095371) and through the corresponding hole on the other side.
Slide the wheels over the axle, making sure the
valve stems are facing outward.
Retain the wheels on the axle with the hitch pins.
Place the pins through the holes at the end of the
axle.
Turn the trailer right side up.
Locate the (4) #10x1/2” Screws (5117234) and the (2) Hose
Wraps (5133276) from the parts bag.
To assemble the hose and spraygun holders.
A phillips head screwdriver is required for this step.
Place a screw through the holes in the hose wrap and bring it up
to the tank. Use the phillips head screwdriver to secure the
holders in place. Tighten so the holders are secure. **Do Not
Over-Tighten**
Wrap the hose and clip in the handgun. Do not use excessive
force when placing the handgun into the clips, as this could
cause breakage.
Page 3
 Loading...