

Page 1

Figure Engineering
9208 Venture Ct – C9
Manassas Park VA 20111
[email protected]
www.FigureLLC.com
Installation Manual
Chevrolet C5 Corvette
FIGURE GRILLE SE T
Page 2

3
Dear Customer,
Thank you for purchasing Figure’s 1997-2004 Chevrolet C5
Corvette Custom Grille set. These grilles have been
engineered to enhance the look of your vehicle for the
duration of its life. Proper installation is essential to your
overall satisfaction, so please read these instructions before
attempting to install the grilles. Exercise patience; these
instructions are intended to assist even the most
mechanically challenged.
Remember, if you are not 100% satisfied with our product,
simply return the set to us (or to the retailer if you did not
purchase directly through Figure) within 30 days of purchase
for a complete refund.
We always love to see pictures of the installed grilles, so we
encourage you to email us your best! (Send to
Package Contents:
QTY(2) Main Grilles
*QTY(2) Rear Grilles
QTY(4) #8 x ½” Pan Head Phillips Screws
QTY(4) #6 Washer
*QTY(10) Tie Mounts (22 gage galvanized steel wire)
QTY(1) Instruction Manual
*Contents vary according to options purchased.
Tools Required for Installation:
2 Phillips Head Screw Drivers
Angle cutters (snip pliers)
*Drill, 1/8” Drill bit
Page 3

4
C5 Corvette Figure Grille Installation
1) INSTALL MAIN GRILLE SET
1.1) Prepare grille. The grilles are designed to install from
the front without any need for disassembly. Prepare the
grilles by feeding a Phillips head screw driver through the
front of the grille as shown in Figure 1. Using a small piece
of Scotch tape, tape the screw and washer on the end of the
screwdriver (see Figure 2). Next, feed the second
screwdriver through the grille face and load it with a screw
and washer.
Figure 1. Load 2 Phillips Screwdrivers with a washer and screw through
these locations.
Figure 2. Tape the washer and screw on the end of the driver.
Page 4

5
1.2) Secure the grille. With the screwdrivers inserted and
loaded as described in step 1.1, carefully place the grill in
the grille opening. Position the grille to flow with lines of the
vehicle. Tighten the screws through holes as shown in
Figure 3. The screws are self-tapping in nature, but will
require a moderate amount of pressure to start. Press and
turn the screwdriver at the same time and tighten fully.
Figure 3. Tighten screws through these holes to secure.
2) INSTALL REAR GRILLES
2.1) Prepare rear bumper cover. The rear grilles require
1/8” holes in the locations shown in Figure 4. Carefully drill
these holes approximately 1/8” from the rear edge of the
opening.
2.2) Secure rear grilles. Feed the rear grille from under the
vehicle. Feed a tie mounts through each hole in the bumper
cover and then twist tie the rear grille in place.
Page 5
6
Figure 4. Drille 1/8” holes 1/8” from the inside lip in these locations.
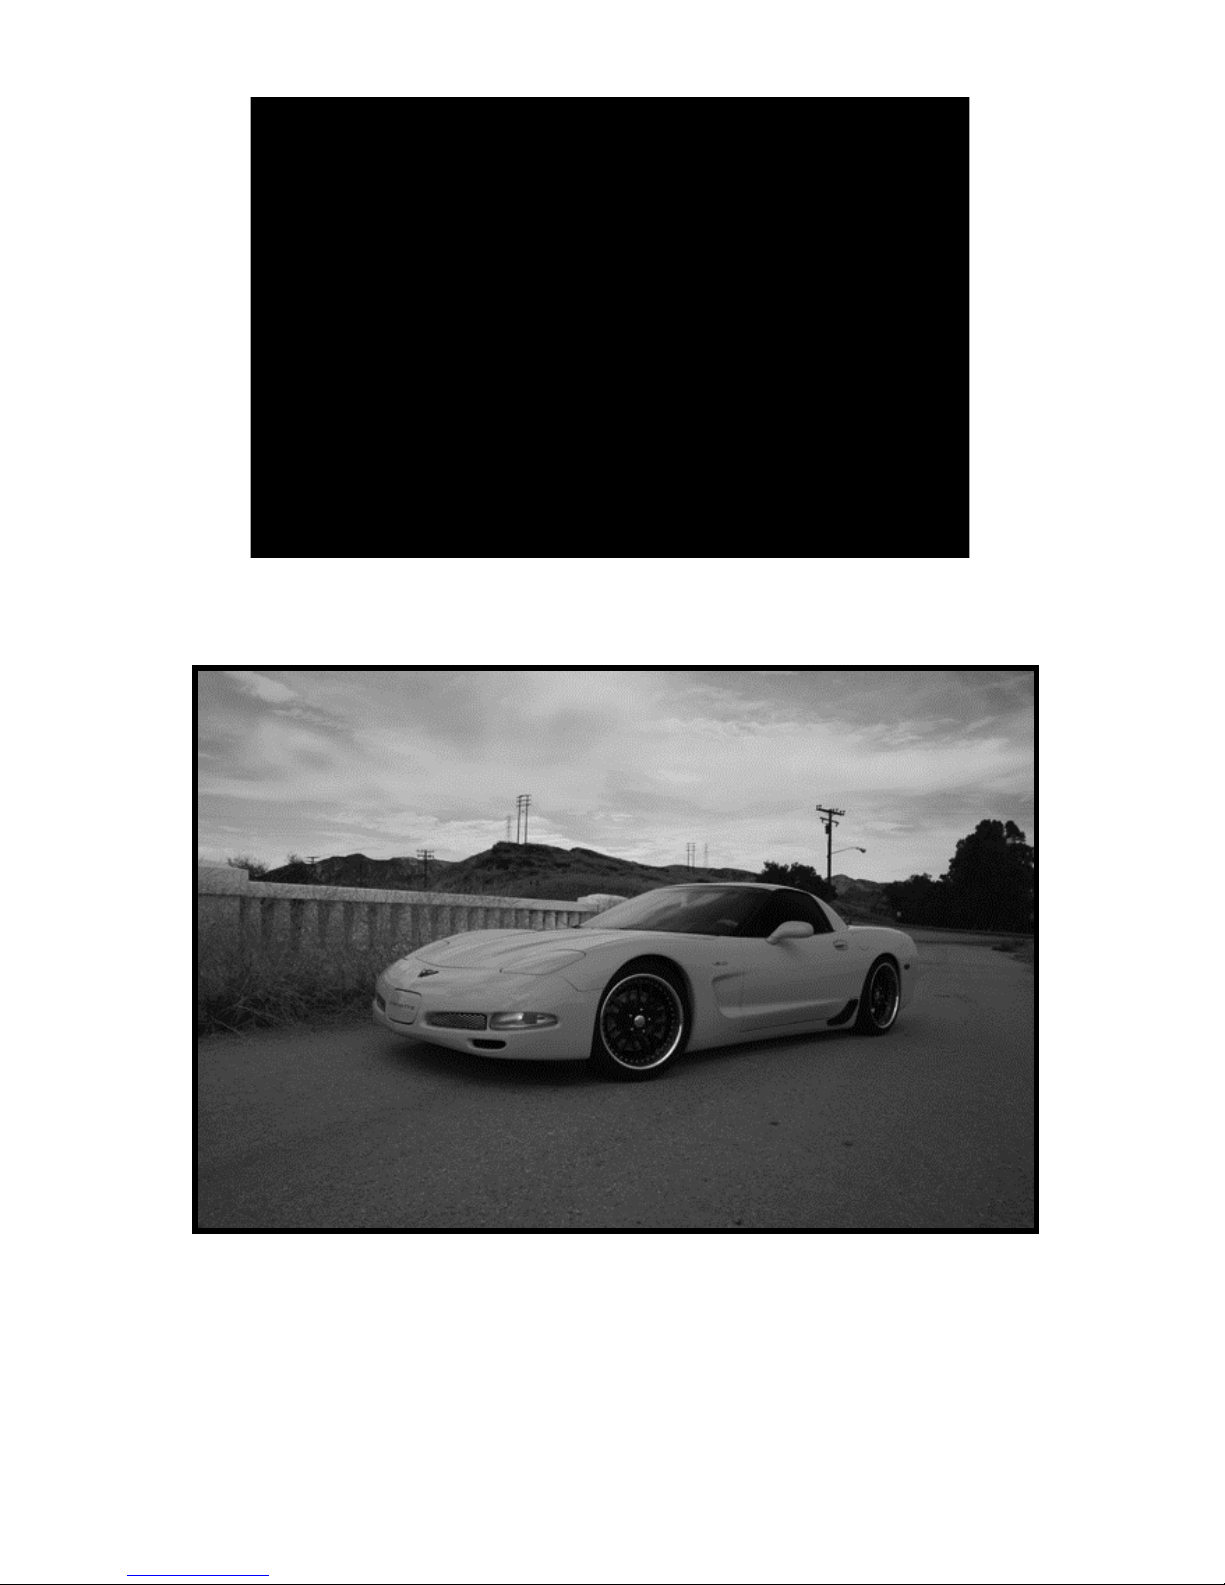
Figure 5. Finished, enjoy! Send pics to [email protected]!
 Loading...