

Page 1
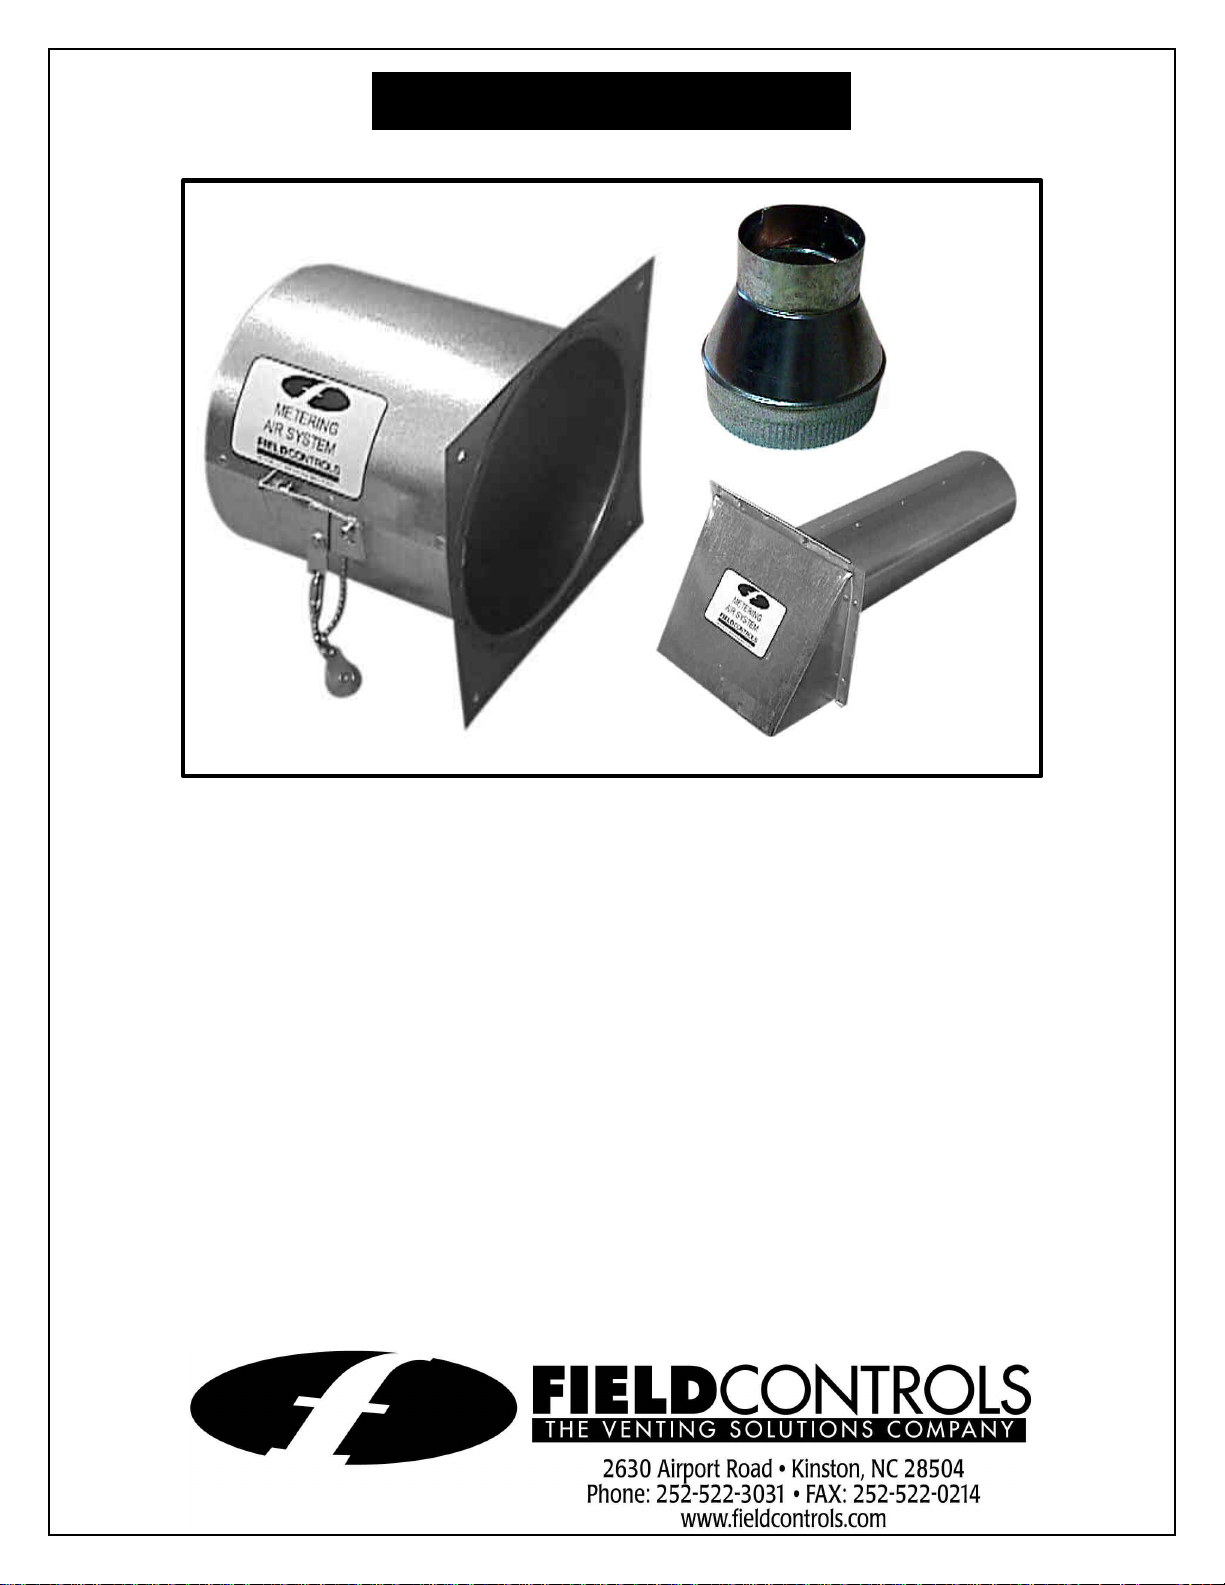
METERING AIR SYSTEM
4” Intake Hood
6” to 4”
I
:
6” to 4” Reducer
Model: MAS-2
Reducer
The Field Metering Air System solves the “sick house syndrome” caused by too
tight home construction. This unique system provides fresh air automatically,
using no electricity or special controls. And it actually meters the air flow to keep
the home balanced. No negative pressure. No rushes of cold air in winter, hot air
in summer. The result is evenly distributed, tempered air that keeps the home
“fresh”, the furnace efficient and the occupants comfortable.
TEMS INCLUDED
Metering Air Damper
Mounting Template
4” Intake Hood
Page 2
INSTALLATION
METERING AIR DAMPER
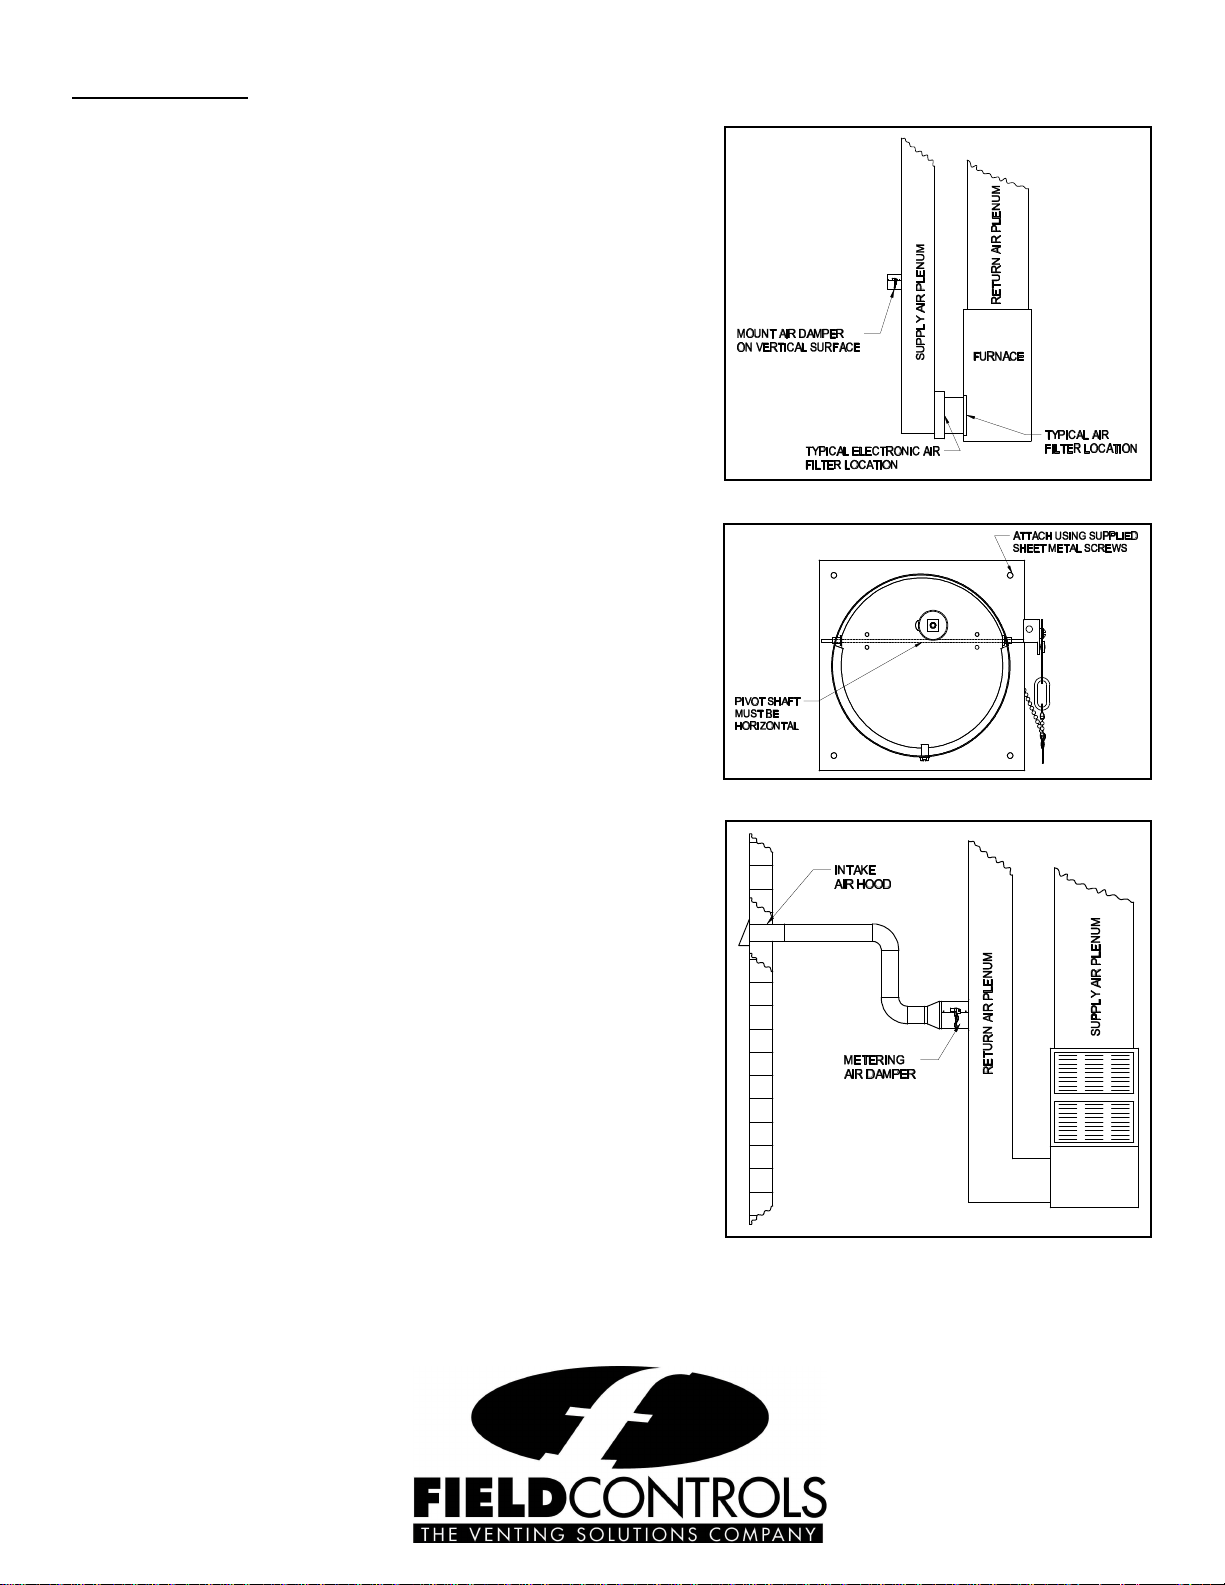
1. Apply mounting template onto the side of the return air
plenum of the furnace. By wetting the back side and
applying to any vertical surface of the return air
plenum.
Caution: Unit must be mounted on a vertical surface.
Level the template horizontally by marking a line onto the
plenum using a level. Then applying the edge of the
template on this line. (See Figure 1)
2. After allowing template to dry, drill (4) 1/8 inch diameter
holes at the location indicated on the template. Also,
drill 4 or 5 holes along the cutting line of the 6 1/8 inch
diameter hole indicated on the template to allow for a
starting hole for cutting. Then cut hole with metal
shears.
3. Mount the metering air damper using supplied sheet
metal screw. (See Figure 2)
Figure 1
INTAKE HOOD
1. Locate intake hood at least 10 feet away from any
device that exhaust flue gases.
2. Install the intake hood at least 12 inches above grade.
3. Cut a 4 1/8 inch diameter hole through the wall. Then
mount the intake hood to the wall using suitable
fastener. Then seal along with silicone or equivalent
sealant.
4. Connect flex duct or standard duct piping from the
intake hood to the metering air damper. Fasten and
support piping, so no straining of the metering air
damper exist. (See Figure 3)
Note: Some areas require insulation wrapped around the
duct. This will be required if sweating occurs on the outside
of the duct. Seal all duct joints and seams with duct tape or
equivalent.
Figure 2
Figure 3
PN 46384700 06/00
 Loading...