

Page 1
V.001
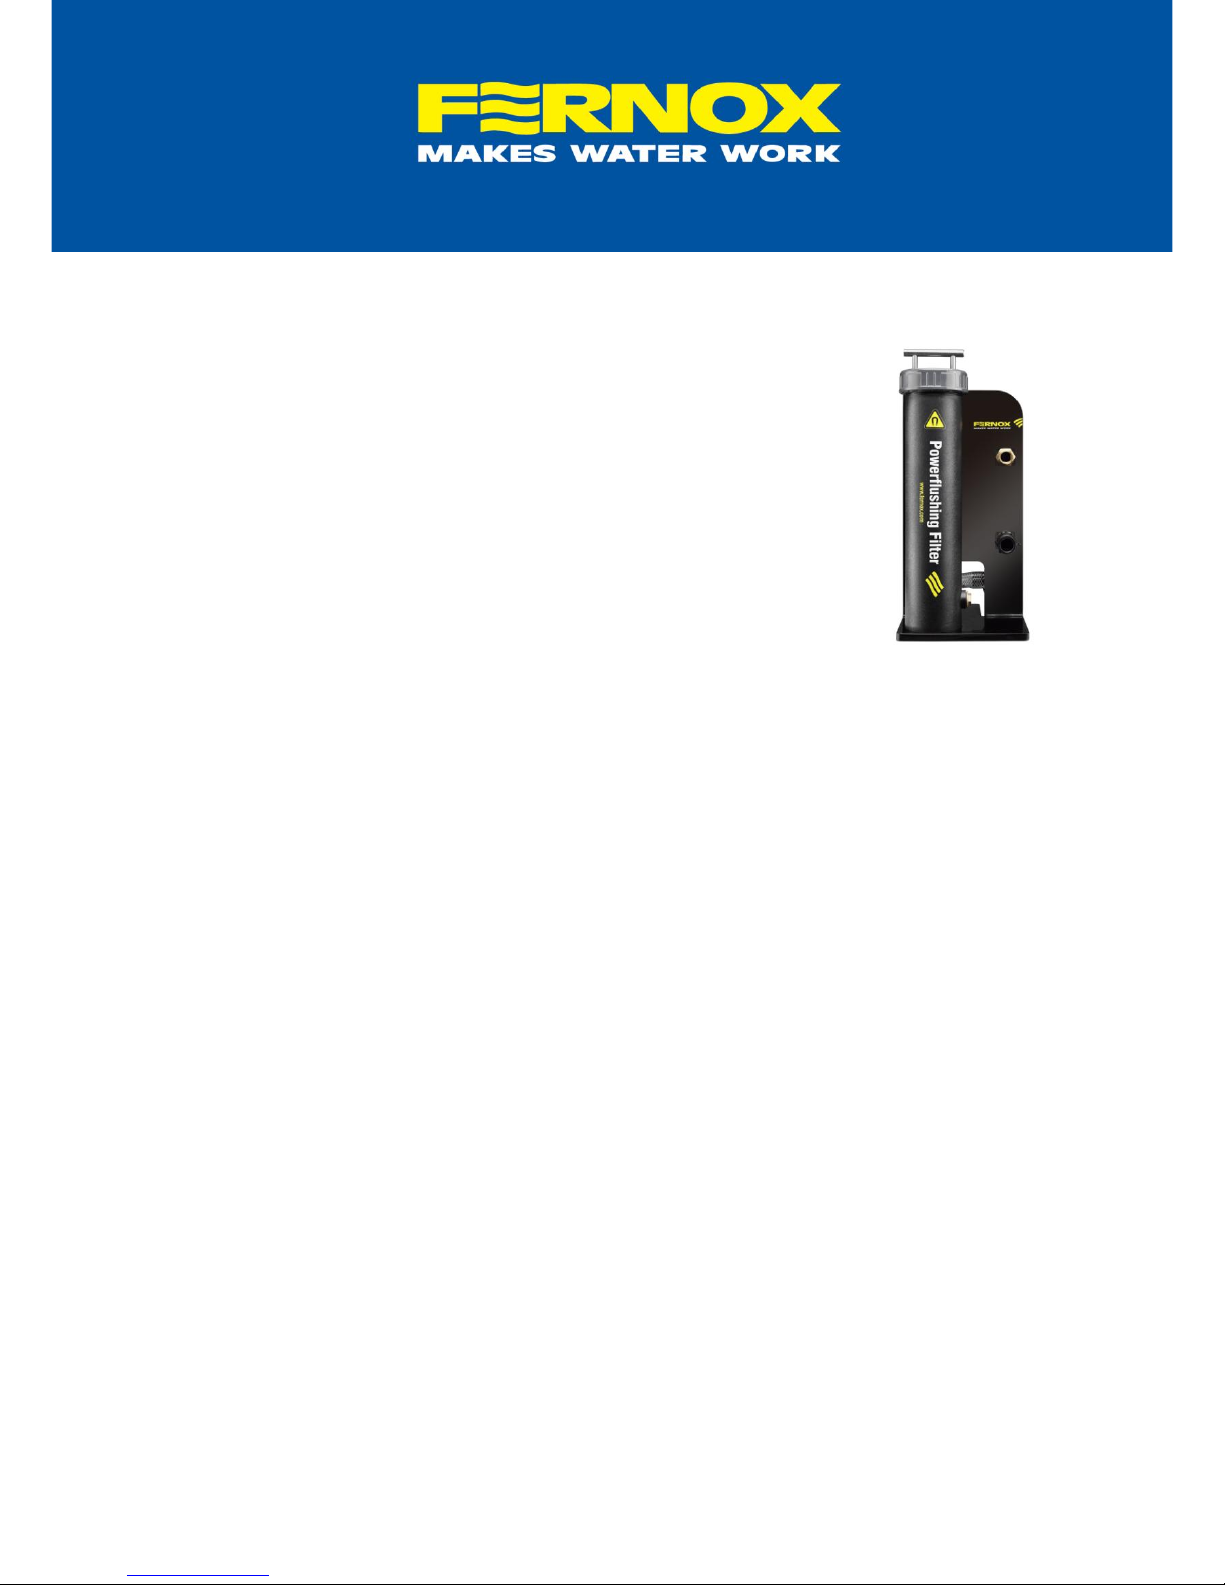
POWERFLUSHING FILTER
Removes and traps magnetite, rust and magnetic
materials from the system
Protects the boiler during powerflushing
By-pass enables the magnet to be inspected without
the need to interrupt the flushing process
Rated temperature up to 850C
Compatible with all Fernox Cleaners and Protectors
Easy to clean, simple to operate
Product Uses
The Fernox Powerflushing Filter provides a fast and easy way to remove contaminants from system water
during flushing. Simple to install, the filter significantly increases powerflushing efficiency thereby reducing
time spent on-site.
The filter controls the flow of water to give a longer contact time within the cylinder, which allows the
maximum amount of black iron oxide to be extracted by the powerful magnet from the water. Developed to
ensure that even at maximum capacity, the water circulates without restriction. Additional benefits also
include a built-in bypass which enables the magnet to be cleaned without the need to stop the powerflushing
process even temporarily. On cleaning of the magnet the filter provides an impressive visual aid to show the
householder the level of contaminant removed and therefore confirming the need to powerflush in order to
protect the system’s longevity.
Specification
Magnet - 11,000 gauss neodymium rare earth magnet, sleeved in stainless steel
Maximum magnetic iron oxide capacity - 2.1 kg
Long water residence time within the cylinder
Collects small as well as large contaminants
Operates at temperatures up to 850C
Dual three-port by-pass valve system
Packaging, Handling and Storage
Individually packaged with hose and detailed instructions included. No special storage requirements
required.
Caution: The Fernox Powerflushing Filter contains a very strong magnet and generates a very
powerful magnetic field. When removed from the cylinder, keep away from electronic equipment,
watches, mobile phones, credit cards and pacemaker
Page 2
V.001
Instructions for use
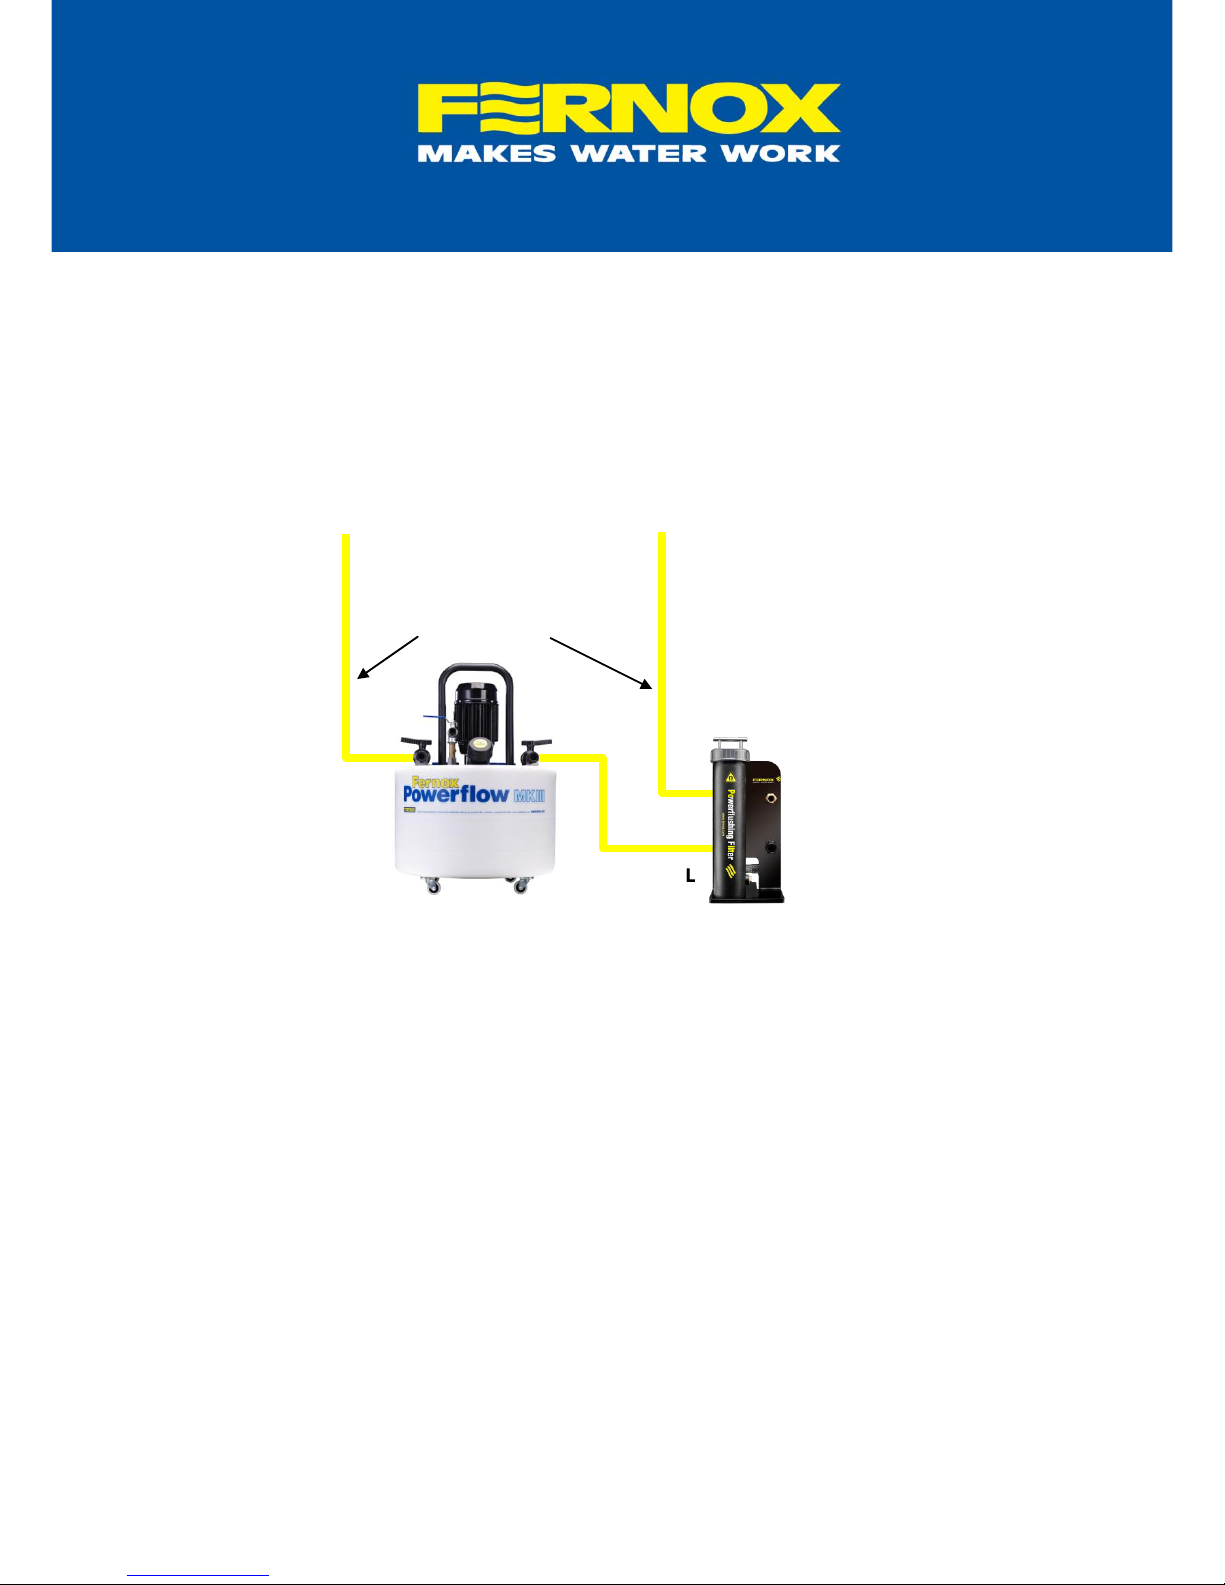
Please ensure that the initial set up is configured so that the Fernox Powerflushing Filter is installed
immediately before the boiler to offer the highest level of protection in the early stages of the powerflushing
process. The Fernox Powerflow MKIII Flushing Machine can circulate system water in either direction by
operating the flow reversing lever.
Connections
1. Place the Fernox Powerflushing Filter adjacent to the Fernox Powerflow MKIII Flushing Machine
employing best practice to protect the customer's property for wet works.
2. Connect the lowermost connection on the filter to the “Flow” from the Fernox Powerflow Flushing Machine
MKIII using the 1 meter extension hose and female camlock connector supplied1.
3. Secure the male camlock connector to the uppermost connection on the filter using PTFE tape.
4. Using an existing hose provided with Fernox Powerflow MKIII, connect the male camlock1 on the filter to
the heating system/boiler. Connect the return to the Powerflow MKIII using the second existing hose
provided with the Fernox Powerflow MKIII.
Note: If the current British Gas powerflushing machine is used the camlock adapters are not
required.
1
Male and female camlock connectors supplied with Fernox Powerflow MKIII Flushing Machine for BG
FLOW TO
BOILER
RETURN
FROM SYSTEM
ADDITIONAL
1m HOSE
(SUPPLIED)
STANDARD
FLOW/RETURN
HOSES
Page 3

V.001
Operating Instructions
1. Ensuring that the reverse flow lever on the Powerflow MKIII is set in the “Flow” direction.
2. Ensure both three-port valves on the filter are in the CIRCULATE position.
3. Turn on the Powerflow MKIII flushing machine and immediately check all connections, including the top of
the Fernox Powerflushing Filter cylinder for leaks.
4. After initial circulation for approximately 10 minutes, turn both three-port valves 180° into the BYPASS
position.
5. Unscrew the securing ring from the top of the cylinder and carefully lift out the magnet.
Note: the magnet is very powerful and is strongly attracted to steel surfaces. Take care not to trap
fingers and avoid contact with equipment sensitive to magnetic fields.
6. Inspect the magnet for collected deposits and, if necessary, clean as follows:
7. Hold the cylinder lid handle tightly with one hand. Whilst wearing disposable gloves, slide the magnetite
sludge down the shaft of the magnet into a suitable container. Note: Depending on the amount of sludge
collected it is advisable to remove only a proportion of the deposits with each stroke, starting at the lower
end. Clean the end of the magnet.
8. Ensure safe and responsible disposal of sludge.
9. Re-assemble the Fernox Powerflushing Filter ensuring that the magnet is located within the circular
recess at the base of the cylinder, and turn both three-port valves back into the CIRCULATE position.
10. Repeat the inspection and cleaning procedure as required during the flushing process.
Cleaning the Magnet
It is not necessary to remove all deposits during the intermediate cleans whilst powerflushing. However, to
ensure a long life the magnet should be thoroughly cleaned and dried after each usage.
 Loading...