

Page 1
2.4
Overview of your Parent unit
Overview of your Baby unit
WELCOME…
6
5
4
to your new digital Baby Monitor!
Thank you for p urchasing the pro duc t. Now yo u can see
and hear you r bab y sle epi ng in the other room or you can
monitor your o lde r children in their pl ayr oom.
This User's Guide provi des you with all the informat ion
you need to get th e mos t from your produ ct.
Before you can use th e baby monitor, we recomme nd
you insert a nd f ully charge t he b attery in the par ent unit,
so t hat it con tin ues to wor k if you disconnect it fro m the
mains power to carry it to an other lo cation. Please read
the S afety Ins tru ctions on page 6 before you install the
units.
Got everything?
1 x Parent Unit
GHz
260M
LONG R ANGE
TALK BA CK
26 C
TEM PERATU RE NIG HT VISI ON 8 LULL ABIES
Ver1. 4
♫
♪
MULT I-LAN GUAGE
1 x Baby Unit
2 x Power adapte r
10
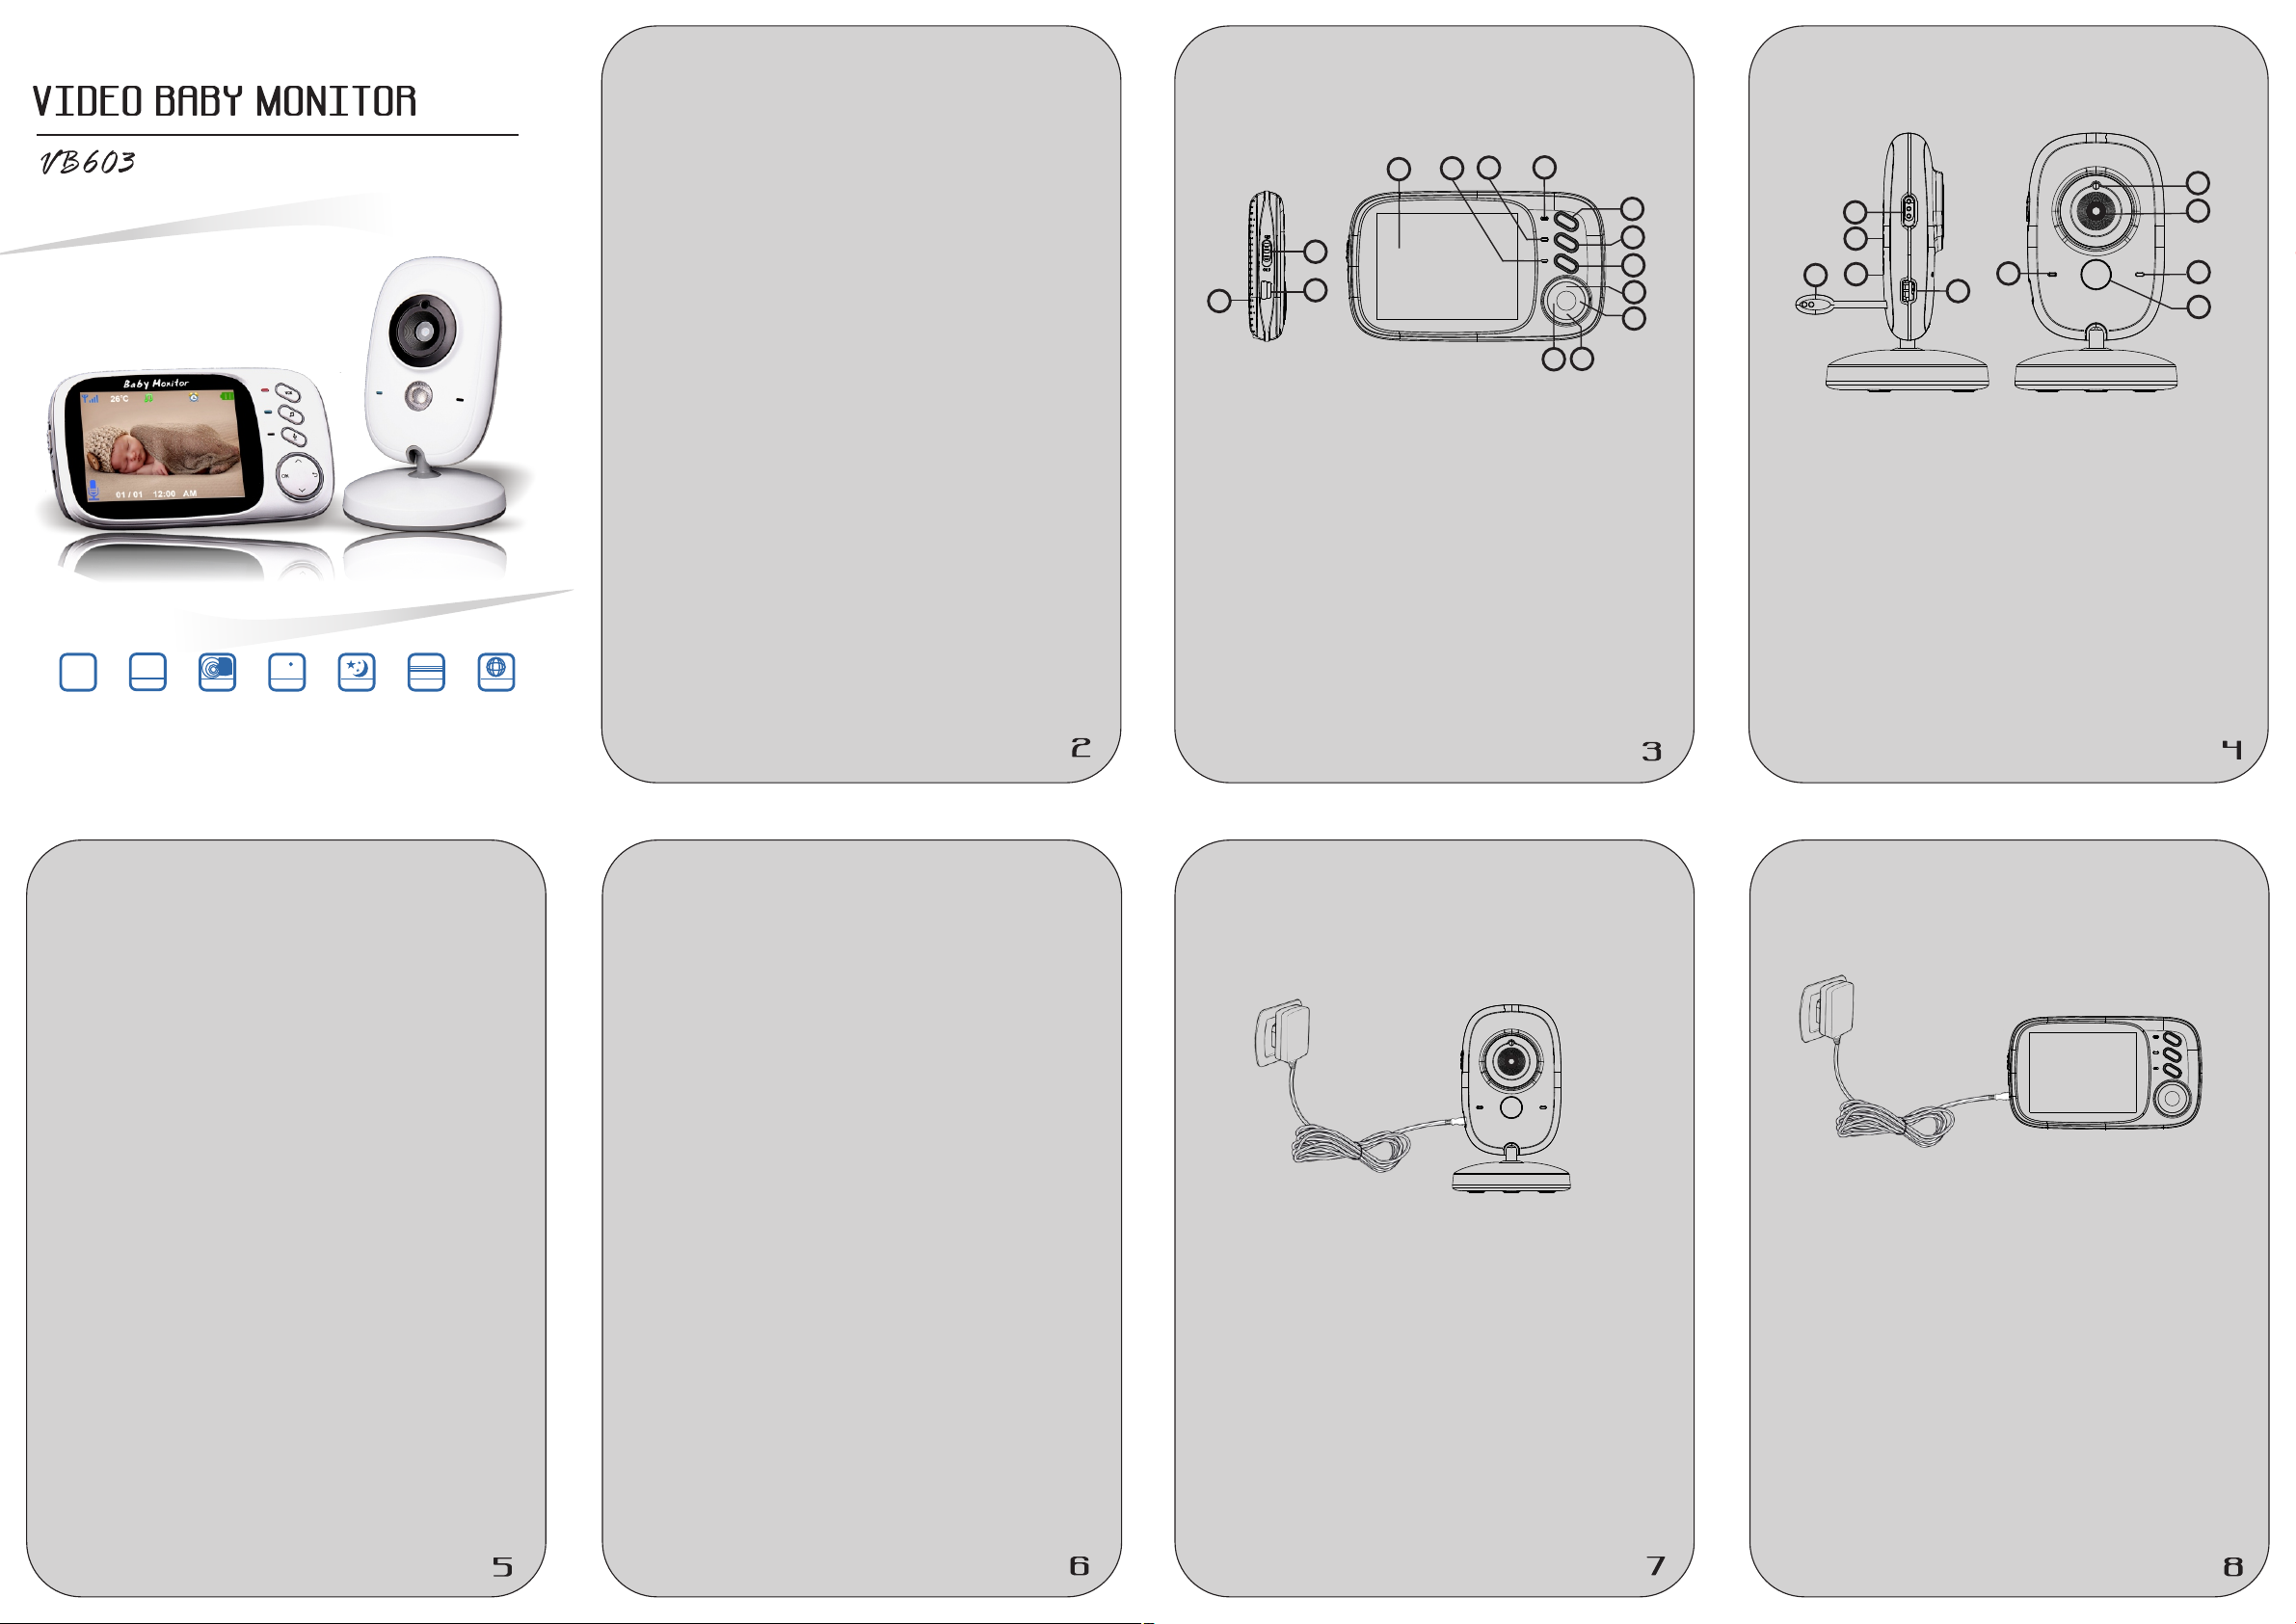
1. Power Key
2. Power adapt er co nnector
3. Lcd display
4. Microphon e
5. Charging indicating l ed
6. / Power Signal indic ati ng led
7. VOX Key
8. Music play on / off key
9 PTT Key.
10 Speaker.
11. OK / Menu Key
12. Return Key
13. Volume + / Up
14. Volume - / Down
1
2
3
11
7
8
9
13
12
14
6
10
9
8
1. Light Senso r
2. Camera Lens
3. Power indic ati ng LED
4. Microphon e
5. Infrar ed LE D
6. Power Key
7. Power adapt er co nnector
8. Temperature S ens or
9. Pair key
10. Speaker
3
7
1
2
4
5
Table of contents
1. Safety Inst ruc tions ………………… ….… ….……6
2. Getting sta rte d ........... ... ........... ... ........... ... ...7
2.1 Baby unit po wer s upply ....... ... ........... ... 7
2.2 Parent uni t pow er supply.......... ... ..........8
3. Using the Bab y Mon itor . ........ ... ........... ... ......9
3.1 Setti ng up . .............. .............. ... ........... 9
3.2 Pairing ca mer a.......... ... ........... ... .........10
3.3 VOX Fun cti on............ .............. ... ........10
3.4 Music play er.. ........... ... ........... ... ..........1 0
3.5 Talk functio n............. ... ........... ... ..........1 0
3.6 Adjustin g the v olume ………………… ….1 0
4. Monitorin g scr een icons.... ... ........... ... ........... 11
5. Menu Option s…… …………………………… ….. 12
5.1 Main menu .. ... ........... ... ........... ... ........12
5.2 Camera Reg ist ration..... ... ........... ... .....13
5.3 Alarm.... .............. ... ........... ... ........... ... 13
5.4 Settings ... ........... ... ........... ... ........... ... 14
5.5 VOX..... .............. .............. .............. ... 15
5.6 Language s.. ........... ... ........... ... ..........1 5
5.7 System inf o…… ………………..... ... ..….15
6. TECHNICAL FEATURES.... ... ........... ... ........16
1. Safety Instructions
WARNING
Th i s b a by m oni t o r i s c o mpl i a n t w ith al l r e leva n t
standards regarding electromagneti c fields a nd is, when
handled as described in th e User's Guide, safe to u se.
Therefore, always r ead t he in str uctions in this User's
Guide carefu lly b efore using the d evi ce.
Adult assembly is required. Keep small parts away
from childre n whe n assembling.
This product is no t a t oy. Do n ot al low childre n to play
with it.
T his bab y monitor is not a substitut e for res pon sible
adult superv isi on.
Do no t place the baby unit or cables in the cot or
within arm's re ach of the baby ( at least 1 meter
away).
Keep the cords o ut of r each of childre n.
Do not use the baby monito r nea r wat er or a heat
source
Only use the pow er ad apters provid ed.
Do not touch the p lug contacts with shar p or me tal
objects.
2. Getting started
2.1 Baby unit power supply
1. Connect the sm all plug of the power adapter to
the baby unit an d the o ther end to the mai ns so cket.
NOTE: Only use t he po wer adapter pro vid ed
2. A blu e ligh t led will display indicate the baby unit is
working
2.2 Parent unit power supply
Charging the parent unit fully before use is
recommended.
This will allow t he u nit to oper ate on battery in the event
of a power failu re.
1. Connect the plug of the pow er adapter to t he
parent unit an d the o ther end to the mai ns so cket
NOTE: Only use t he po wer adapter pro vid ed
2. Th e c hargi n g LED will il l u minat e s means s t art
charging the b att ery
3. Push th e p ower key to ON side to tur n on the pa ren t
unit.
Page 2
3. Using the Baby Monitor
3.1 Setting up
Place the baby un it in a convenie nt locatio n (e.g. on a
table) and po int the camera lens towards the ar ea you
want t o m oni tor. Adjust th e baby u nit until you a re
satisfied wi th th e image in the pare nt un it.
NOTE
Do not place the ba by unit within baby 's reac h! If
there i s interfere nce on th e picture o r sound, try
moving the units to differen t locations, and ensure
they are not clo se to o ther electric al eq uipment.
3.2 Pairing camera
The enclosed baby unit has al ready been regi stered ,
You do not need to register it agai n unless the bab y unit
loses its link with the parent unit. See section “5.2
Camera Regis tra tion” for more de tai ls.
3.3 VOX Function
Press VOX key will tur n on VOX mode, The VOX mode
automatically pu ts t he display in sleep m ode to sav e ba ttery. It
reac tivates au tom atically, w hen it de te cts no ise in th e b aby 's
room.
3.4 music player
Press mu sic key wi ll turn on the music player and p lay
lullaby throu gh the ba by uni t; pre ss mus ic key aga in wil l
turn off it.
3.5 Talk function
Press an d hold PTT ke y on th e parent u nit to tal k to yo ur
baby through t he baby unit lou dsp eaker. The symbol w ill
be displayed a t the b ottom of the scre en.
3.6 Adjusting the volume
When the v ide o is playin g m ode, press Vo lum e- key to
decrease volume or Volume + key to in cre ase volume.
The display wi ll sh ow the current vo lum e for 5 seconds.
4. Monitoring Screen Icons
21 3 4 5 6
7 8
1. Signal stre ngt h indicator
2. Temperature o f the b aby's room
3. Lullaby is pl ayi ng
4. Vox function a cti vated
5. Alarm activa ted
6. Battery ind ica tor
7. PTT function activ ate d
8. Date and time ( H H:M M AM/PM DD/MM )
5. Menu Options
5.1 Main menu
Press “O K/M enu ” key a t monitoring screen will e nter the
main menu, It co nta ins 6 items :
1. Camera
2. Alarm
3. Settings
4. VOX
5. Languages
6. System info
You can pre ss th e “Up” key or “Down ” key t o move the
cursor to sele ct an i tem and press “Me nu” k ey will
enter the sub- men u which you selected .
Press “Retur n” ke y will back to moni tor ing screen
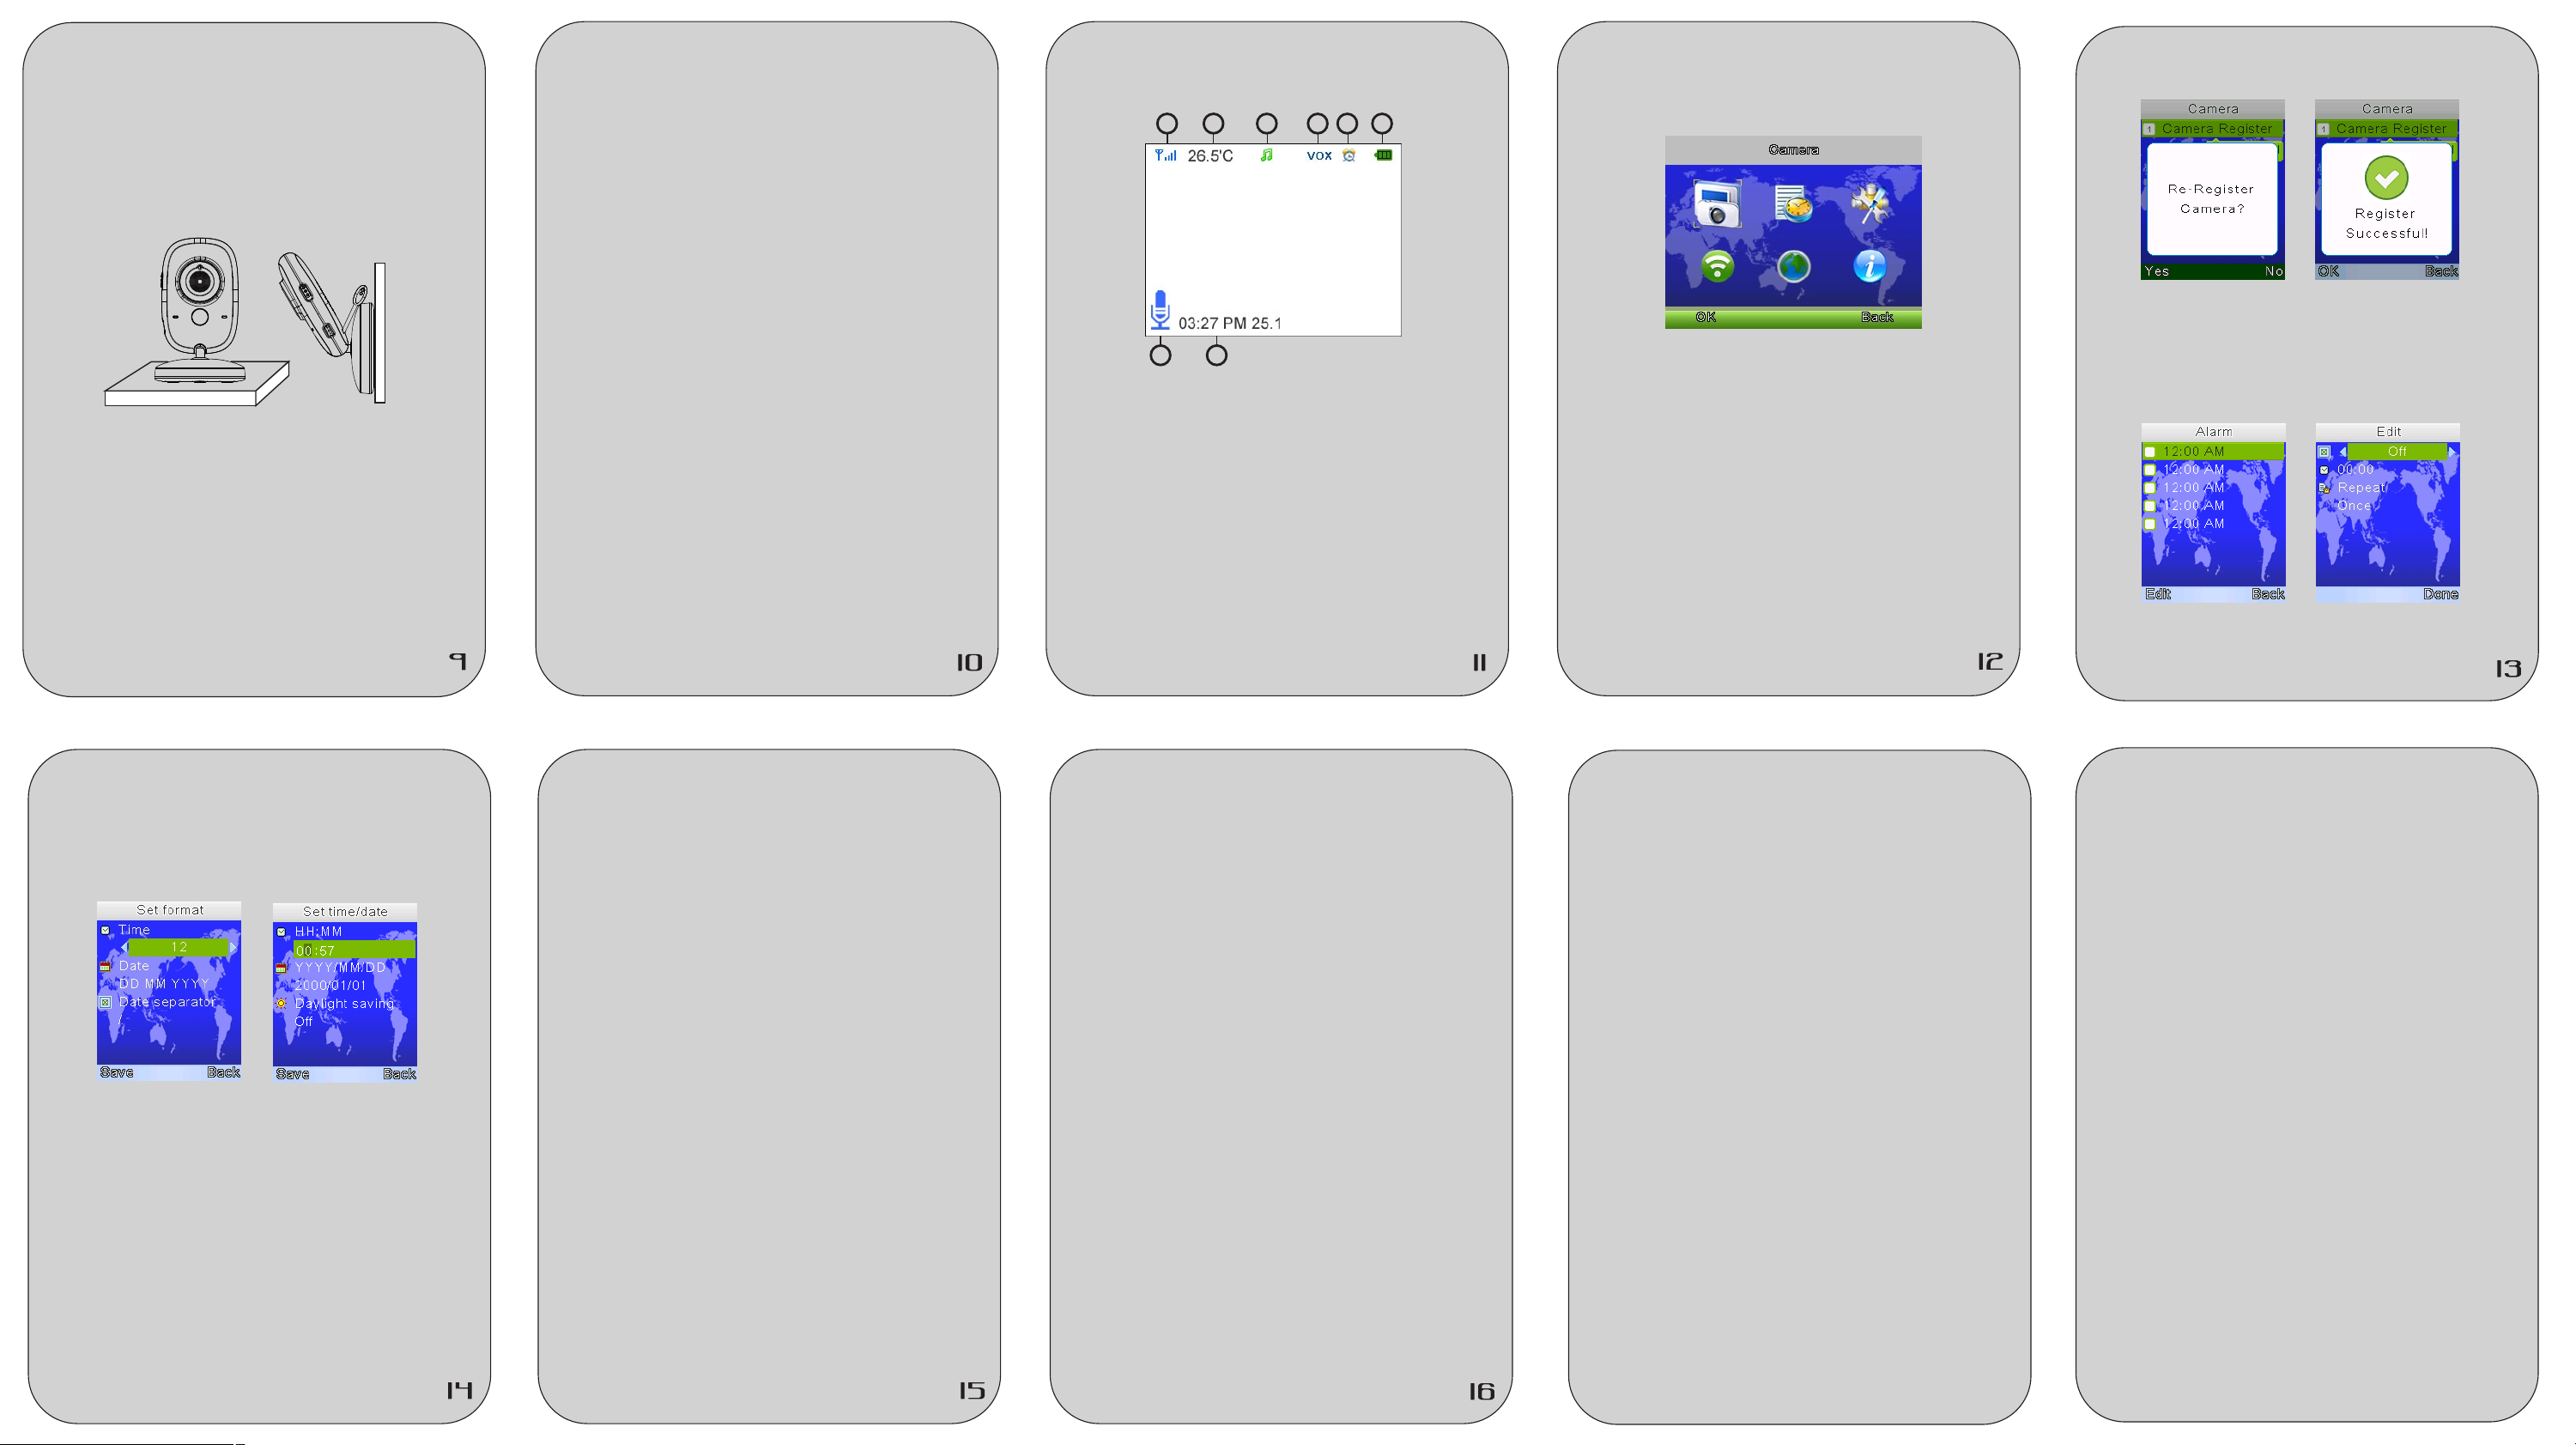
5.2 Camera Registration
Press “OK /Me nu” key to entry registe rin g screen, th en
push the pa ir key on t he back of bab y unit withi n 10
seconds.
5.3 Alarm
Press ”PTT” key to mov e the cursor and “Up/Down” key
to change value .
5.4 Settings
5.4.1 Time and date
T here are contains 2 it ems i n this menu
Set time / date
Set format
Press ”P TT” key to mov e t he cursor and “Up /Down”
key to change va lue .
5.4.2 Temperature un it
Switch the uni t to Ce lsius or Fahren hei t
5.4.3 An ti- flicker
You are ab le to adjust t he frequency of 5 0 / 60 HZ to
suit your ligh tin g for anti-flic ker
5.4.4 LCD back lig ht
You are be able to a dju st the brightn ess of the LC D
you are viewin g and t he LCD backlight act ive t ime in
menu operati on.
5.5 VOX
5.5.1 System m ode
This menu allows you to choose the work ing mode
from the follo win g: Normal mode / VO X mod e
5.5.2 VOX Sens iti vity
Switch the Vox sensitivit y at Low / Medium / High
level
5.6 Language
Language setting men u allows y ou t o choo se y our
language fro m the f ollowing :
English
French ( Franc ais )
Spanish ( Espa nol )
Portuguese ( P ort ugues )
Italian ( Ital ian o )
German ( Deuts ch )
Tur key ( Tu rkce )
Russian
5.7 System info
There are contai ns sys tem information such as
Project id, Har dware ver sio n, so ftw are v ers ion ,
build date etc .
6. TECHNICAL FEATURES
- Frequency: 2 .4 GH z Digital
- Modulation M ode : GFSK
- Operating te mpe rature: -10 to +4 5°C
- Operating Hu mid ity: <85%
- Range: 260m in o pen f ield
Monitor
- LCD: 3.2 “ TFT LCD
- Resolution : 320 X240@20fps
- Battery: Li- Pol ymer 750mAh
- Dimensions ( W x H x D): 1 20mm x 70mm x 17mm
Camera
- Sensor: 0.3M ega p ix CMOS
- Minimum Illu min ation: 0Lux ( IR on)
- Night Vision Distan ce: 1 5ft ( 5m)
- Lighting sen sor
- Temperature sensor
- Dimensions ( W x H x D): 6 7mm x 106mm x 67mm
FCC Statement
Changes or modifications not expressly
approved by the party responsible for
compliance could void the user's authority
to operate the equipment.
his equipment has been tested and found
to comply with the limits for a Class B digital
device, pursuant to Part 15 of the FCC
Rules. These limits are designed to
provide reasonable protection against harmful
interference in a residential installation.
This equipment generates uses and can
radiate radio frequency energy and, if not
installed and used in accordance with the
instructions, may cause harmful interference
to radio communications. However, there is
no guarantee that interference will not
occur in a particular installation. If this
equipment does cause harmful interference
to radio or television reception, which can
determined by turning the equipment off and
on, the user is encouraged to try to correct
the interference by one or more of the
following measures:
-- Reorient or relocate the receiving antenna.
-- Increase the separation between the
equipment and receiver.
-- Connect the equipment into an outlet on
a circuit different from that to which the
receiver is connected.
-- Consult the dealer or an experienced radio
/TV technician for help
This device complies with part 15 of the
FCC rules. Operation is subject to the
following two conditions (1)this device may
not cause harmful interference, and
(2) this device must accept any interference
received, including interference that may
cause undesired operation.
Keep the distance from the body more
than 20 cm
17
18
 Loading...