

Federal Signal Corporation P-LS2B, P-LS2B-8, PLS2C, PLS2C-8 Installation, Operation And Maintenance Instructions
Page 1
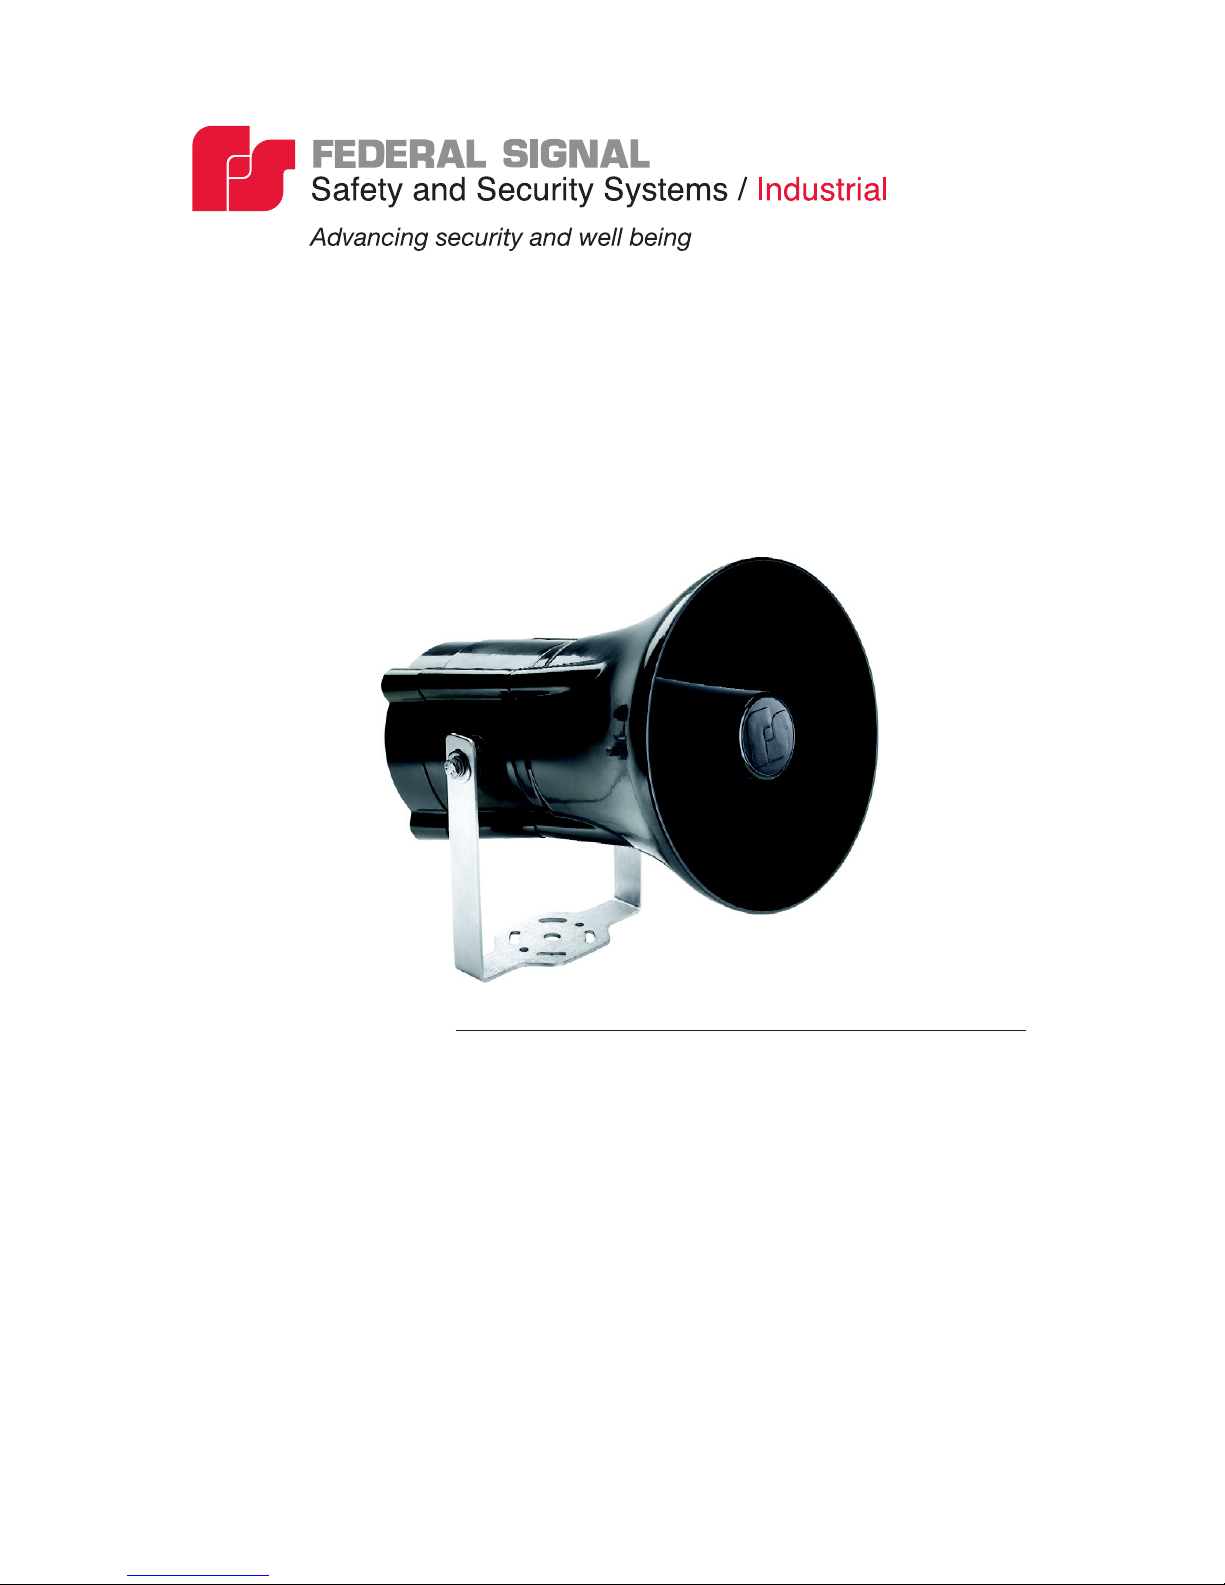
PAGASYS Series Loudspeaker
Models P-LS2B, P-LS2B-8, PLS2C, and PLS2C-8
2562390B
REV. B 812
Printed in U.S.A
Installation, Operation, and
Maintenance Instructions
Page 2

blank page
Page 3

3
Contents
Safety Messages to Installers, Users, and Maintenance Personnel ..... 5
Unpacking the Loudspeaker ...................................................................6
Overview of the PAGASYS Series .........................................................6
Certications ...........................................................................................7
Specications .........................................................................................8
Specic Condition of Use .......................................................................9
Condição especíca de uso: .................................................................9
Mounting the Loudspeaker .....................................................................9
Adjusting the Vertical Angle ..................................................................10
Wiring the Loudspeaker........................................................................10
Setting Transformer Wattage Taps .......................................................13
Completing the Installation ...................................................................13
Safety Messages to Maintenance Personnel .......................................16
Periodically Inspecting the Loudspeaker ..............................................17
Servicing the Loudspeaker ...................................................................17
Returning a Product for Credit ..............................................................18
Getting Technical Service and Support ................................................19
Ordering Replacement Parts ................................................................19
Figures
Figure 1 Loudspeaker connections for P-LS2B and P-LS2C .............11
Figure 2 Loudspeaker connections for P-LS2B-8 and P-LS2C-8 .......12
Figure 3 Internal wiring for P-LS2B and P-LS2C ................................14
Figure 4 Internal wiring for P-LS2B-8 and P-LS2C-8..........................15
Page 4

Tables
Table 1 Wattage tap settings ...............................................................13
Table 2 Example serial number ...........................................................19
Table 3 Replacement parts .................................................................19
Page 5

5
Safety Messages to Installers, Users, and
Maintenance Personnel
It is important to follow all instructions shipped with this loudspeaker.
This loudspeaker is to be installed by trained personnel who is
thoroughly familiar with the country electric codes and will follow these
guidelines as well as local codes.
The selection of the mounting location for the device, its controls and
the routing of the wiring is to be done under the direction of the facilities
engineer and the safety engineer. In addition, listed below are some
other important safety instructions and precautions you should follow:
• Read and understand all instructions before installing or operating
this equipment.
• Disconnect the device from the power supply/audio source before
any installation or maintenance is performed.
• Do not open the loudspeaker enclosure when a hazardous
atmosphere is present.
• Não abra a cobertura na presença de gases perigosos.
• To determine if the device can be used safely in the intended area,
review the certications section on page 7.
• All effective warning loudspeakers produce loud sounds, which
may cause, in certain situations, permanent hearing loss. Take
appropriate precautions such as hearing protection.
• All effective warning loudspeakers produce loud sounds, which may
cause, in certain situations, permanent hearing loss. The device
should be installed far enough away from potential listeners to limit
their exposure while still maintaining its effectiveness.
• After installation, test the loudspeaker to ensure that it is operating
properly. After testing is complete, provide a copy of this instruction
booklet to all operating personnel.
• Establish a procedure to routinely check the loudspeaker installation
for integrity and proper operation.
• The product nameplate, which may contain cautionary or other
information of importance to maintenance personnel, should not be
obscured in any way.
Failure to follow all safety precautions and instructions may result in
property damage, serious injury, or death.
Page 6

6
PAGASYS Series Loudspeaker
Unpacking the Loudspeaker
After unpacking the loudspeaker, examine it for damage that may
have occurred in transit. If the loudspeaker has been damaged, do not
attempt to install or operate it. File a claim immediately with the carrier
stating the extent of the damage. If you are missing any parts, contact
Customer Support at +1 708-534-4756. Carefully check all envelopes,
shipping labels, and tags before removing or destroying them.
Overview of the PAGASYS Series
The Federal Signal PAGASYS Non-Metallic Loudspeakers, Models
P-LS2B, P-LS2B-8, P-LS2C, and P-LS2C-8 are designed for use
in industrial public address and general alarm applications where
corrosion resistance and ATEX/IEC certication are required.
PAGASYS loudspeakers are available in an ATEX/IEC Zone 1
explosion-proof version certied for ingress of dust and combustible
gas to either Group IIB or Group IIC.
PAGASYS loudspeakers are manufactured from corrosion-resistant,
anti-static, glass-reinforced polyester (GRP). The total power output
capability of the P-LS2B and P-LS2C is 25 W, adjustable down to
0.2 W. The available audio input is 100 Vrms. The P-LS2B-8 and
P-LS2C-8 are 8 ohm, 25 W.
The mounting bracket included with the loudspeaker is stainless steel
with two standard mounting holes and a hole for the cable. The bracket
is ratcheted to lock the loudspeaker at a specic vertical angle. Also
available is a stainless steel ratcheted bracket with four additional
mounting holes that are slotted to allow the loudspeaker to be aimed
horizontally.
Page 7

7
PAGASYS Series Loudspeaker
Certications
ATEX Certicate Number: Baseefa10ATEX0096X
IECEx Certicate Number: IECEx BAS 10.0052X
Model P-LS2B
0539
II 2G
Ex d e mb IIB + H2 T5 Gb (−50 °C ≤ Ta ≤ +70 °C)
T6 Gb (−50 °C ≤ Ta ≤ +55 °C)
Model P-LS2B-8
0539
II 2G
Ex d e mb IIB + H2 T5 Gb (−50 °C ≤ Ta ≤ +60 °C)
T6 Gb (−50 °C ≤ Ta ≤ +45 °C)
Model P-LS2C
0539
II 2GD
Ex d e mb IIC T5 Gb Ex tb IIIC IP66 T100 °C Db (‒50°C ≤ Ta ≤ +70 °C)
T6 Gb Ex tb IIIC IP66 T85°C Db (‒50 °C ≤ Ta ≤ +55 °C)
Model P-LS2C-8
0539
II 2GD
Ex d e mb IIC T5 Gb Ex tb IIIC IP66 T95 °C Db (‒50°C ≤ Ta ≤ +60 °C)
T6 Gb Ex tb IIIC IP66 T80°C Db (‒50 °C ≤ Ta ≤ +45 °C)
Where: indicates compliance with directive 94/9/EC
hexagon symbol, the specic marking of explosion
protection
II indicates suitability for use in surface industries
2 indicates suitability for use in a Zone 1 area
G indicates suitability for use in the presence of gases
D indicates suitability for use in the presence of
combustible dusts
Page 8

8
PAGASYS Series Loudspeaker
Specications
Electrical: Models P-LS2B and P-LS2C
Audio Line Voltage: 100 Vrms
Max. Rated Power: 25 W
Models P-LS2B-8 and P-LS2C-8
Impedance: 8 ohms
Max. Rated Power: 25 W
Ambient Environment: T5: −50 °C ≤ Ta ≤ +70 °C
T6: −50 °C ≤ Ta ≤ +55 °C
Pa = 80 kPa to 110 kPa
Max. Surface Temperature: 85 ºC at +55 ºC ambient
100 ºC at +70 ºC ambient
Enclosure Rating: IP66
Indoor/Outdoor Use
Gland Entries: 2 x M20 x 1.5 mm
Cable Terminations: 0.5 mm2 to 4 mm2 (22 AWG to 12 AWG
Size (P-LS2B and P-LS2C): Diameter: 232.4 mm (9.15 in)
Height: 286.2 mm (11.27 in)
Length: 318.8 mm (12.55 in)
Material: Glass-Reinforced Polyester (GRP)
Color: Black
Audio Input: Models P-LS2B and P-LS2C
Rated Voltage: 100 Vrms
Models P-LS2B-8 and P-LS2C-8
Rated Voltage: 14.1 Vrms
Net Weight
(PLS2B and P-LS2C): 5.9 kg (13.0 lb)
Shipping Weight
(PLS2B and P-LS2C): 6.9 kg (15.3 lb)
Page 9

9
PAGASYS Series Loudspeaker
SpecicConditionofUse
• Except when shown in a certicate as being the internal wiring
of the apparatus, not more than one single or multiple-stranded
lead shall be connected into either side of any terminal, unless
multiple conductors have been joined in a suitable manner, e.g., two
conductors into a single insulated crimped boot-lace ferrule.
• Leads connected to terminals shall be insulated for the appropriate
voltage, and this insulation shall extend to within 1 mm (0.04 in) of
the metal of the terminal throat.
• All terminal screws, used and unused, shall be tightened down to
between 0.5 N·m to 0.7 N·m (4.4 in-lb to 6.2 in-lb).
Condiçãoespecícadeuso:
• Exceto quando mostrado em um certicado como sendo a
ação interna do aparelho, não mais do que um cabo unipolar
ou multipolar poderá ser conectado em qualquer dos lados de
uma dada terminal, a menos que condutores múltiplos tenham
sido unidos de uma forma adequada, por exemplo, dois
condutores em um único conduíte corrugado isolado.
• Os cabos conectados às terminais deverão ser isolados para a
voltagem adequada e esse isolamento deverá estender-se a
1 mm (0,04 polegadas) do metal da garganta da terminal.
• Todos os parafusos das terminais, estejam as mesmas em
uso ou não, deverão ser apertados de 0,5 N • m a 0,7 N • m.
(4,4 polegadas-libras a 6,2 polegadas-libras).
Mounting the Loudspeaker
DRILLING PRECAUTIONS
When drilling holes, check the area into which you are drilling
to be sure you do not damage anything while drilling. All drilled
holes should be de-burred and all sharp edges should be
smoothed.
The Models P-LS2B and P-LS2C Series loudspeakers are designed for
mounting on a at horizontal or vertical surface.
To mount the loudspeaker, obtain M6 stainless steel bolts, lockwashers,
and at washers.
Page 10

10
PAGASYS Series Loudspeaker
IMPORTANT: The nameplate, which contains cautionary or other
information of importance to maintenance personnel, should not be
obscured.
1. Select a mounting location that is capable of supporting more
than 6 kg (13.2 lb).
2. Use the mounting bracket as a template to scribe the centers of
the mounting holes.
3. Drill an appropriately sized hole at each scribed mark for the
mounting screws.
4. Mount the bracket with the installer-supplied M6 hardware.
5. Secure the loudspeaker to the mounting bracket.
Adjusting the Vertical Angle
To adjust the vertical angle of the loudspeaker:
1. Loosen the fasteners on the mounting bracket to disengage the
ratchet.
2. Vertically aim the loudspeaker.
3. Hold the loudspeaker in place while tightening the fasteners on the
bracket.
Wiring the Loudspeaker
SHOCK HAZARD
To avoid an electrical shock, do not connect the loudspeaker to
the system while the power is on. Failure to heed this warning
may cause serious injury or death.
Two M20 threaded entries are provided in the side of the rear cover for
the installation of certied Ex d or Ex e cable glands. All unused entries
must be sealed with a suitably rated stopper plug.
A terminal block with twelve-pole screws is provided for eld wiring.
Refer to Figures 1 through 4 on the following pages. The terminals are
rated for the range of 0.5 mm
2
to 4 mm2 (22 AWG to 12 AWG).
Tighten the terminal screws to a torque of 0.5 N·m to 0.7 N·m (4.4 in-lb
to 6.2 in-lb).
Page 11

11
PAGASYS Series Loudspeaker
Figure 1 Loudspeaker connections for P-LS2B and P-LS2C
POWER
TAP
JUMPERS
EARTH LUG
REPLACEABLE FUSE MODULE
AUDIO
INPUT FROM
AMPLIFIER (+IN)
TO NEXT
LOUDSPEAKER
+OUT
TO NEXT
LOUDSPEAKER
−OUT
TAPPING
GUIDE
290A6466
AUDIO
INPUT FROM
AMPLIFIER (–IN)
Page 12

12
PAGASYS Series Loudspeaker
Figure 2 Loudspeaker connections for P-LS2B-8 and P-LS2C-8
290A7003
AUDIO INPUT
FROM AMPLIFIER
+IN
EARTH
AUDIO INPUT
FROM AMPLIFIER
–IN
To wire the loudspeaker:
1. Loosen the four screws securing the rear cover to the loudspeaker,
and remove the cover.
2. Route the lead from the audio input to the terminal marked +IN.
3. Route the lead from the amplier to the terminal marked –IN.
The +OUT/–OUT terminals may be used to connect to an additional
speaker, if required. Loudspeakers in close proximity must be
connected in phase.
Page 13

13
PAGASYS Series Loudspeaker
Setting Transformer Wattage Taps
The Model P-LS2B and P-LS2C loudspeakers have ten wattage tap
settings that enable you to select the loudness of each loudspeaker in
the system (see Table 1 below and Figure 3 on page 14). The higher
the wattage tap, the louder the speaker output. Tighten the terminal
screws to a torque of 0.5 N·m to 0.7 N·m (4.4 in-lb to 6.2 in-lb).
Table 1 Wattage tap settings
Terminal ATerminal BTerminal
C
Tap
7 8 11 25 W
7 9 11 20 W
9 10 11 15 W
8 10 11 10 W
7 10 11 5 W
7 8 12 2 W
7 9 12 1.5 W
9 10 12 1 W
8 10 12 0.5 W
7 10 12 0.2 W
Completing the Installation
To complete the installation of the loudspeaker system:
1. Make sure that the gasket is properly seated
2. Replace the rear cover and tighten the screws securing it to
approximately 4 N·m (35.4 in-lb).
3. Test the speaker system to verify that it operates properly.
Page 14

14
PAGASYS Series Loudspeaker
Figure 3 Internal wiring for P-LS2B and P-LS2C
290A6467
FUSE
MODULE
BLACK (A)
RED (B)
WHITE (C)
1 2 543
SUPPRESSION
CIRCUIT
6 87 11109 12
100V
TRANSFORMER
BLACK
WHITE
SPEAKER
–+ + –
OUTIN
Current
fuse
Thermal
fuse
T2PRIMARY
C
T1
T3
T2
T1
C
Page 15

15
PAGASYS Series Loudspeaker
Figure 4 Internal wiring for P-LS2B-8 and P-LS2C-8
SPEAKER
WHITE BLACK
1
+ –
10 11 127 8 965432
290A7001
Page 16

16
PAGASYS Series Loudspeaker
Safety Messages to Maintenance Personnel
FIRE/EXPLOSION HAZARD
Do not open the loudspeaker when it is energized. Failure to
observe this warning could result in serious injury or death.
Listed below are some important safety instructions and precautions
you should follow:
• Any maintenance to the loudspeaker must be performed by
properly trained personnel.
• Read and understand all instructions before maintaining and
operating this loudspeaker.
• Any maintenance to the loudspeaker must be done with the power
turned off.
• After disconnecting power, allow ten minutes for the internal
components to cool and to allow all capacitors to discharge.
• Do not open the loudspeaker enclosure when a hazardous
atmosphere is present.
• Não abra a cobertura na presença de gases perigosos.
• Never alter the loudspeaker in any manner. Safety may be
endangered if additional openings or other alterations are made to
the loudspeaker.
• Use only service parts provided by the Federal Signal factory.
Only these components have been veried and certied for use in
hazardous areas.
• Any repairs or modications made to the ameproof driver or
encapsulated areas will invalidate the certication.
• The nameplate, which contains cautionary or other information of
importance to maintenance personnel, should not be obscured.
• After performing any maintenance, test the unit to ensure that it is
operating properly.
Page 17

17
PAGASYS Series Loudspeaker
Periodically Inspecting the Loudspeaker
Establishing a regular inspection schedule for the loudspeaker extends
the life of the loudspeaker and ensures safety. For a list of replacement
parts see page 19.
• Ensure that the the loudspeaker is maintained in line with the
regulations in force and at regular intervals, at least once per year.
• Check for external damage and repair and replace as necessary.
• Check that the gasket is seated properly and that it is not brittle or
damaged.
• Periodic checks should be made to ensure that the effectiveness
of this device has not been reduced because the speaker has
become clogged with a foreign substance or because objects have
been placed in front of the speaker.
• Check all earth connections.
• Check for water/dust ingress and replace seals as necessary.
Servicing the Loudspeaker
SHOCK HAZARD
To avoid an electrical shock, do not connect the loudspeaker to
the system while the power is on.
FOR MODELS P-LS2B AND P-LS2C ONLY:
The loudspeaker is fully encapsulated and the speaker driver is nonserviceable. If the driver fails, the entire loudspeaker must be replaced.
If it does not operate, verify continuity of the fuse module before
replacing the loudspeaker (Figure 3 on page 14). The fuse module,
which contains a thermal fuse and a current fuse, is a replaceable part.
For ordering information, see page 19.
To replace the fuse:
1. Turn off power to the loudspeaker.
2. Remove the four screws securing the rear cover to the
loudspeaker, and remove the cover.
3. Disconnect the leads of the fuse module from the terminal block.
Page 18

18
PAGASYS Series Loudspeaker
4. Remove the Phillips-head screw securing the fuse module, and
remove the module.
5. Reinstall the new fuse module.
6. Replace the rear cover and tighten the screws securing it to
approximately 4 N·m (35.4 in-lb).
7. Test the speaker system to verify that it operates properly.
Returning a Product for Credit
Product returns for credit require a return authorization from your local
distributor prior to returning the product to Federal Signal. Please
contact your distributor for assistance.
A product is qualied to be returned for credit when the following
conditions are met:
• Product is resalable and in the original cartons
• Product has not been previously installed
• Product is the current revision
• Product has not been previously repaired
• Product is a standard product
• Product is not a service part
All returns are subject to a re-stock fee.
Defective products that are returned within the warranty period will
be repaired or replaced at Federal Signal’s sole discretion. Defective
products do not include those products with lamp failure.
Circumstances other than those listed above will be addressed on a
case-by-case basis.
Page 19

19
PAGASYS Series Loudspeaker
Getting Technical Service and Support
Products returned for repair require a Return Authorization form.
To obtain service for the product, please contact the Federal Signal
Service Department at +1 708-534-4858.
For technical assistance, please call Federal Signal Technical Support
at +1 708-534-3424, extension 5823.
To expedite service, please see to the loudspeaker label for the model
and serial numbers. For an interpretation of the information coded into
an example of a serial number, see Table 2.
Table 2 Example serial number
LS0916400000 LS = Factory product code
09 = Last two digits of the year of manufacture
164 = Numerical day code of manufacture
00000 = Five-digit code for product serial number
Ordering Replacement Parts
To order replacement parts in Table 3, please call Federal Signal
Customer Support at +1 708-534-4756.
Table 3 Replacement parts
Description Part Number
Mounting Bracket K8595171
Mounting Bracket with slots K8595172
Ratchet Fixing Kit K8595194
Bracket Mounting Screws K7002086-16
Outer Horn K8595150
Rear Cover K8595153
Rear Cover Gasket Kit K8595195
Fuse Module K8595177
Page 20

Industrial Systems
2645 Federal Signal Drive • University Park, IL 60484-3167
Tel: 708-534-4756 • Fax: 708-534-4852
Email: elp@federalsignal.com • www.federalsignal-indust.com
 Loading...