

Page 1
Fearless Night
Digital LED Clock
Operating Instructions
This clock is fully automatic* and displays the exact time and date (typically accurate to within ±1 second)
from the national timebase standard (NIST) via GPS satellite.
Additional features include:
• Automatic brightness
• 12 or 24 hour mode
• Never requires manual setting*
• Setup with manual control switch or using a universal IR remote control
*If you live in an area that uses Daylight Savings Time, you will have to adjust the clock twice a year.
Digital LED Clock
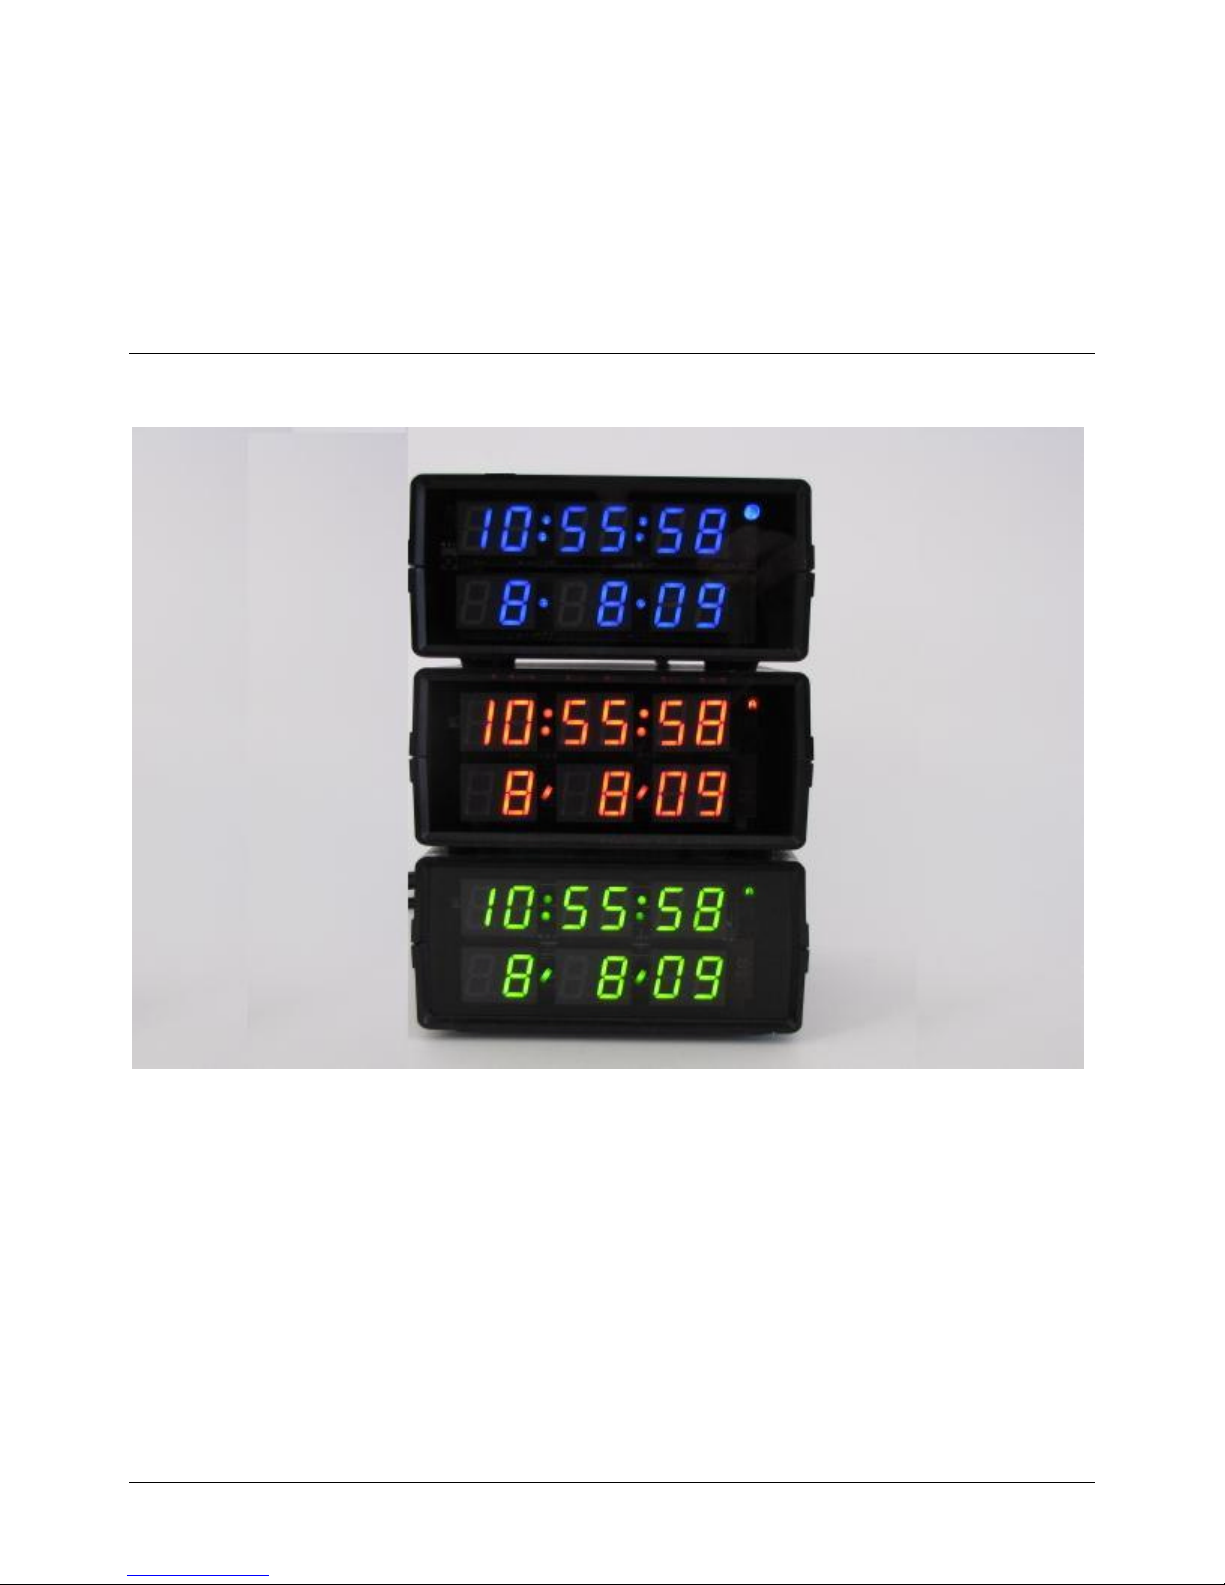
Figure 1 – Front View
FearlessNight.com
Page 1
Page 2
Clock Operating Instructions
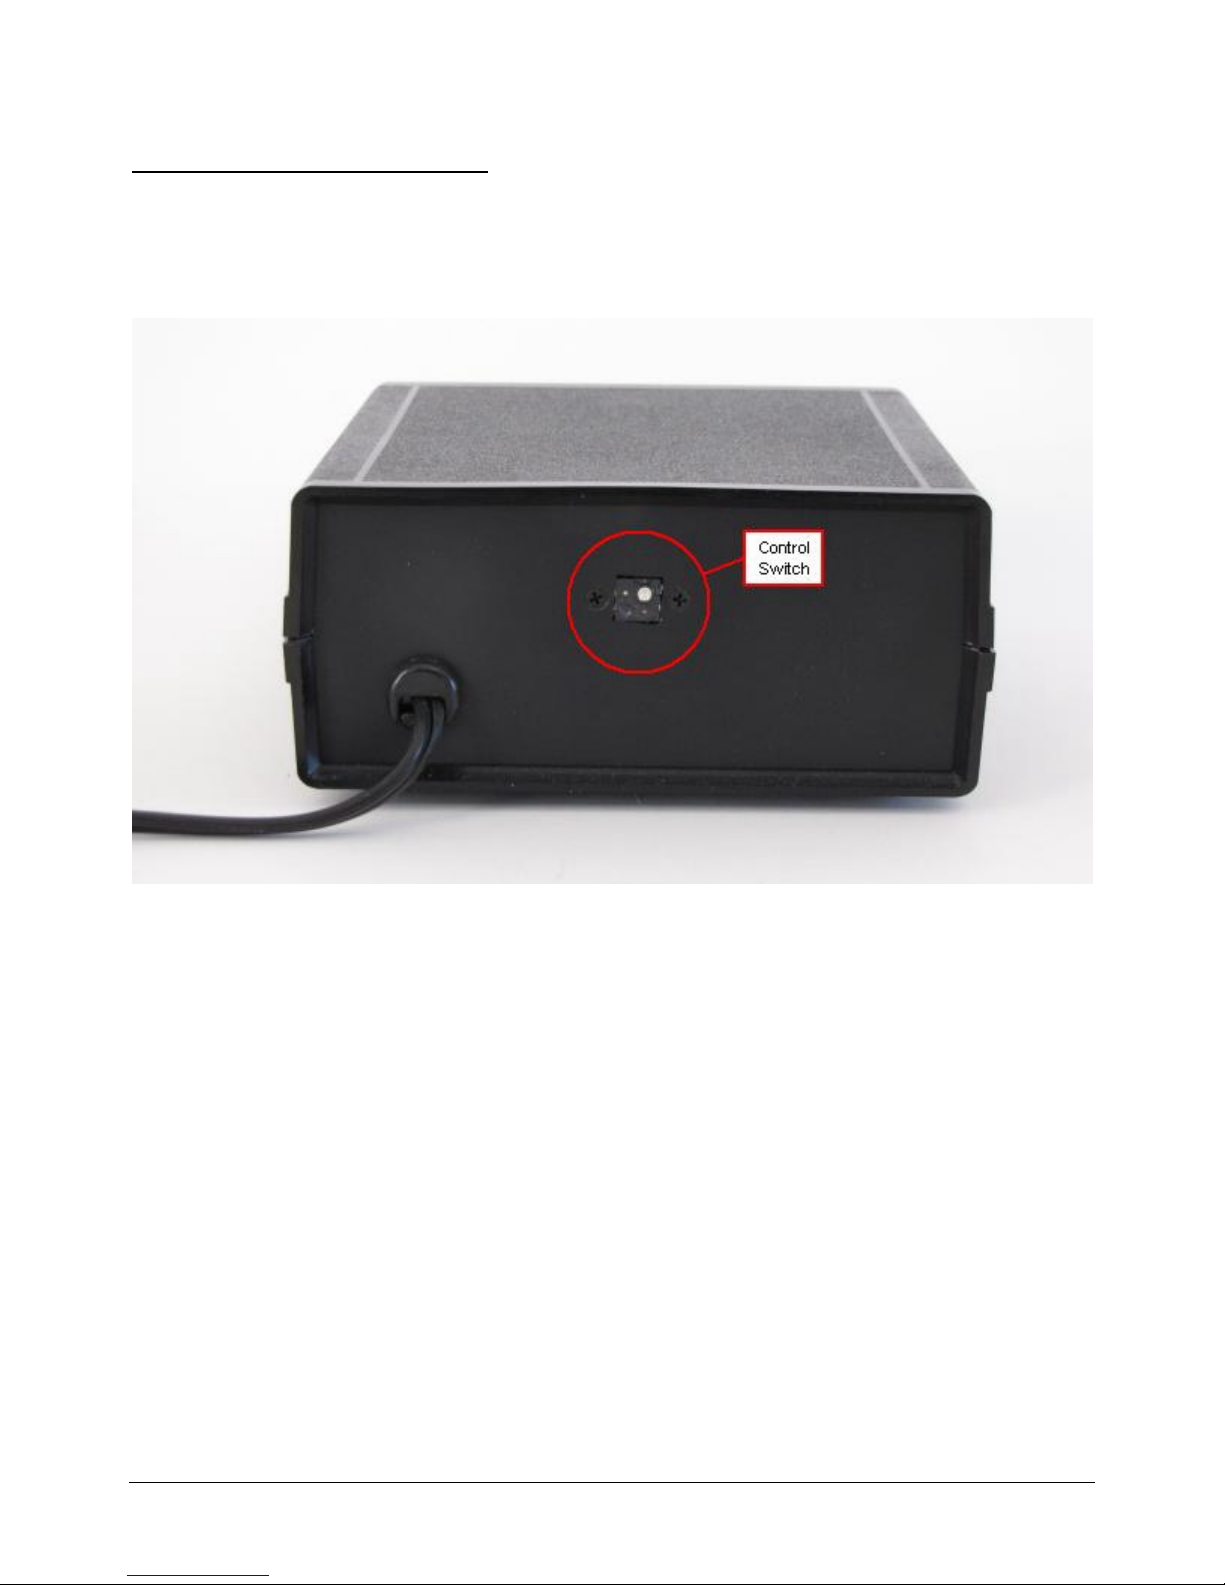
The clock control switch is located on the back panel of the clock. The switch is a 5-way joystick (up, down,
left, right, and push). In these instructions, the control switch orientation is as viewed from the front of the
clock. The clock may also be controlled with most universal IR remote controls (see the IR Remote section
for more information).
Figure 2 – Back View
The clock has two operating modes; Time Run and Time Set.
Time Run Mode
The display punctuation will flash to indicate that the clock does not have satellite time signal lock. W ithout
satellite time signal lock, the clock operates as a regular digital clock.
In Time Run mode, the clock displays the current time and date, and the control switch adjusts the display
brightness. The up and down directions adjust the brightness up or down. The left and right directions set
the light sensitivity. When adjusting the brightness, the display will show the sensitivity (SE) and brightness
(BR) values that are currently set. There are 6 light sensitivity levels, ranging from 0 (no sensitivity to light
changes) to 5 (most sensitive to light changes). The brightness level ranges from –99 to +99.
Push the control switch to enter Time Set mode.
Digital LED Clock
FearlessNight.com
Page 2
Page 3

Time Set Mode
The time set mode works differently depending on whether or not the clock is locked onto the satellite time
signal.
With Satellite Time Signal:
While the clock is in the Time Set mode, the hour value will be flashing, and the clock time will
continue to run. The control switch up and down directions adjust the time. The left and right
directions select 12 or 24 hour mode, respectively. Because the time is automatic, the only thing
you can adjust is the hour.
Without Satellite Time Signal:
While the clock is in the Time Set mode, one of the time values (year, month, day, hour, minute or
second) will be flashing. The control switch up and down directions adjust the flashing display
value. The left and right directions select the value to change.
Push the control switch to exit Time Set mode and return to Time Run mode.
Digital LED Clock
FearlessNight.com
Page 3
Page 4
IR Remote Control
Requirements
You will need an IR remote control that works with Panasonic devices (TV, VCR, etc). Most
universal remotes (for example, the URC-3220 "One-For-All") will work. Some functions, such as
Mute, can only be activated via IR remote control.
Setup
Decide on which type of device you want to use to control the clock. This should be a device that
you are not already using. For example, if you have a Panasonic TV but no Panasonic VCR, then
use the VCR device to control the clock. We will use the VCR device an example in the following
instructions.
To set up your IR remote control, refer to the IR remote control user guide to program it for an
appropriate device. For example, using the URC-3220 "One-For-All" remote control you could set
up any one of these devices to control the clock:
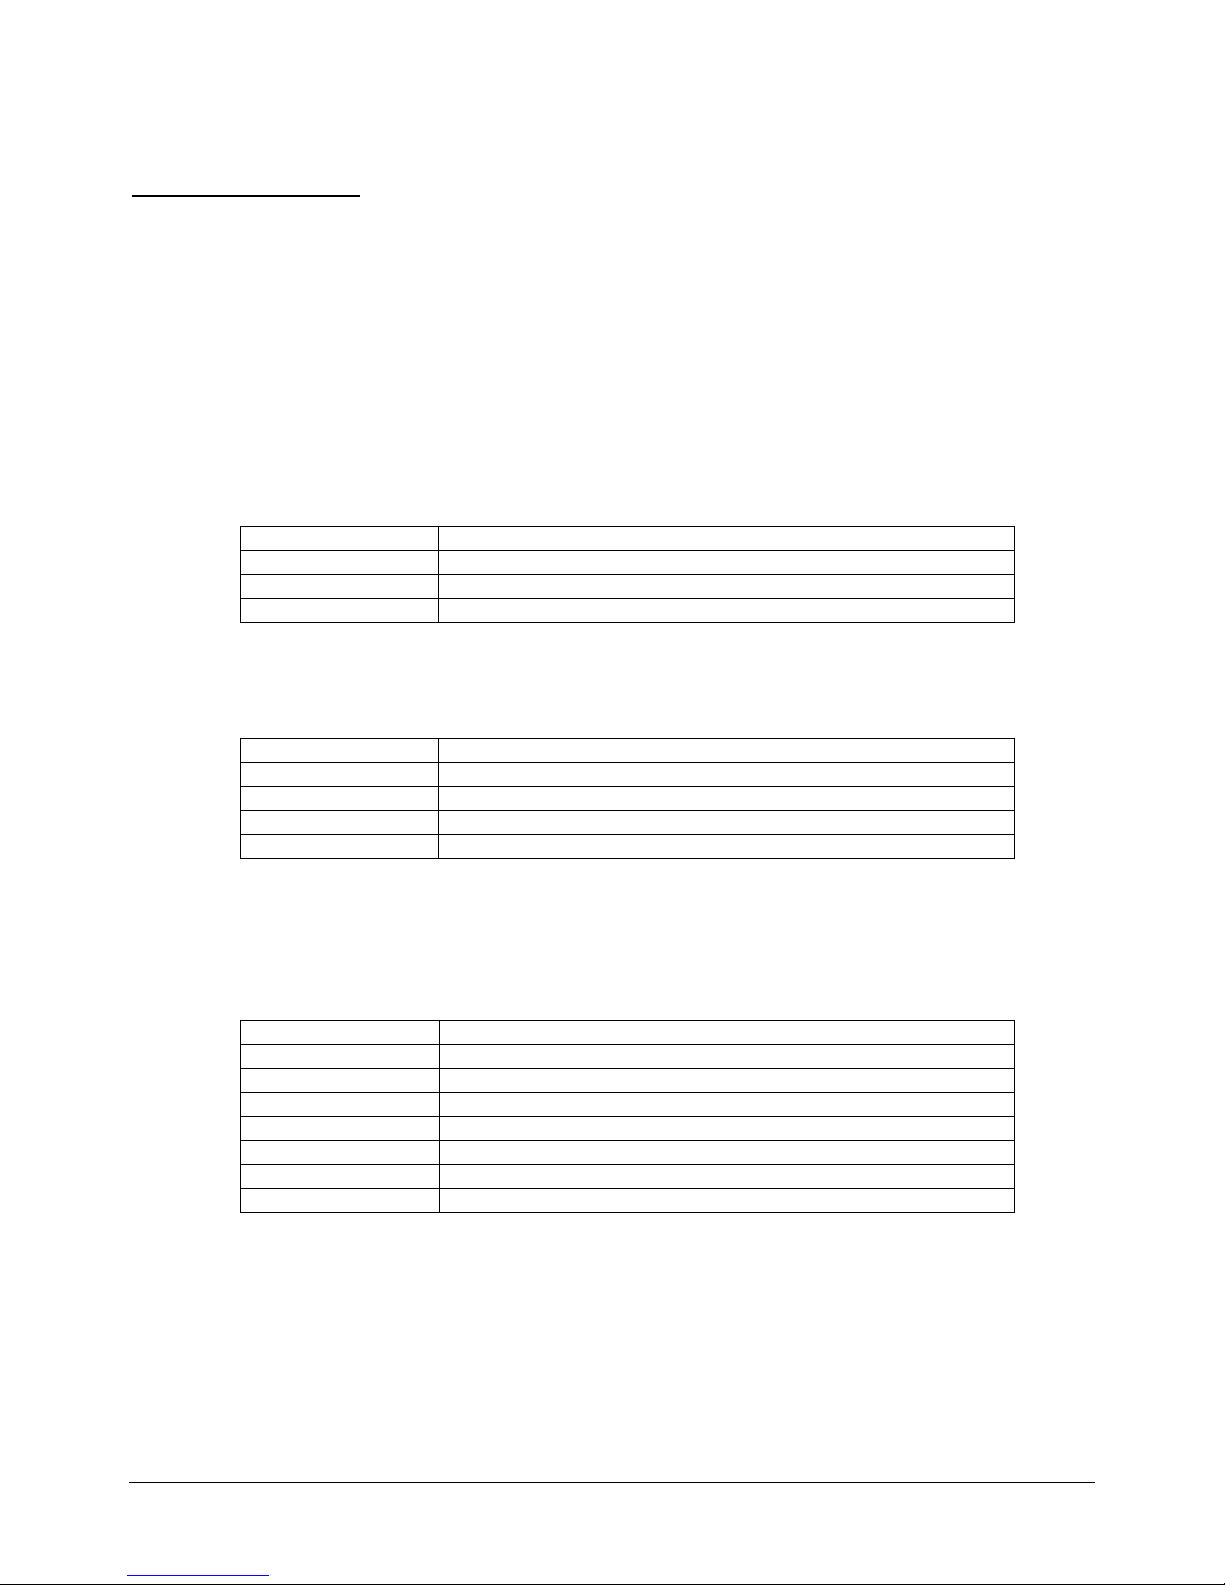
Device URC-3220 program code
TV 0250
VCR 1062
SAT 0701
To configure the clock to respond to your IR remote control, first unplug the clock. Then while
pressing the clock control button, plug in the clock. The clock display should show “ir” and a number
from 1 to 4. The devices that you can choose are:
Device Number shown on Clock “ir” display
TV 1
VCR 2
CBL, SAT, etc. 3
AUX 4
Now set the IR remote control for the desired device (e.g. press the VCR button on the IR remote
control) and then press the IR remote control “power” button while pointing the IR remote control at
the front of the clock. W hen the clock detects the signal, it will start displaying the date and time
normally.
Use
Now you can use the IR remote control, when set for the VCR device, to control the clock functions
as follows (see Time Run / Time Set instructions for the Control Switch functions):
IR Remote button Clock Control Function
rec/prog Same as pressing the Control Switch
ch-up Same as Up on the Control Switch
ch-dn Same as Down on the Control Switch
vol-up Same as Left on the Control Switch
vol-dn Same as Right on the Control Switch
mute Blank/restore display [must hold down for 5 secs]
0-9 Sets constant brightness from dim (0) to bright (9)
Note
The “mute” IR signal is the same for all Panasonic devices! In order to allow independent control of
the clock and your other devices, the clock will only respond if the IR remote control Mute button is
held for at least 5 seconds.
Digital LED Clock
FearlessNight.com
Page 4
Page 5

Troubleshooting
When the clock is first plugged in (or after a power failure), it normally takes a few minutes to lock onto the
satellite time signal. Initially, the time will be within a few seconds of the exact NIST time. Over the next
several minutes the time signal will gradually lock on fully so that the time displayed will be exactly the NIST
time.
The satellite signal can be blocked by walls and objects, or interfered with by electrical equipment; so if you
are having trouble getting a satellite time signal then try moving the clock to a different location.
Maintenance
The case is plastic and Plexiglas (acrylic). Clean with water and a mild (non-ammonia) cleaning solution to
remove fingerprints from the Plexiglas.
There are no user serviceable parts inside the case.
Specifications
Time Accuracy: ± 1 second absolute (with stable satellite signal lock)
± 4 minutes per month (without satellite signal, 0°C to 40°C)
Power Input: 100-130 VAC, 60 Hz, 1 W
Power Cord: 10’, non-polarized
Dimensions: 2.25“ H, 5.0“ W, 5.25“ D
Weight: 1 Lb
IR Control: Panasonic REC-80 protocol; TV, VCR, CBL, or AUX device
Warnings and Cautions
RISK OF ELECTRICAL SHOCK - DRY LOCATION USE ONLY
Published 2009-11-01 RSP
Digital LED Clock
FearlessNight.com
Page 5
 Loading...