

Page 1

7007 SW Cardinal Lane, Ste 105
Tigard, OR 97224 USA
800.329.2225 (+1.503.597.5350)
www.FaxBack.com
FAXability Server 3.0
Administrators Quick Start
Technical Reference
Last Edited October 10, 2013
Author
Duane Appelman
Abstract
A quick reference guide for administrators, to set up the FAXability 3.0 Server Website on a NET
SatisFAXtion Fax Server.
ProprietaryandConfidential,FaxBack,Inc.2013 1
Page 2
FAXability 3.0 Server Website
What is it?
The FAXability Server Website is what all FAXability users will use to send faxes. It consists of a website,
users will log into, in order to attach, address and send faxes. Once installed, the User Tools page on the
launchpad for clients will be updated to include a link to the zero footprint FAXability 3.0 login page. This
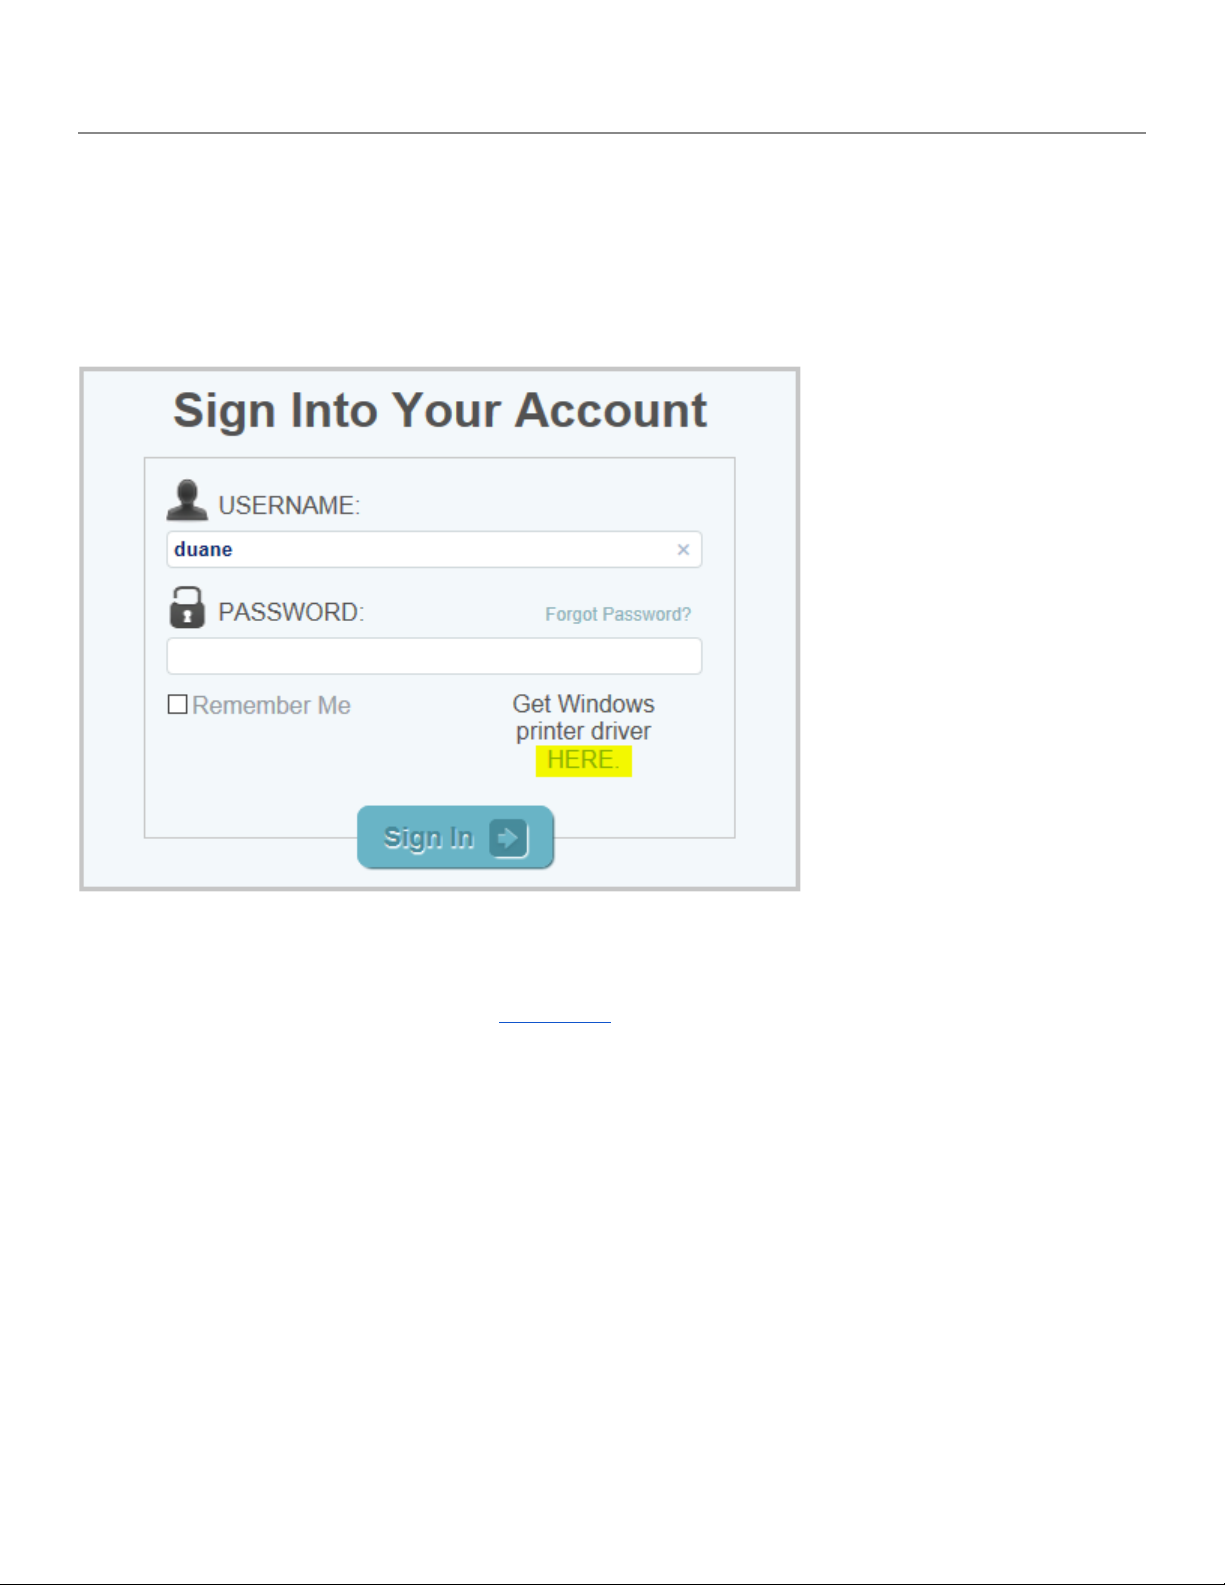
login page also includes a link for users to install the optional Windows printer driver.
Requirements
● IE 8.0 or higher to run client
● NET SatisFAXtion 9.0 or newer
● NET SatisFAXtion Fax Server Service STOPPED during installation
Where is the Installation?
The FAXability Server website installation is located on the NET SatisFAXtion Server’s Launch Pad website.
Click on Start -> All Programs -> NET SatisFAXtion -> Server Management -> Launch Pad. From the
Launch Pad website, click on Admin Tools, then ‘Learn More’ under FAXability Server 3.0. Here you will find
the installer package to install the FAXability Server Website.
How Do I Install?
The installer will need to stop the NET SatisFAXtion Fax Server Service for a couple minutes, make sure to
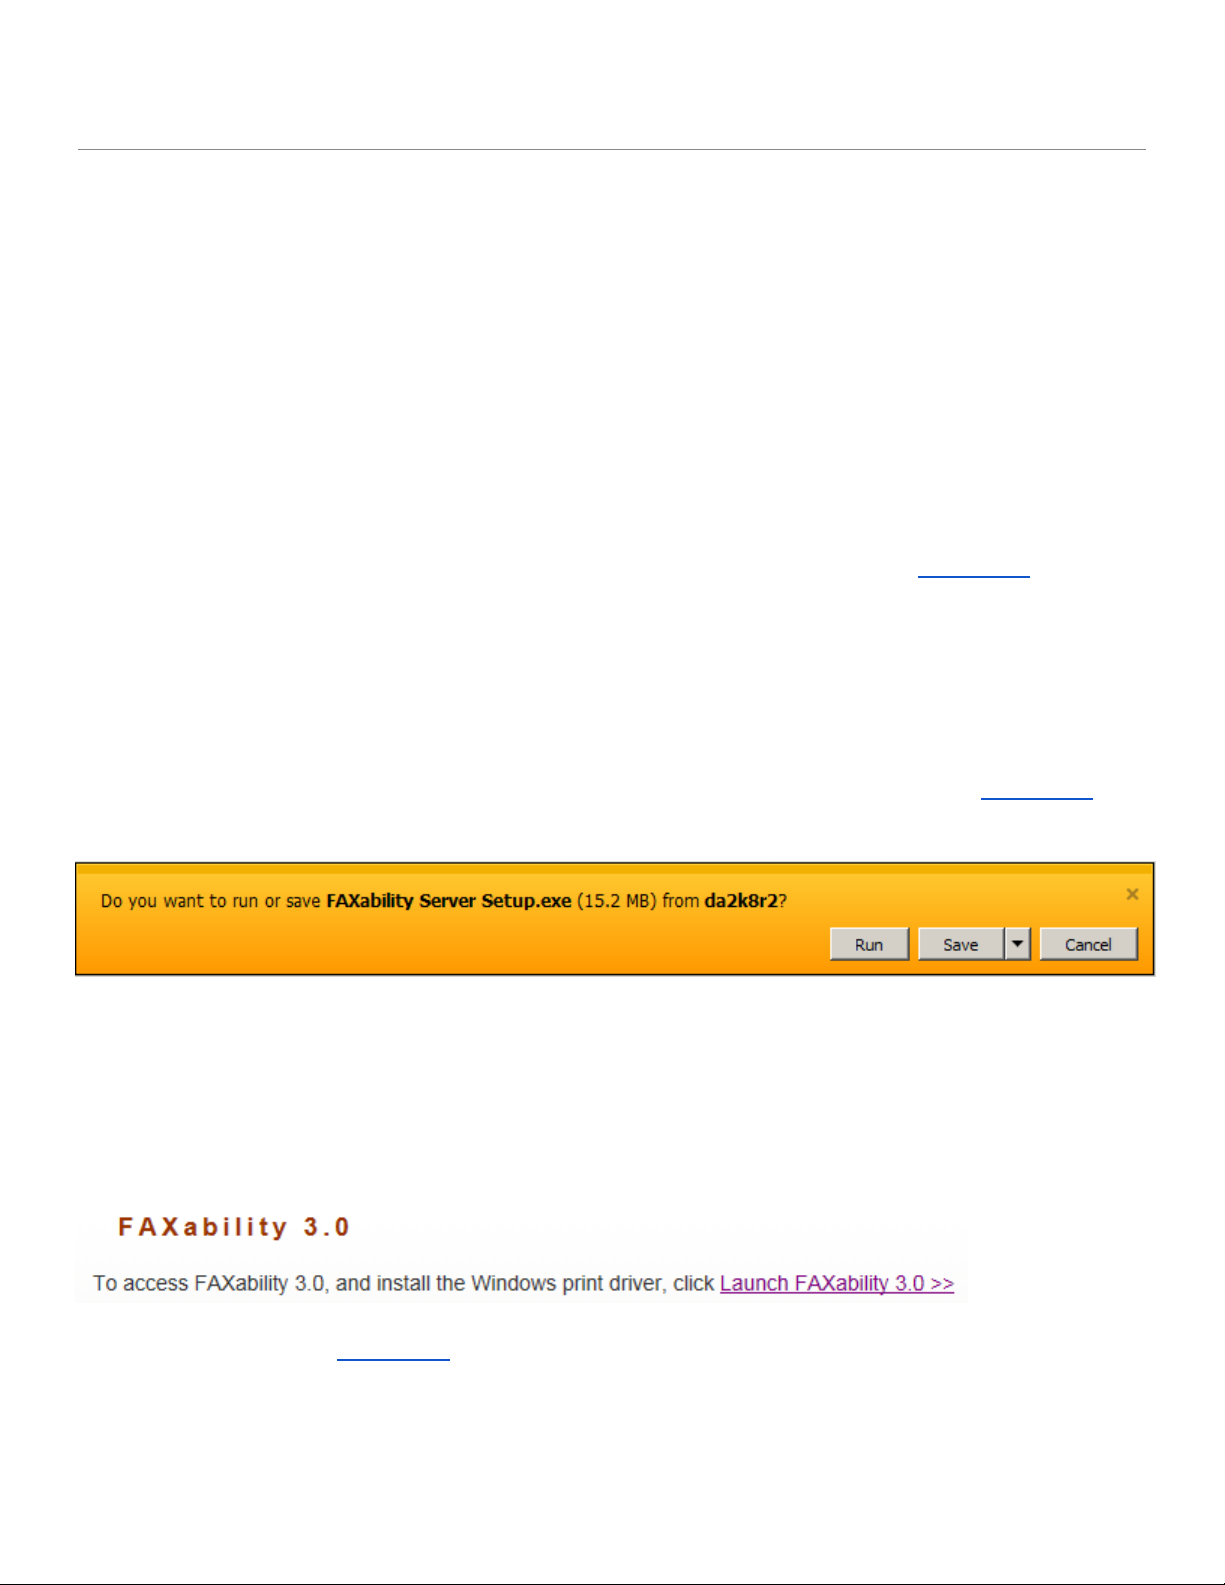
plan a time when a short outage can occur. Click on ‘Install FAXability Server 3.0’ from the Launch Pad
page. Run the installer from this page and click next when prompted.
When prompted to to unload the Fax Server Service, select ‘Yes’ to continue or ‘No’ to abandon the
installation. There are no configuration selections in the install, so accept the defaults until completed.
What Is Installed?
A new Client option has been added to the ‘User Tools’ page on the Server’s Launch Pad Website.
Instruct users to go to the Launch Pad website, click on ‘User Tools’, then ‘Launch FAXability 3.0’.
ProprietaryandConfidential,FaxBack,Inc.2013 2
Page 3
Optional Install - Windows Printer Driver
There are two ways to install the Windows Printer Driver. Each user can install from
the FAXability login page, or an Administrator can perform a silent install to network
users.
User Install - Optional Print Driver
User have access to install the Windows printer driver from the FAXability login page.
Silent Install - Optional Print Driver
Instructions to perform a silent install, or use Microsoft System Center to deploy the Windows printer are
on the Admin Tools / FAXability Server 3.0 Launch Pad web page.
Advanced Options
The default is to allow users to only modify their own ‘Private’ contact list and the ‘Shared’ Contacts are
locked. To allow editing the ‘Shared’ Contacts, config.js must be modified.
To change these settings, open File Explorer to this file:
[Drive:]Program Files(x86)\NET SatisFAXtion\wwwroot\FAXability\Application\config.js
The default setting is to set .AllowPhoneBookEditing to Private. If you wish to allow modifying of both
Shared (PUBLIC) and Private contacts, change the value to ‘Public’.
this.AllowPhoneBookEditing = "None"; This allows you to edit NOTHING.
this.AllowPhoneBookEditing = "Private"; This allows you to edit your PRIVATE contact list only.
this.AllowPhoneBookEditing = "Public"; This allows you to edit your PRIVATE and the PUBLIC lists.
All parameters are sticky until the browser cache is cleared.
ProprietaryandConfidential,FaxBack,Inc.2013 3
 Loading...