

FAVI F19BL-TV, L1918A2-V User Manual


1
Table of contents
Safety information
Unit and accessories
Product features
Introduction
Front view
Rear view
Wall mounting
Remote control button layout
Remote control battery installation
Power cord connection
Antenna (RF) connection
Connecting a Composite (A/V) video source
Connecting a Component (YPbPr) video source
Connecting an HDMI source
Connecting a PC to your TV
Powering your TV on and off
Selecting an input source
Menu operation overview
Picture menu settings
Audio menu settings
Time menu settings
Setup menu settings
PC setup sub menu screen
Closed Captioning sub menu screen
Closed Captioning options sub menu screen
Parental lock menu settings
Channel menu settings
Auto scan sub menu settings
Favorite channel sub menu settings
Show/Hide sub menu settings
Troubleshooting
Technical specifications
2-3
4
4
5
5
6
6
7
8
9
9
10
10
11
11
12
12
12
13
14
14
15
15
16
16
17-19
19
20
21
21
22
23
2
Safety information
Correct disposal of this Product
in!
.

3
Safety Information (continued)
Your TV comes with an AC power adapter. This power adapter is designed for your TV.
Operating your TV with a different AC adapter may cause damage to the TV and void
your warranty.
The TV should be unplugged during an electrical storm, or if it’s not going to be used for an
extended period of time.
Do not use this TV near sources of heat such as space heaters, fireplaces, or other heat
producing appliances.
Do not allow liquids to come into contact with this TV. Doing so could damage the internal
electronics. To clean the TV, wipe it with a damp cloth and allow it to fully dry before operating
it.
This TV should not be used at temperatures above 104ºF or below 40ºF. Relative humidity
should be less then 80%.
Please make sure your TV is placed on a steady surface prior to operating it.
Do not block any of the ventilation slots on the back of your TV.
If placing the TV in a cabinet, please make sure there is at least 2 to 3 inches of clearence
on all sides of the TV to allow for proper ventilation.
Please place the TV on a steady surface prior to operating it.
Do not attempt to disassemble this TV. There are no user servicable parts inside. Please refer
servicing to qualified service personnel.
4
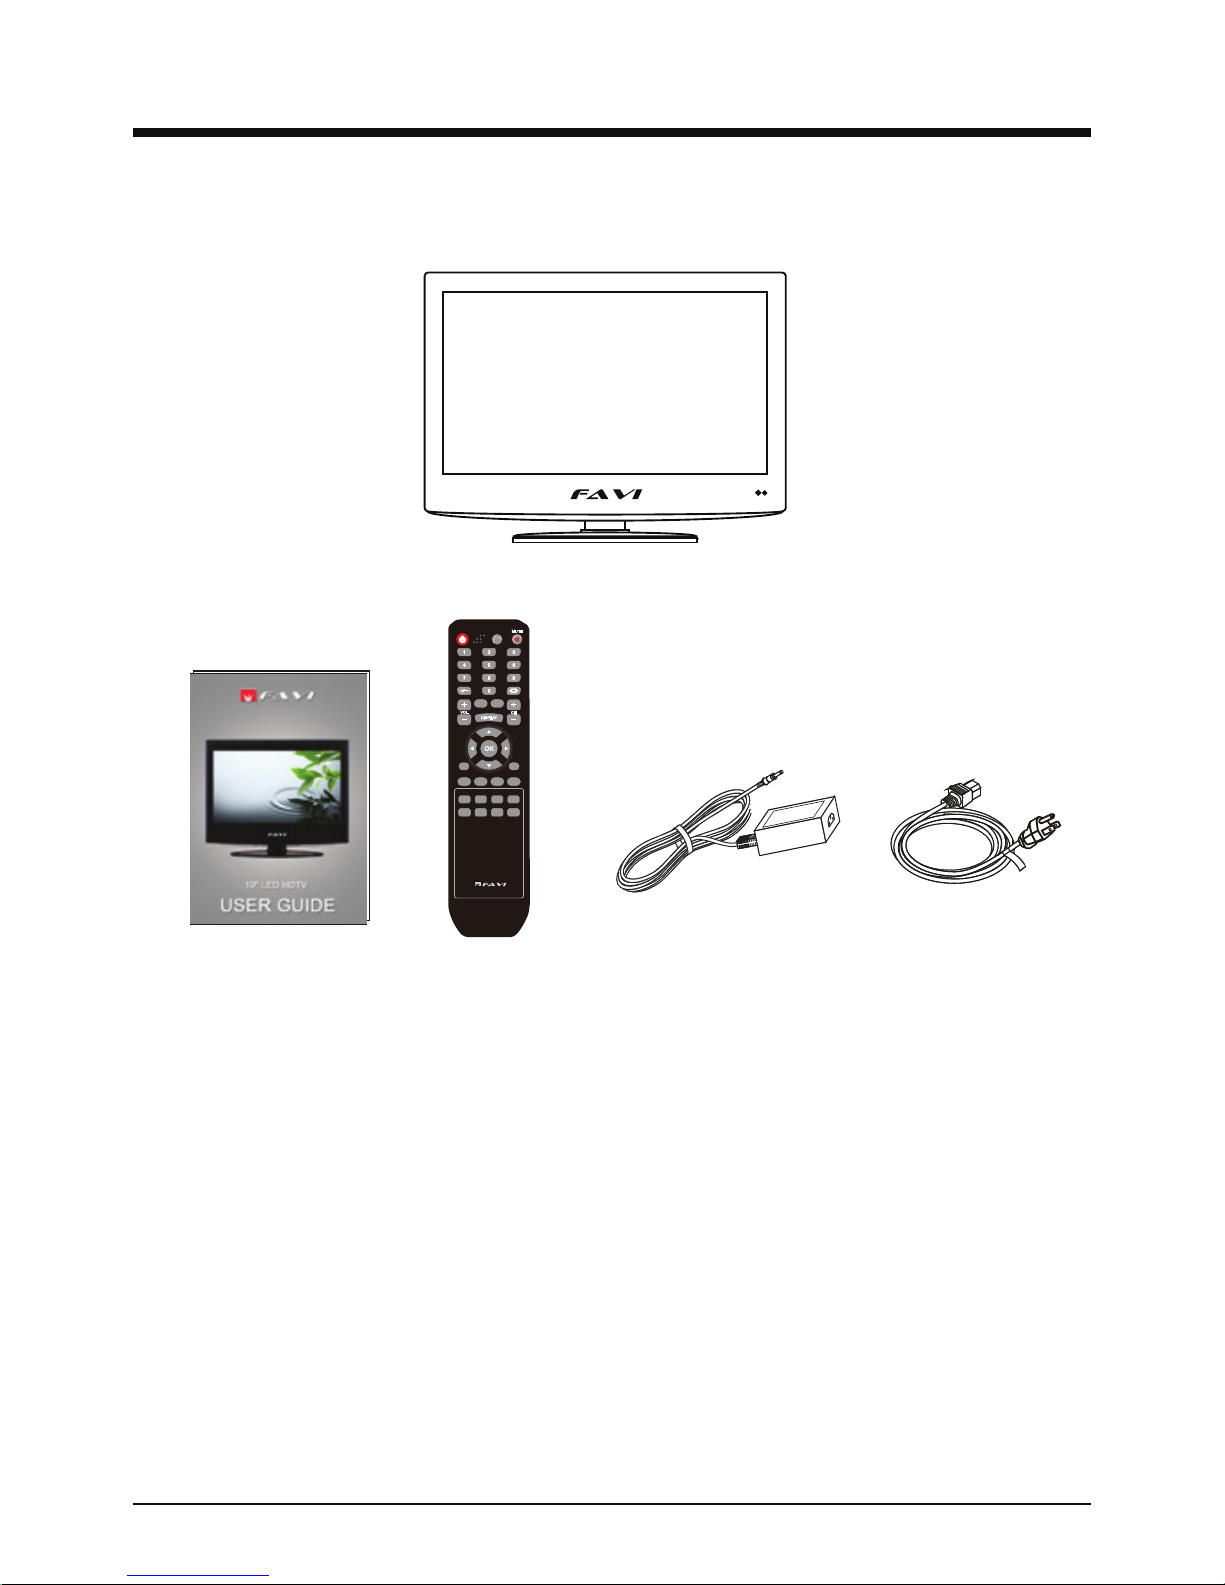
Unit and accessories
TV set
USER GUIDE
Remote control
Product Features
AC adapter Power cord
• 18.5” 16:9 screen.
• Energy saving design. Uses less then 40 watts of power.
• LED backlight allows for more natural colors and better image quality then a standard CCFL
backlight.
• 1366 x 768 native LCD resolution for HD performance.
• Integrated ATSC TV tuner for HDTV broadcast reception.
• Supports Composite video, Component video, HDMI, and VGA video inputs
• Supports headphone audio output, and Coax digital audio output.
• VESA wall mount compatible.
VOL
DISPLAY
CH
M
UTE
-/--
OK
MTS
CC
ASPECTINPUT
FAV LIST FAV CH+
CHLIST AUTO PMODE SMODE
FAV CH-ADD/ERASE
FREEZE SLEEP
EXIT MENU
EPG
POWER
• Detachable tilting base.
5
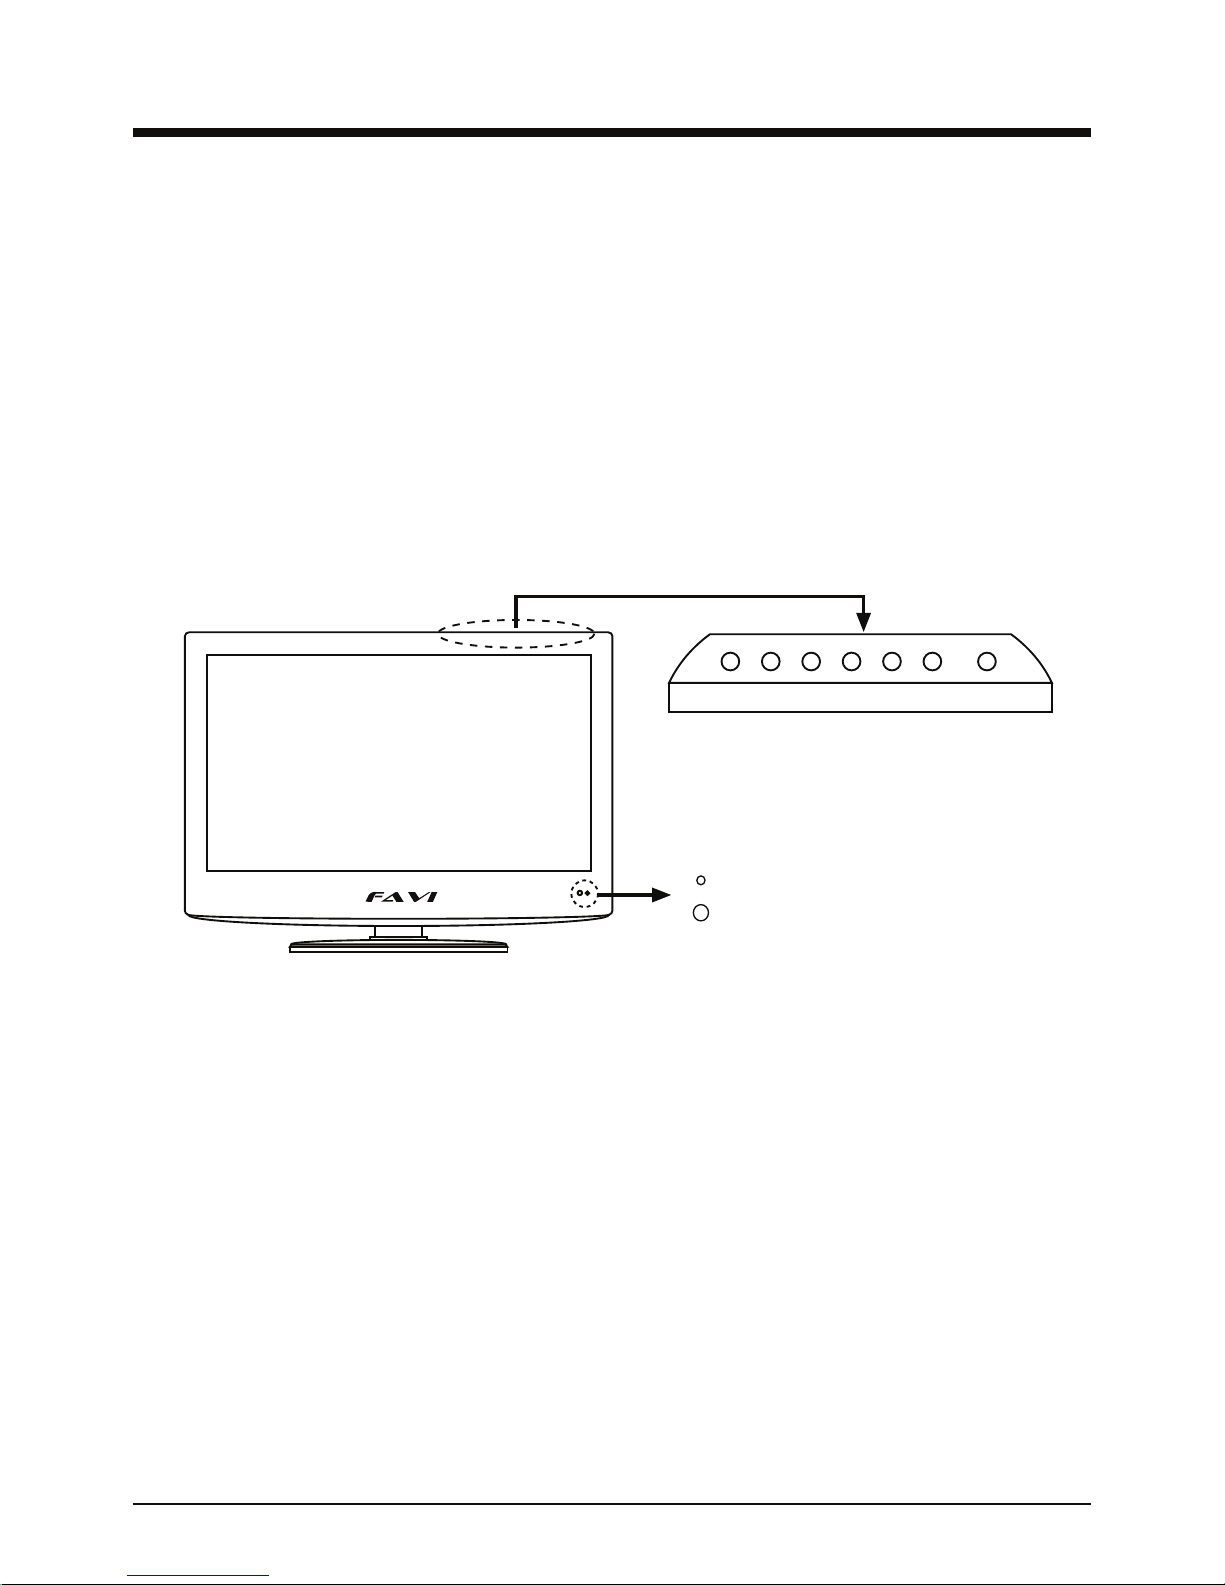
Introduction
Infrared (IR) receiver: Receives IR signals from the remote control.
(Power on/Standby)LED Indicator: Indicates whether the TV is plugged in and operating.
Indicator on (Red) Standby mode
Indicator on (Green) Power on mode
Led Indicator
IR receiver
INPUT MENU CH+ CH- VOL+ VOL- POWER
Your new TV uses new LED based backlight technology to providde a crisp, clear picture in
a compact, space saving design.
This user guide is designed to help you setup and operate your new TV. Please read this user
guide carefully.
We hope that you enjoy your new FAVI LED TV, and that it fulfills your home or business
needs.
Front view
INPUT: Brings up the source selection menu. Use the CH- and CH+ buttons to highlight a
source and use the VOL- and VOL+ buttons to select the highlighted source.
MENU: Brings up the menu screen. Use the VOL - and VOL+ buttons to navigate between
menu screens and change settings. Use the CH- and CH+ buttons to highlight settings in a
menu screen.
CH- / CH+: Changes channels in TV mode.
VOL- / VOL+: Changes volume in all modes.
6
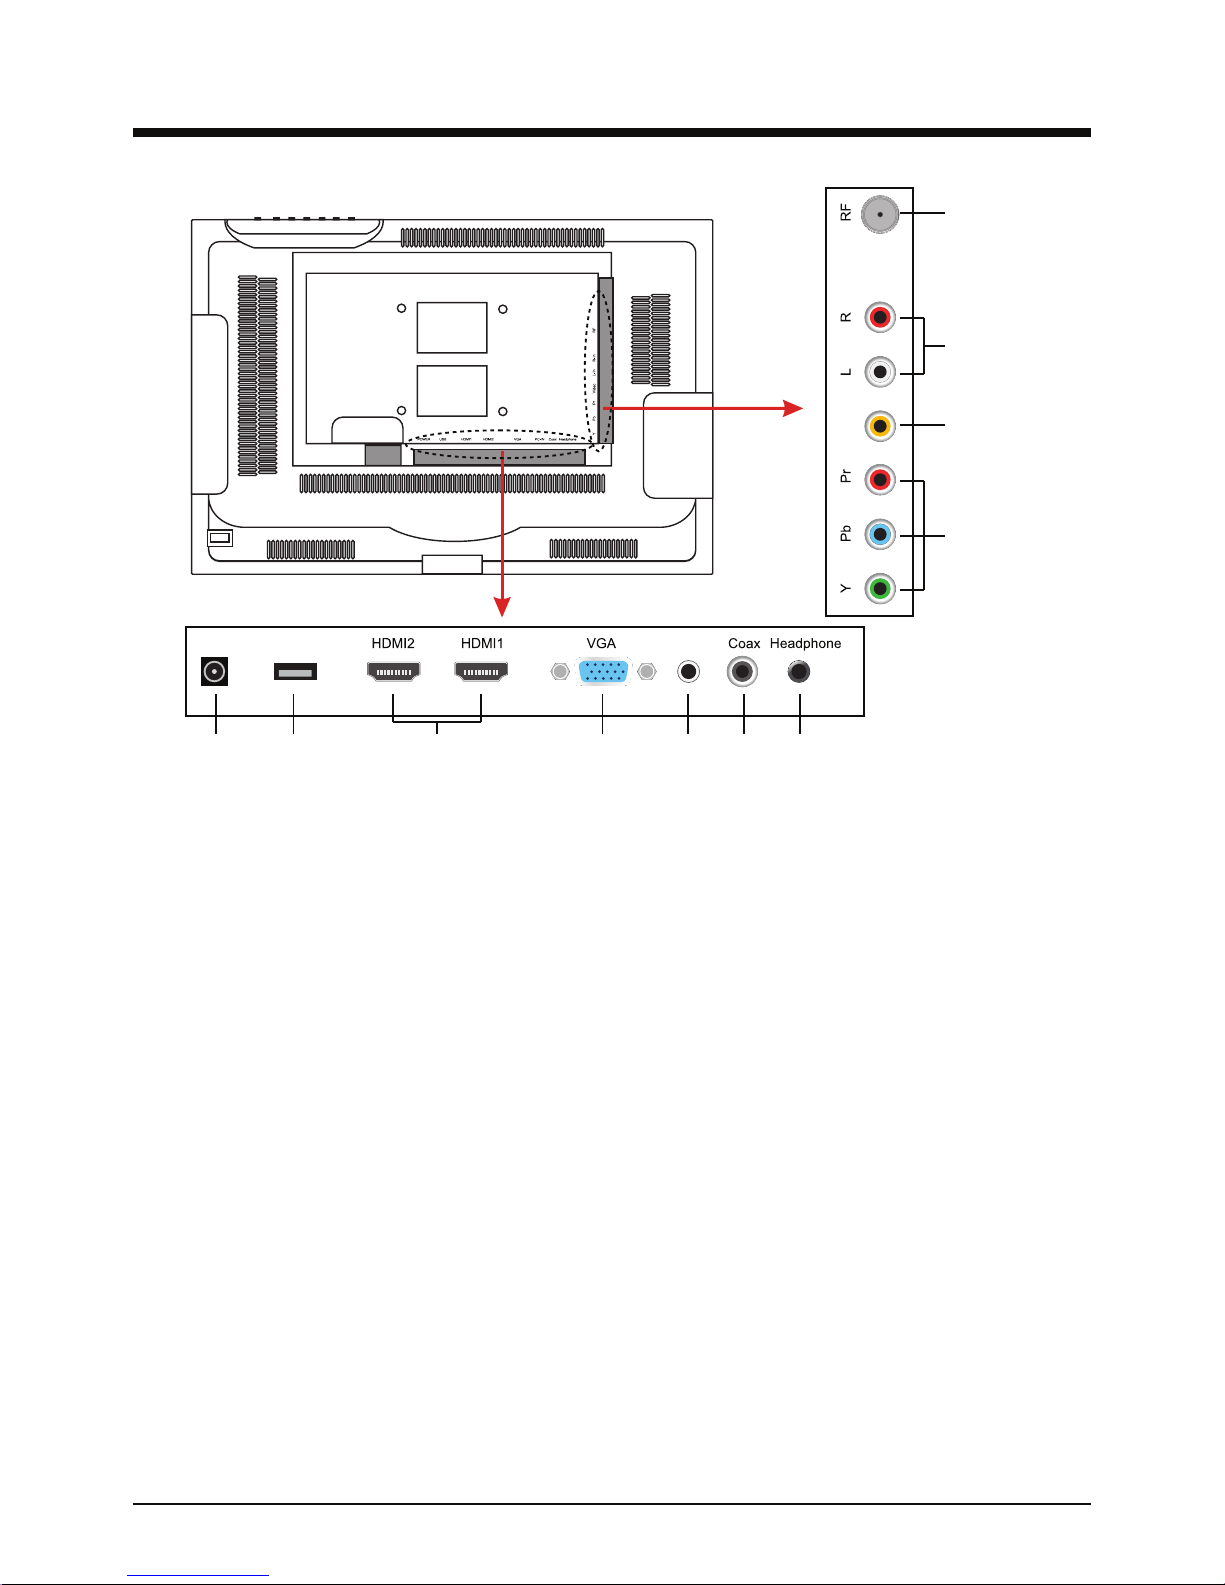
Rear view
1. DC IN : Connect to the AC adapter.
2. USB service port: For factory service only.
3. HDMI ports: Connect to any HDMI source.
4. VGA: Connect to any standard VGA source.
5. PC-AUDIO IN : Connects to standard PC sound cards (For use in VGA mode only).
6. Coax: Coaxial Digital Audio output.
7. Headphone jack: Connect a pair of headphones or external speakers.
8. YPbPr: Connect to any Component video source.
9. AV IN: Connect to any Composite video source.
10. Line audio jacks: Connect to any line audio source. (Note: Both Composite and Component
video share these audio input jacks.)
11. 75 Ohm coax input: Connect to an antenna or cable source.
Wall Mounting
The TV is provided with mounting holes for a VESA approved wall mounting bracket (not
supplied). To remove the base, first place the TV screen side down on a table covered with a soft
towel to avoid damaging the screen. Remove the two phillips screws on the back of the base. Next,
remove the single phillips screw inside the bottom of the base. You can then remove the base from
the TV.
When attaching the TV to a wall mount, do not use screws that will penetrate into the TV more then
3/8 of an inch. Longer screws may damage your TV’s internal components.
1 2 3 4 5 6 7
8
9
10
11
USB
IN
PC-AUDIO
DC IN
AV IN
 Loading...